How To Install Lithium Batteries
Overview
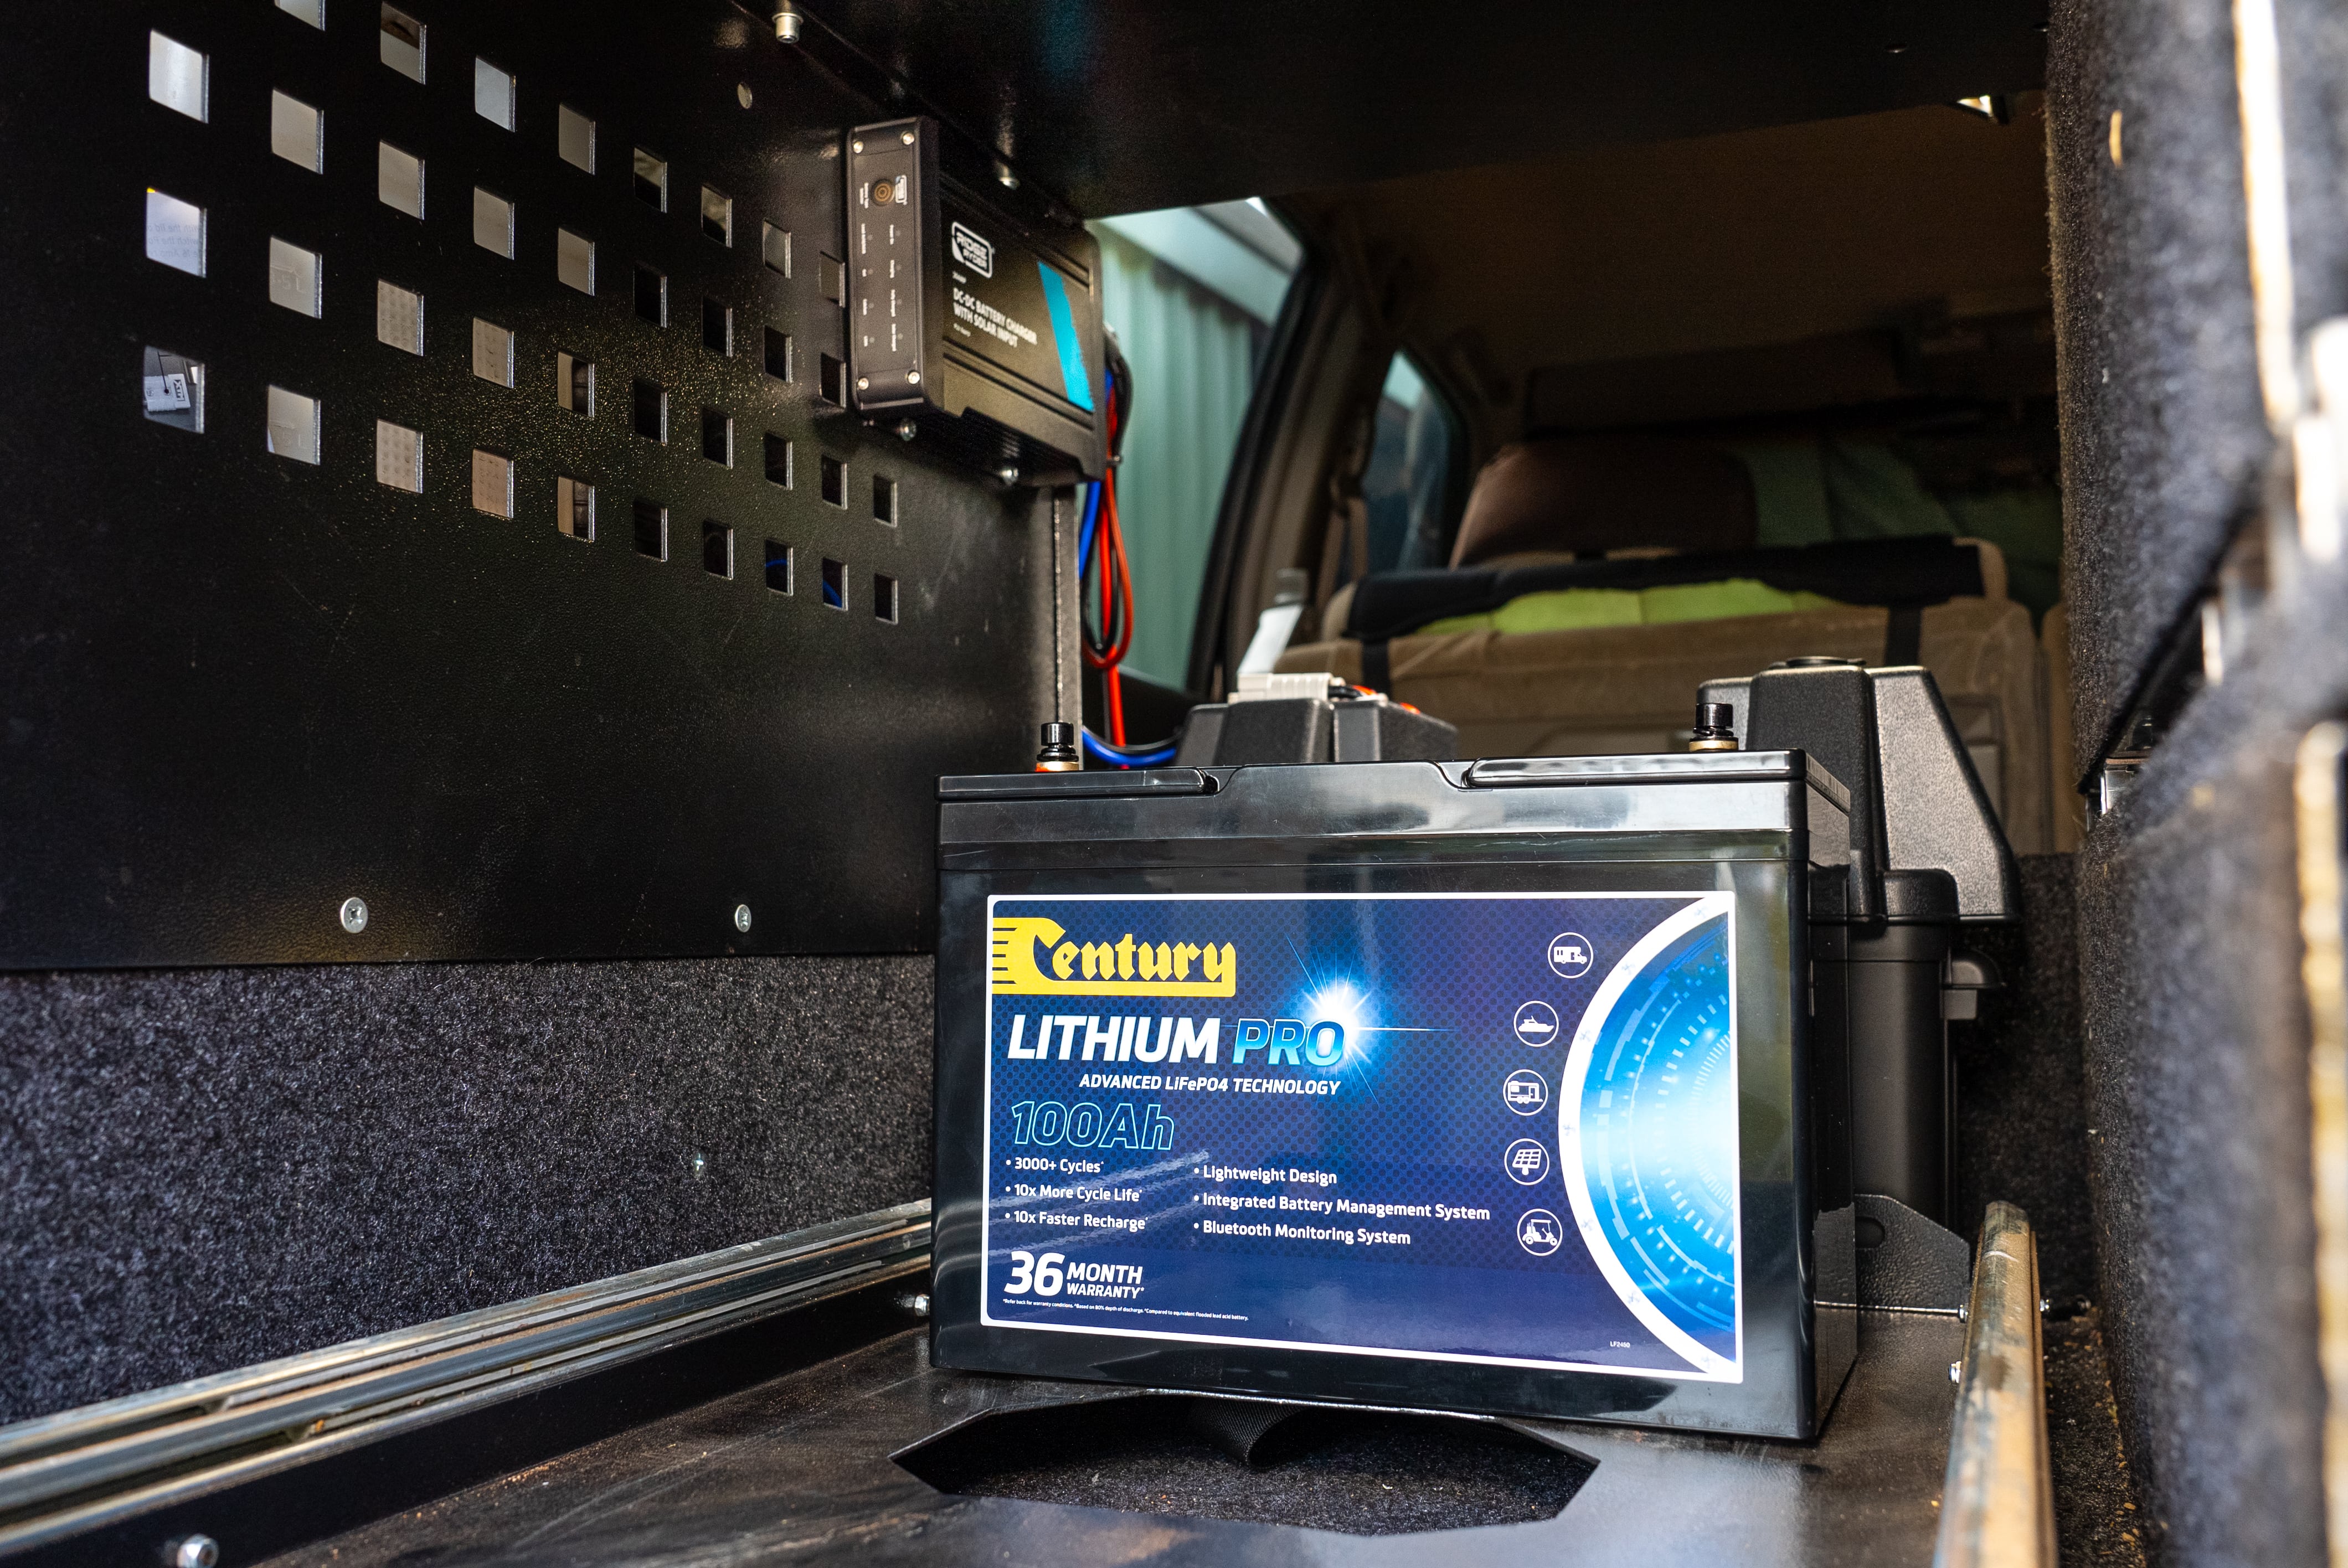
With fridges and LED lights becoming camp necessities, the dual battery system has been part of most camping setups for a number of years now. But with new lithium ion phosphate (LifEpo4) battery technology comes a new wave of portable ovens, coffee machines, TV’s, and electric blankets. If you want a piece of the action, read on and learn how to install your own LifeEpo4 lithium dual battery.
Why a lithium battery is the best
Until now, AGM batteries were the best and most common choice to run camping accessories. Compared to a starting battery they can be drained further (down to 50% capacity), provide power for longer, and have around 500 to 700 recharge cycles before requiring replacement.
A lithium battery can be drained down to 10% capacity, meaning the same size battery provides almost double the power. They have a lifespan of 3000 recharge cycles or more.
Your next big advantage is weight. A common AGM battery weighs around 26 kilograms. A lithium battery of the same size and capacity weighs a touch over 13 kilograms.
If this all sounds super to you, let’s carry on!
Items
1: An existing dual battery system
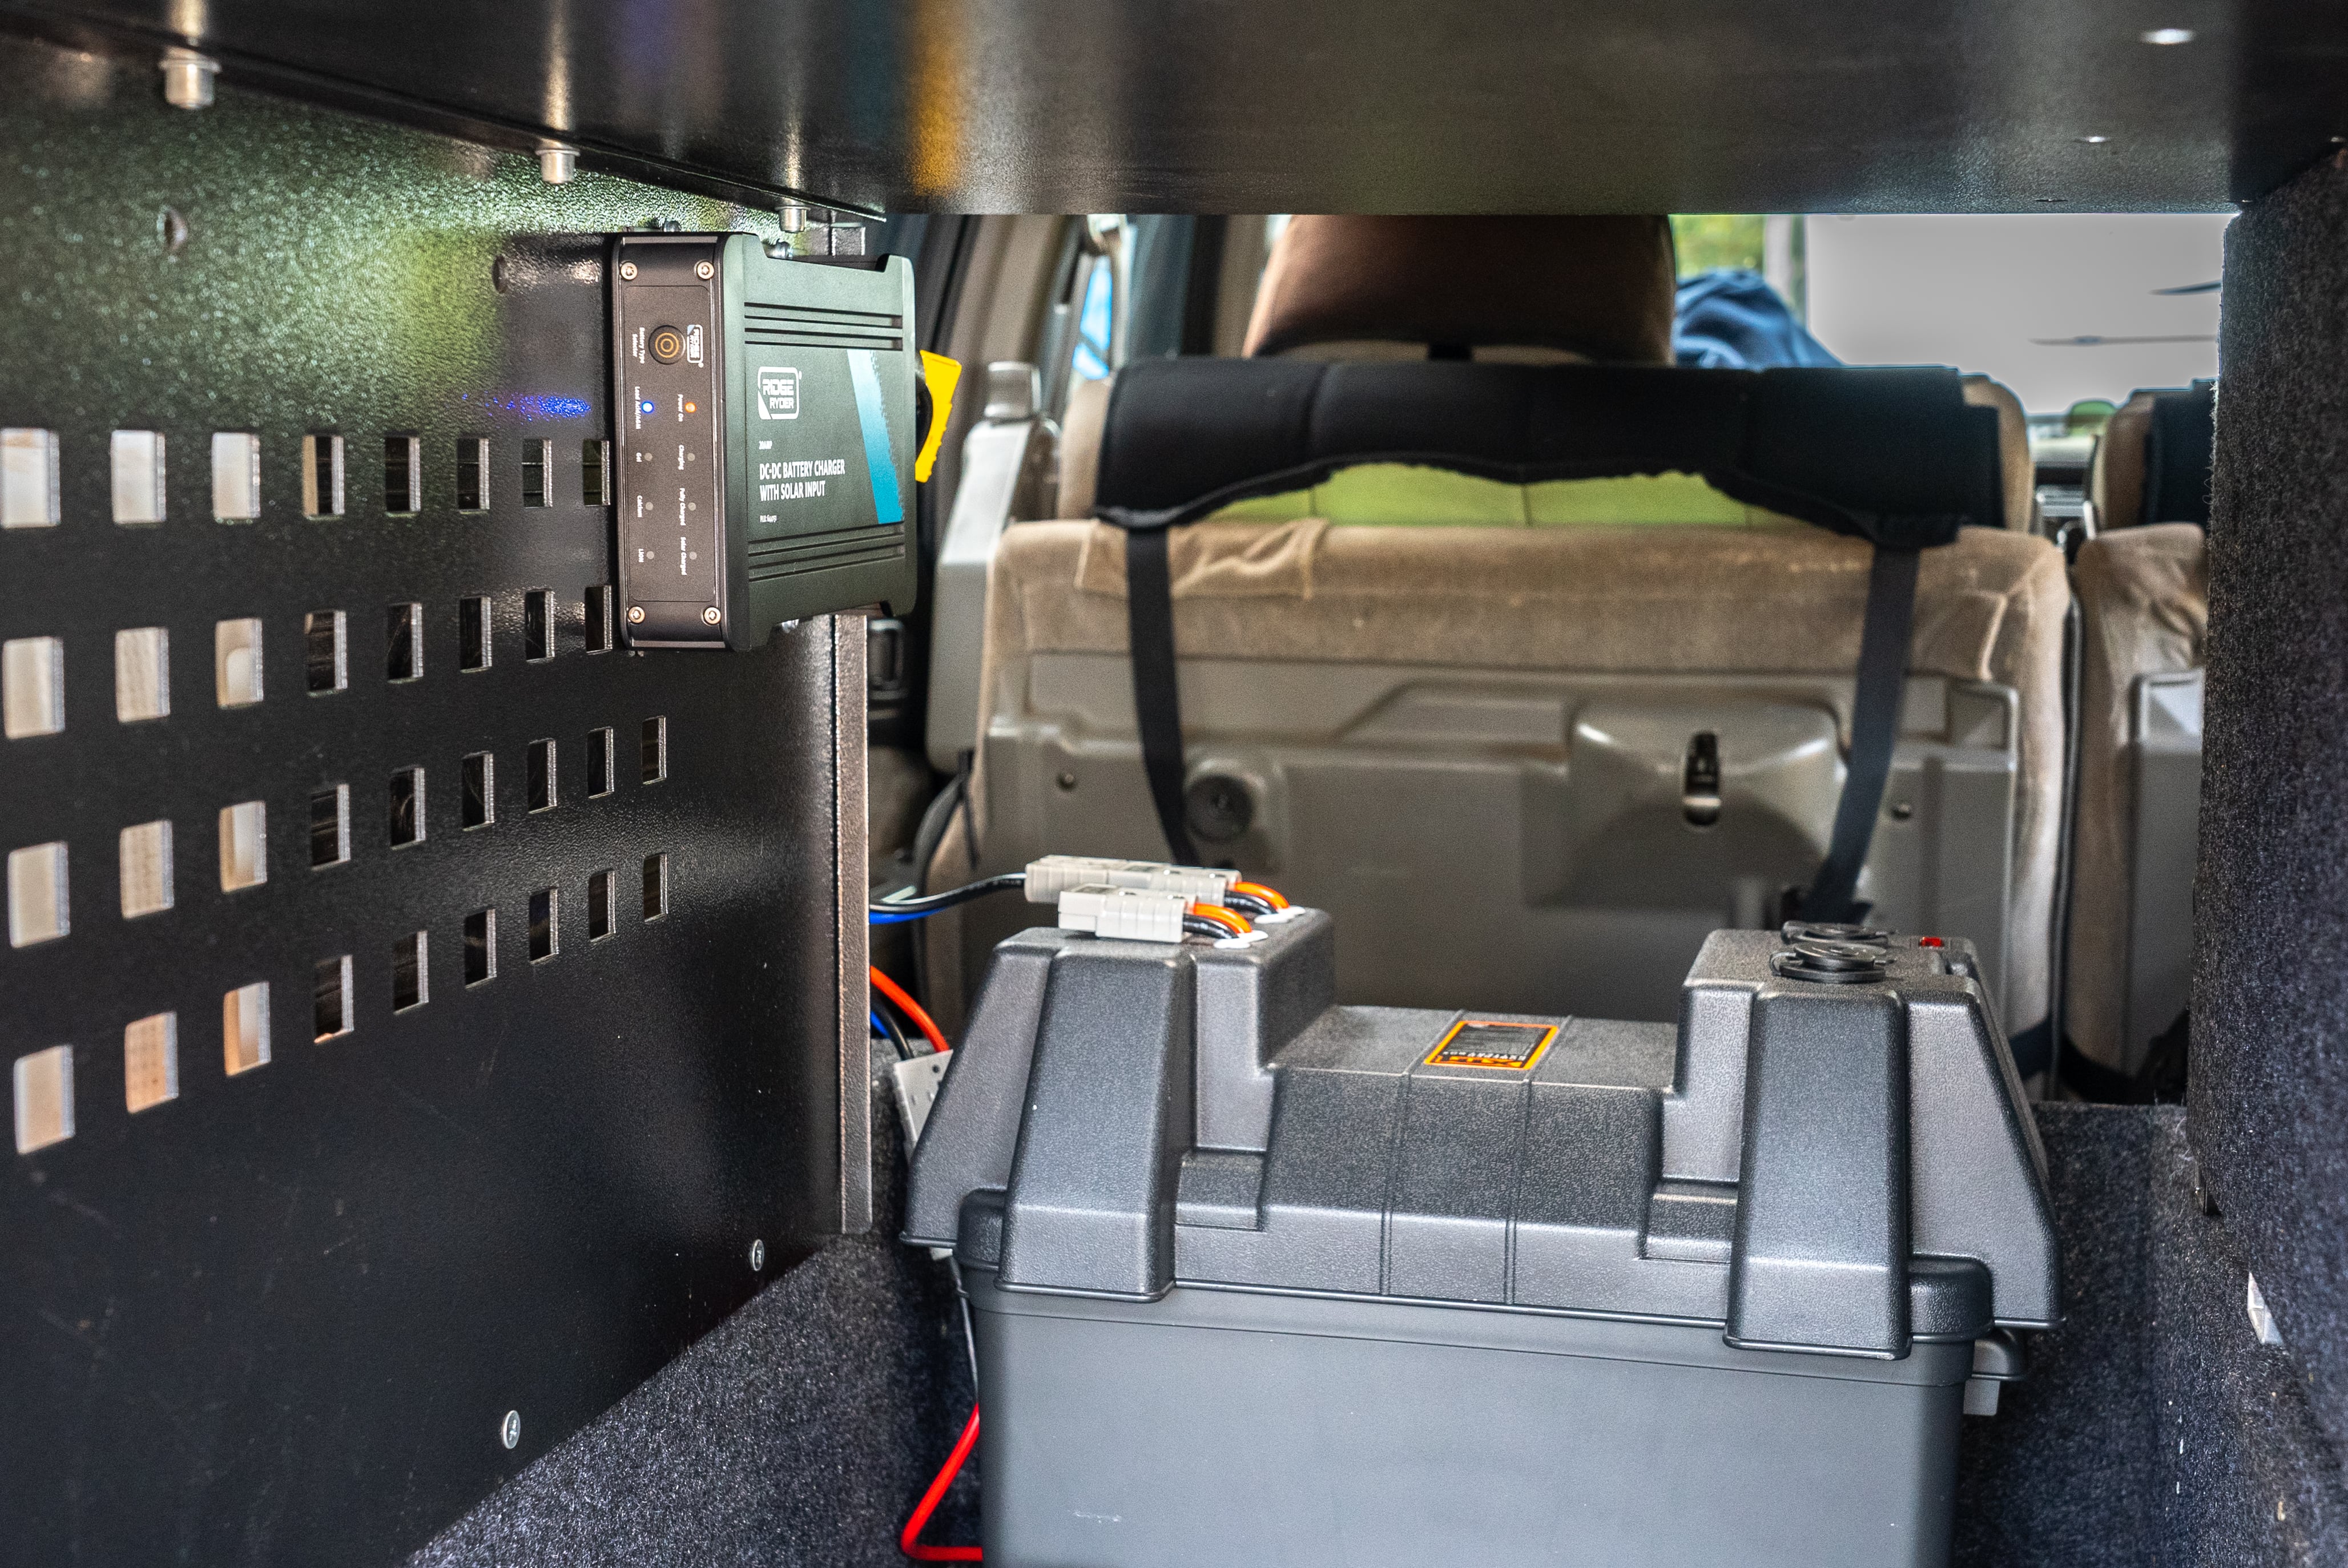
Your existing dual battery system must have the battery and charger away from the heat of your engine bay, usually in the cargo area or canopy. This will ensure the best performance from your DC charger, and the longest life for your lithium battery.
2: A lithium capable DC charger
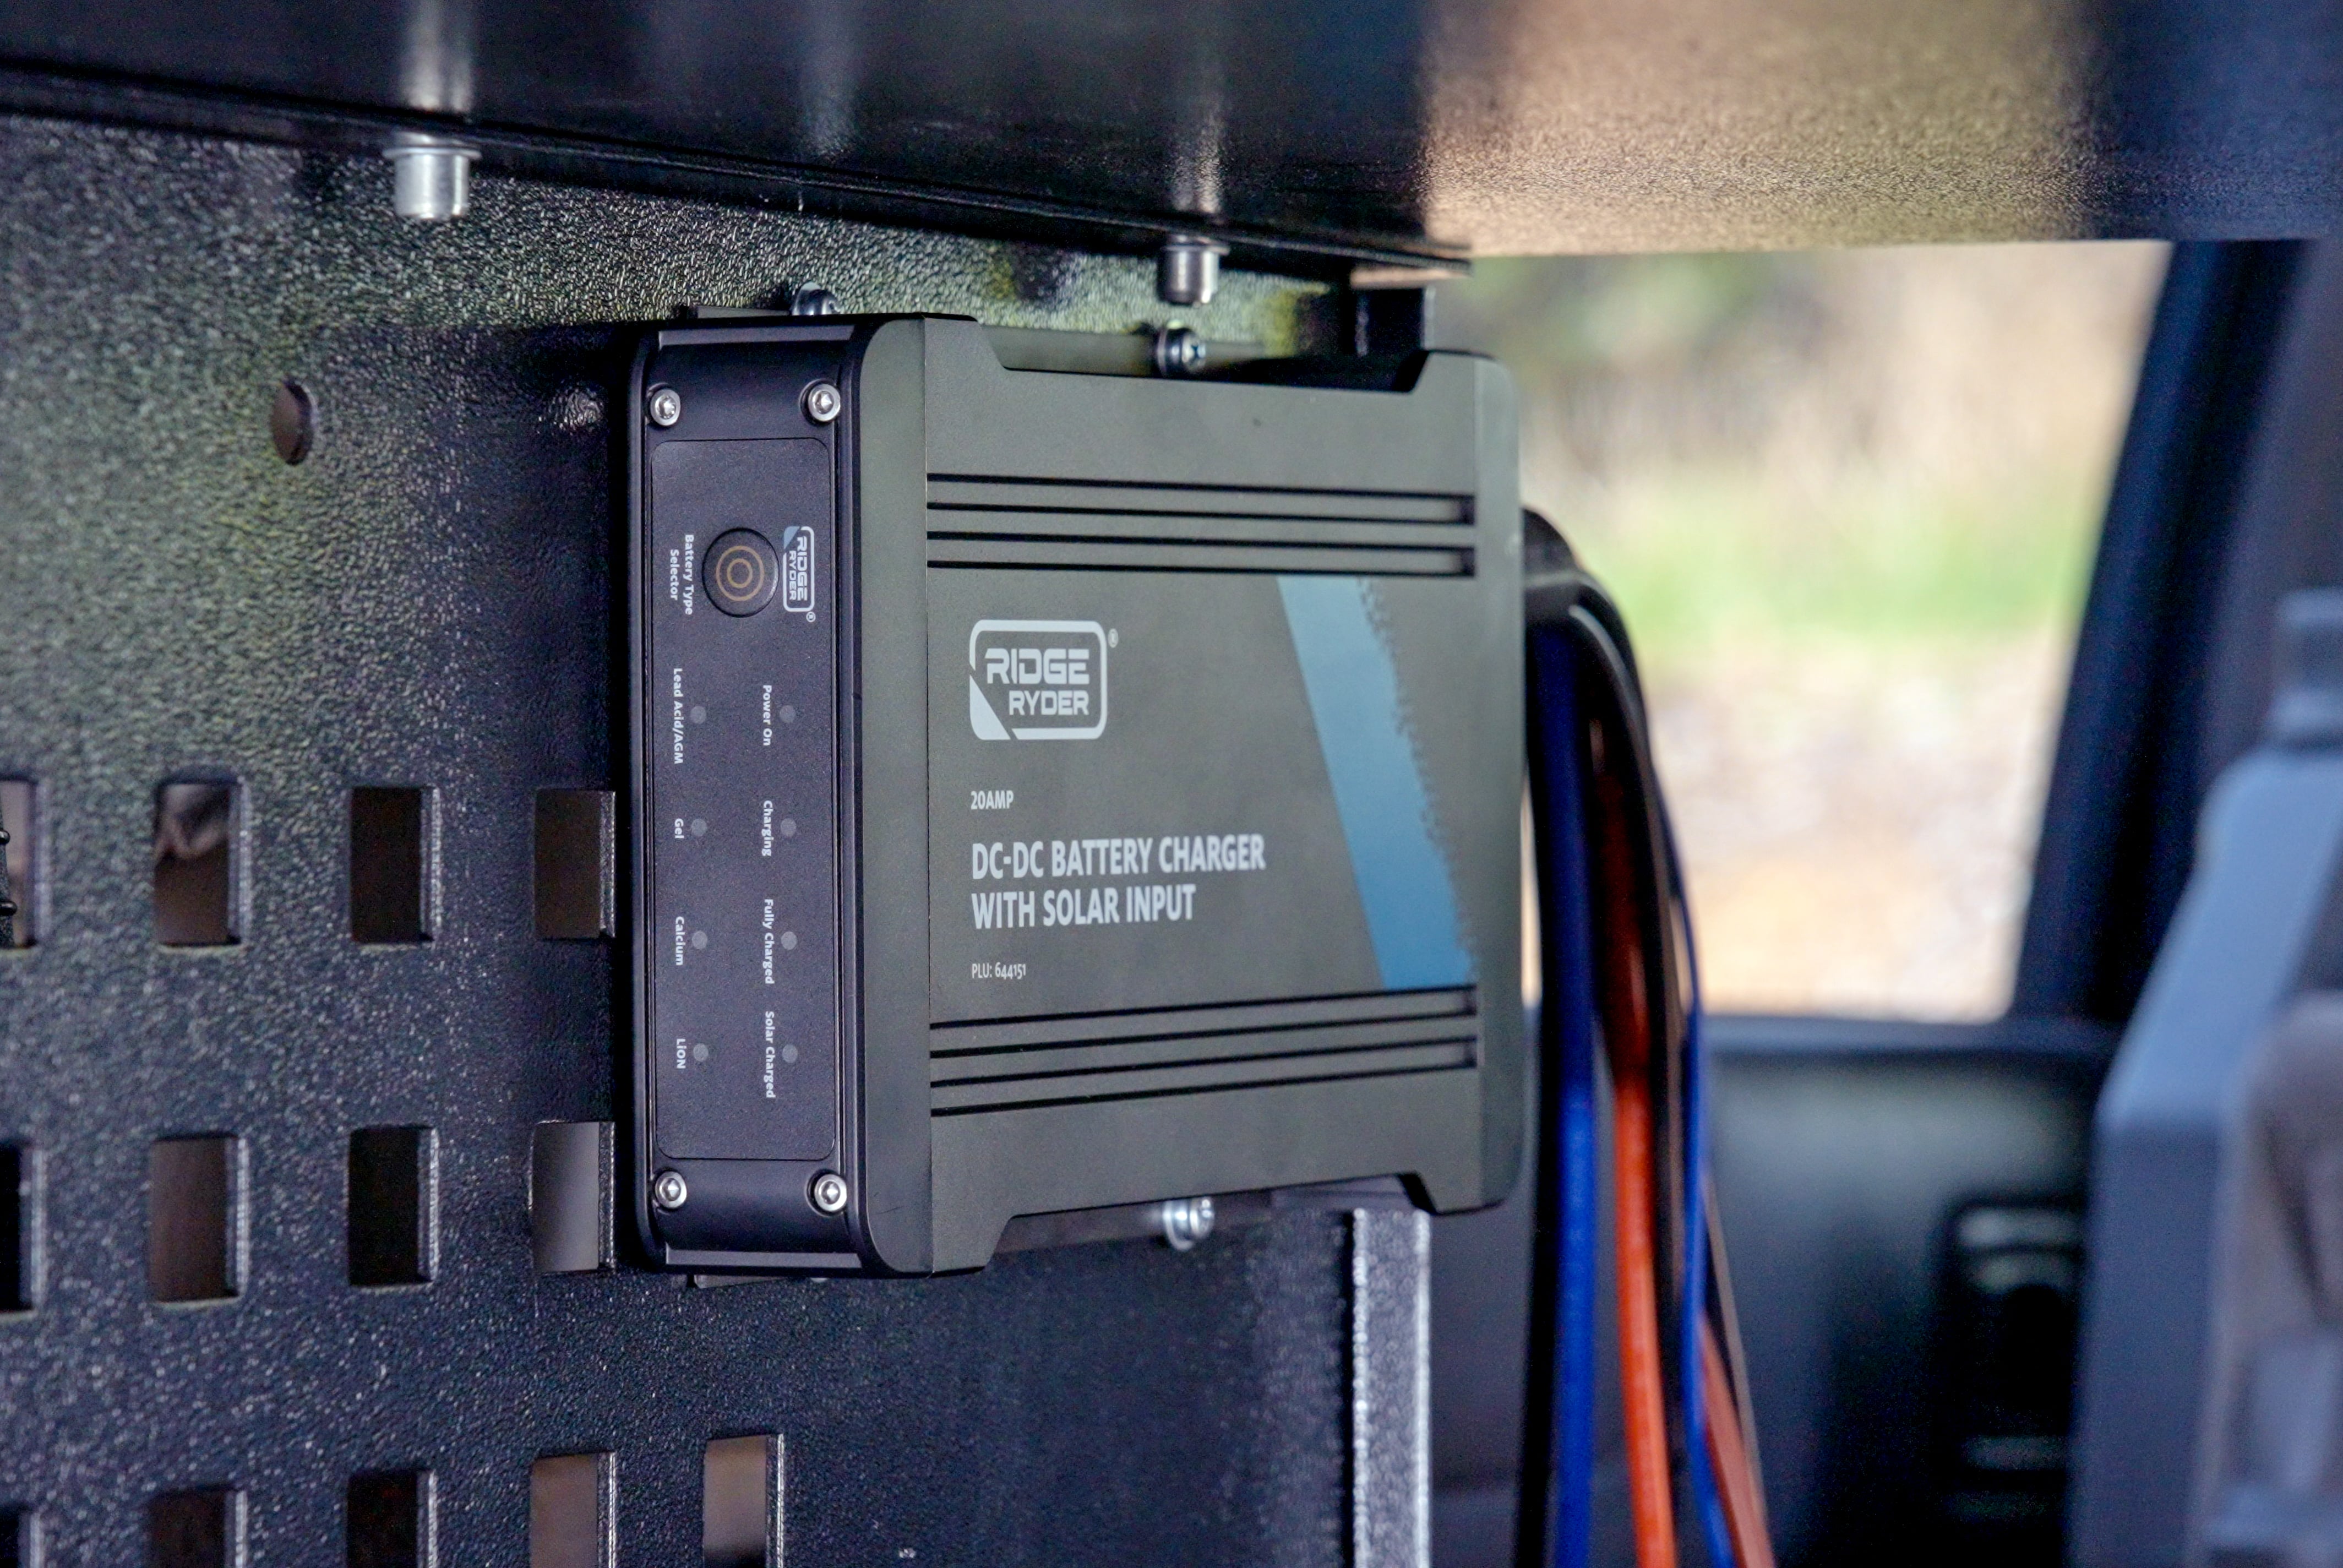
A lithium battery requires a very different charge to traditional batteries. So, the DC charger in your existing dual battery system must be lithium capable.
But if your current DC charger doesn’t support lithium, don’t despair! You can swap it out for an updated model without changing all the wiring.
3: A lithium battery
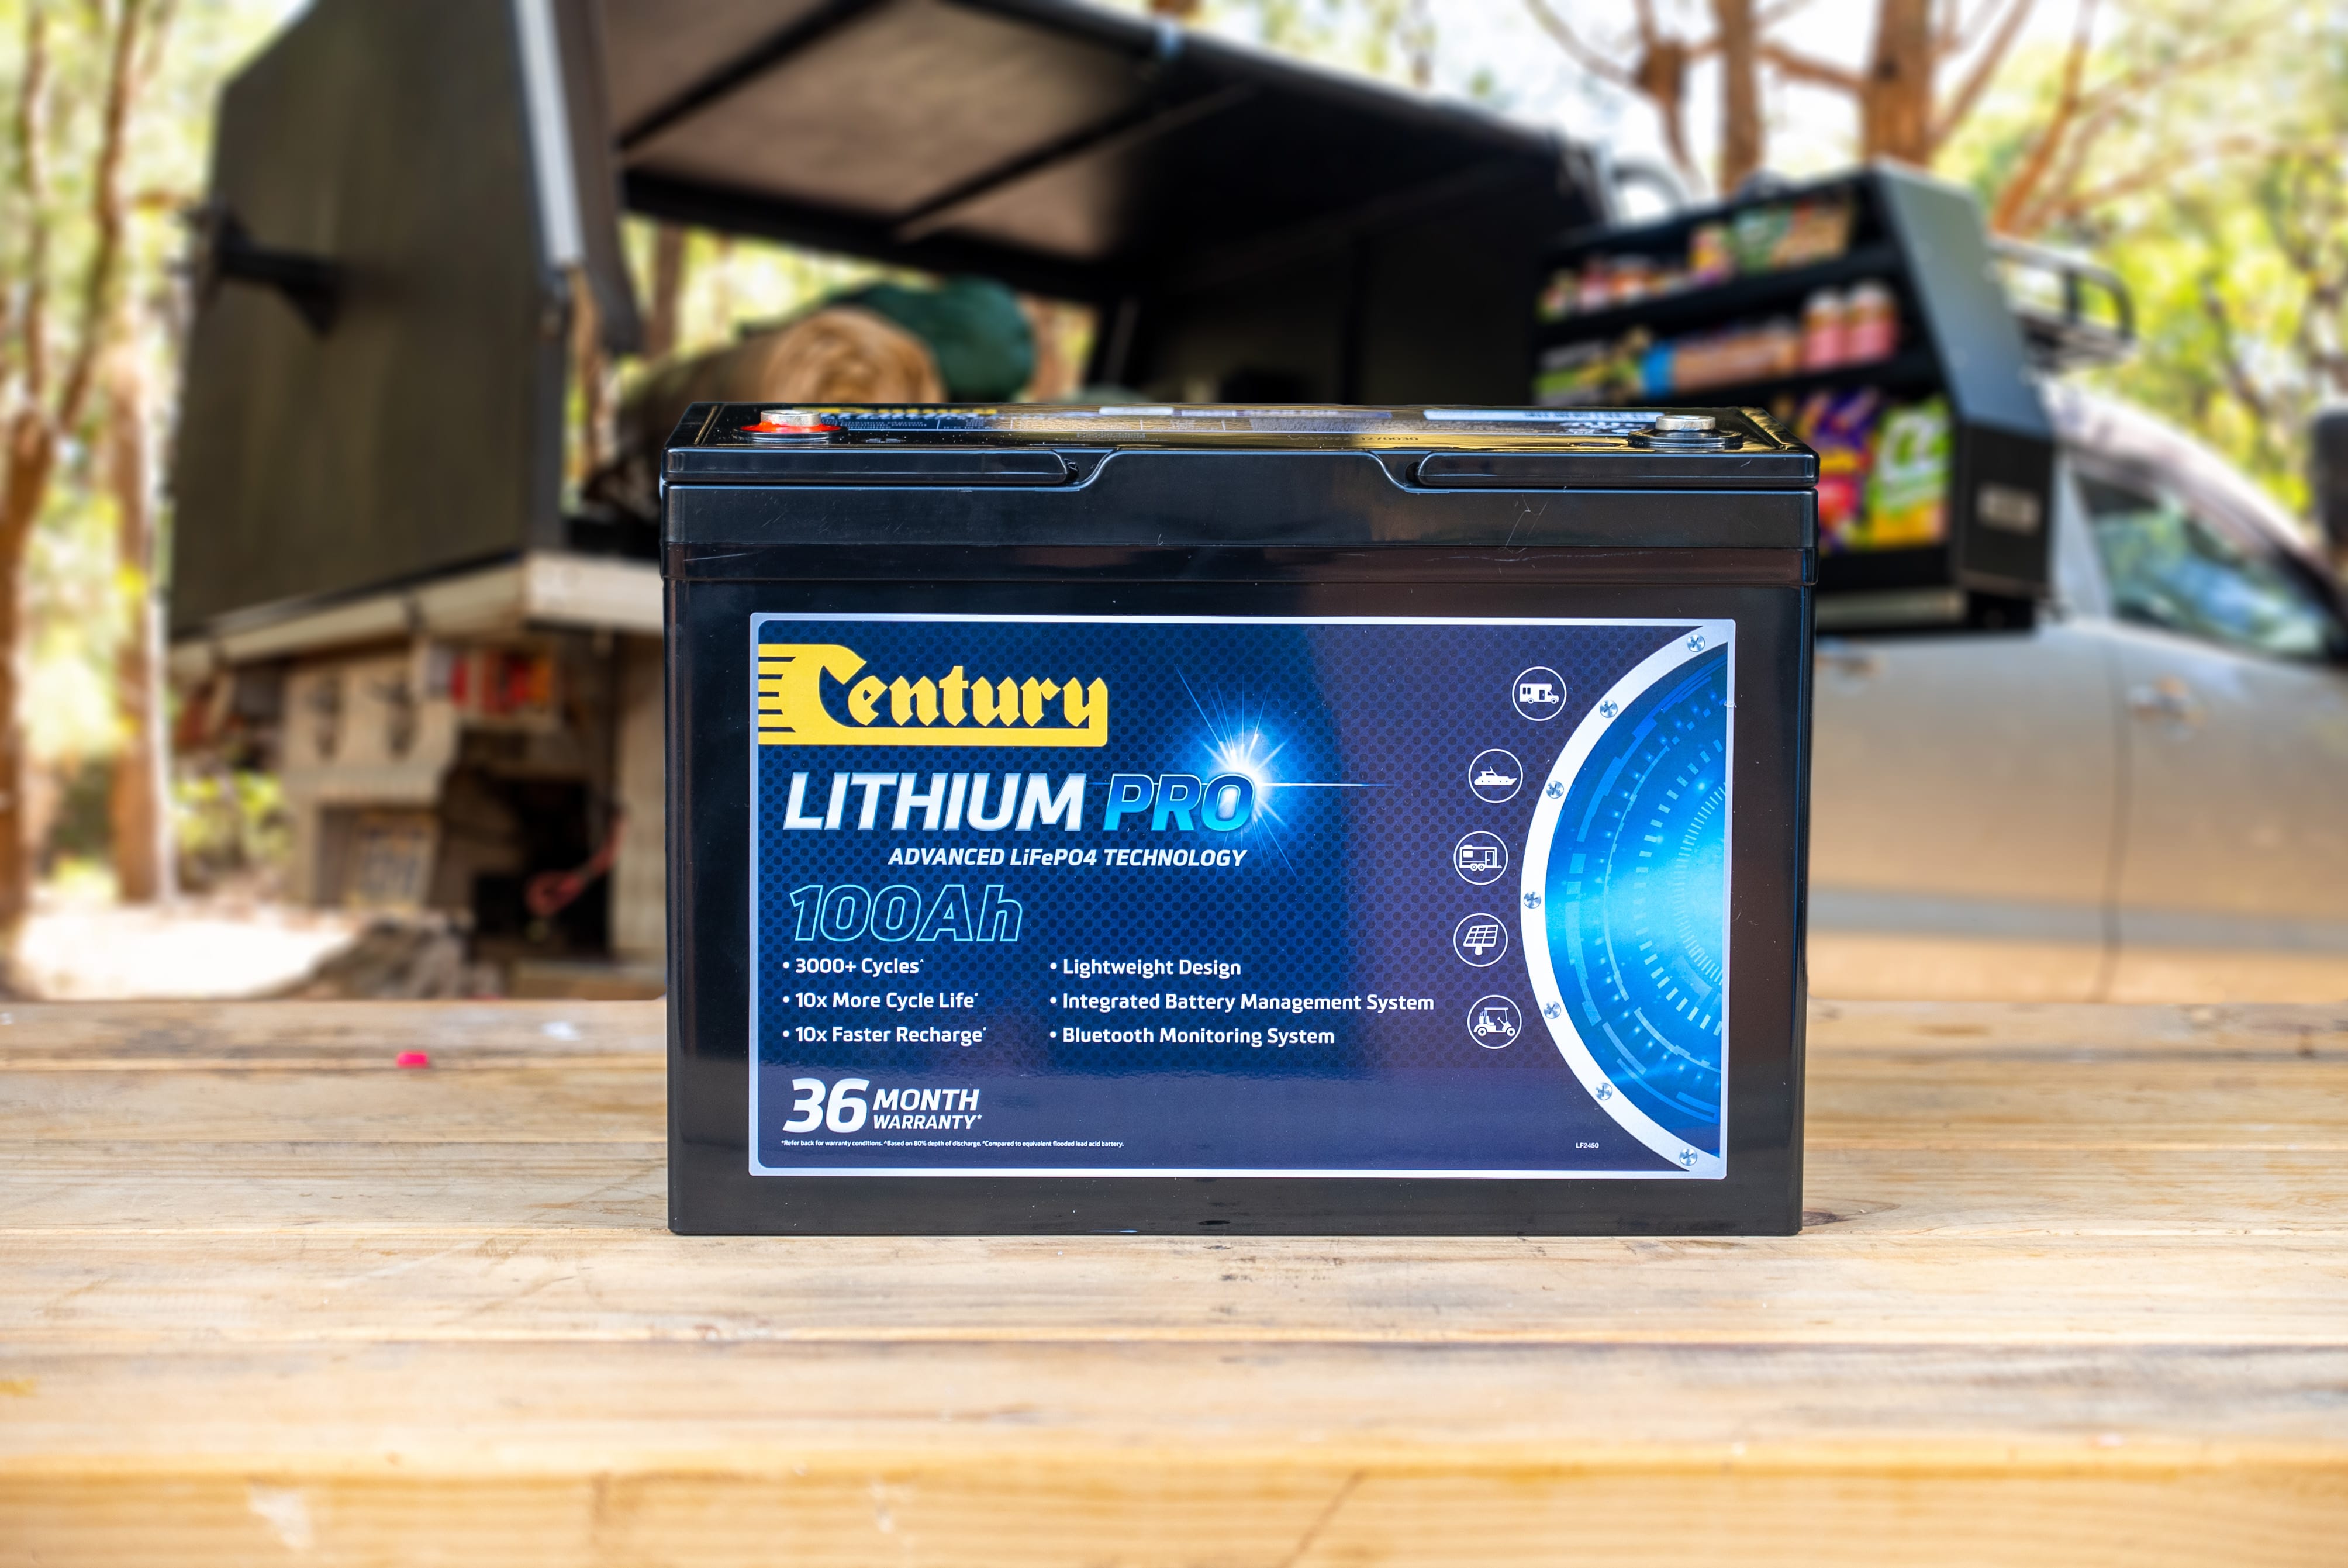
Pick a lithium battery to fit in your available space. The higher the amp hours you can fit, the more power you will have.
Steps
If you don’t have an existing dual battery system
If you’re starting from scratch, you’re best to work from our how to install a dual battery system article. Ensure you choose a lithium battery, and a lithium capable DC charger.
If you have a dual battery system with a lithium charger
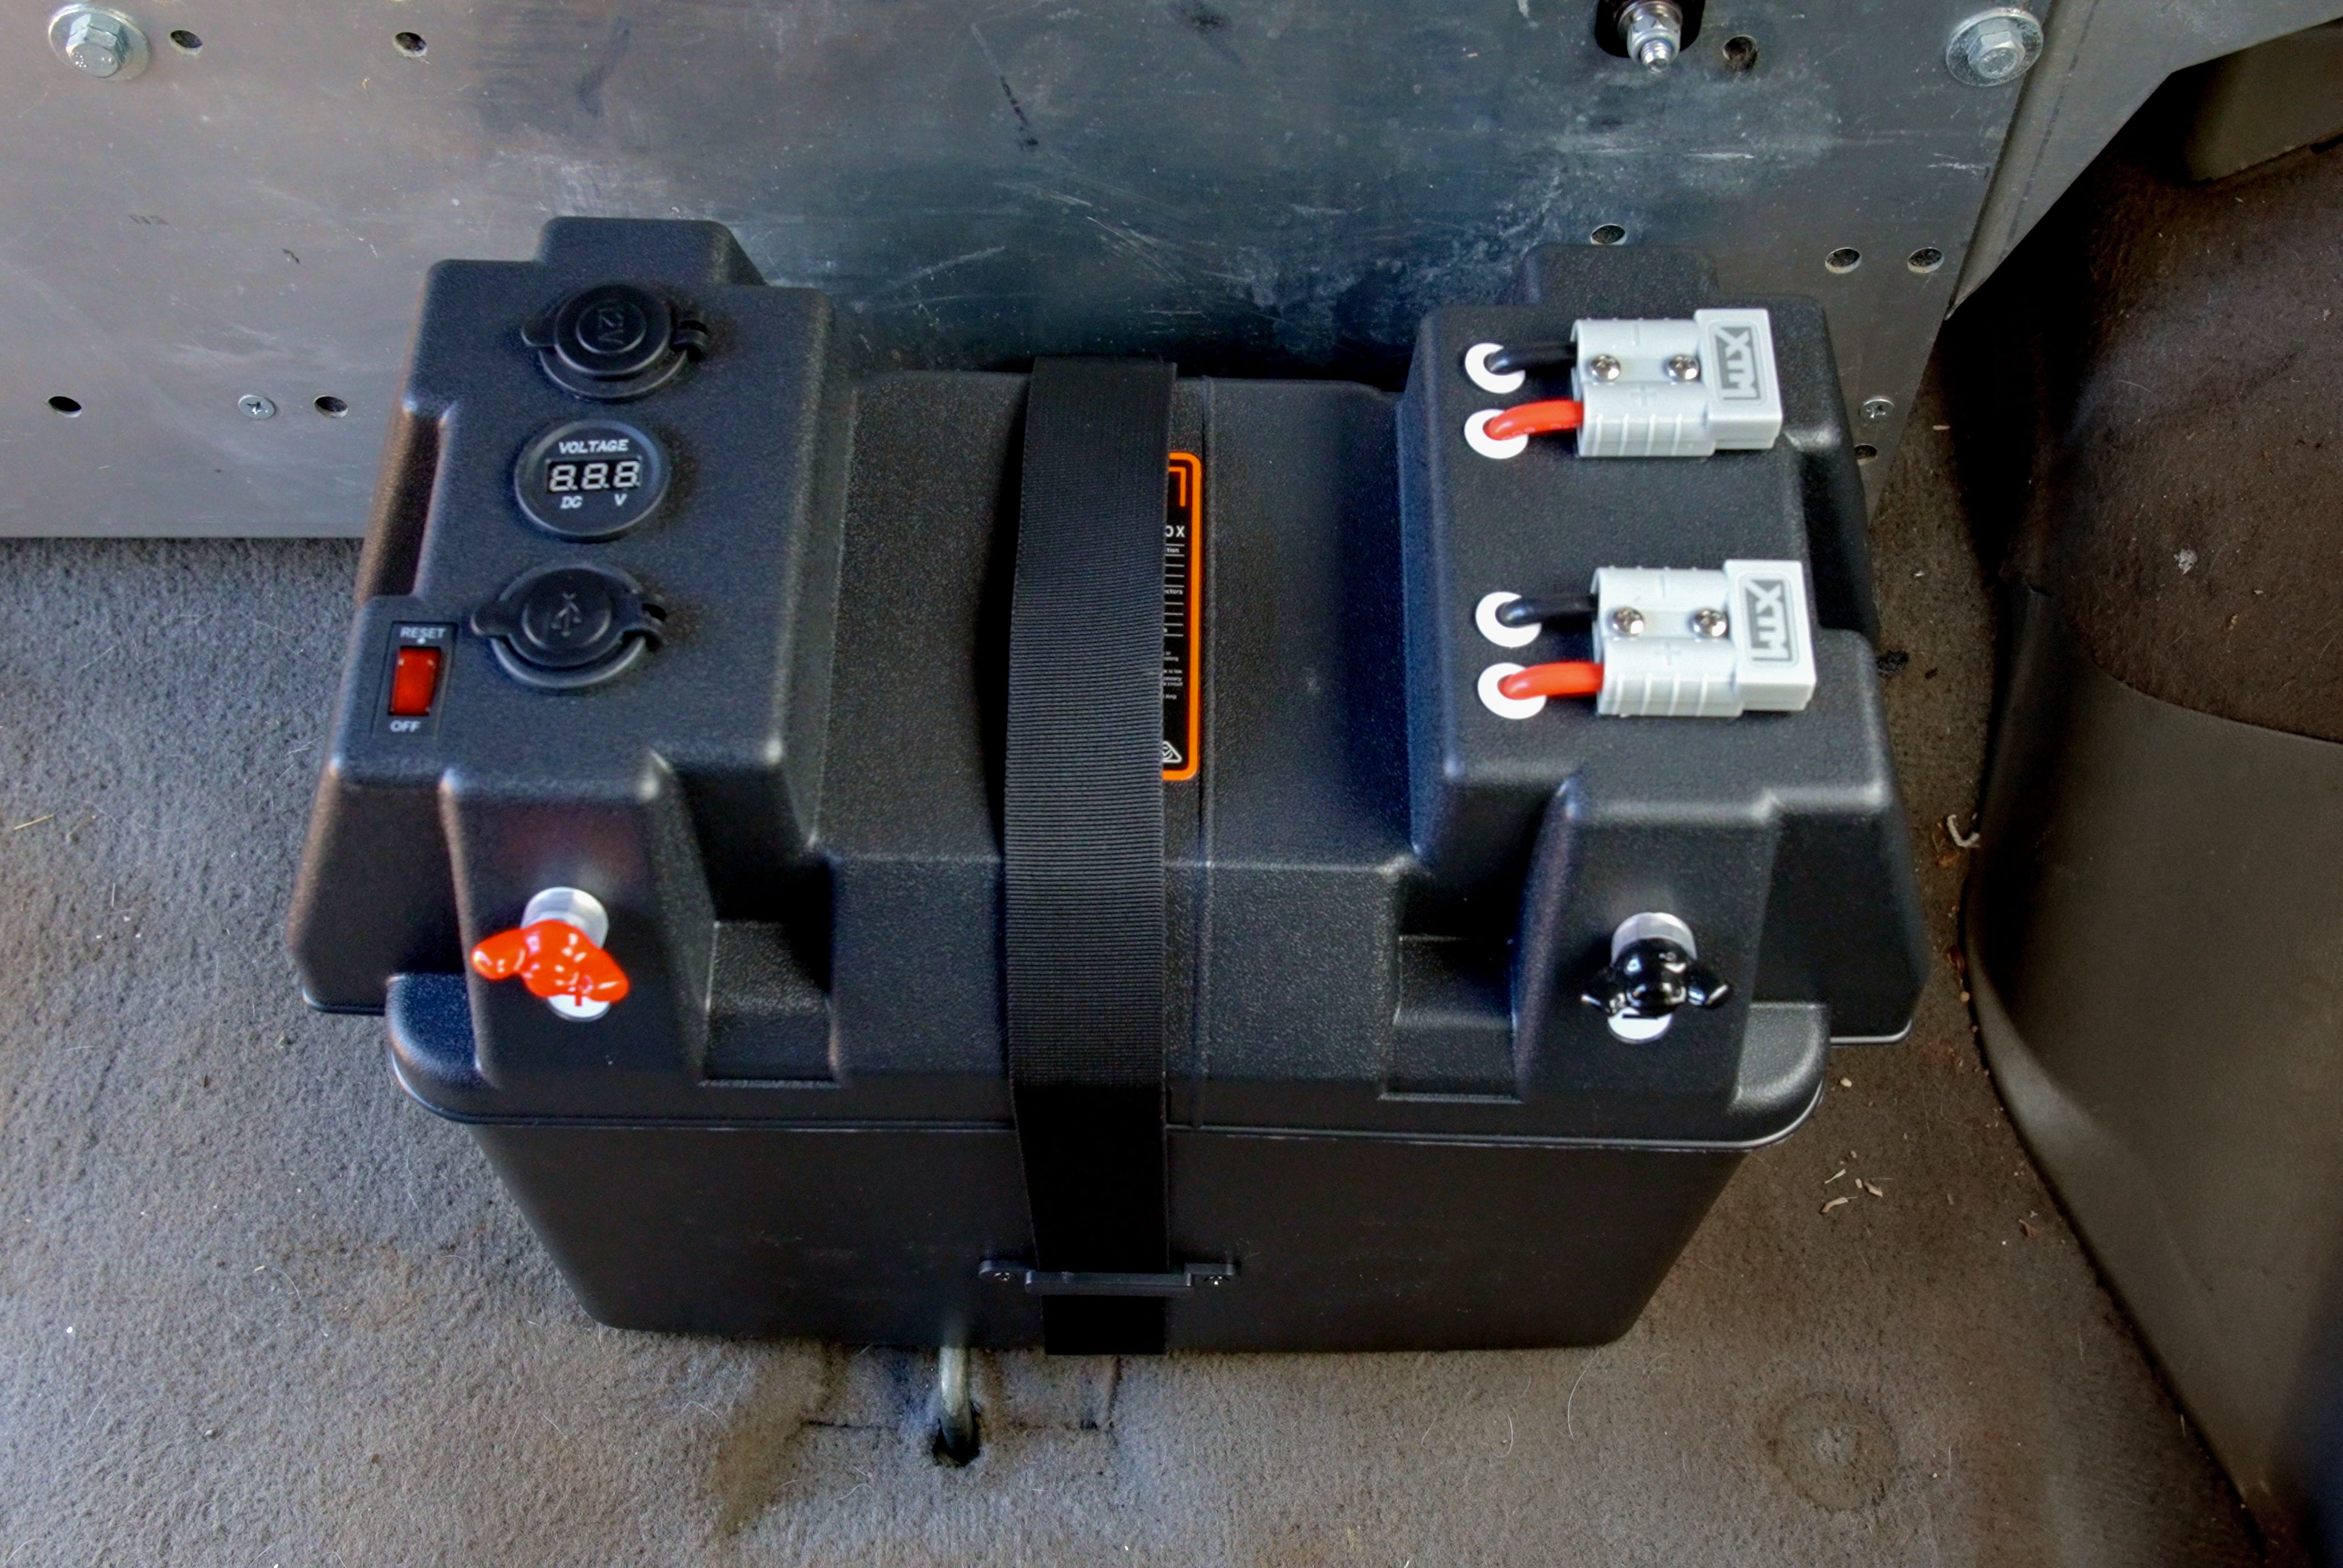
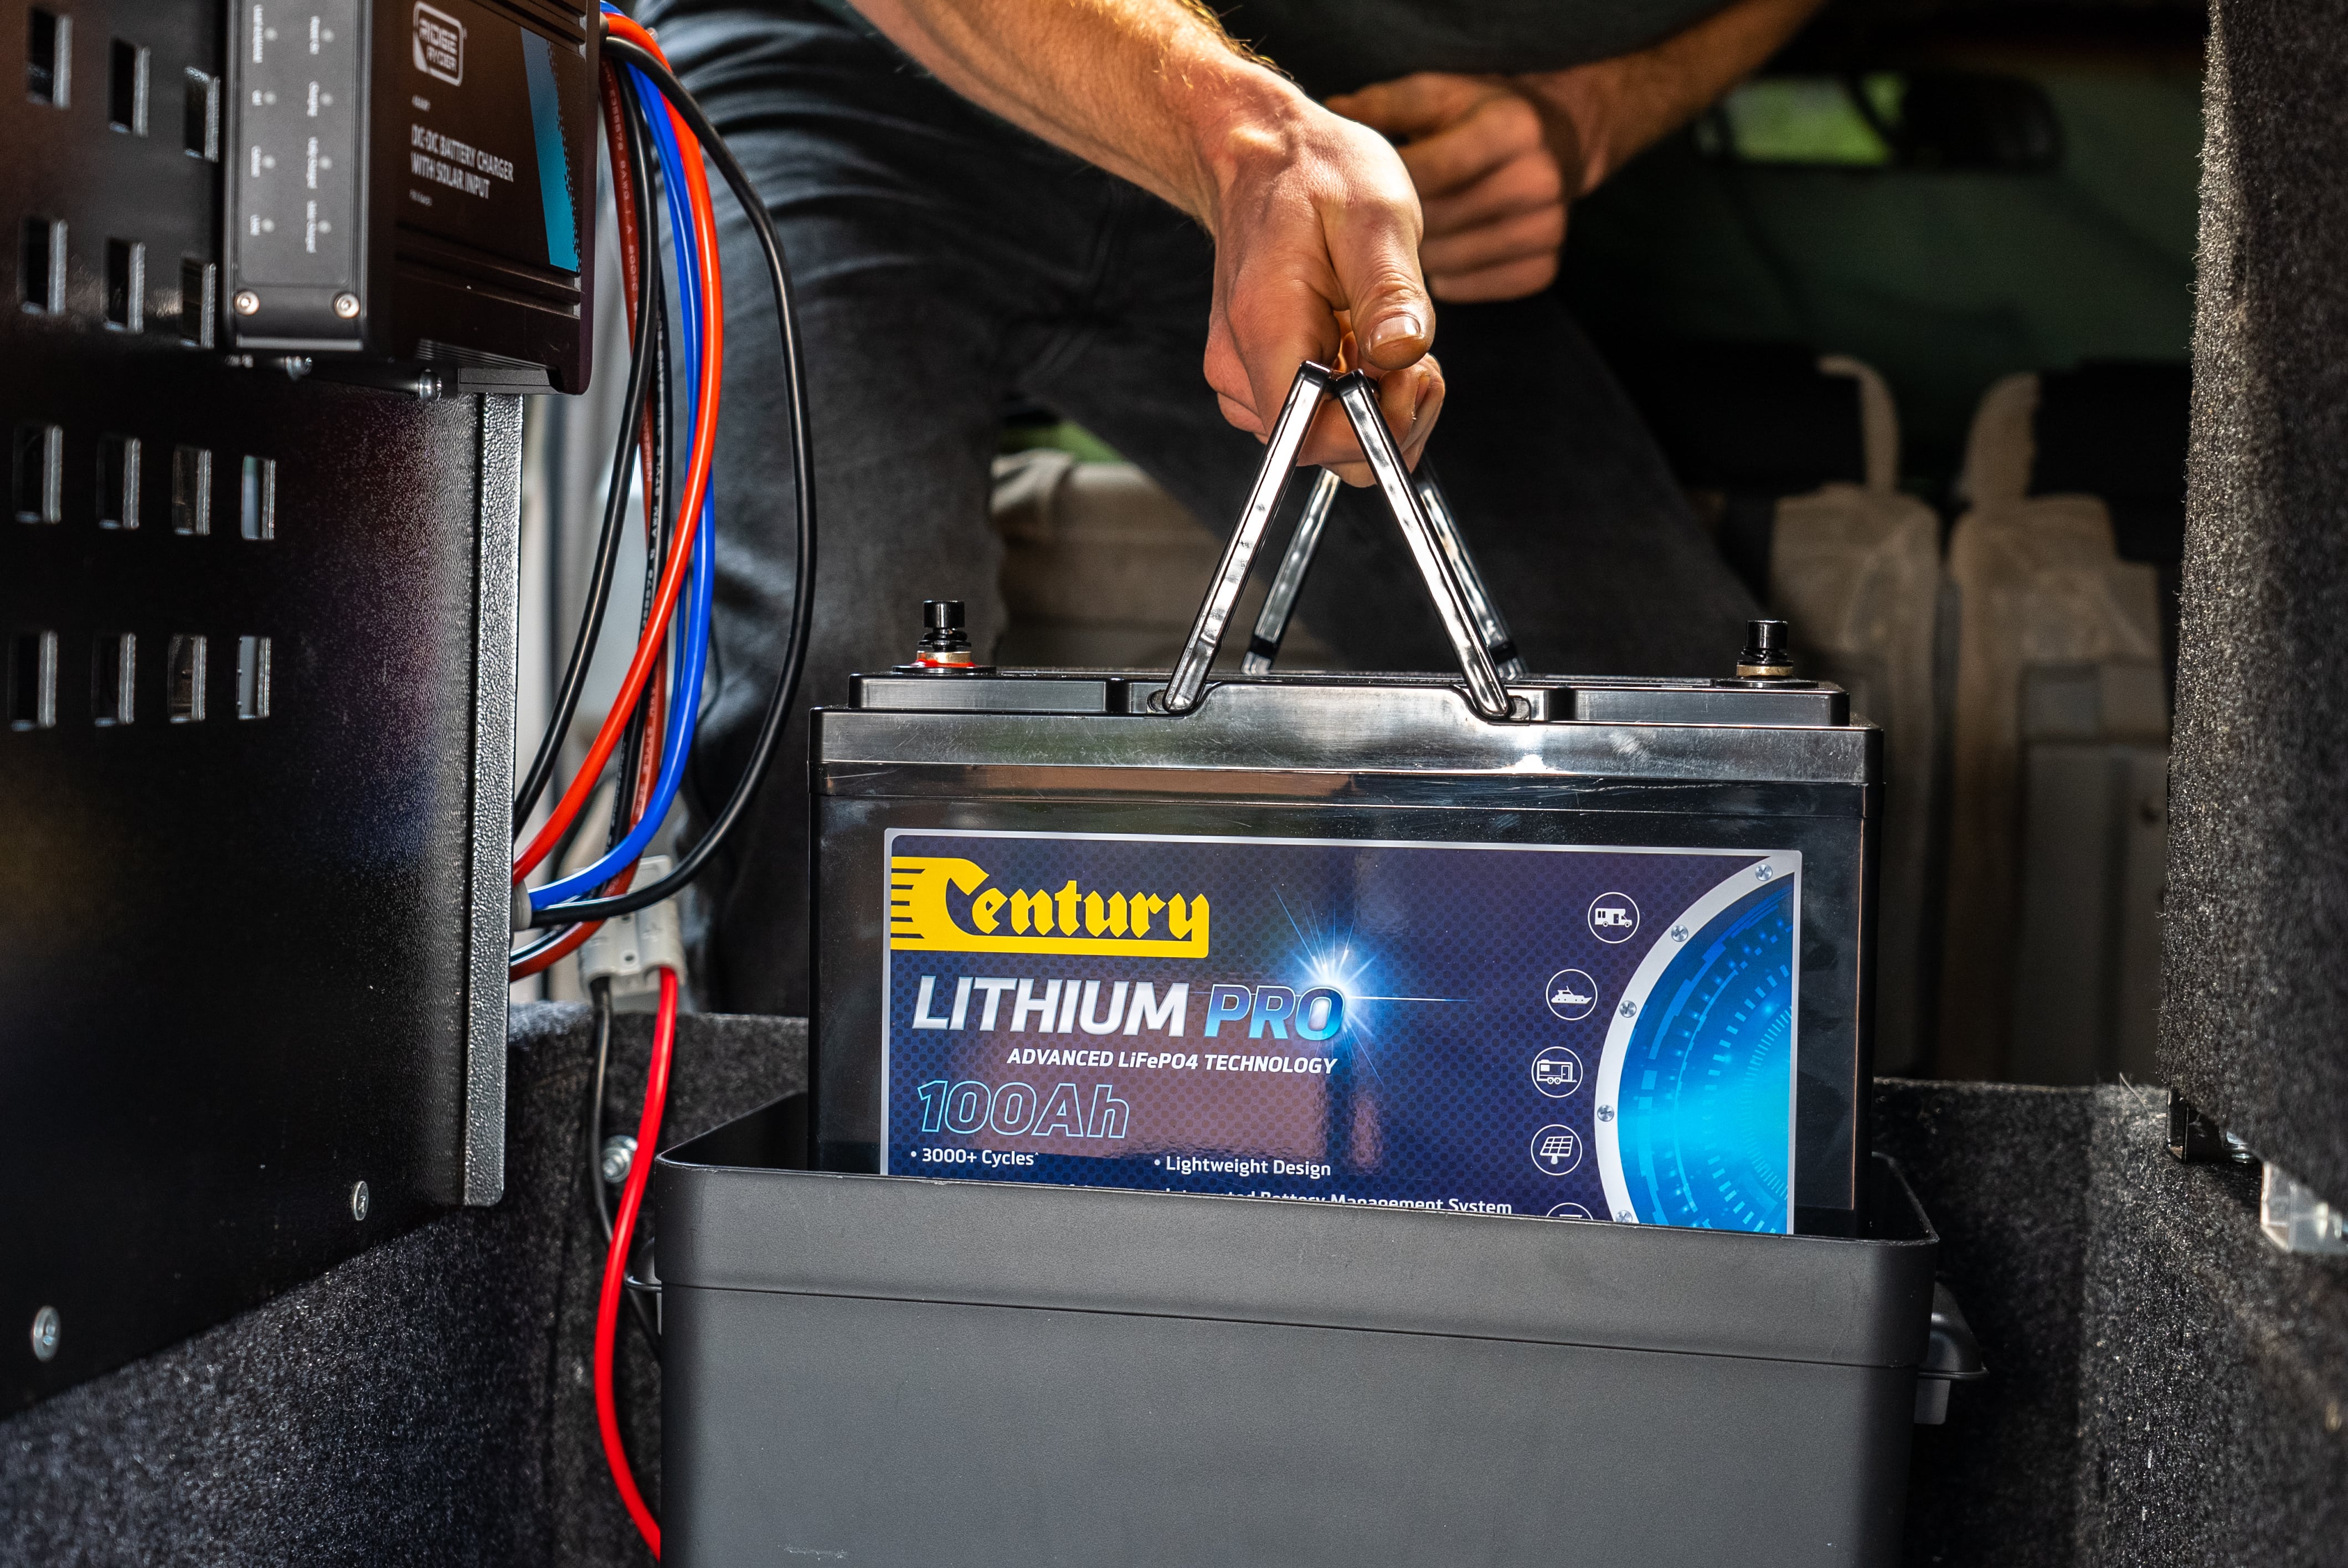
This is super simple. Unplug the battery box, remove the existing battery, pop the new lithium battery in its place, connect it all up.
Switch the DC charger to lithium mode and you’re done!
If your existing system requires an upgraded DC charger
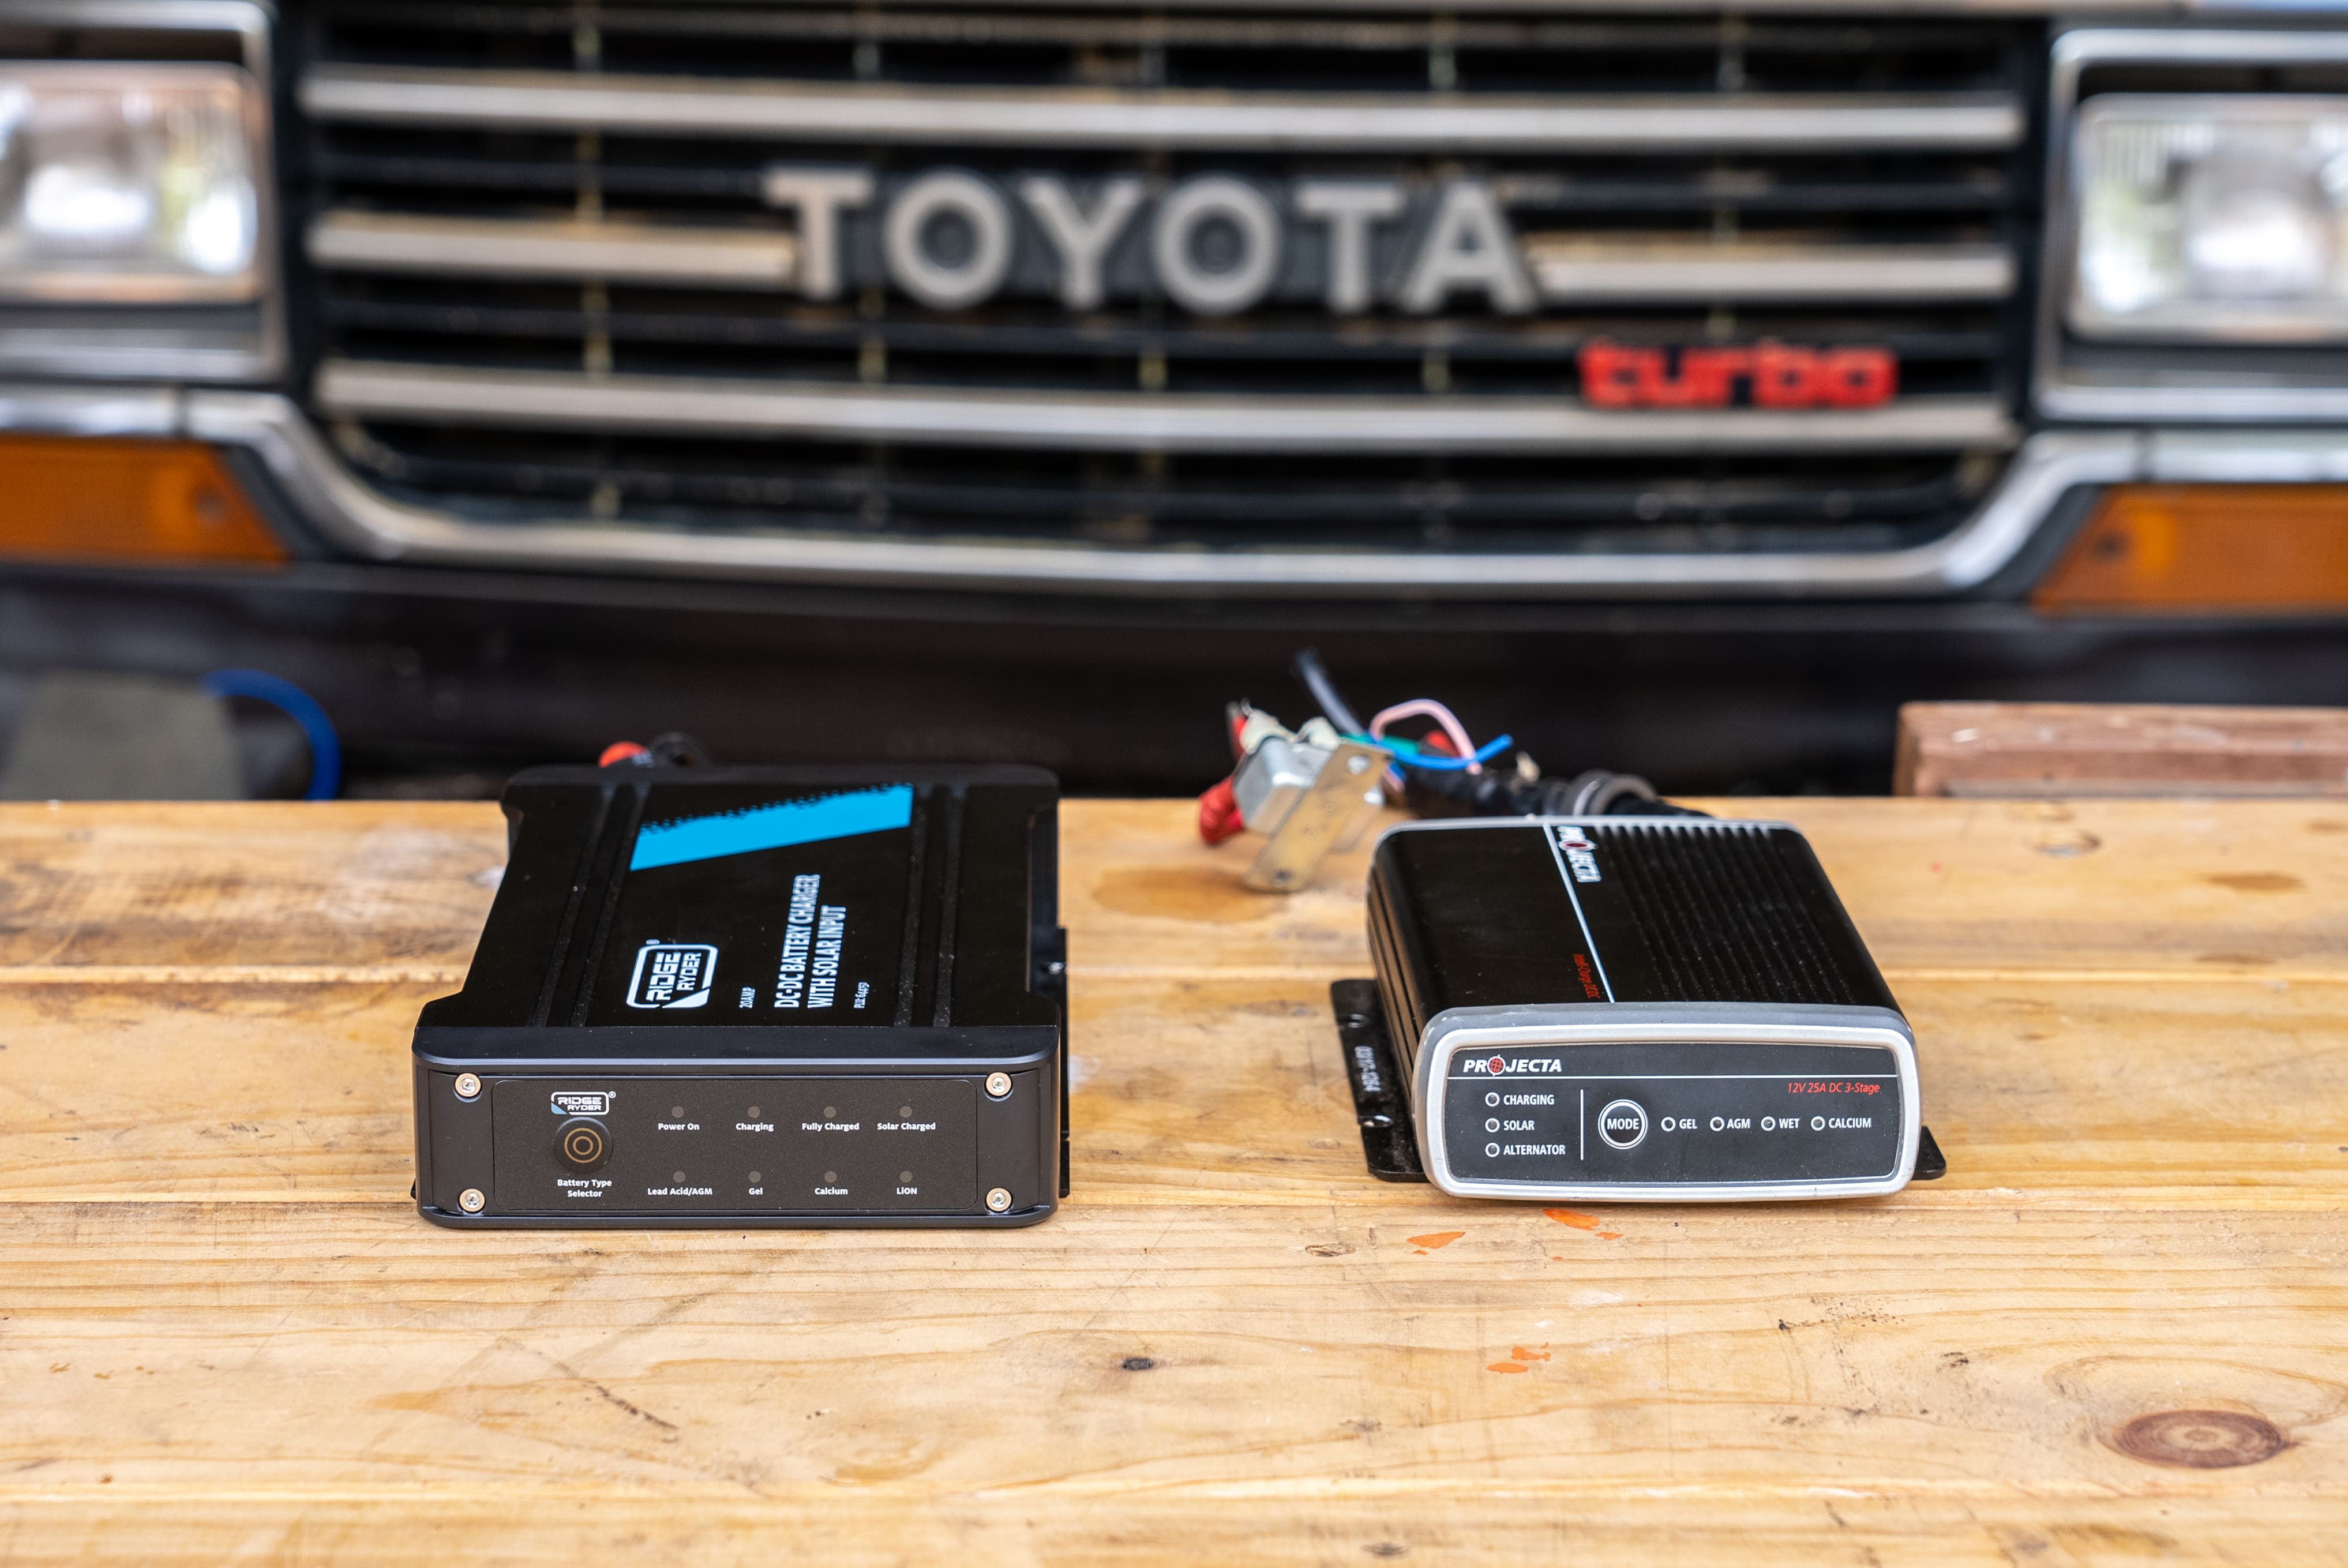
In this case you’ll need to swap the charger. Your new lithium charger must be of the same amperage or lower, so as not to overload the existing wiring. If the old one was thirty amps, the new one should be no more.
Of course you can purchase a bigger charger if you like, but it will mean removing existing cabling and running new thicker cable in its place. Best to refer back to our “how to install a dual battery system” article if you’d like to go this way.
How to install a lithium DC Charger
Disconnect the main battery. Remove the old DC charger and mount the new one in its place. Connect the existing power cable from the main battery to the DC input on your new charger, and connect the existing earth lead to your new charger as well.
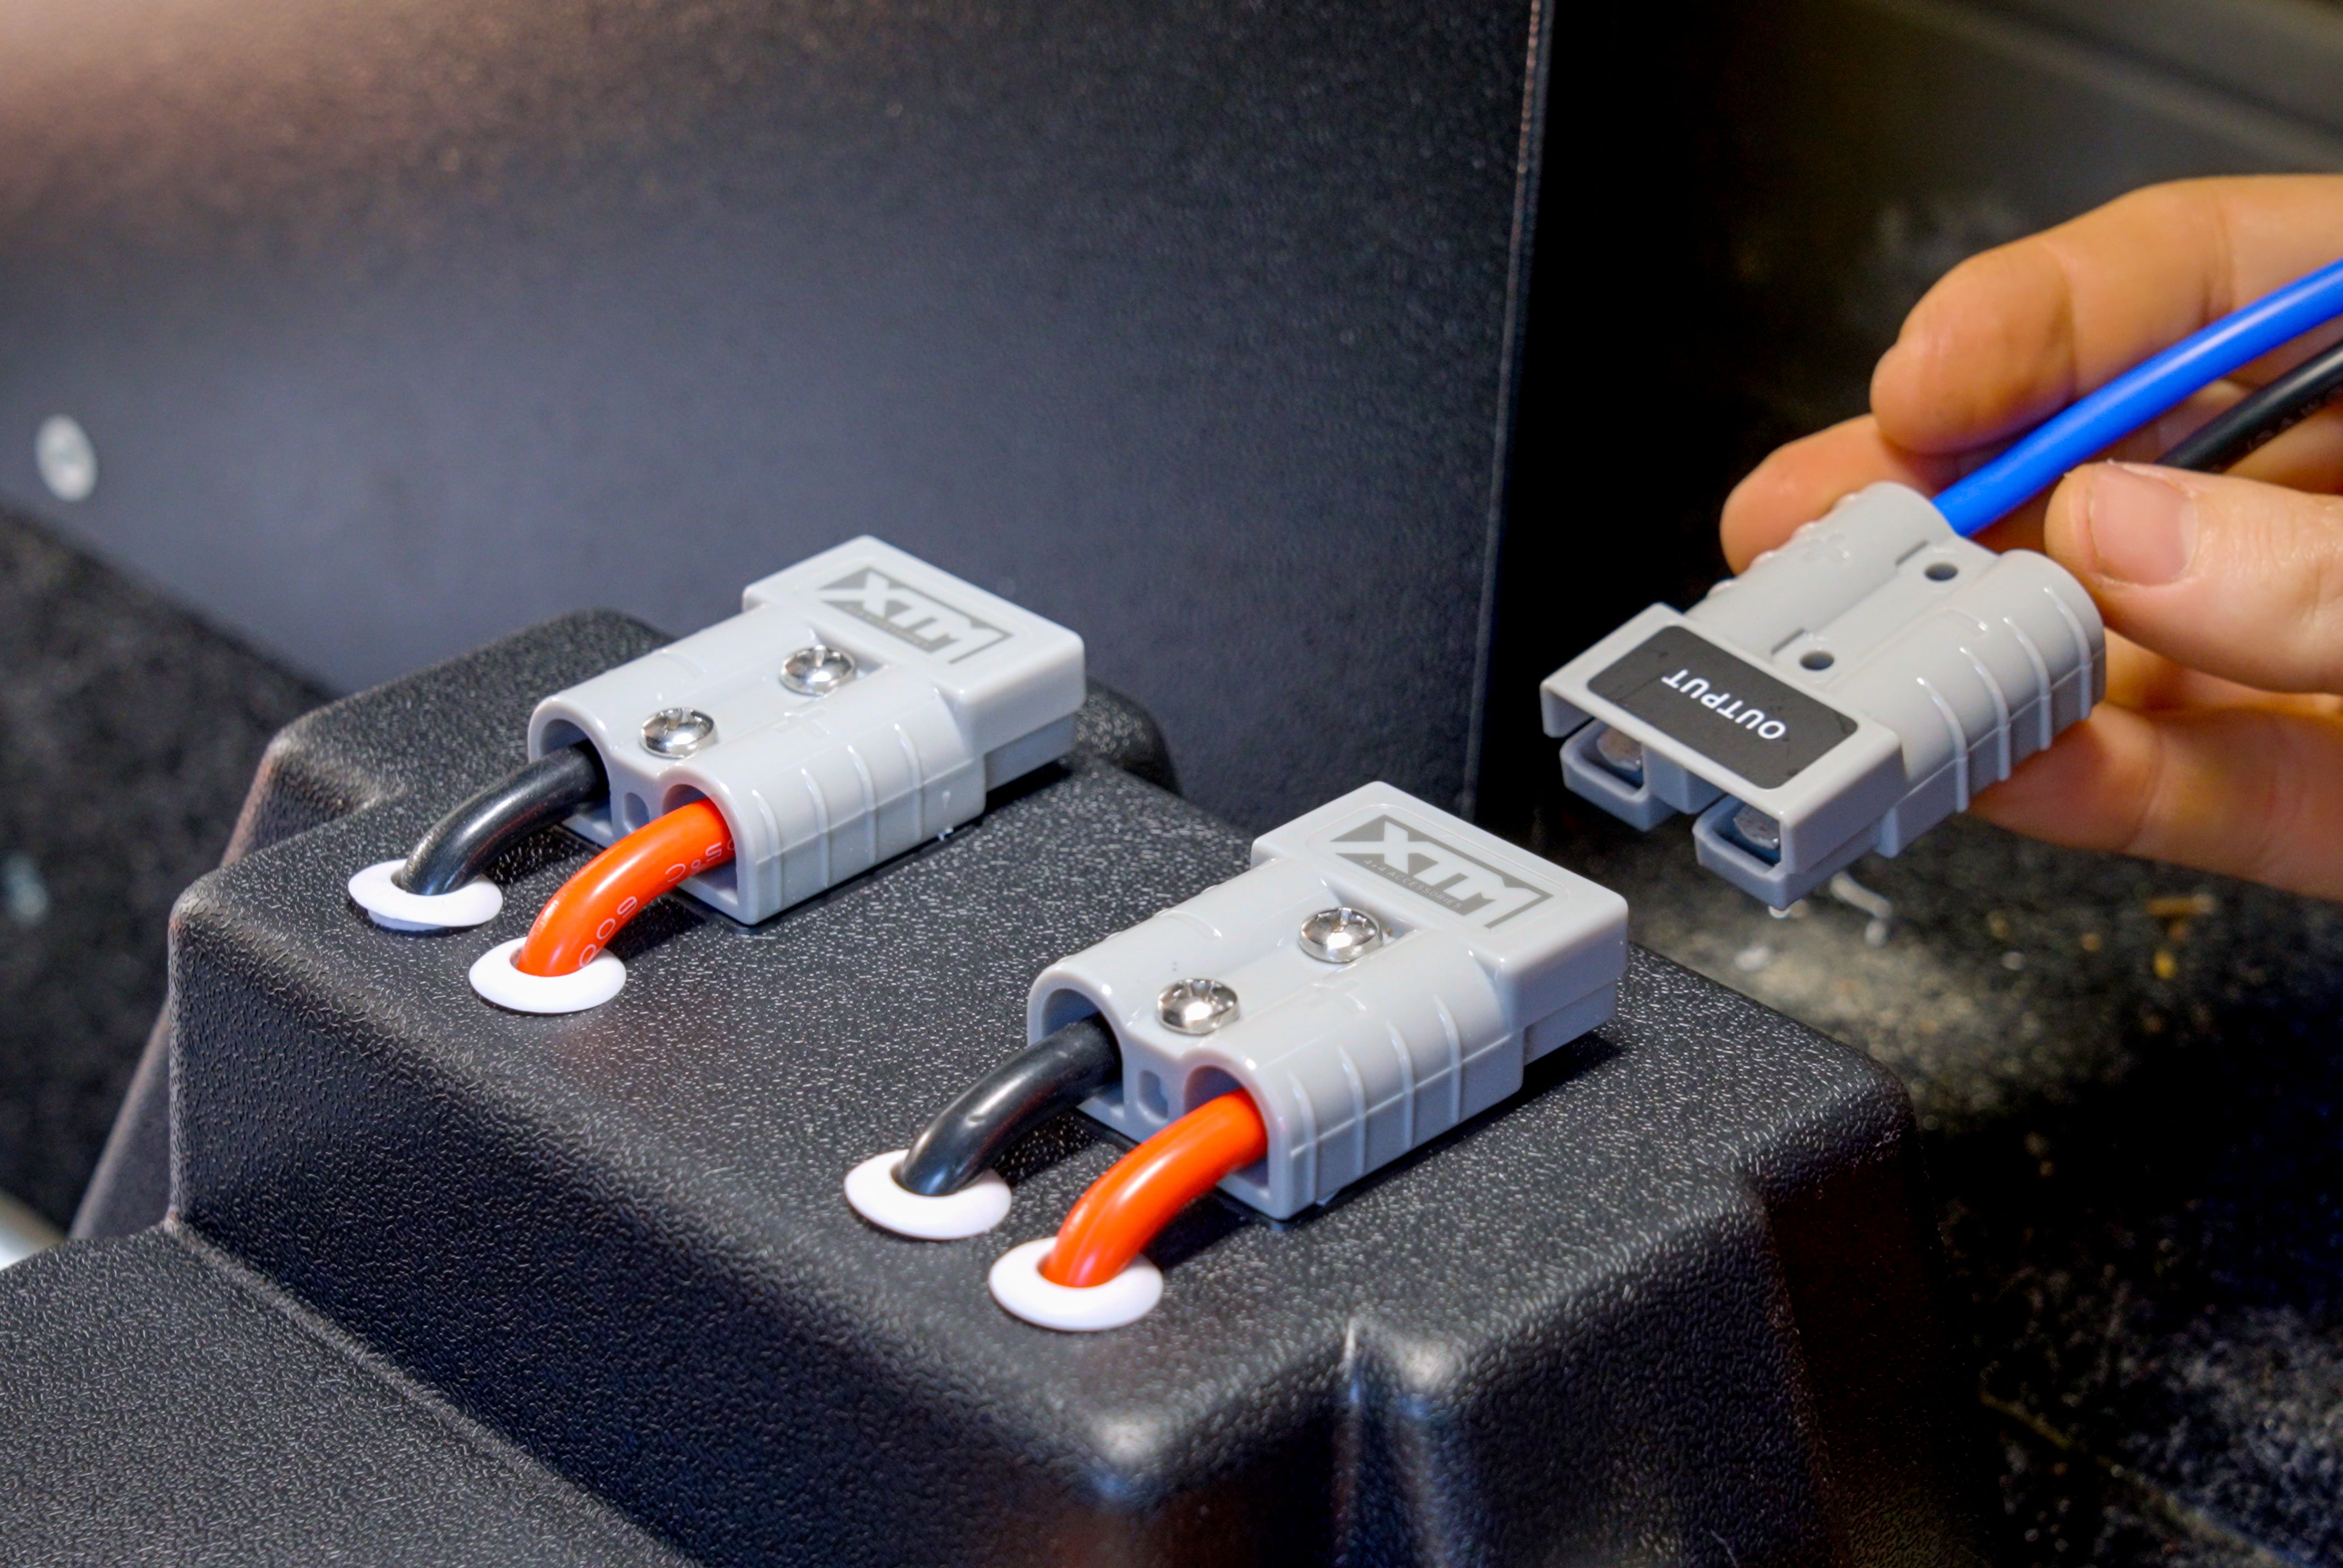
Then place the new lithium battery into the battery box and run the power lead from the battery box, to the output on your new DC charger.
Once you’ve reconnected the main battery, just ensure the new charger is set to Lithium charging and off you go!
*Important information* - Click here to read more about our DIY Advice Terms and Conditions.