How To Wire an LED Light Bar
Overview
Aftermarket driving lights like spotlights and LED light bars offer the ultimate driving light solution for every vehicle. From trucks and four-wheel drives right through to sports cars and family sedans. It is the responsibility of the owner of the vehicle to abide by the relevant laws and regulations.
Wiring them up doesn't have to be hard if you have the right tools and accessories. We recommend using a driving light harness which uses a simple plug-n-play design meaning all the hard work is already done and you don't need to spend hours wiring. The kit works by tapping into your cars headlight circuit and feeds the power from your high beam, right to your driving light. You will also have the option to turn the light off completely using the included master switch.

Where can I mount my LED light bar?
In New Zealand, extra driving lamps, fog lamps or work lamps must be fitted in a way that they do not:
- Block the driver's view of the road
- Stick out in a way that could injure a person close to the vehicle.
New Zealand Transport Agency - Light Bars Information
How many LED light bars can I legally have?
Additional light bars acting as high beam headlamps must be fitted as a pair only to the front of your vehicle, making a total of 2 original high beam headlamps and 2 additional light bars as high beam headlamps. These additional light bars must be connected to the main high beam switch. This means a single centre mounted light bar is not legal and cannot be considered a headlamp.
A non-standards compliant light bar, or a standards compliant light bar that is fitted as a single lamp might be classified as a work lamp. Work lamps can be fitted in a wide range of combinations and with no legal limitations on number. However, they cannot be wired into the headlights and can be switched on independently of all other lighting equipment.
Work lamps are for Offroad use only and are illegal to use during onroad use. There are limits on the number of lights that can function at any given time - refer to the NZTA for more info.

Can you drive with LED light bars on?
You can drive with your LED light bars on when connected to the high beam only - refer to the NZTA to ensure that you aren't breaking the law. Be smart and don't drive around blinding other drivers and use your low beams as per the law when approaching other vehicles.
Can you use a light bar as headlights?
Currently, you can not use light bars in place of OEM headlights in New Zealand. You may use LED light bars as additional high beam headlights within New Zealand. Still, these must be within specific legal requirements - refer to the NZTA website for information around what sort of LED headlight setup is suitable for road use on New Zealand roads.
Items
Steps
Mounting the Light Bar
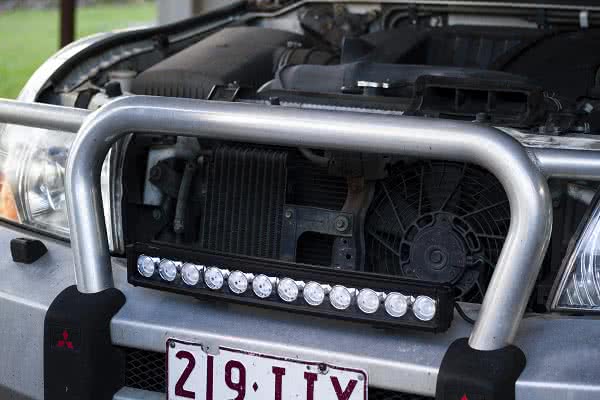
Start by mounting your light bar or spot lights your vehicles bullbar, driving light mount, roof cage/roof rack or other suitable sturdy location, keeping in mind local laws surrounding driving light placement.
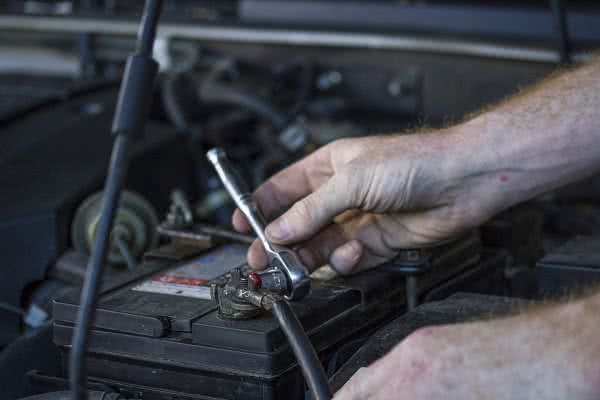
Disconnect Negative Terminal
Connect a memory minder to your 12v accessories to avoid losing your radio codes/stations. Disconnect the negative terminal from your vehicle's battery before commencing any further work
Mounting the Relay & Fuse
Find a suitable location to mount the relay and fuse, preferably on the inner guard using an existing bolt, or a self-tapping screw.
Ensure that the RED (positive) wire for the fuse will easily reach the battery, and connect the ring terminal to the positive terminal.
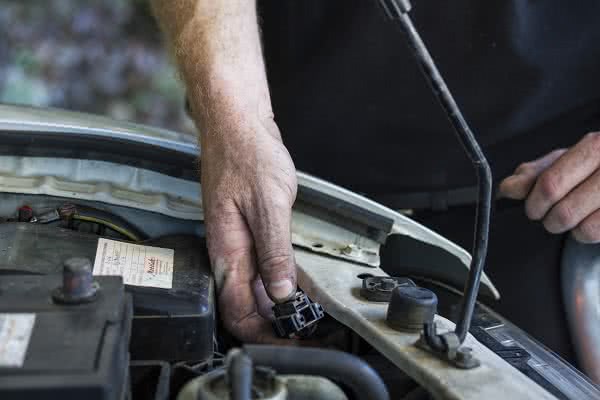
Finding your Vehicle's Headlamp Wiring
The light bar needs to be triggered by activation of your high beam.
Locate the back of your high beam headlight globe on the side closest to the relay, and remove the plug from the globe.

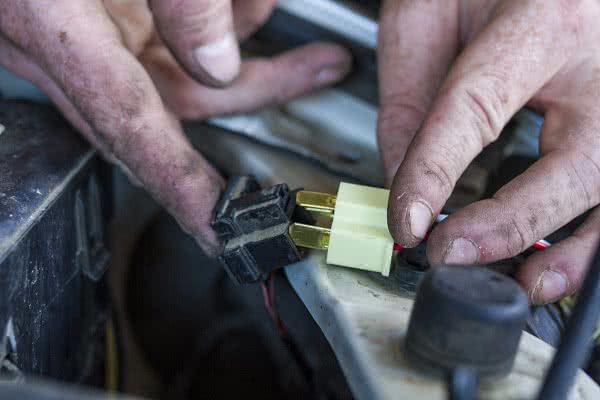
Attaching the Headlamp Adaptor
Choose the headlamp adaptor supplied in the kit which suits your plug, and connect this to the factory plug.
Another end connects to your headlight globe, and the third end plugs into your new harness.These plugs will only fit one way.
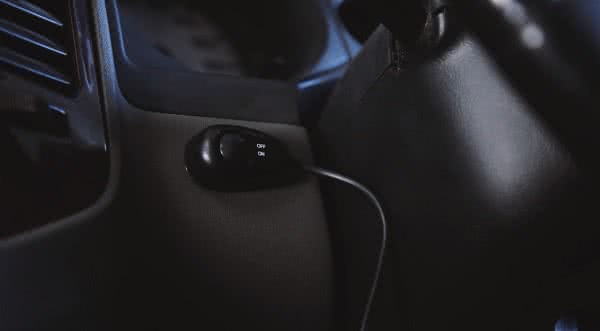
Mounting the Switch
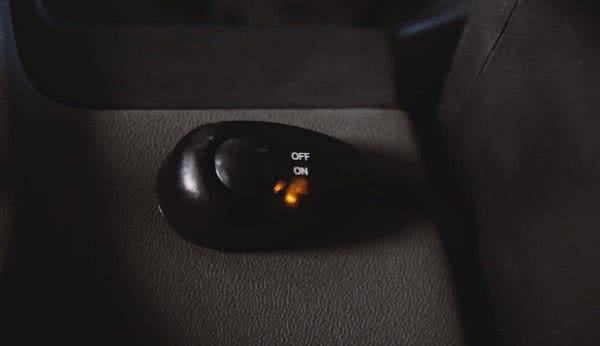
Now mount the switch in the cab locating it convenient to the driver.
Running the Wires Through the Firewall
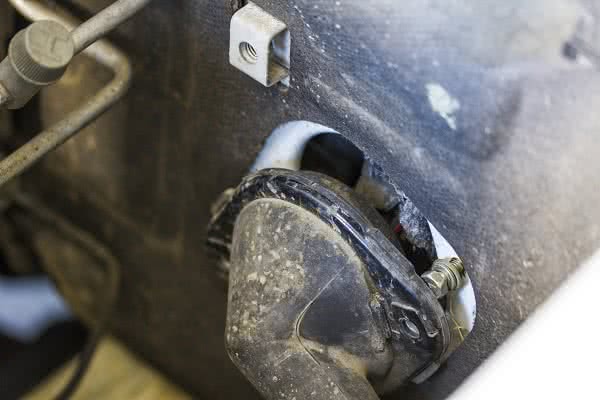
Run the plug through an accessible grommet in the firewall through to the engine bay – by either making an incision in the grommet or poking through with a sharp object.
Taking care not to damage any wiring when making the incision. Perhaps making the incision underneath if possible, for aesthetics and avoiding water intrusion into the cab. Even better, finding a grommet that is not used and making a hole in that to pass the wires through.
Make sure there is a drip loop in the cable to avoid water ingress into the cabin and most importantly sealing the incision with a sealant. Taping the plug to a long piece of fencing wire will help it through any tight places.
Connecting the Two Harnesses
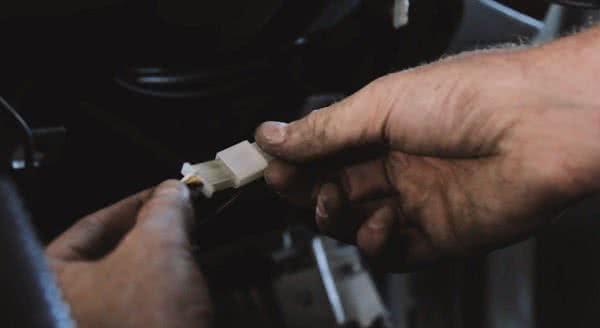
Connect this plug to the one which comes off your relay.
Connecting the Light Bar / Driving Lights
The final piece in the installation is the plugs for your light bar.
The single plug must be connected to the relay, and the ring terminal on this end needs to be connected to an earth. Either directly to the negative terminal of the battery, or to a bolt with bare metal contact to the body.
Taping Additional Wiring Away
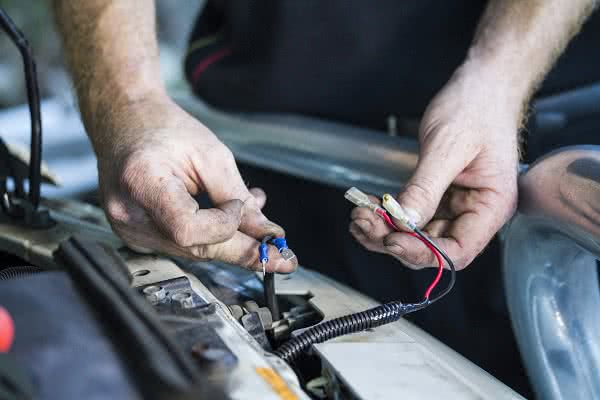
Now with the plugs that connect to the lights, if you are using a light bar, only one of the plugs needs to be connected.
The second plug can be taped up out of the way, or you could use this wire for an additional light bar. If you are wiring up spot lights, connect a plug to each light.
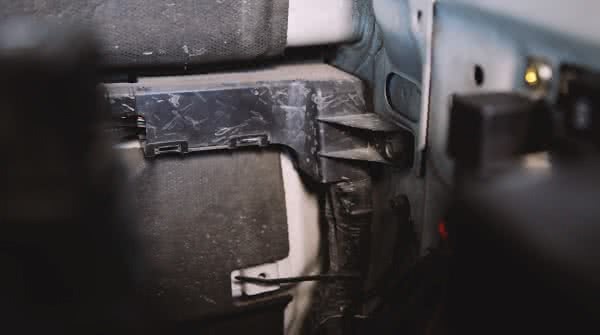
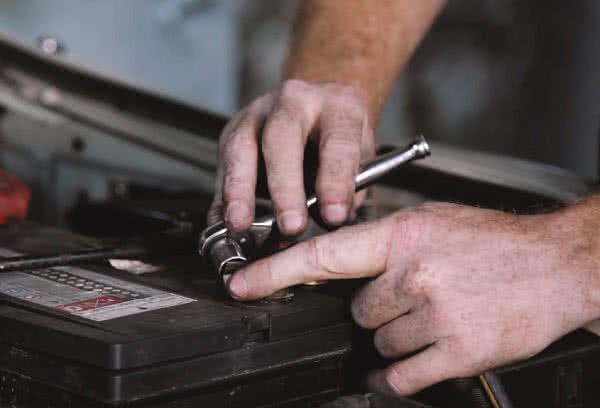
Reconnecting the Negative Terminal
Now you’re on to your last step, reconnect the negative terminal to your battery, and you should be good to go!
Put the switch for your new lights in the “on” position and turn on your headlights.
Testing
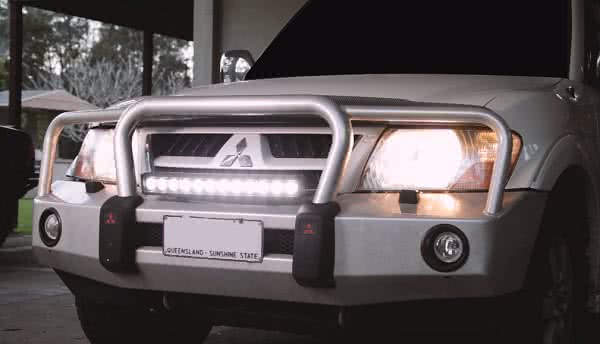
The light bar should not illuminate until you flick on the high beam.
With the high beam and the light bar on, put the switch in the “off” position.
Finished!
If your light bar switches off and your high beams remain on, you have successfully wired in your own LED light bar.
*Important information* - Click here to read more about our How-To terms and conditions.