How To Solder Wiresand How to Join Wires Correctly
Overview
When it comes to wiring automotive accessories, there are plenty of simple methods for wire joining. But will they all last? And are they all safe? If you’d rather not answer that the hard way, keep reading to learn how to solder and how to join wires using crimping to create safe joins that last a lifetime.
How to safely work on car electronics
The safest way to work on your vehicles electrical system is to always disconnect the battery first. This will save you and the vehicle from suffering any damage.
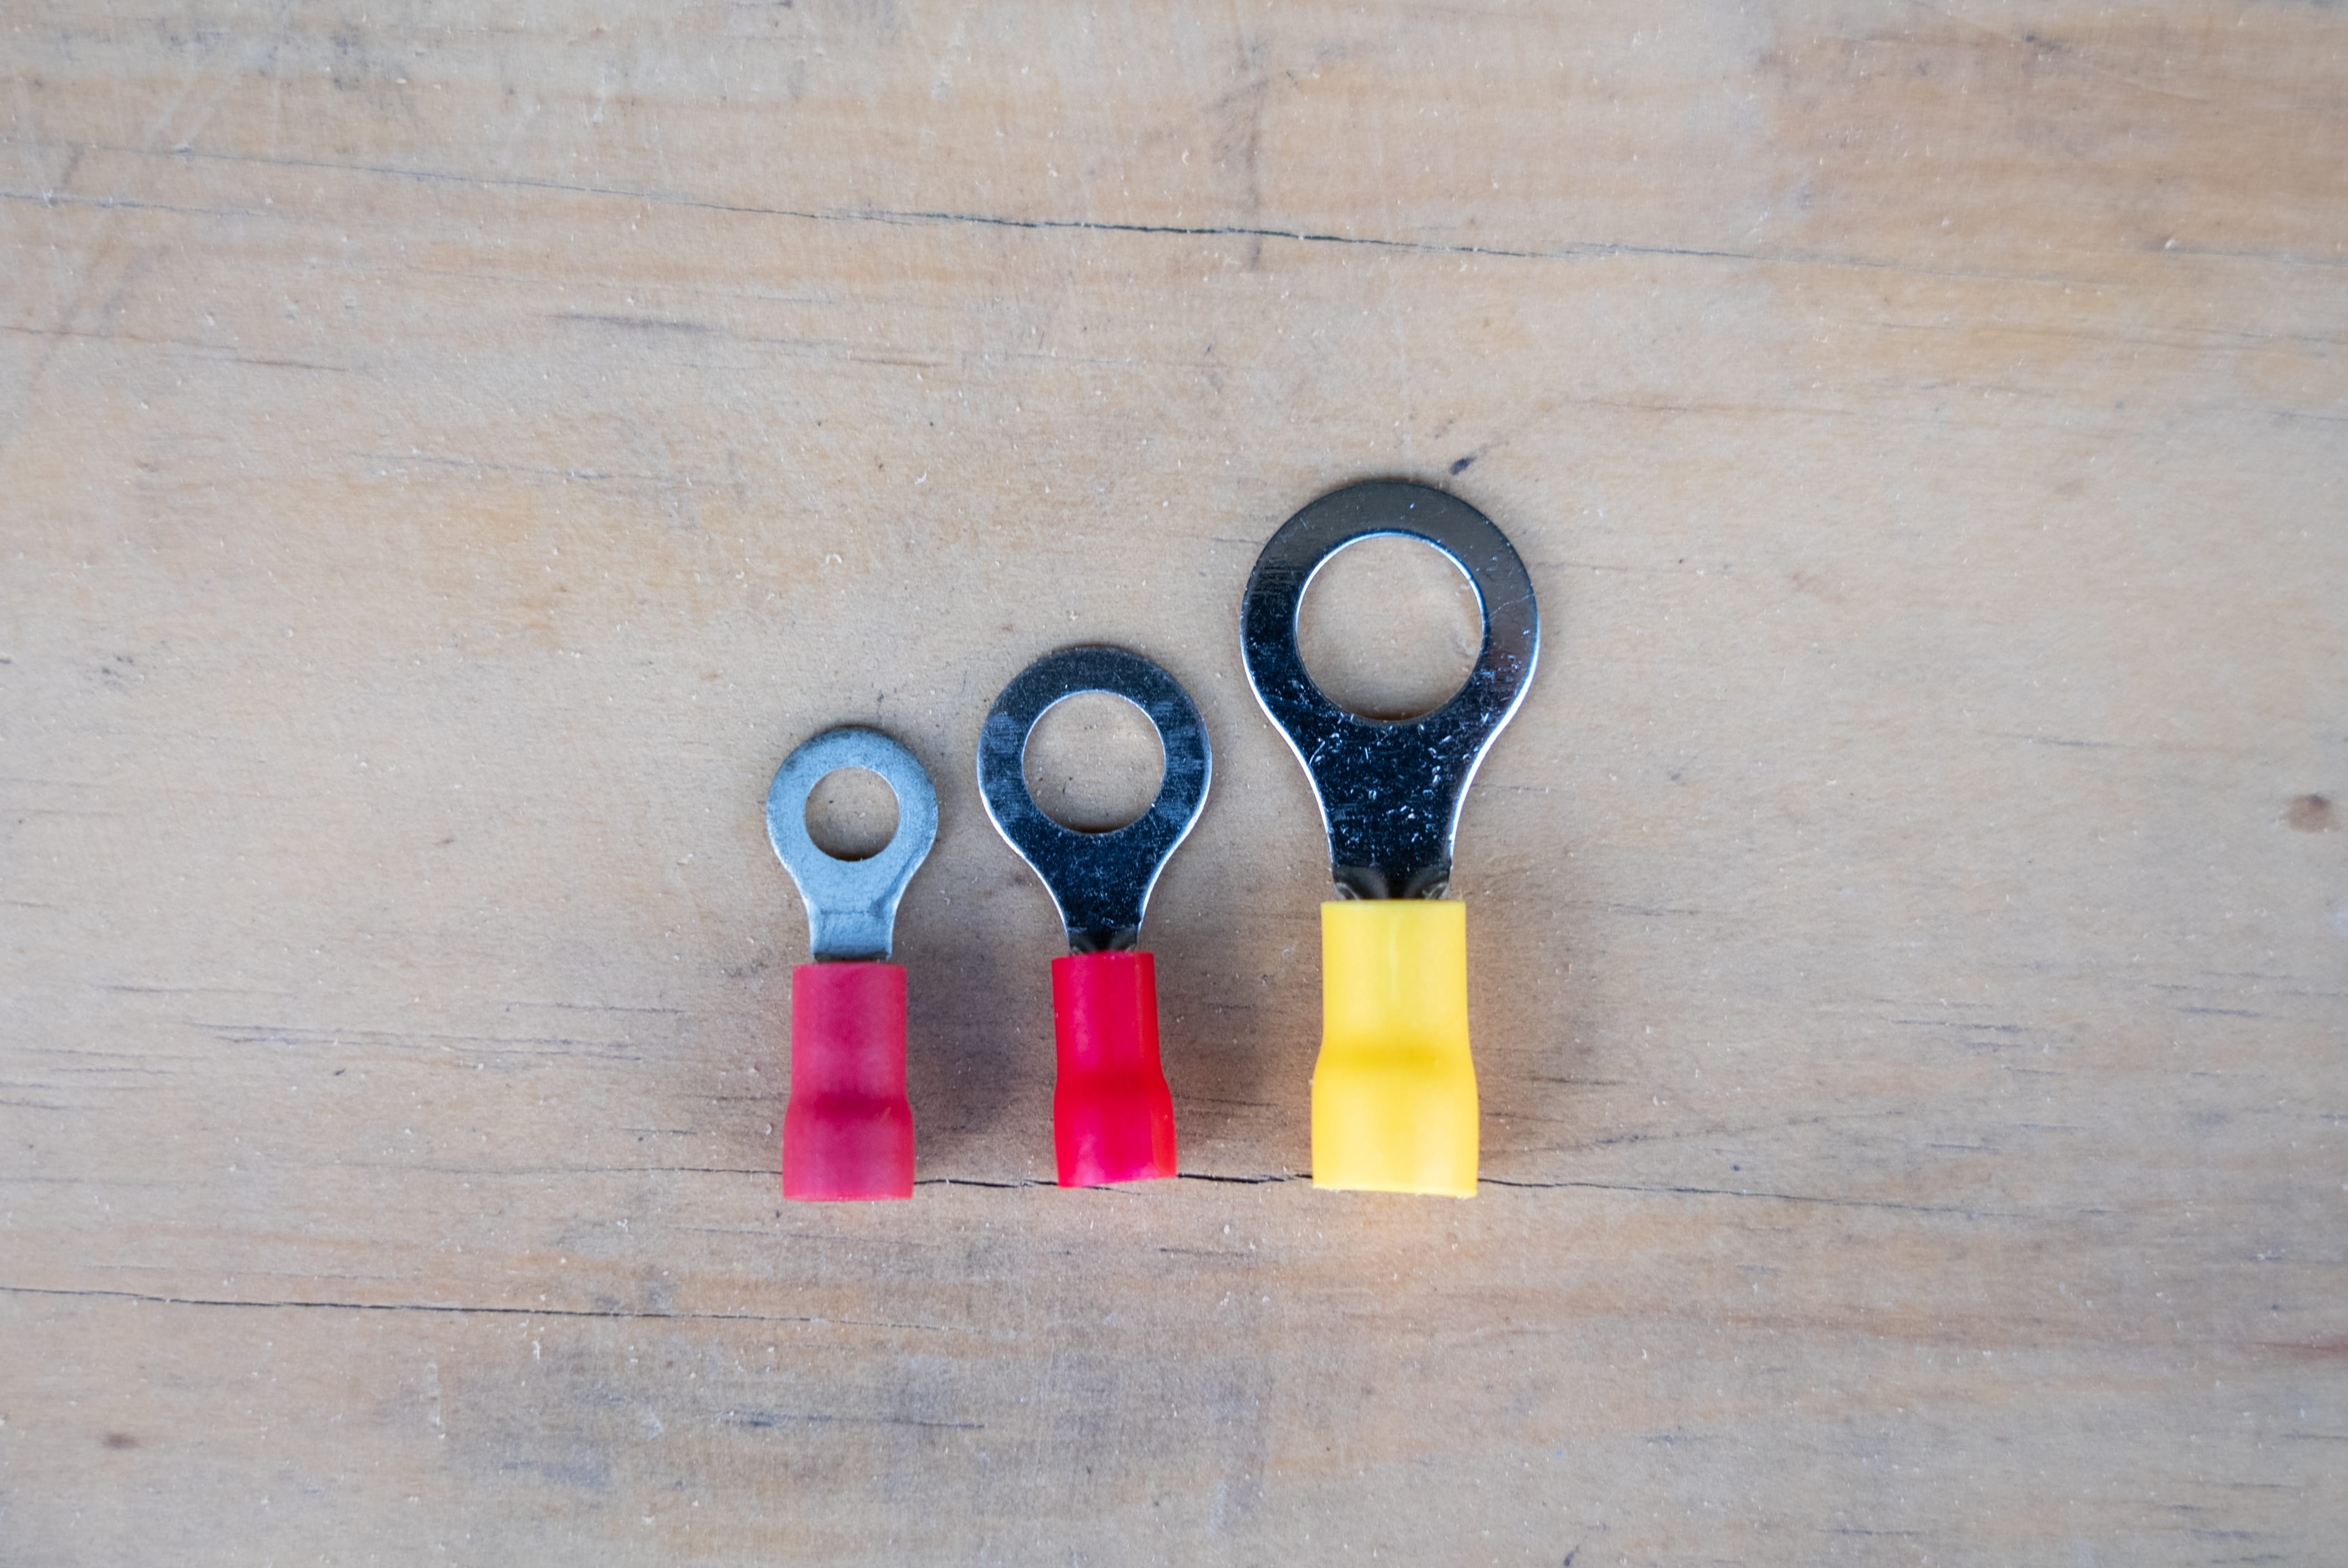
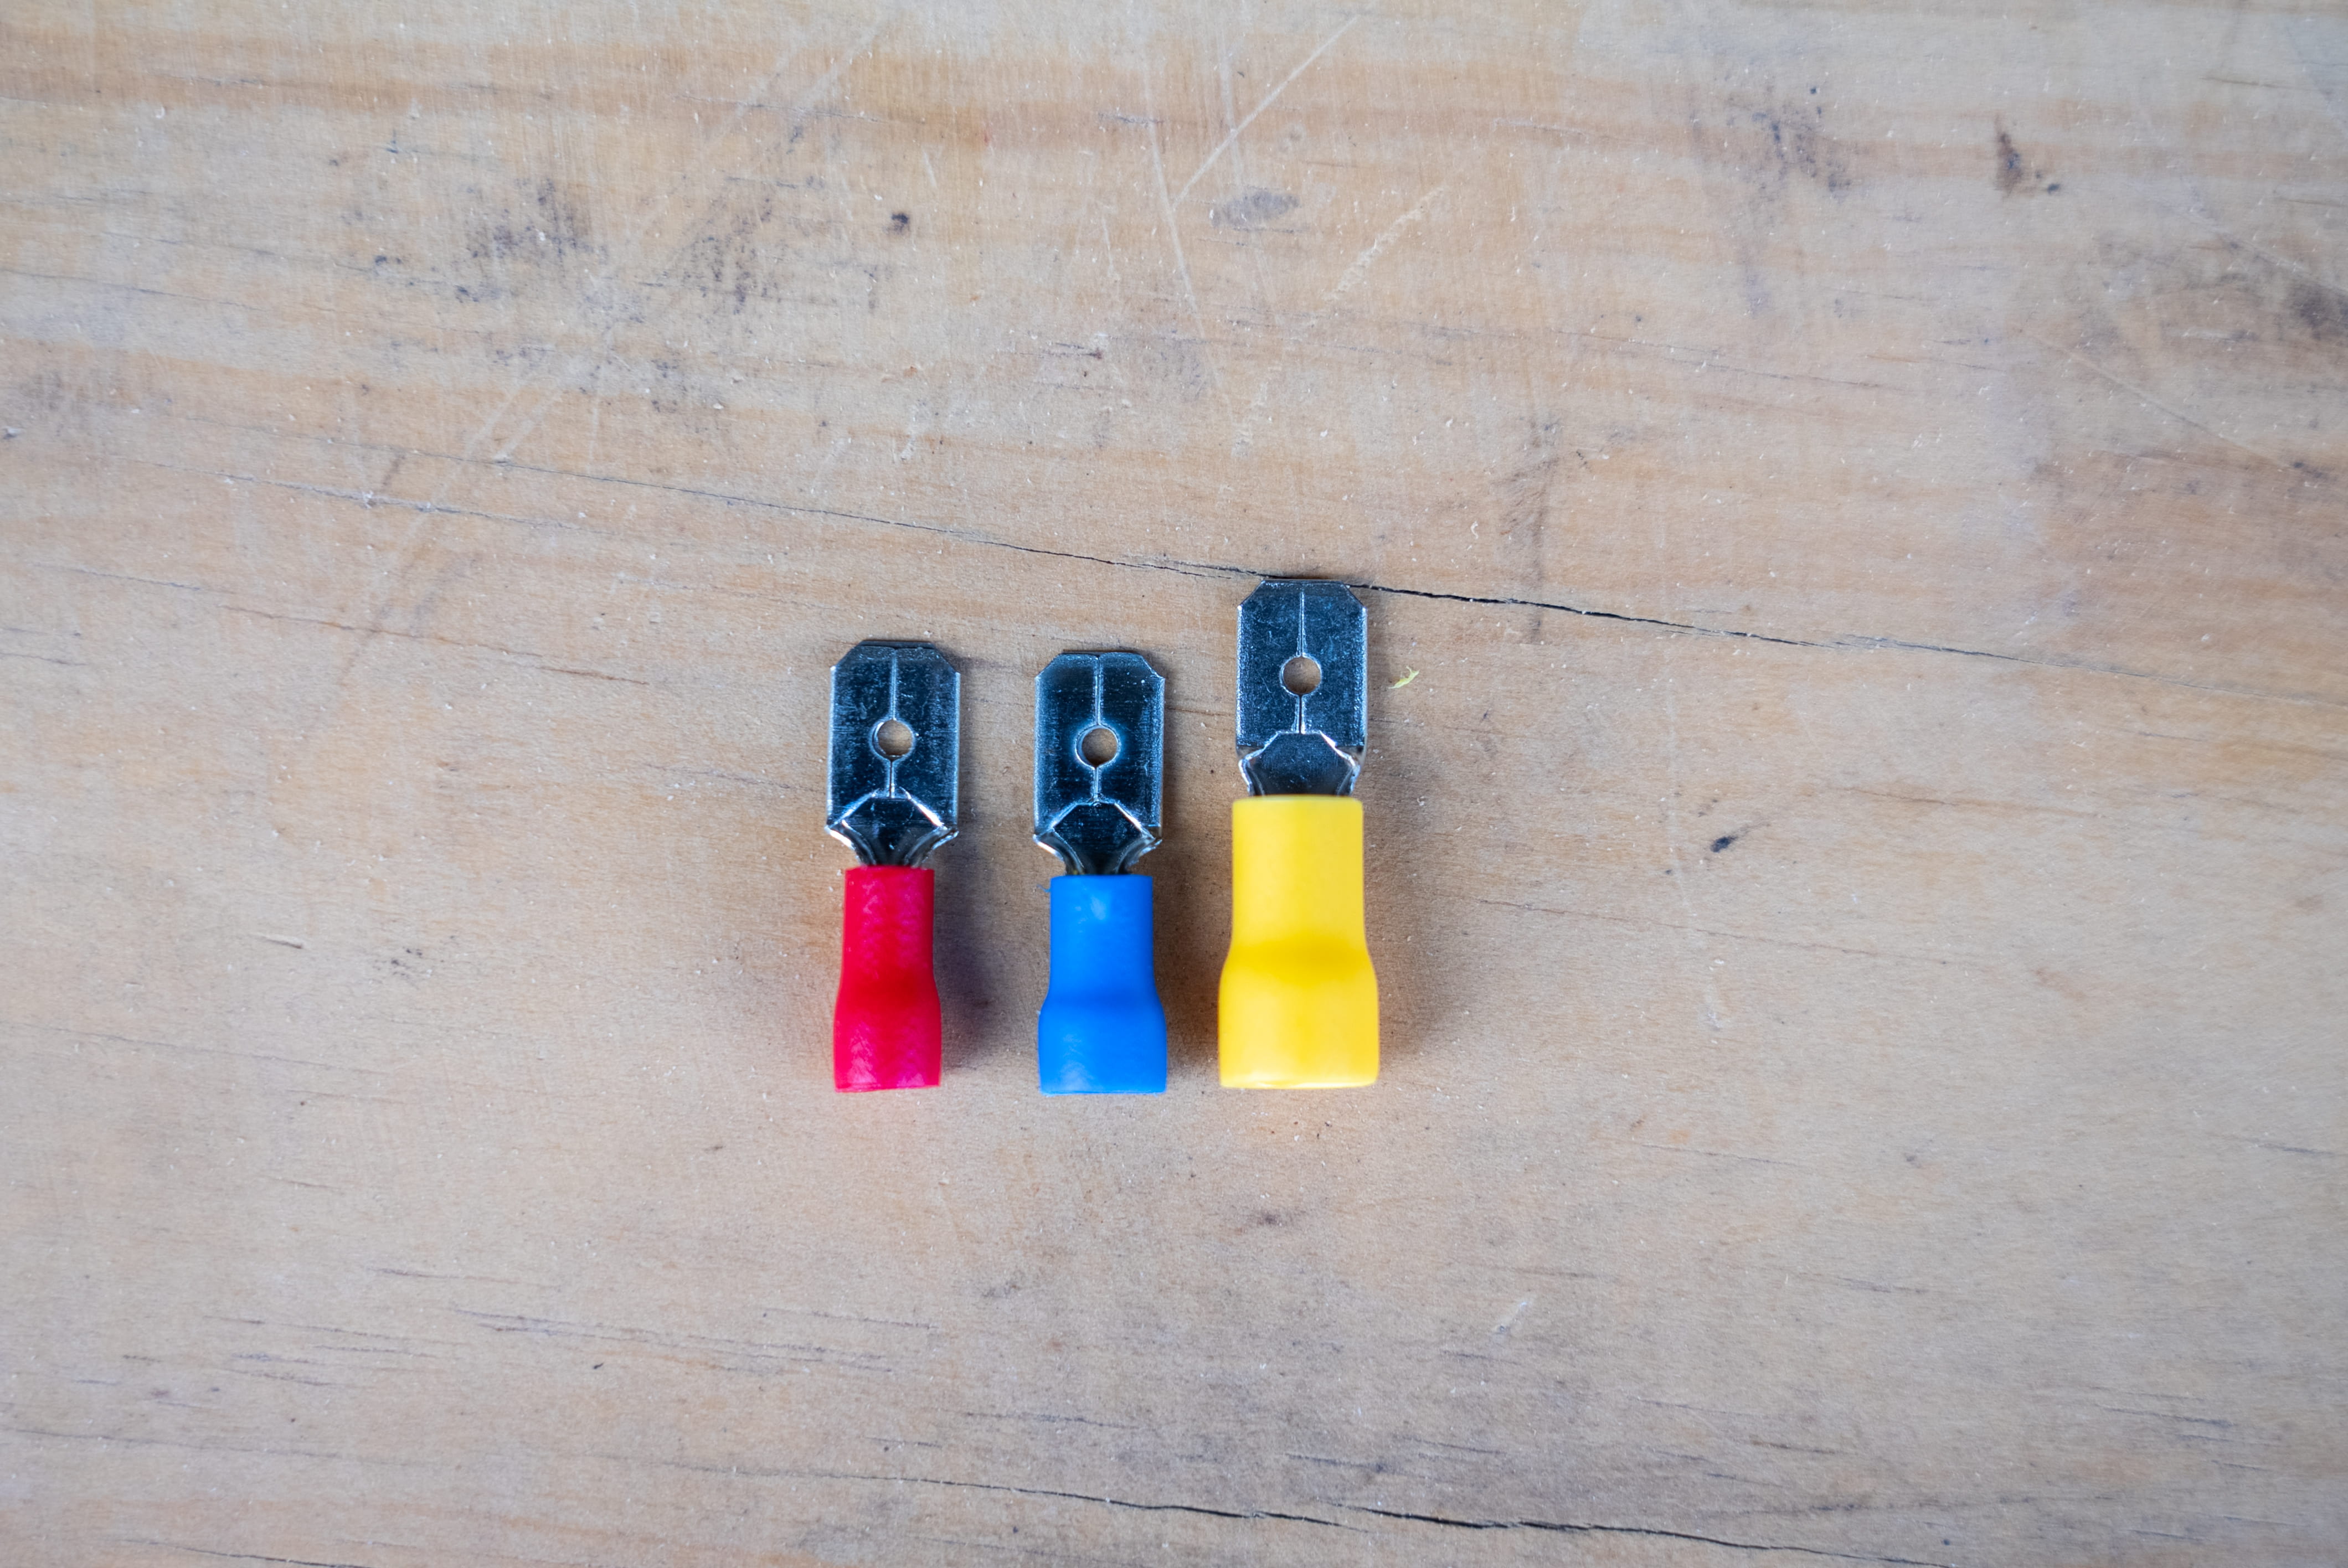
Why are crimp terminals different colours?
The different colours show you immediately what wire they will suit.
Red is the smallest, suited to wire from 2.5 to 3mm in diameter. Blue crimp terminals will fit 4 to 4.5mm wire. Yellow ones are good for 5 to 6mm wire.
Which crimp terminal should I use?
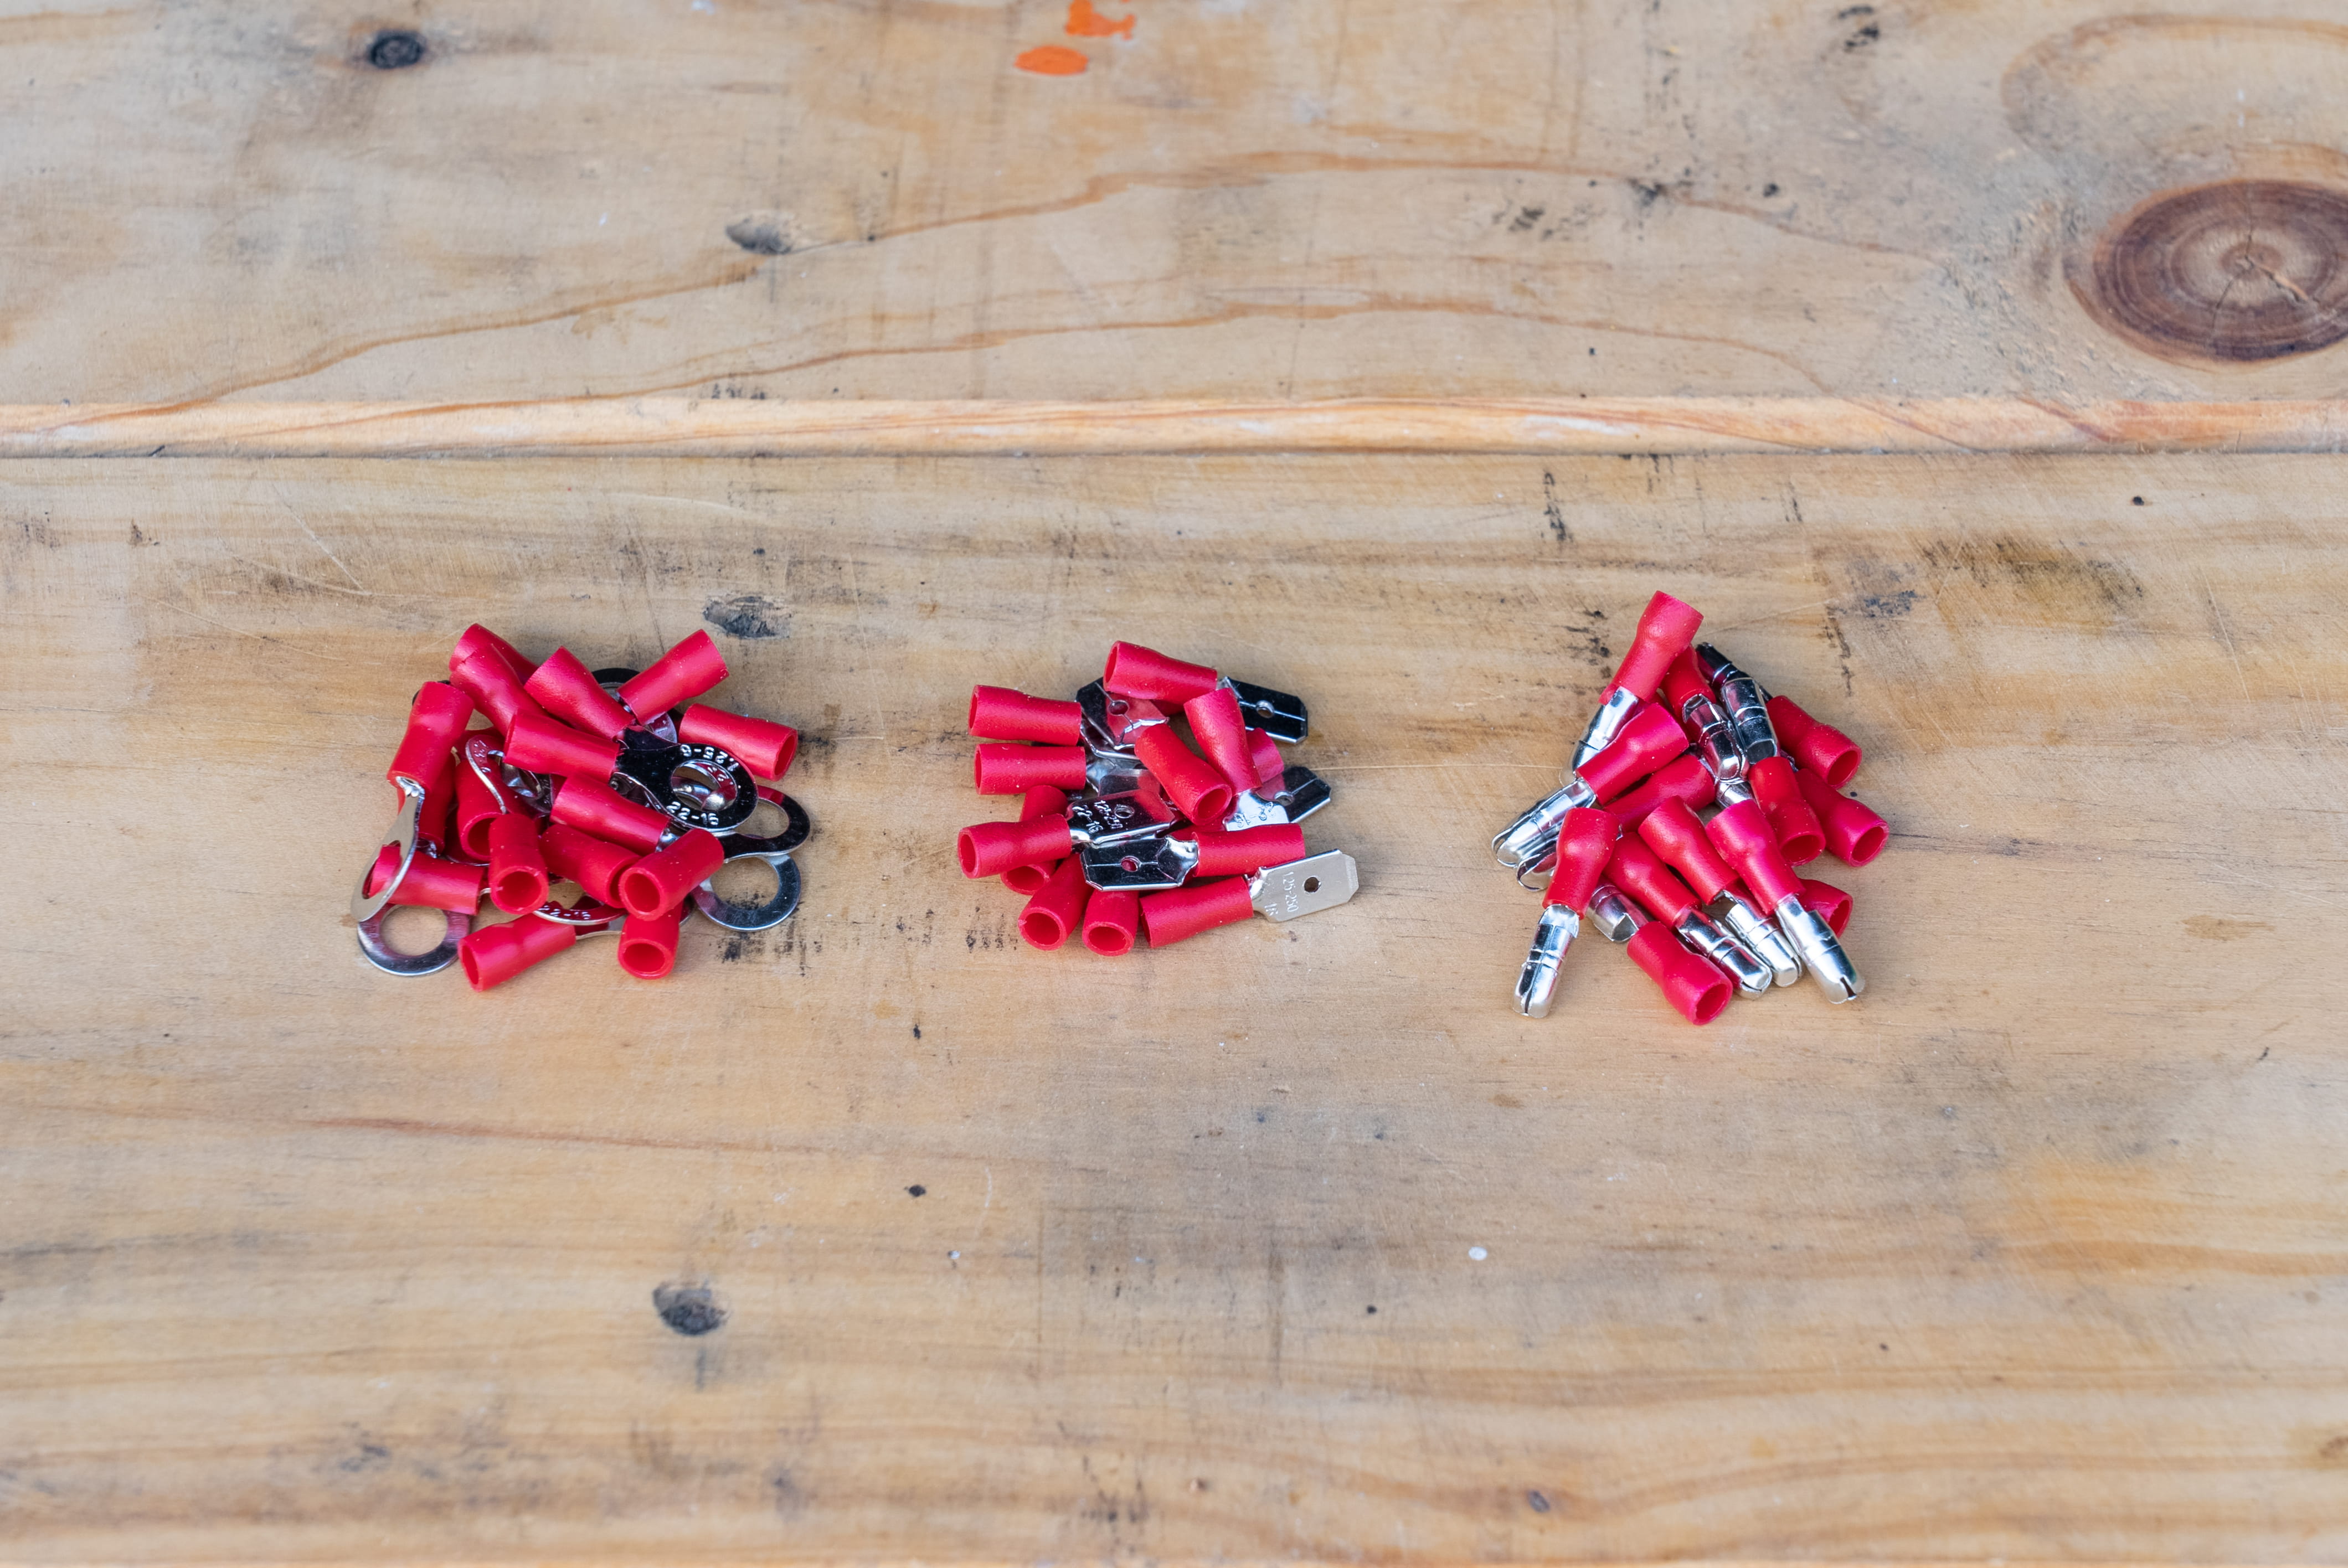
If you’re connecting to a battery terminal or using your crimp terminal to create an earth point; you’ll usually want a ring terminal. These are available with many different sized rings as well as the different insulation colours for wire size.
If you need to be able to easily separate your connections later, choose blade or bullet terminals and be sure to pick up matching male and female terminals.
The female spade terminals are also often used for wire joining on fuse blocks and switches.
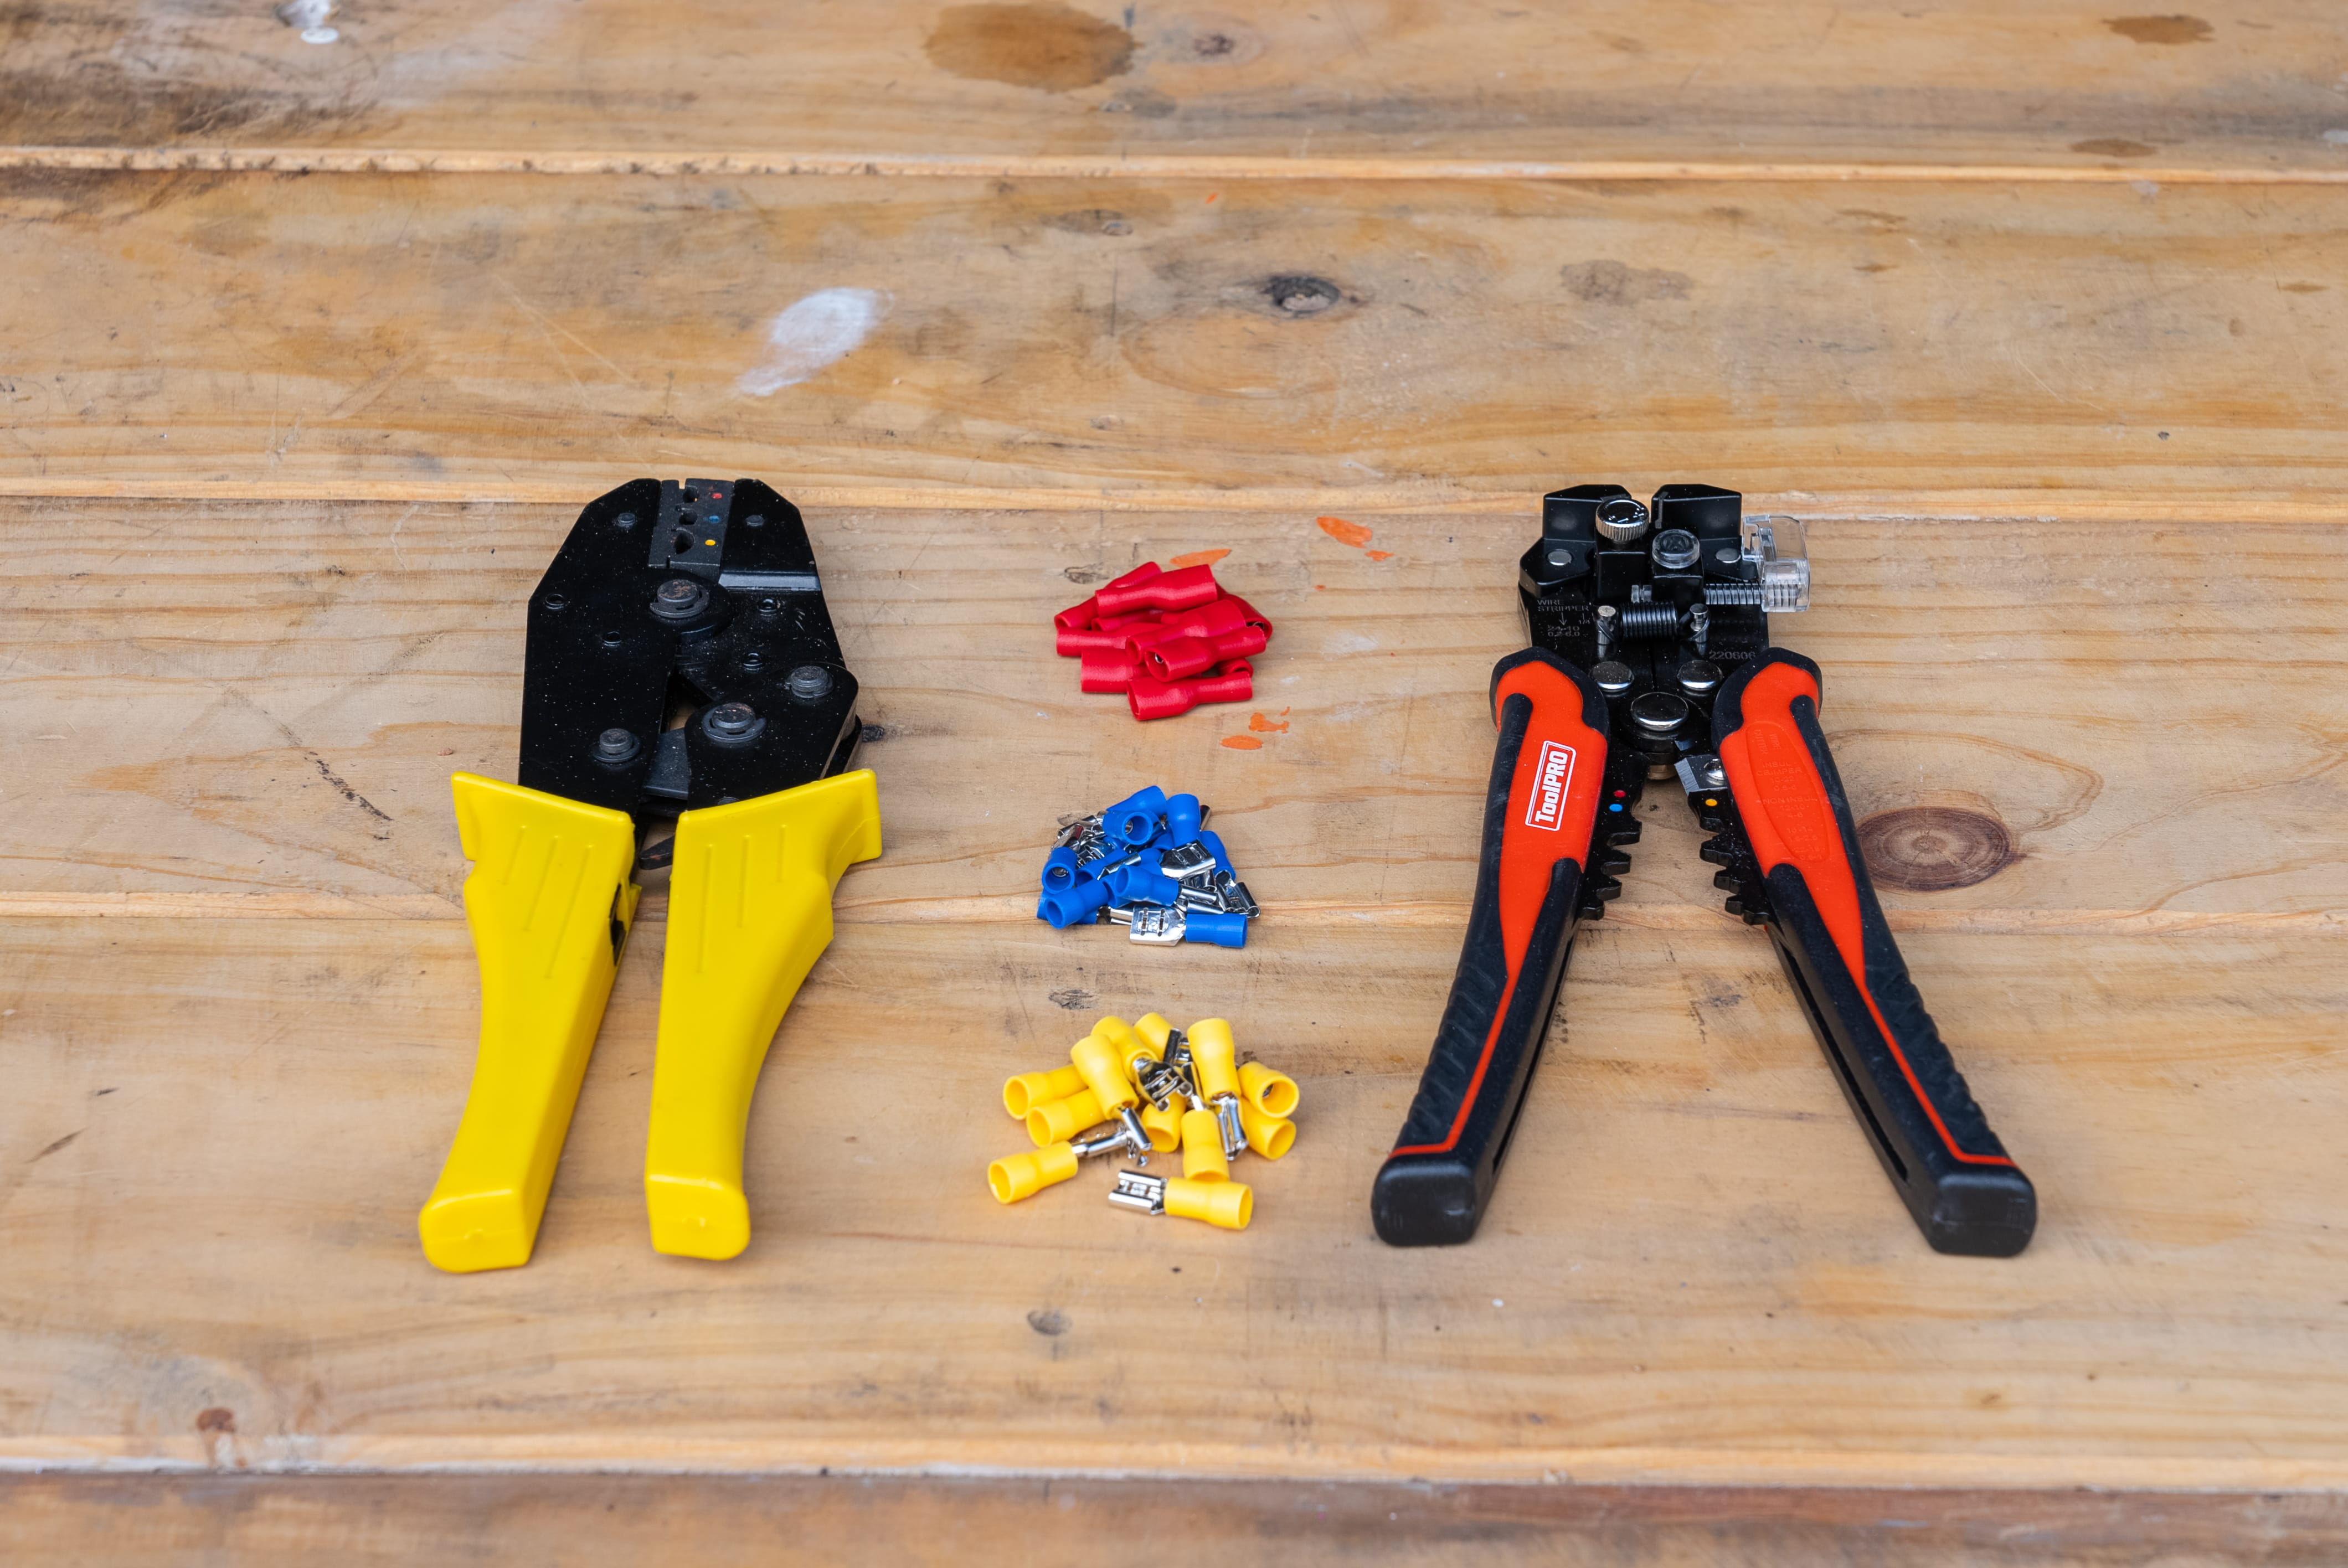
Items
Wire joining with crimp terminals
Crimping is a useful method for wire joining when you need a connection which can easily be separated later. Here’s what you’ll need:Wire joining with a soldering iron
Soldering is a great way to join two lengths of wire, or to splice another wire. Ready to learn how to solder? Here’s what you’ll need:Steps
How to join wires using crimp terminals
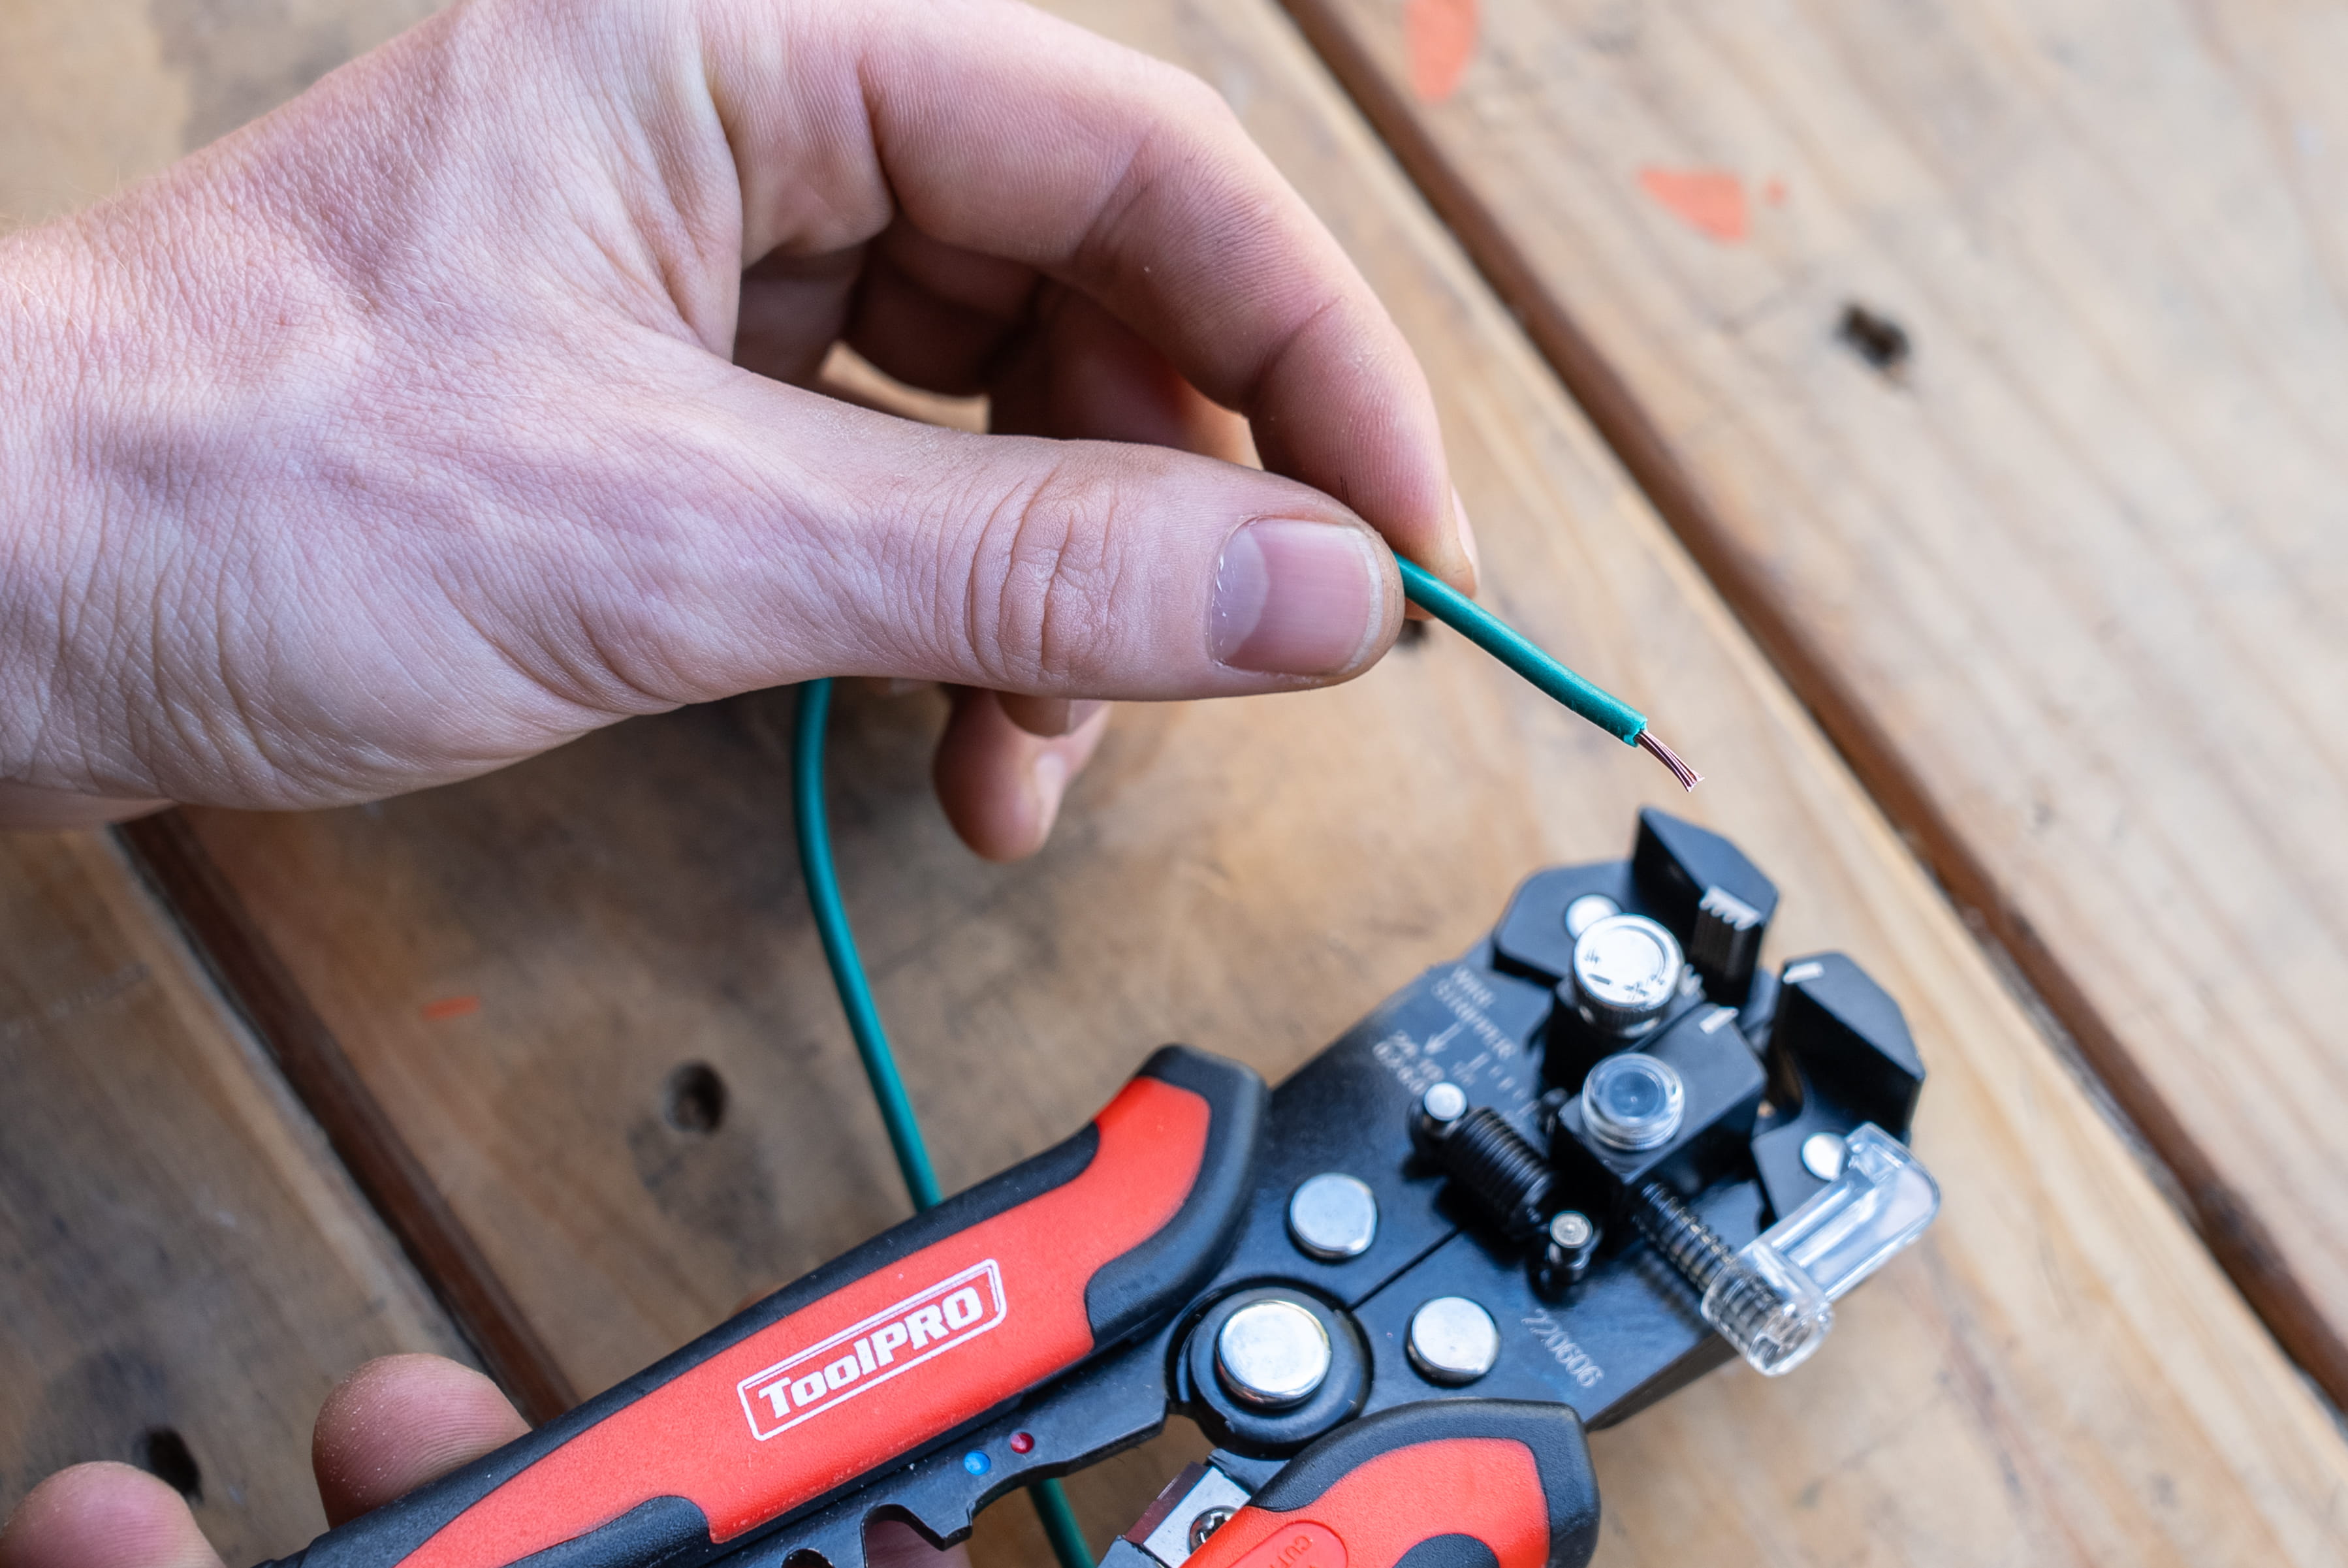
- Grab your wire strippers and take about one centimetre of insulation off the end of your wire. Use your fingers to twist this nice and tight to avoid fraying.
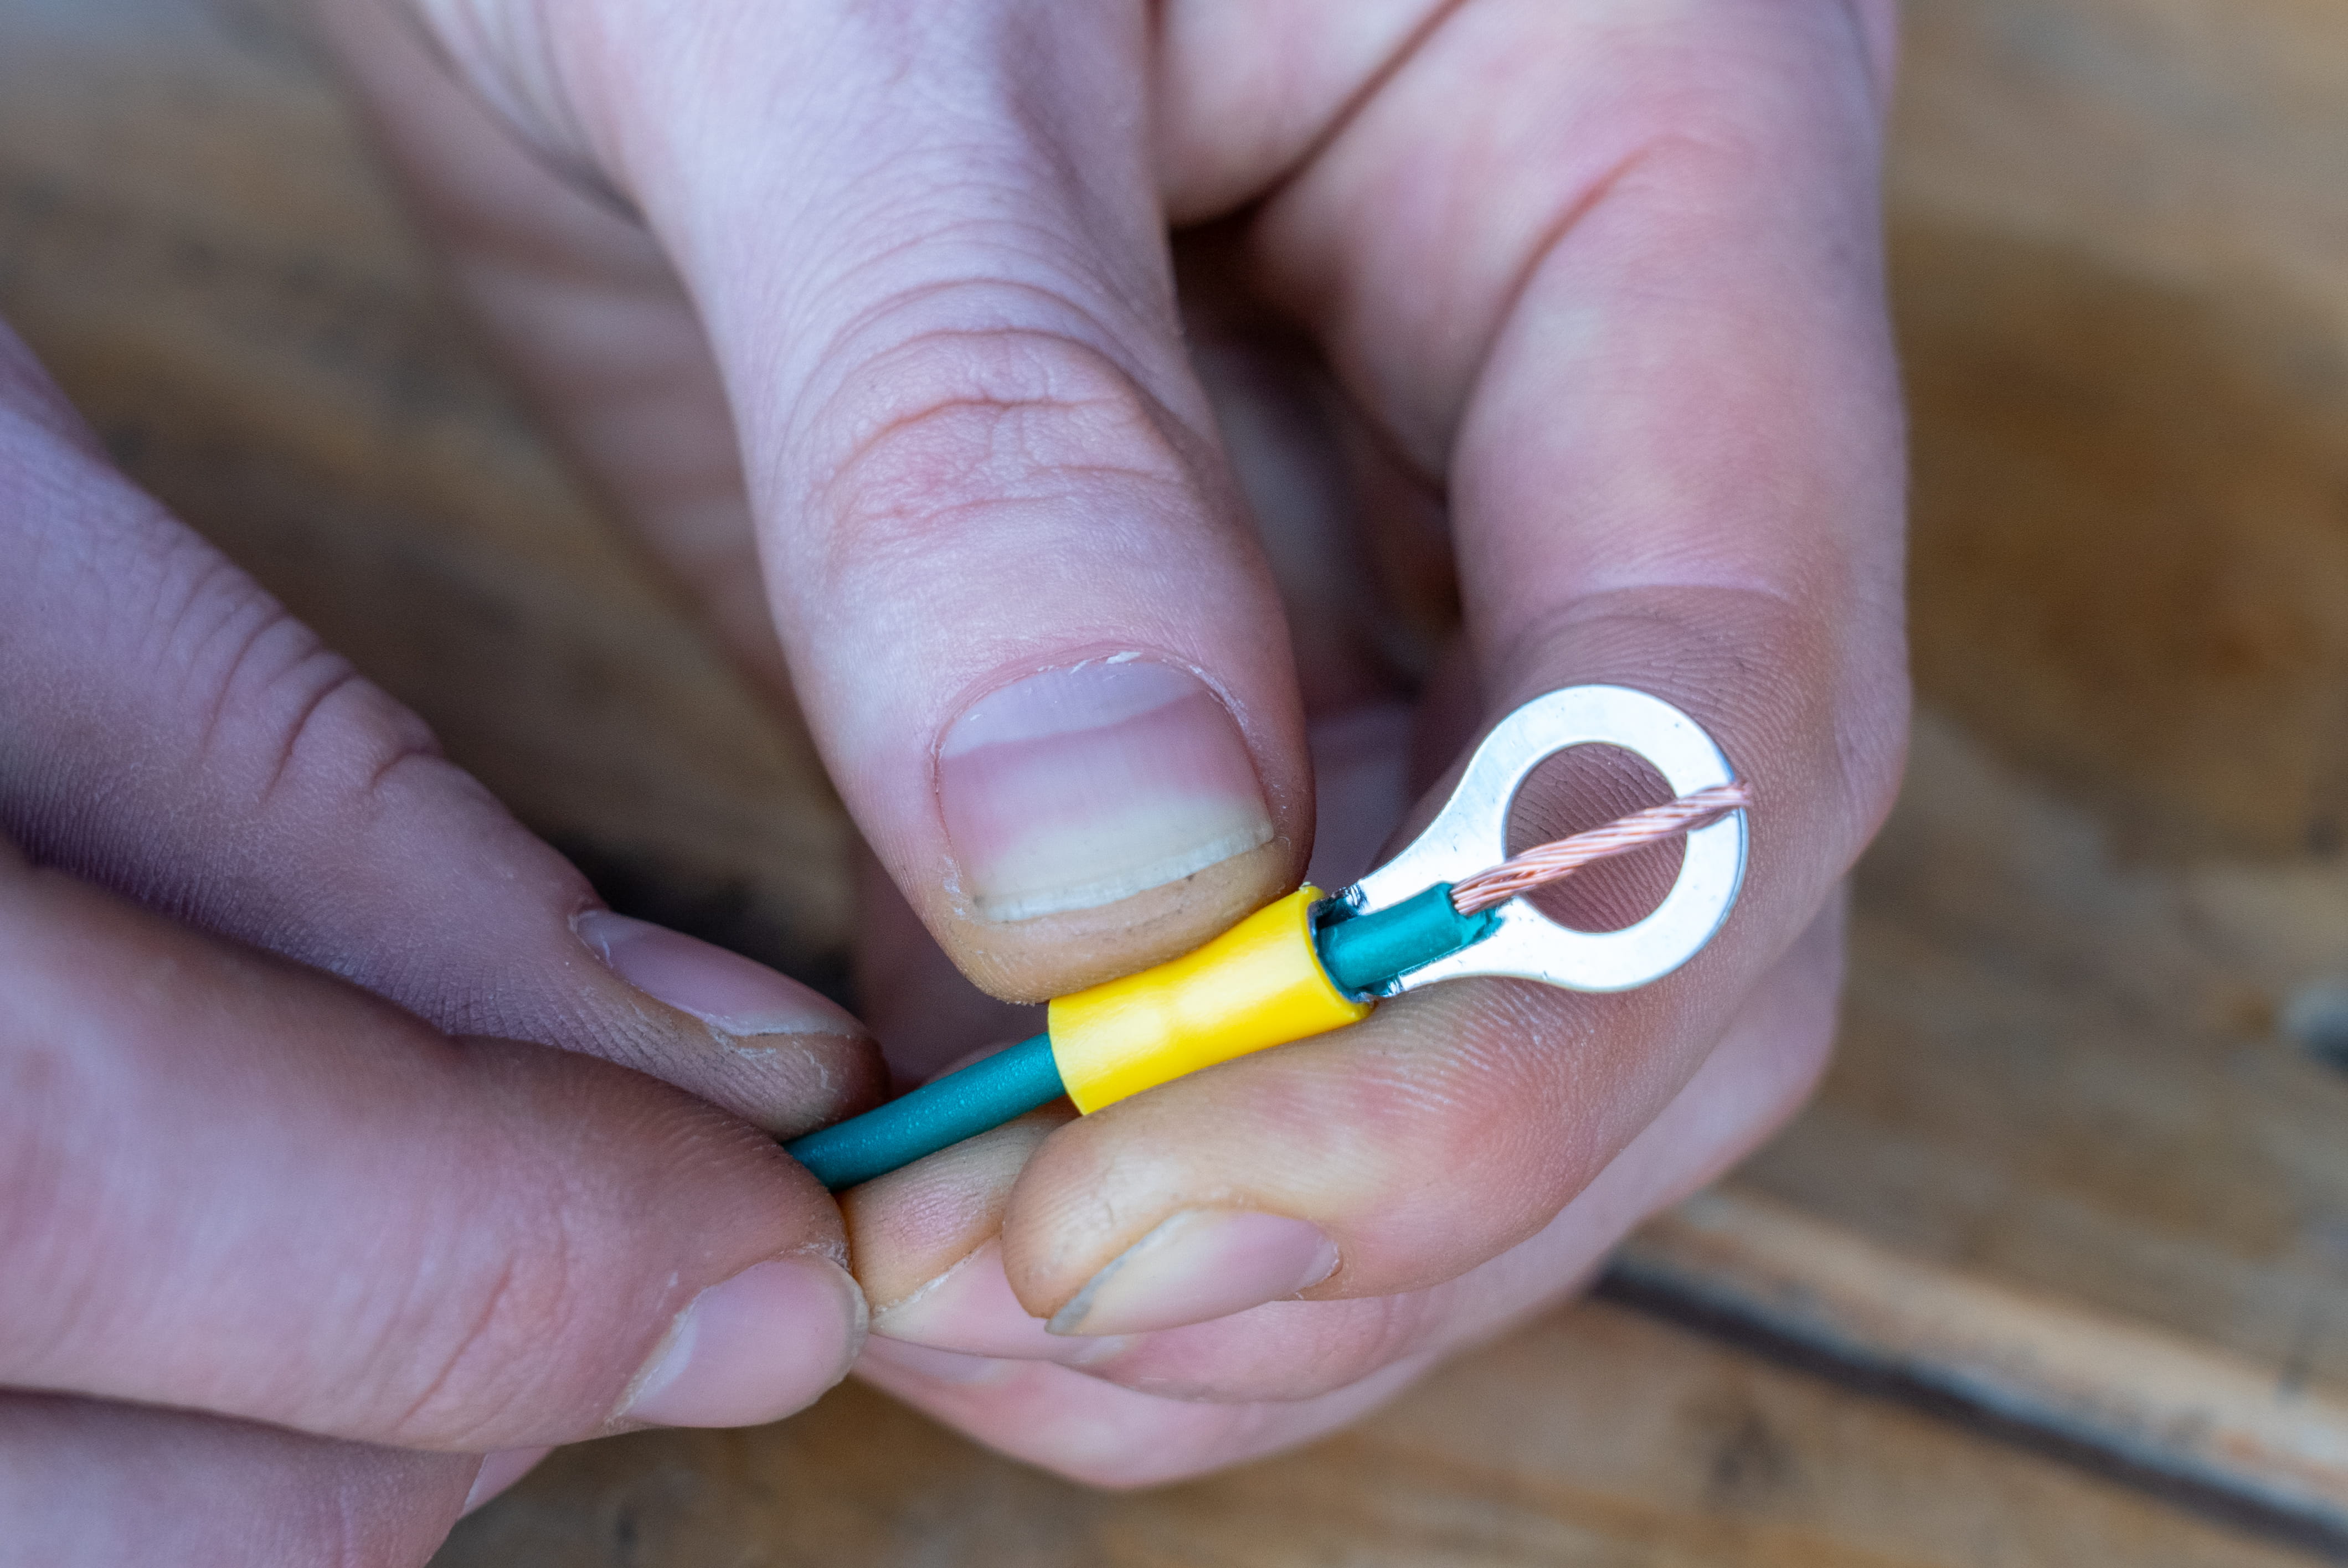
- Match the colour coding on your crimp tool to the colour crimp terminal you are using and poke the bared wire end into the crimp terminal just far enough that none of the bare section is exposed, but not so far that none of the bared wire contacts the crimping area.
- Squeeze the crimp tool to compress the crimp terminal around the wire.
- Give the wire a gentle tug to ensure it is firmly locked in.
How to join wires using a soldering iron
- If you’re joining two wires, strip one to two centimetres of insulation from the end of each wire.
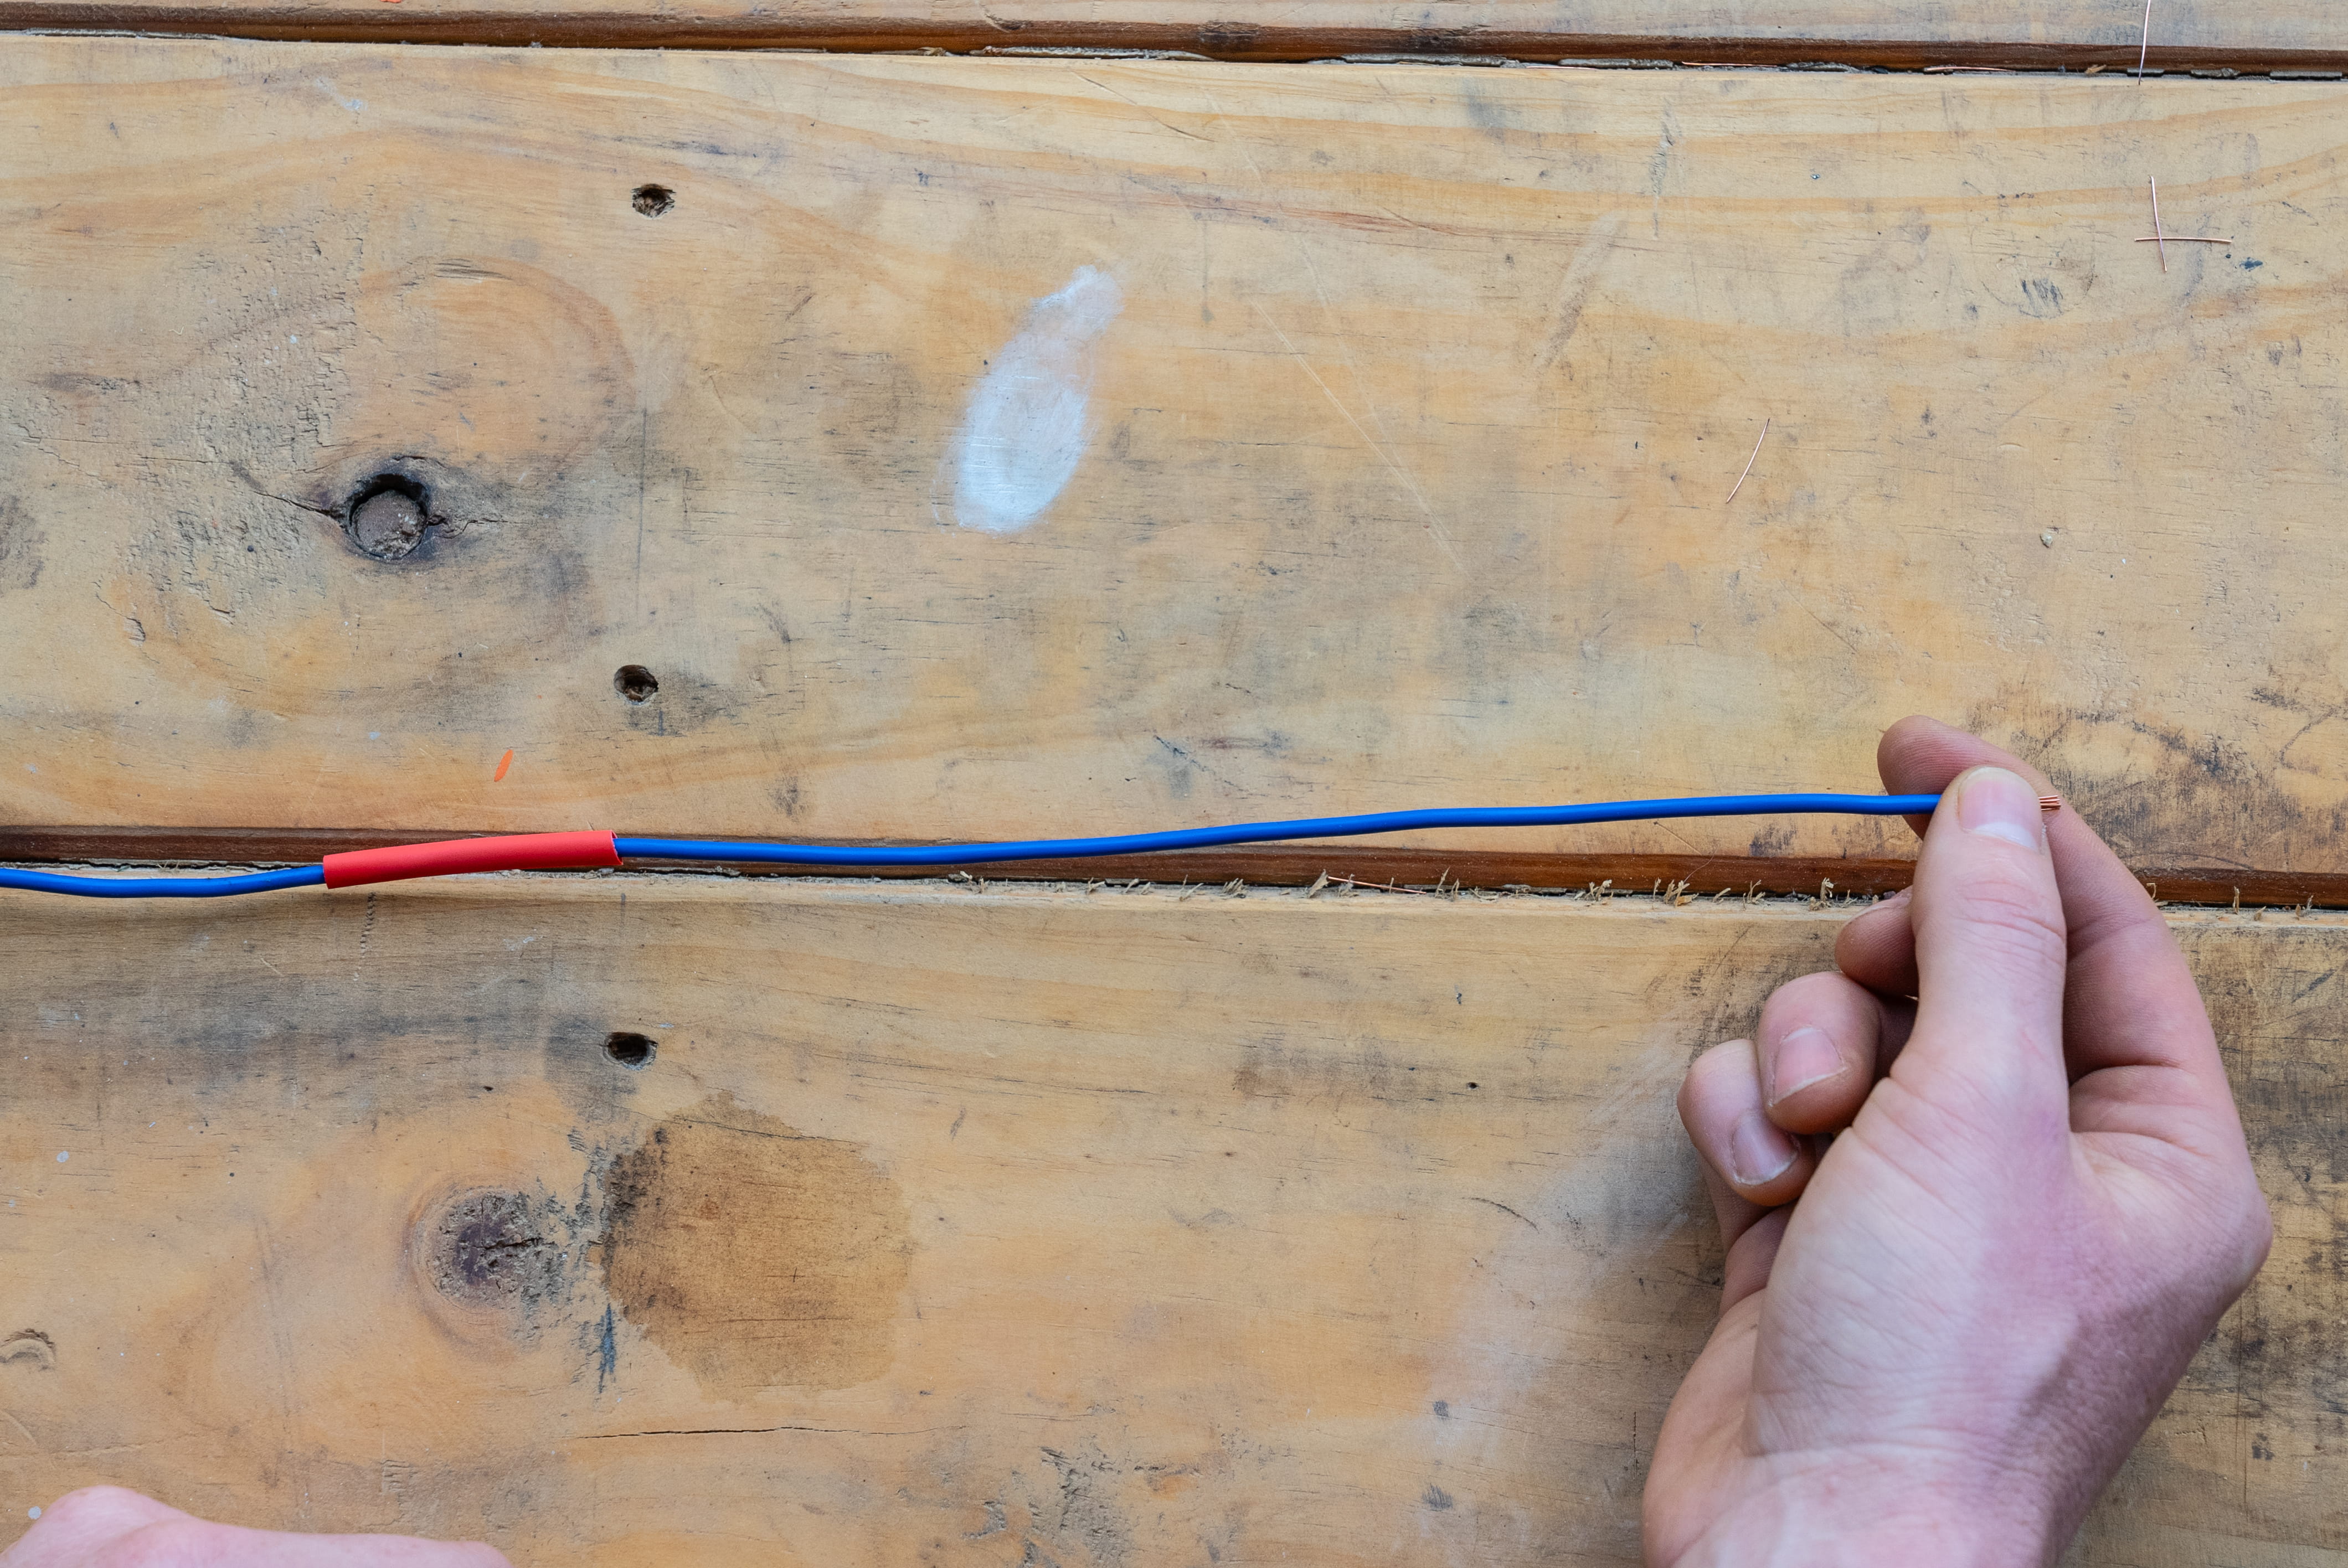
- Slip a three-centimetre piece of heat shrink over the wire and push it at least ten centimetres from where you are wire joining.
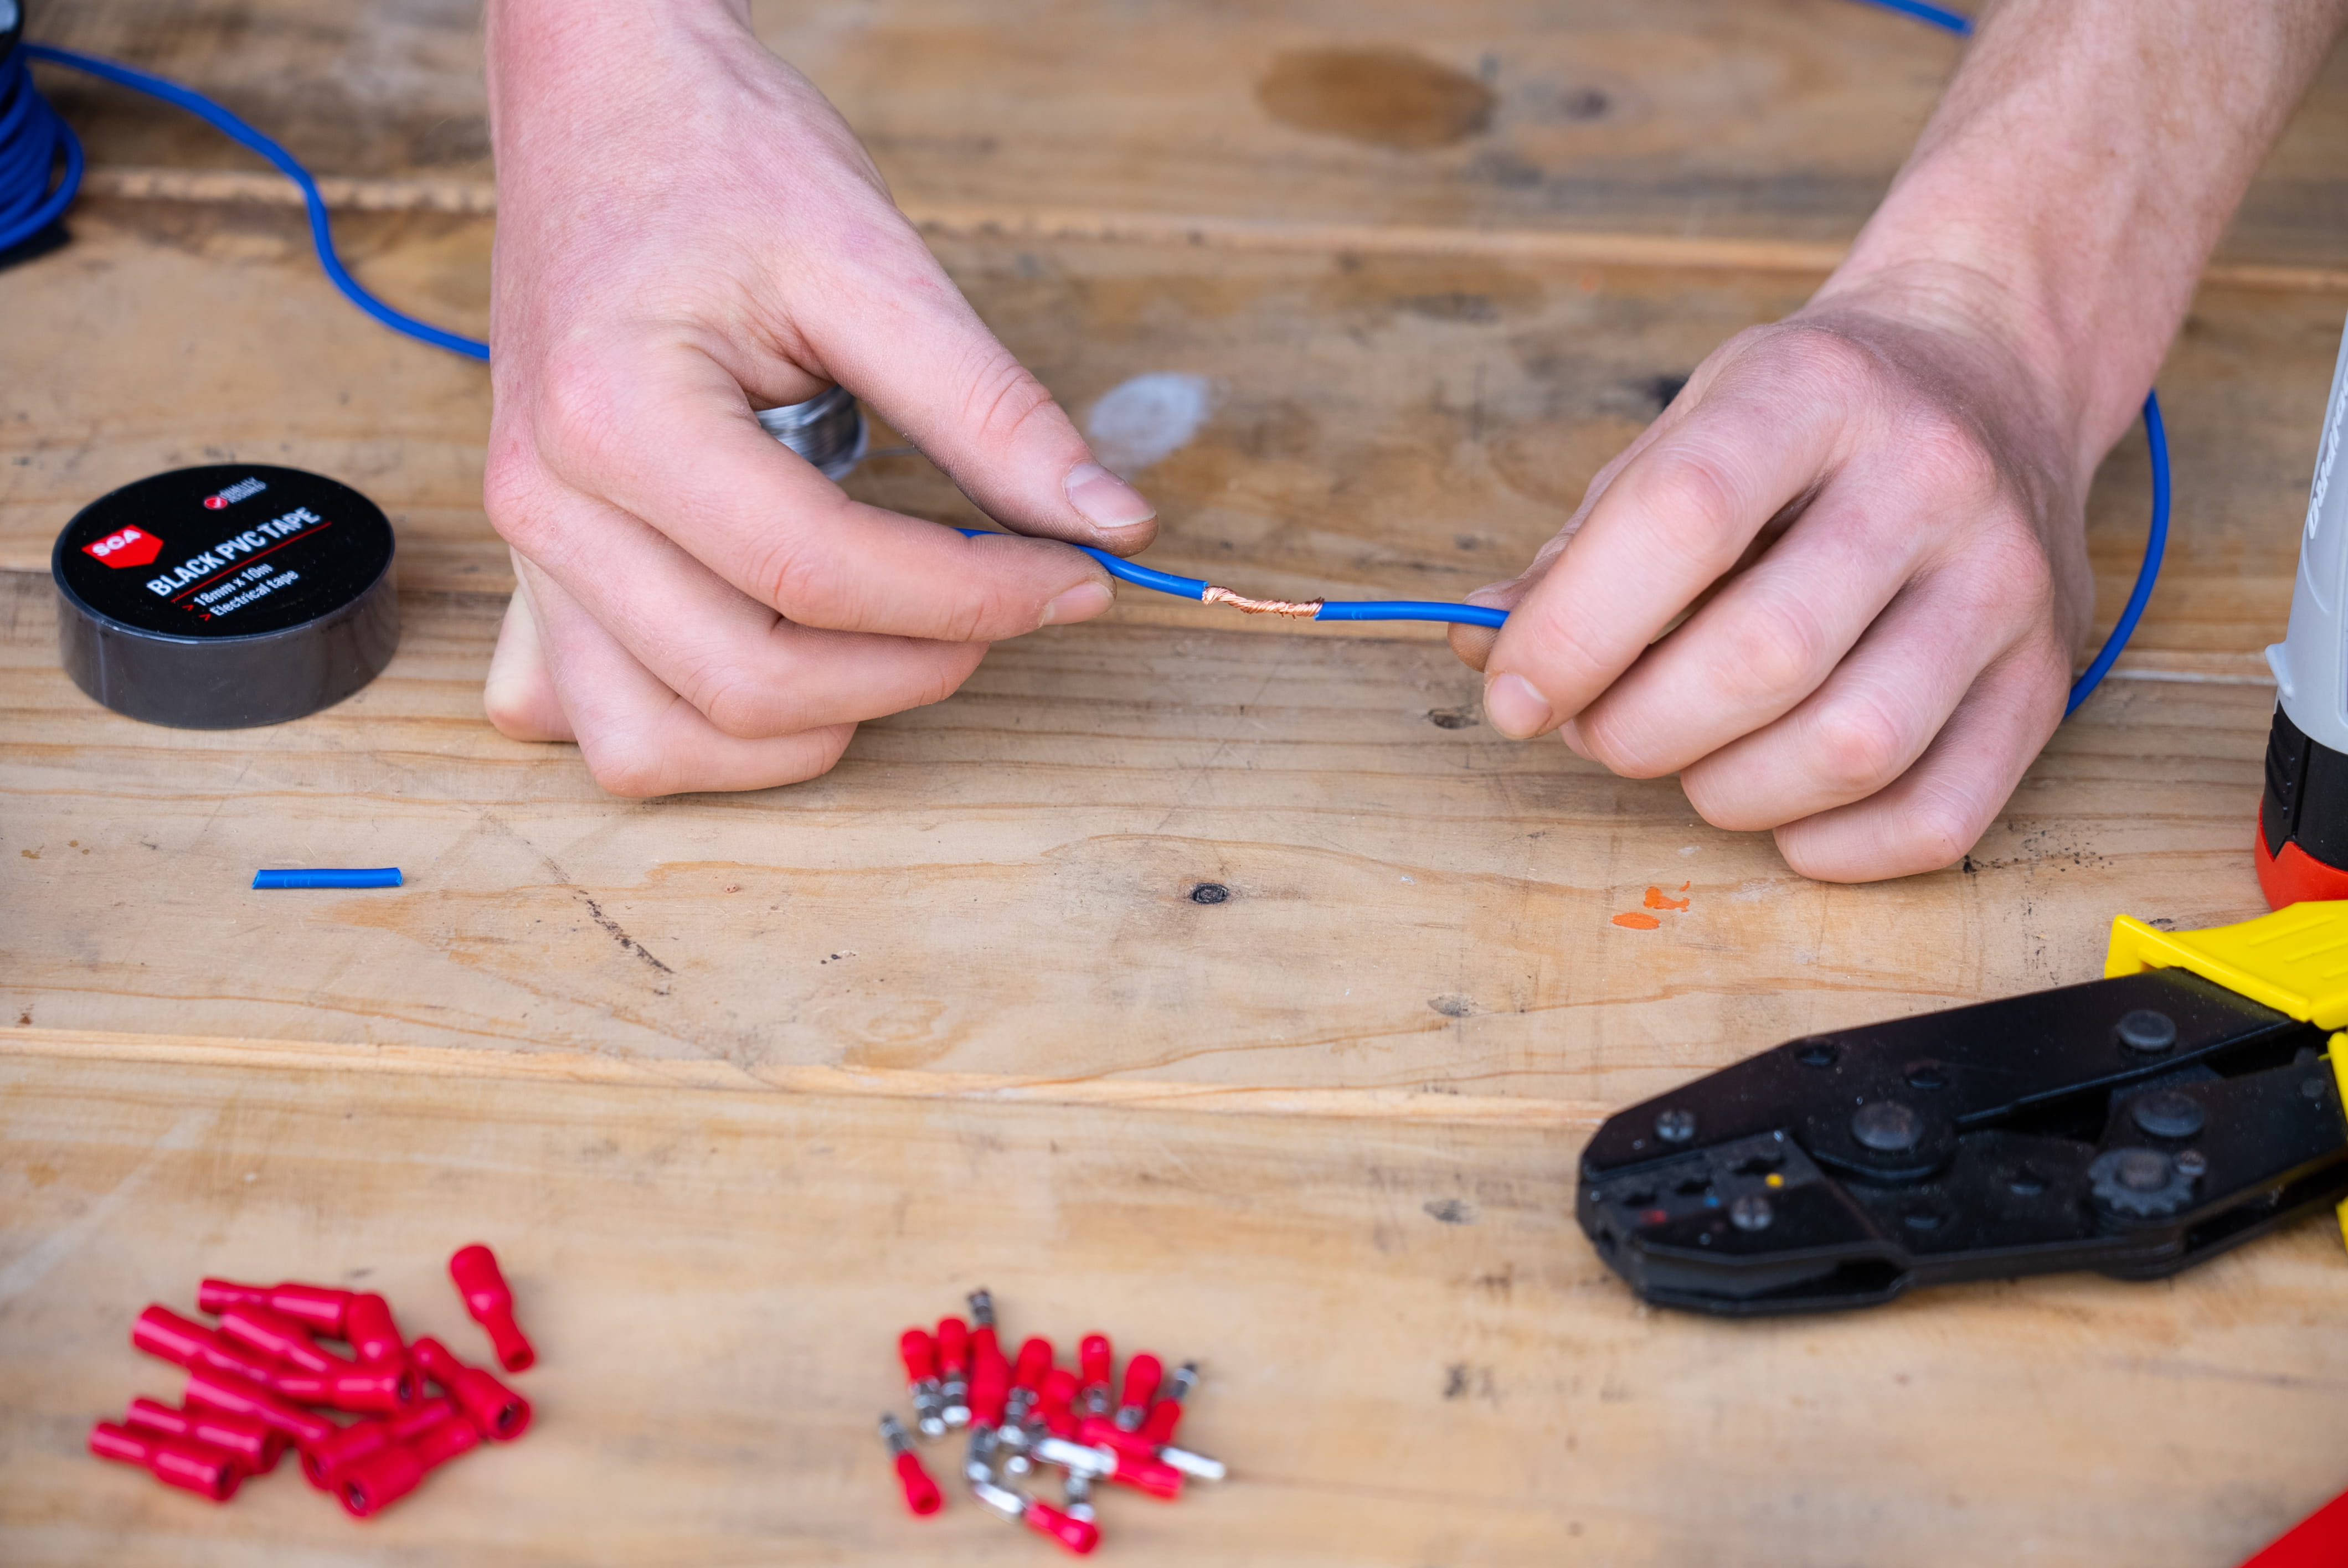
- Now make a cross with the bared ends and twist them together.
- If you’re splicing into an existing wire, just use the strippers to bare a section in the insulation and twist the stripped end of your new wire around this.
- Allow the soldering iron to heat up for a couple of minutes. You know it’s ready when a touch of solder produces a puff of smoke.
- Now apply a dab of solder to the tip. This is called “tinning”.
How to solder wires
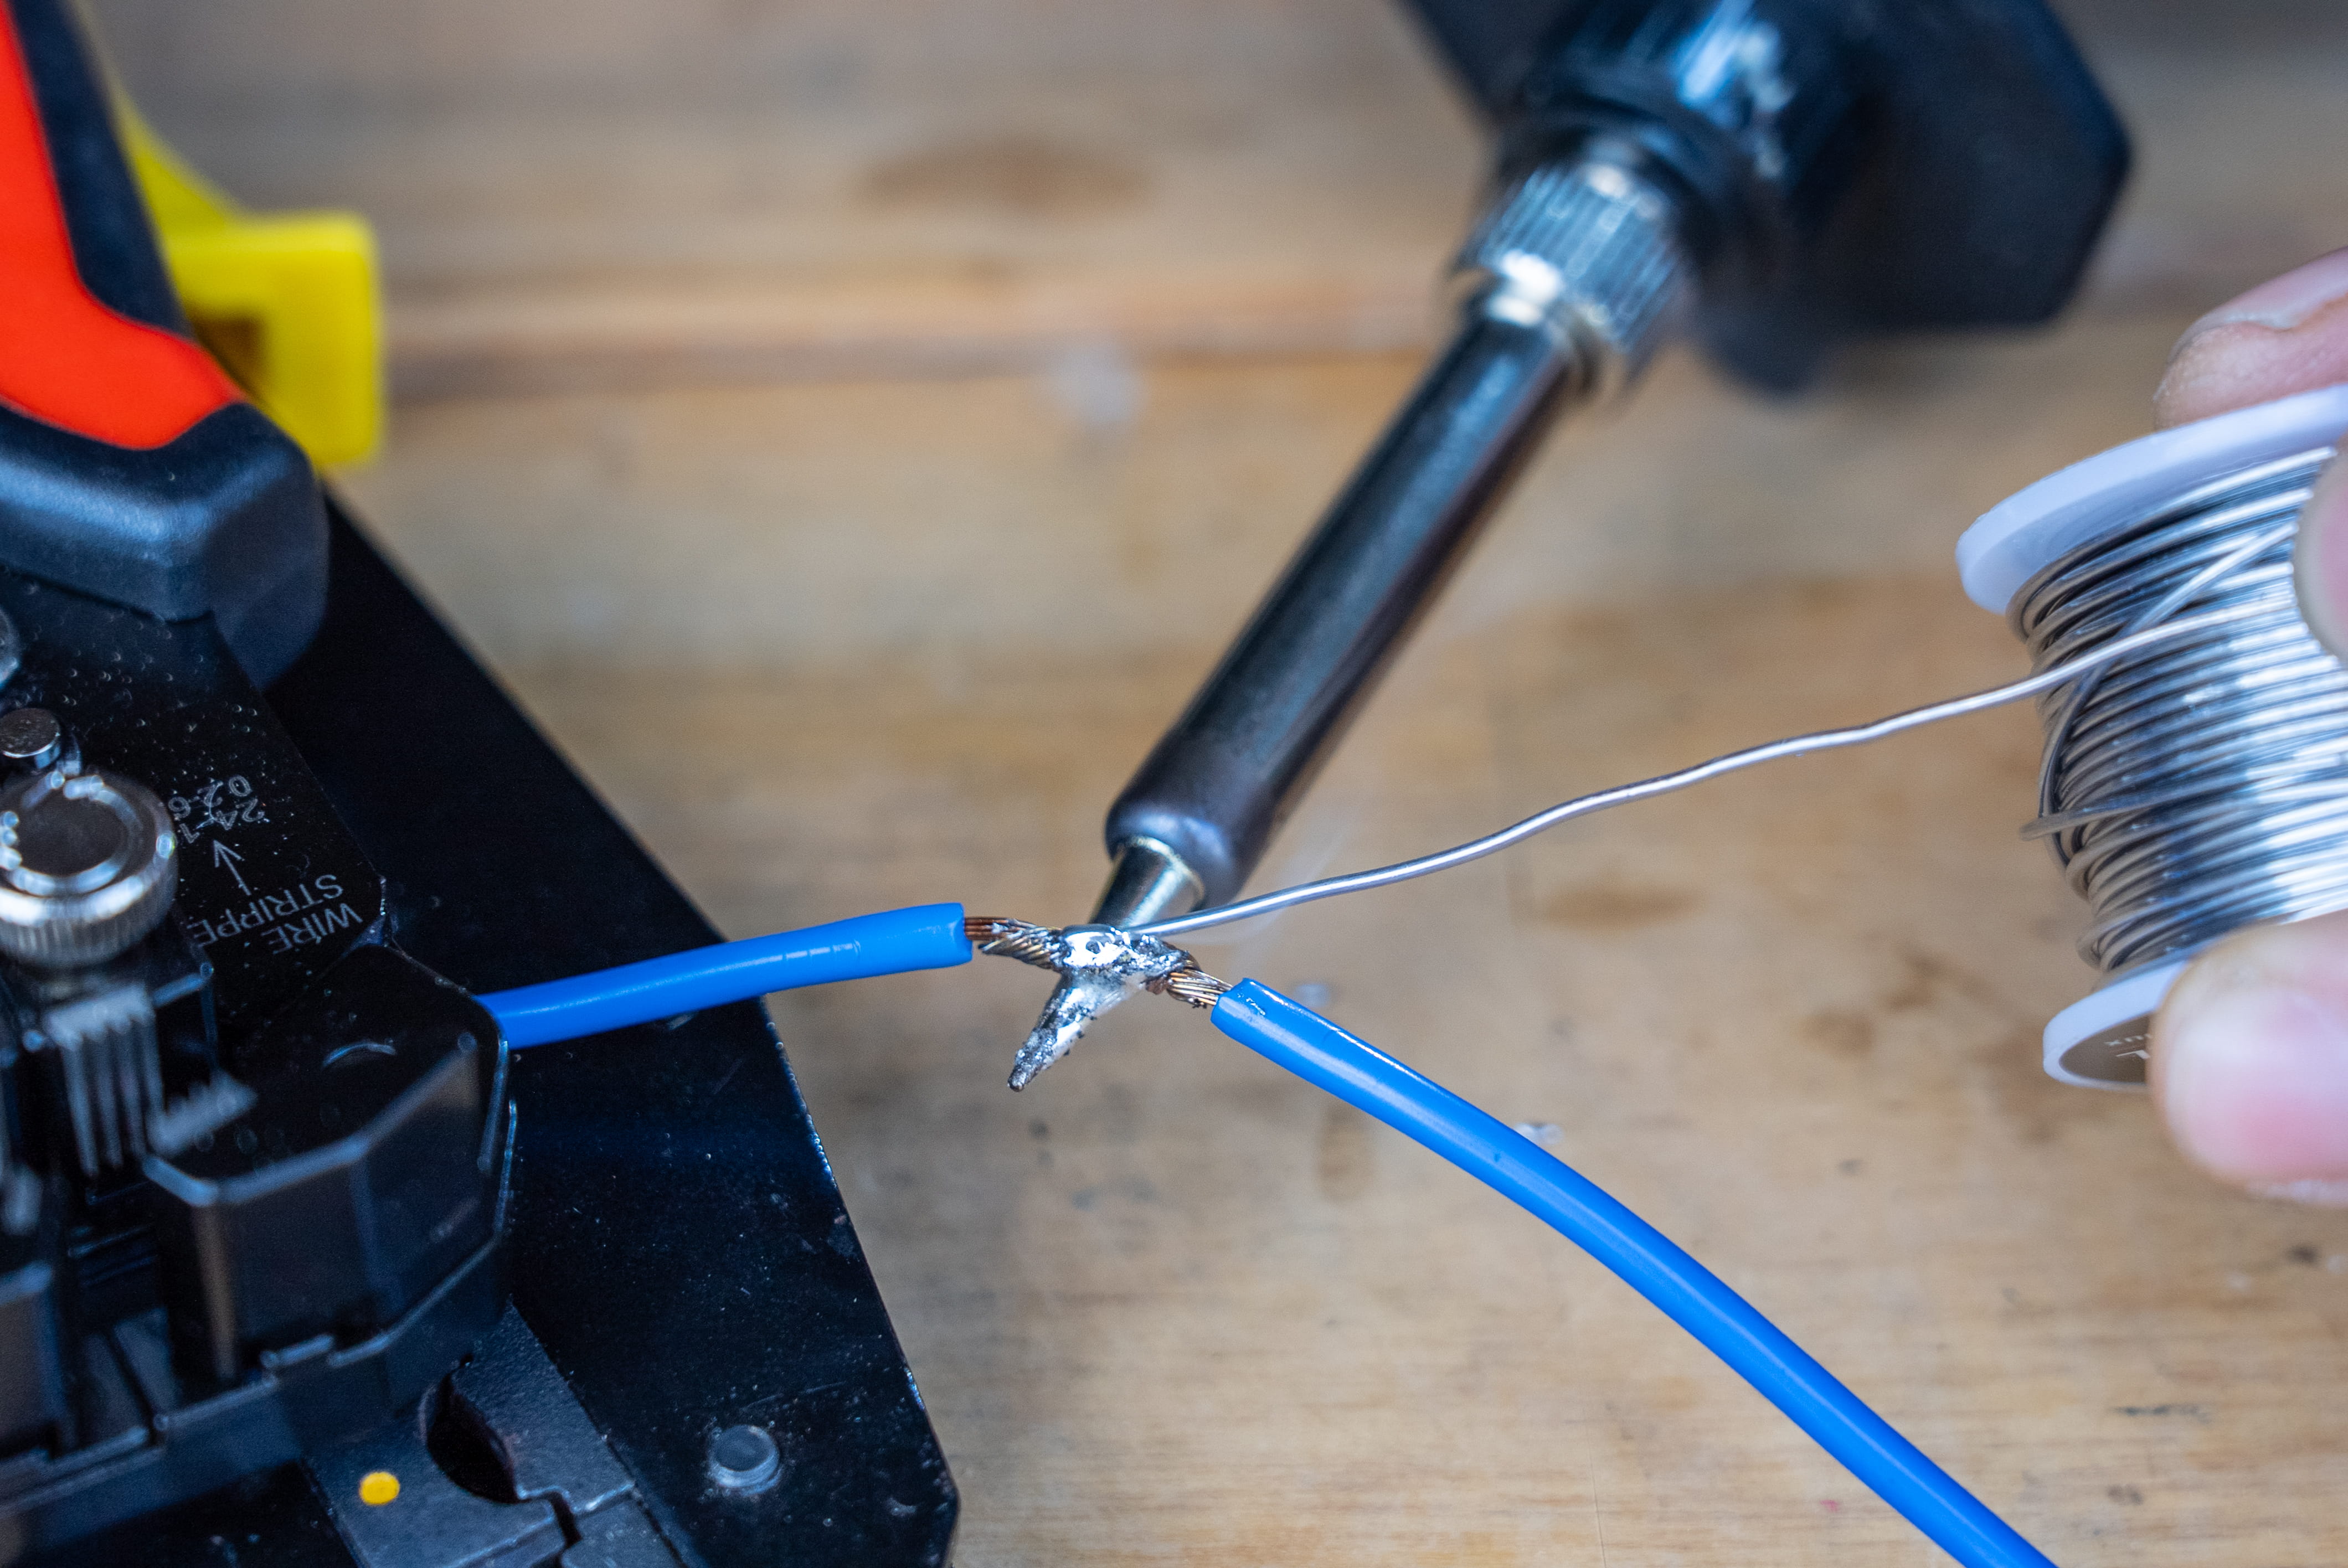
- Hold the tinned area of your soldering iron to your wire join for a few seconds.
- Gently probe more solder right where the soldering iron meets the join.
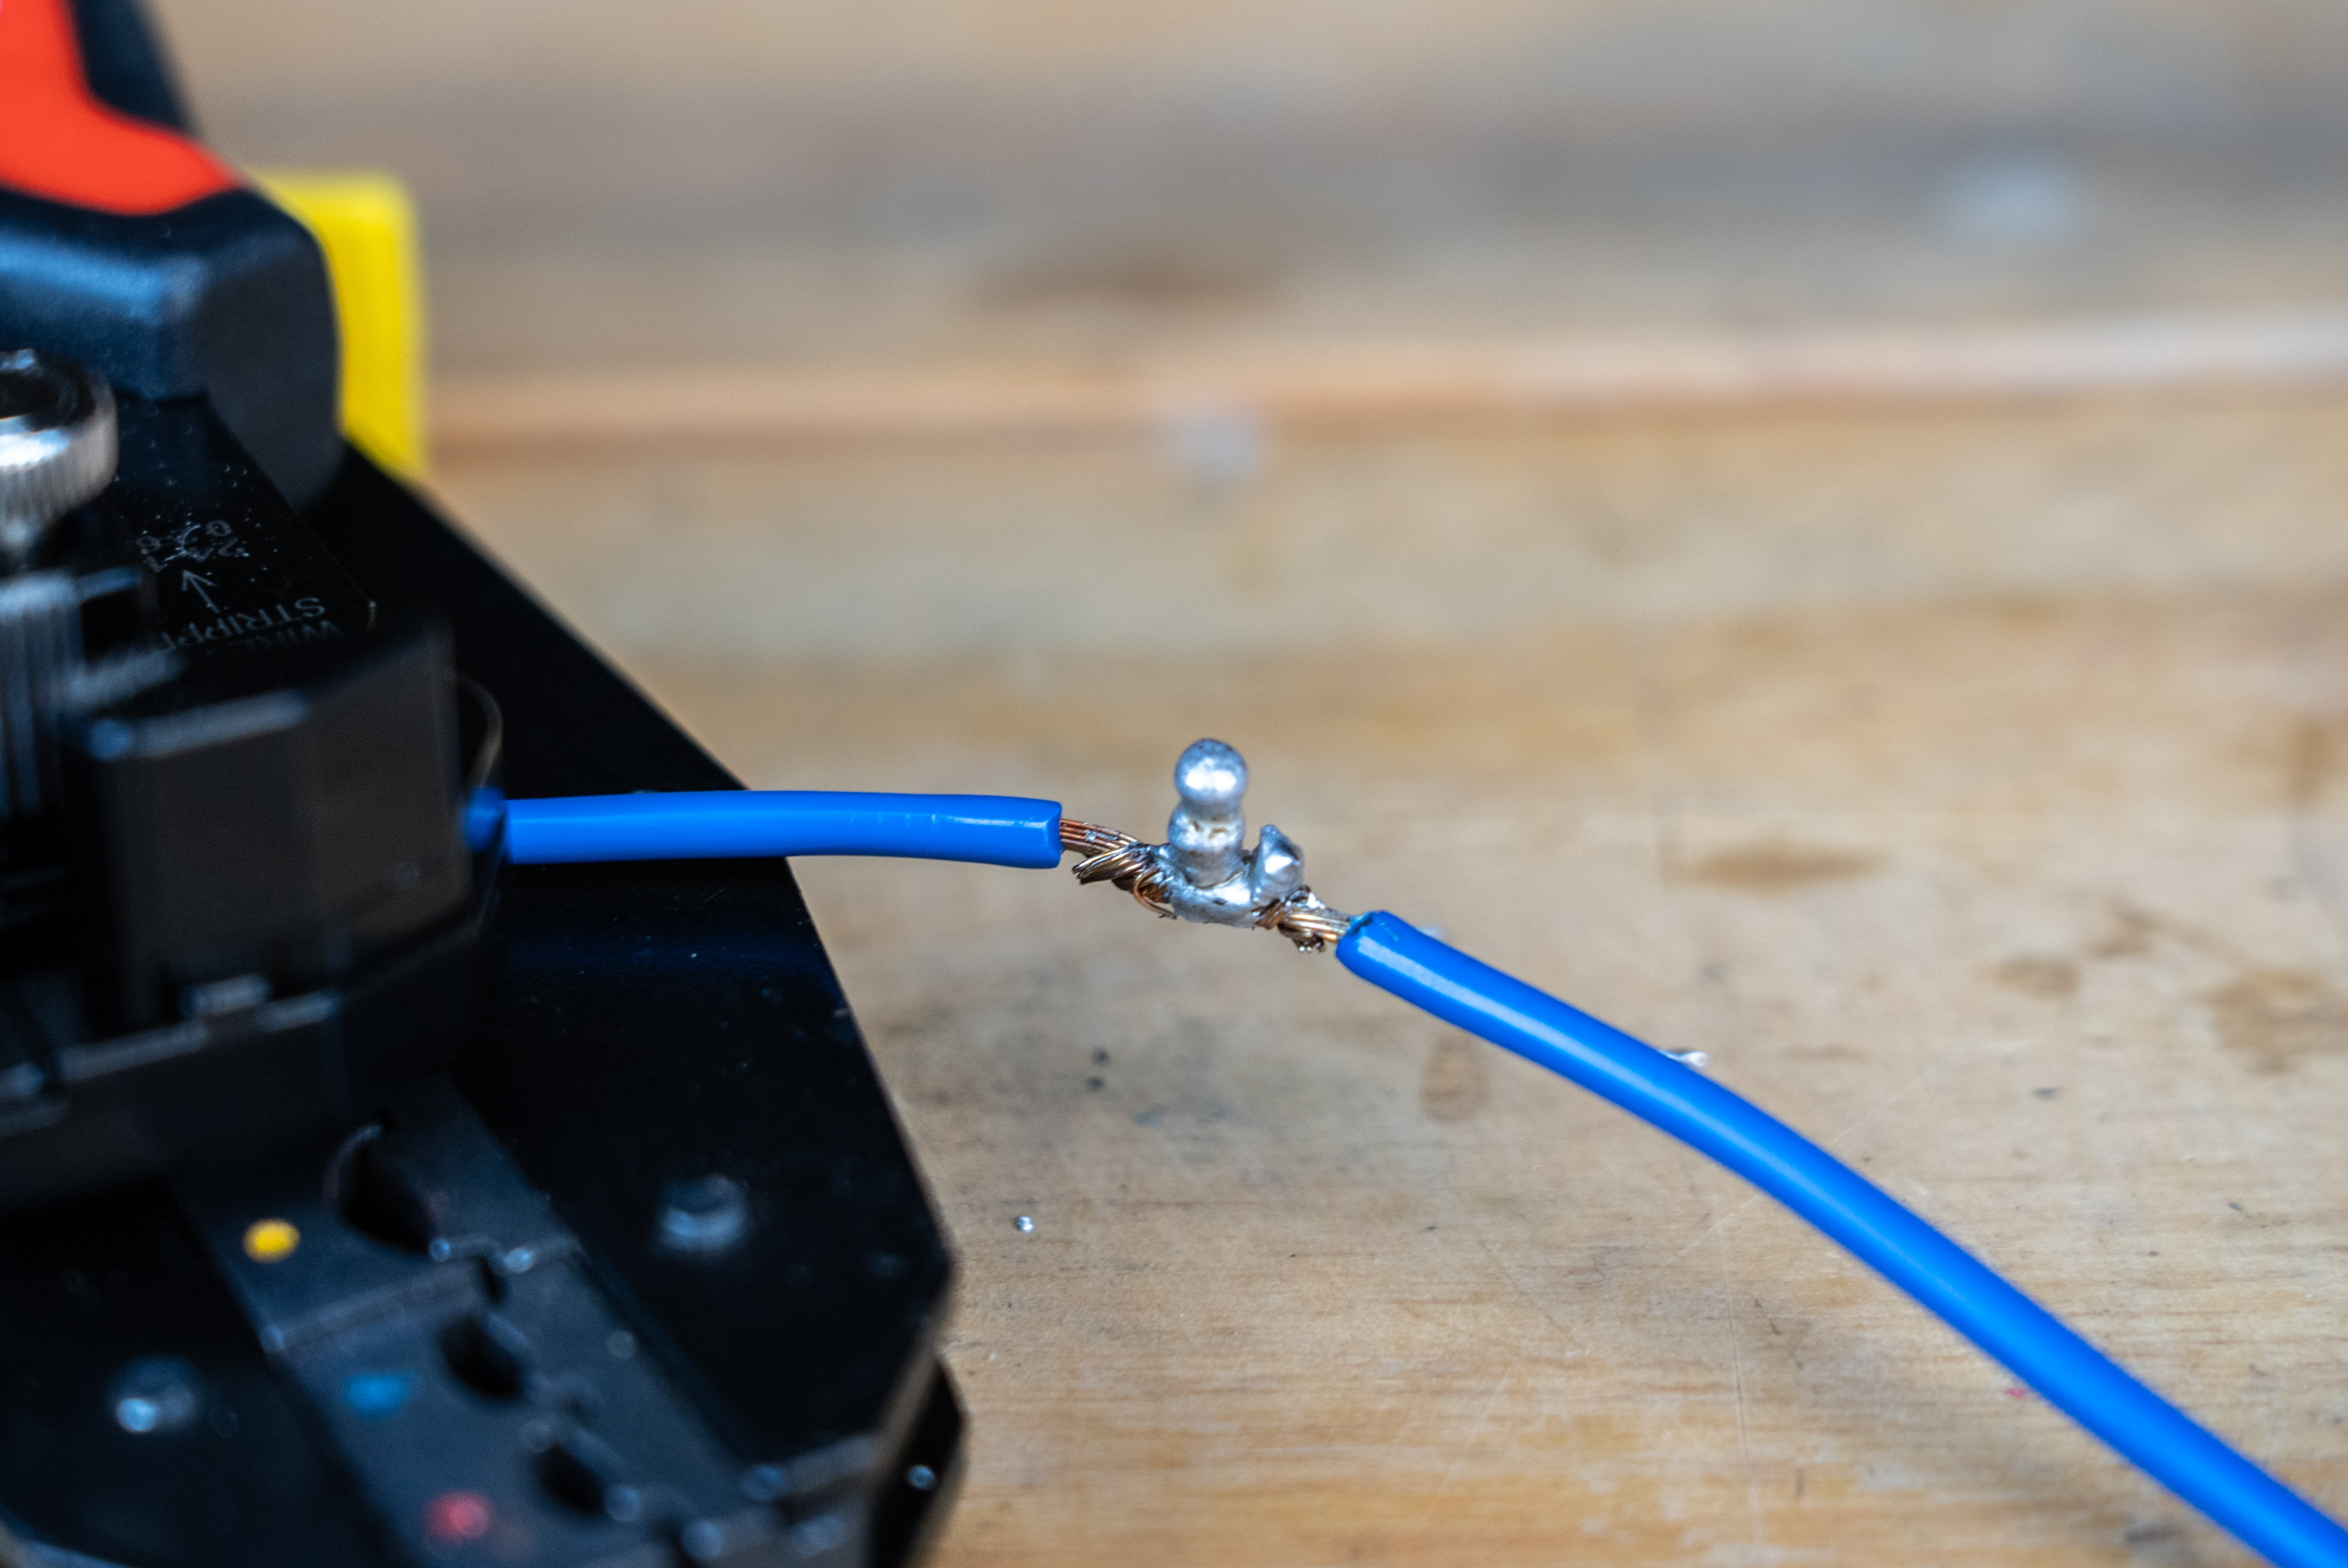
- The solder should flow through the join.
- If it doesn’t melt, or it pools on top; allow the soldering iron to apply heat for a little longer and try again.
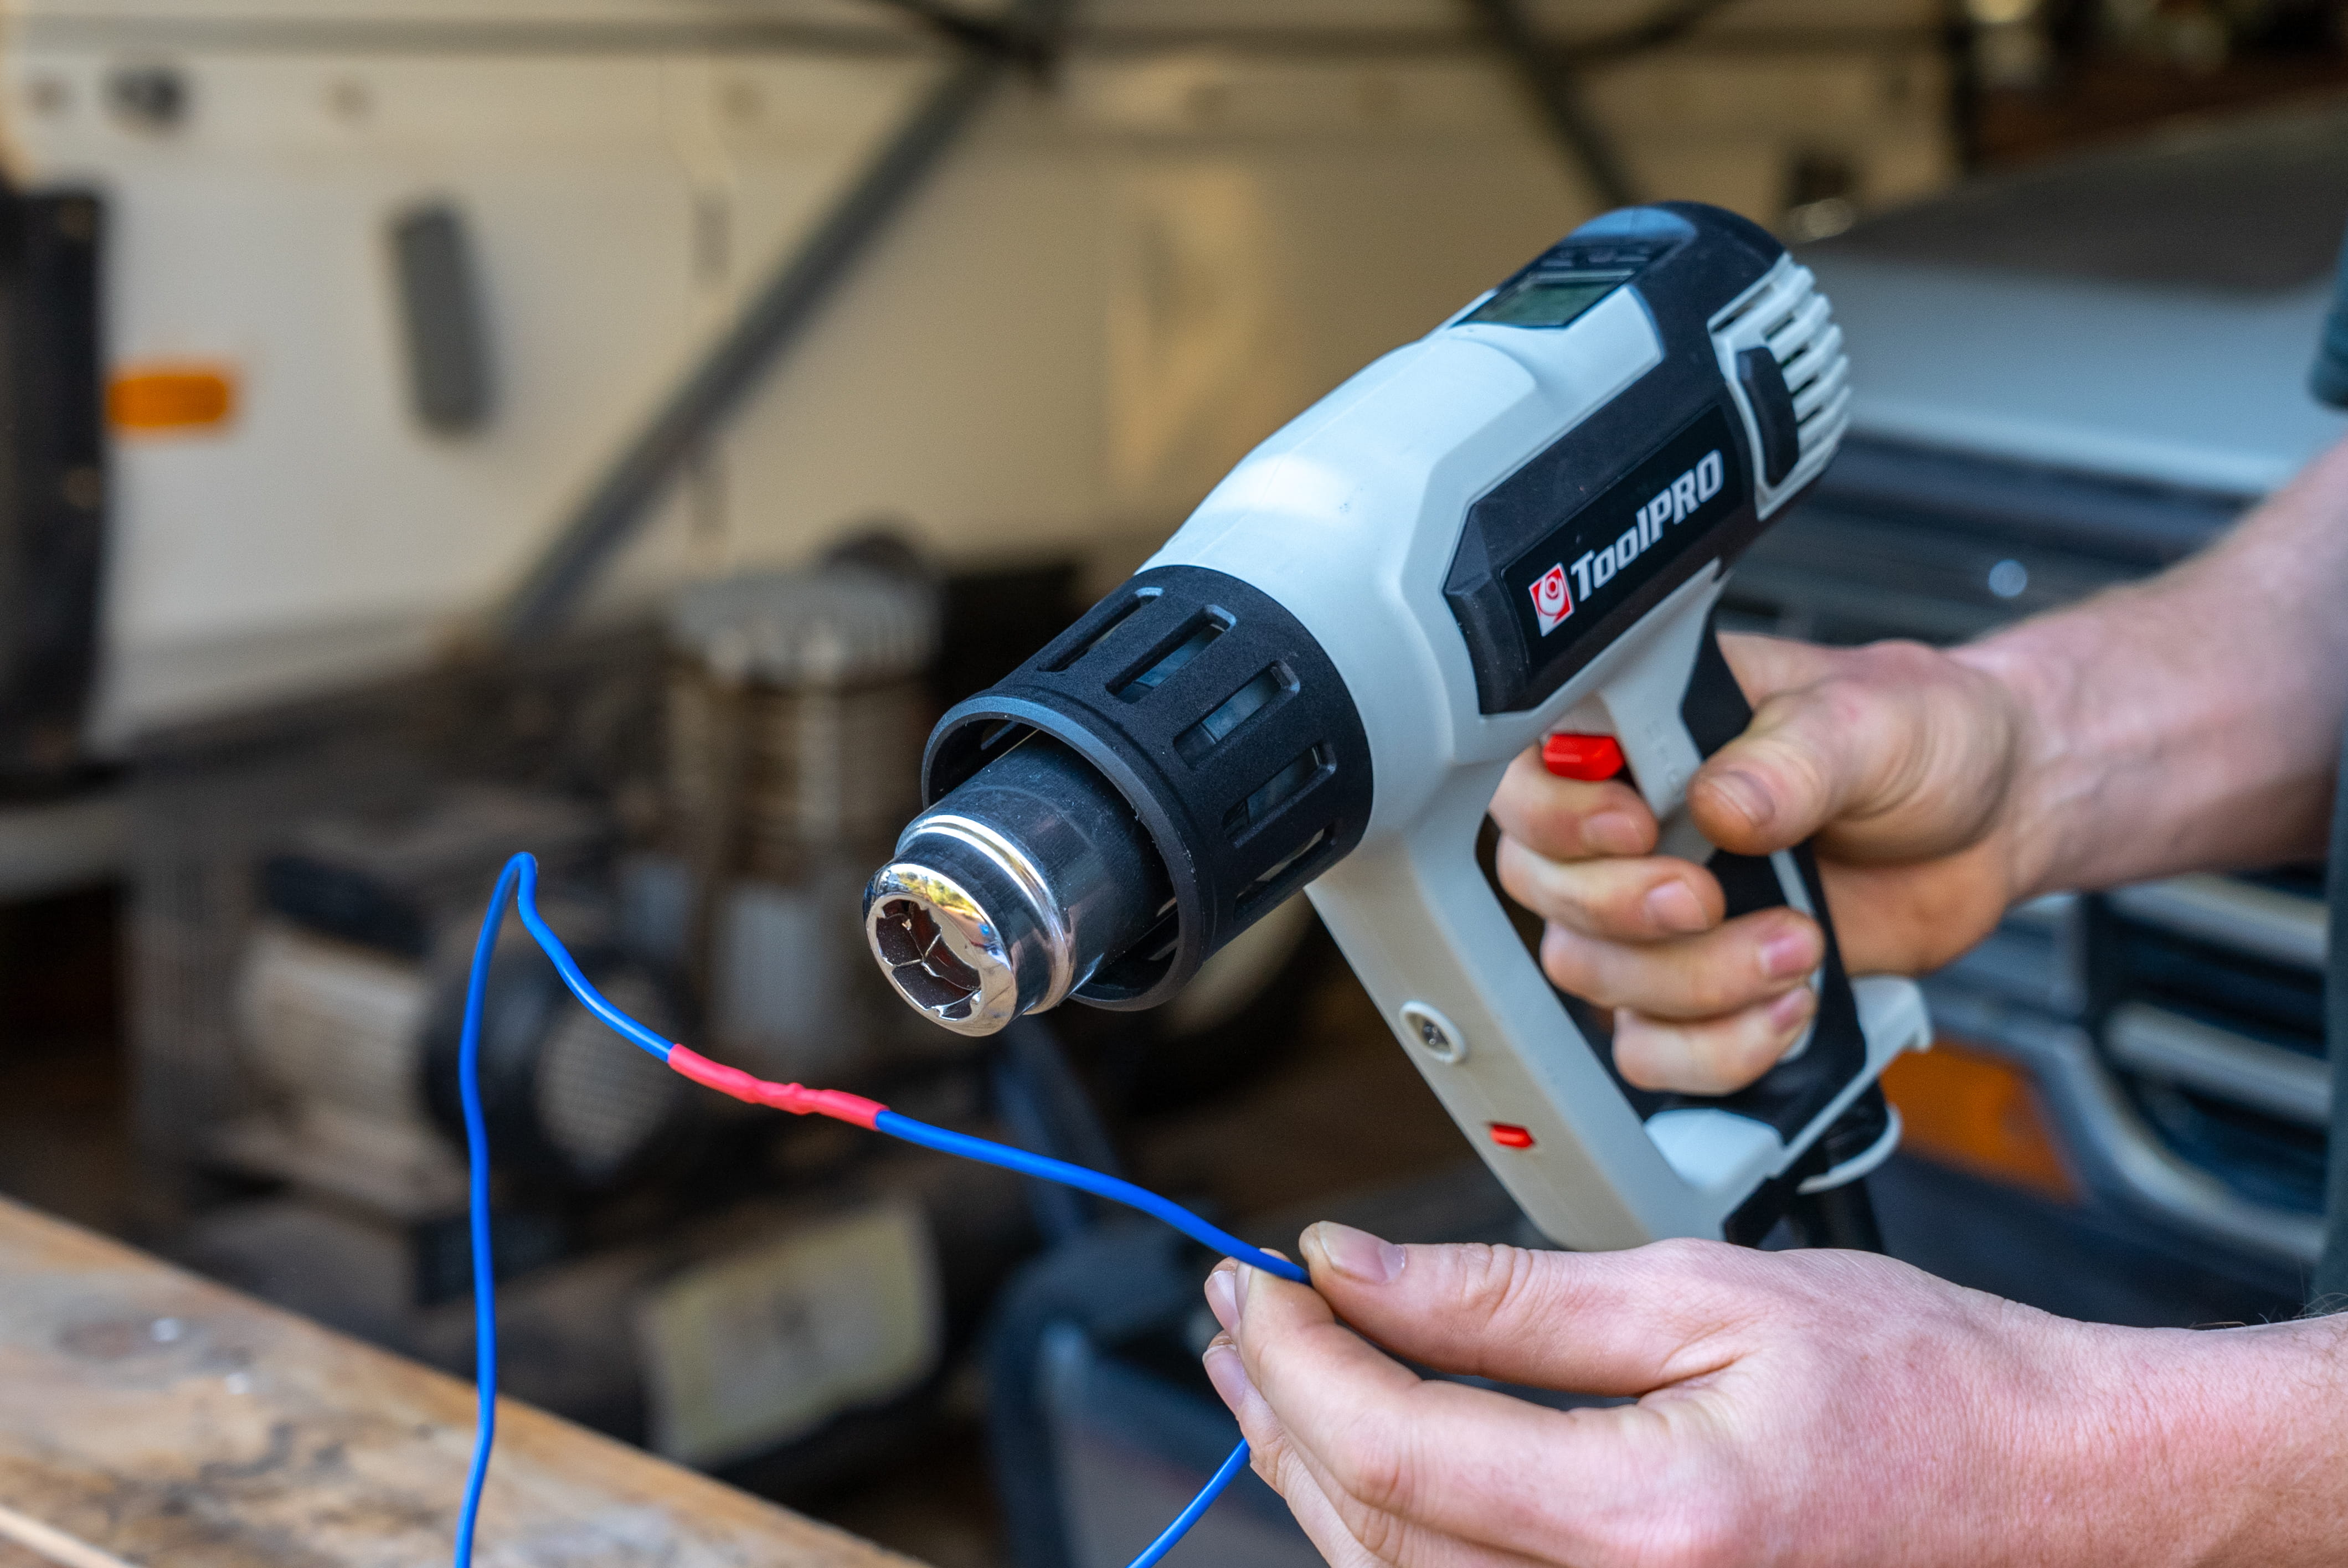
- Once the solder join has cooled, you can slip the heat shrink over the join, and use the heat gun or blow torch to shrink it in place and insulate the join.
- If you’ve spliced a join, it is usually impossible to apply heat shrink. Wrap the join in quality electrical tape instead.
Tips
Apply only as much heat as required for the solder to flow. Too much will cause the solder to flow too far and damage the wire insulation. Great work! You now know how to solder.
Knowing how to join wires using these two methods will cover most of the skills required for reliable, long-lasting accessories on all kinds of vehicles. Why not put these new skills to use on one of our SUPER DIYs?
*Important information* - Click here to read more about our How-To terms and conditions.