Build A Simple Racing Simulator - Home Built by Jeff
When there’s no track days scheduled and you’ve got the itch to drive hard, firing up your favourite racing game is the next best thing. Get a few friends on board and through the magic of online gaming you can even start a ‘living room cup’! Excited yet? Let’s get into it.
What You Will Need:
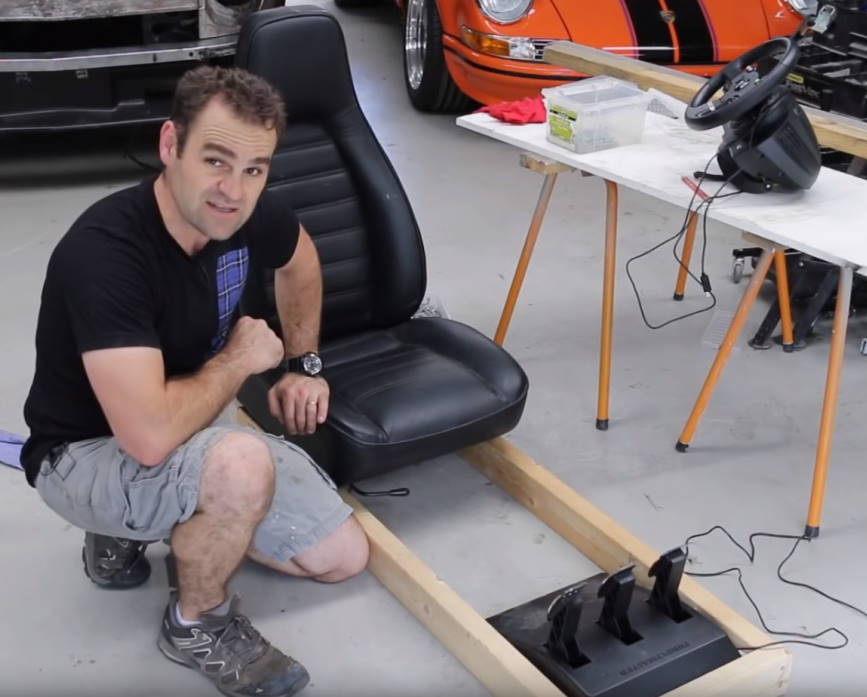
- A racing wheel and pedal set compatible with your gaming system.
- An old car seat. Bonus AWESOME points if it’s a race seat! If you don’t have either, even an old plastic school chair will suffice
- Some 2x4 inch timber or similar. If you’ve got some lying around, great! Otherwise it’s fairly cheap and easy to obtain.
- PVA wood glue and screws.
- Measuring tape.
- Power drill.
Note:
When performing maintenance on any of these hydraulic jacks, never touch the overload protection underneath the orange caps. These are set from the factory and will never need adjusting.
If your jack has become spongy and is failing to lift with the pump of the handle, you may have air trapped in the hydraulic system. This can occur after shipping and handling or after topping up with oil.
Luckily fixing this issue isn’t difficult to fix and only requires purging the air from the jack. As well as purging, we’ll also show you how to perform an oil refill to ensure that your hydraulic jack gives years of trouble free service.
Hints & Tips
When performing maintenance on any of these hydraulic jacks, never touch the overload protection underneath the orange caps. These are set from the factory and will never need adjusting.
Step 1 - Measuring Up
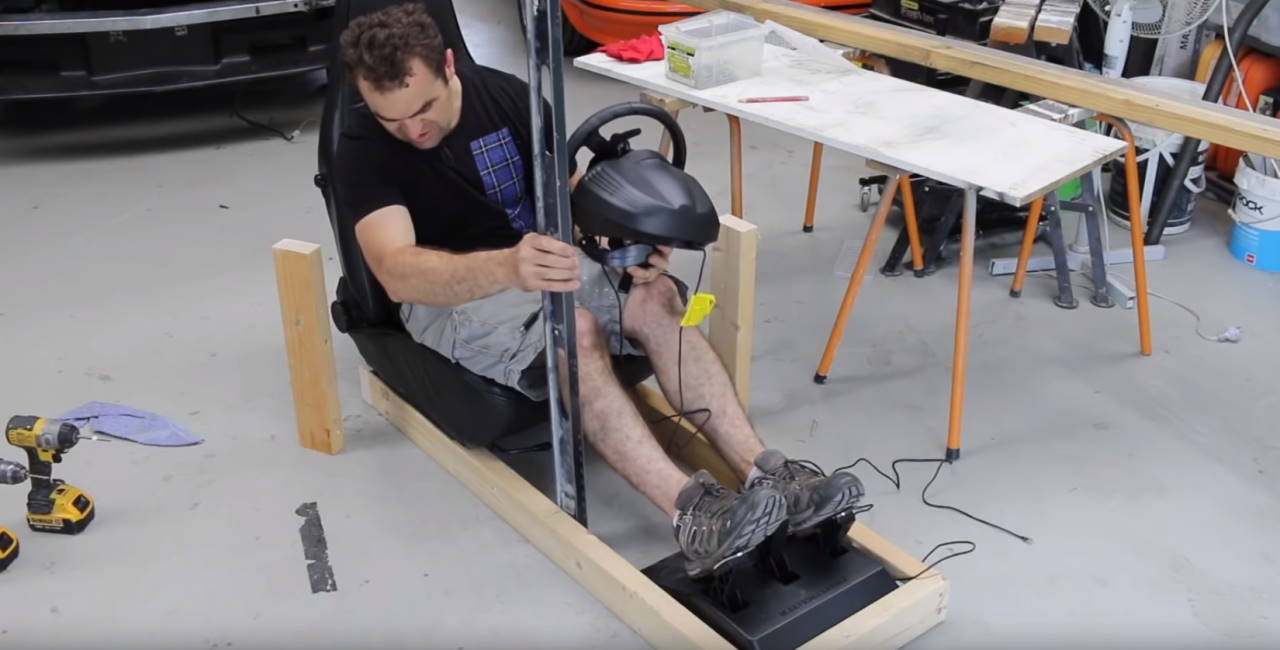
Clear a bit of space on your garage floor, place the pedal set and the seat here, and play around with some measurements.
Sit in the chair and find a comfortable pedal distance then measure this out from the back of your seat rail to the front of the pedal box.
Cut two lengths of timber to this measurement.
Step 2 - Seat Height
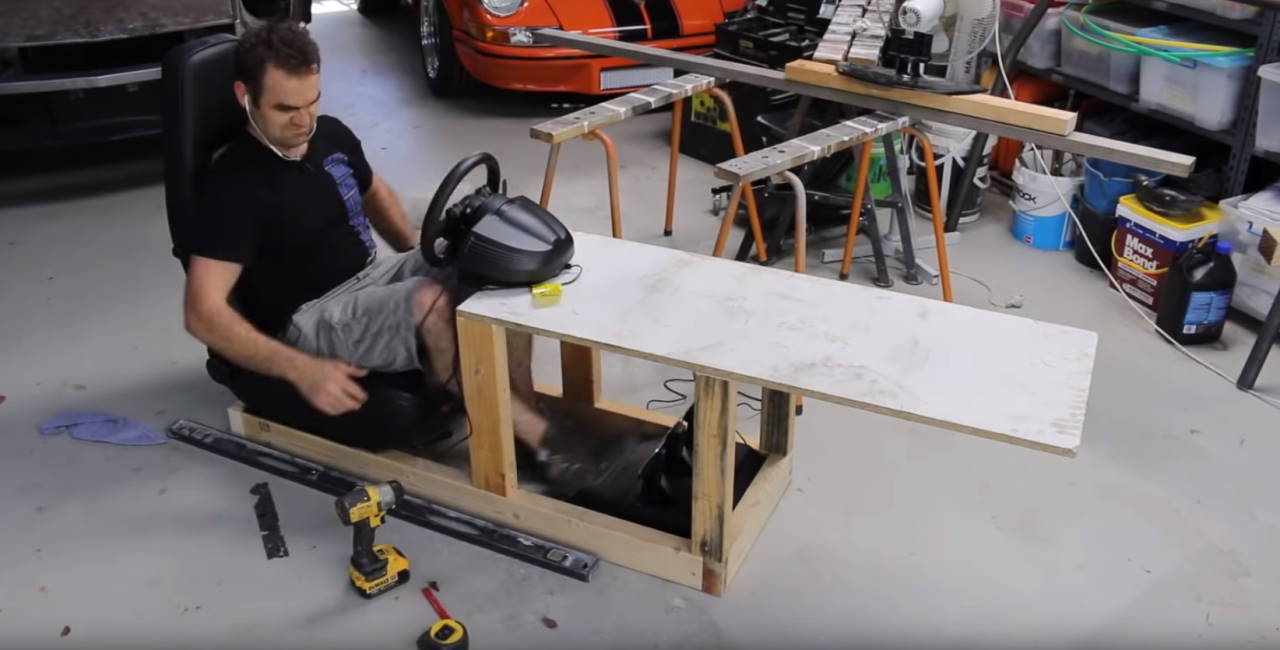
In a vehicle your seat obviously sits a little higher than the pedals.
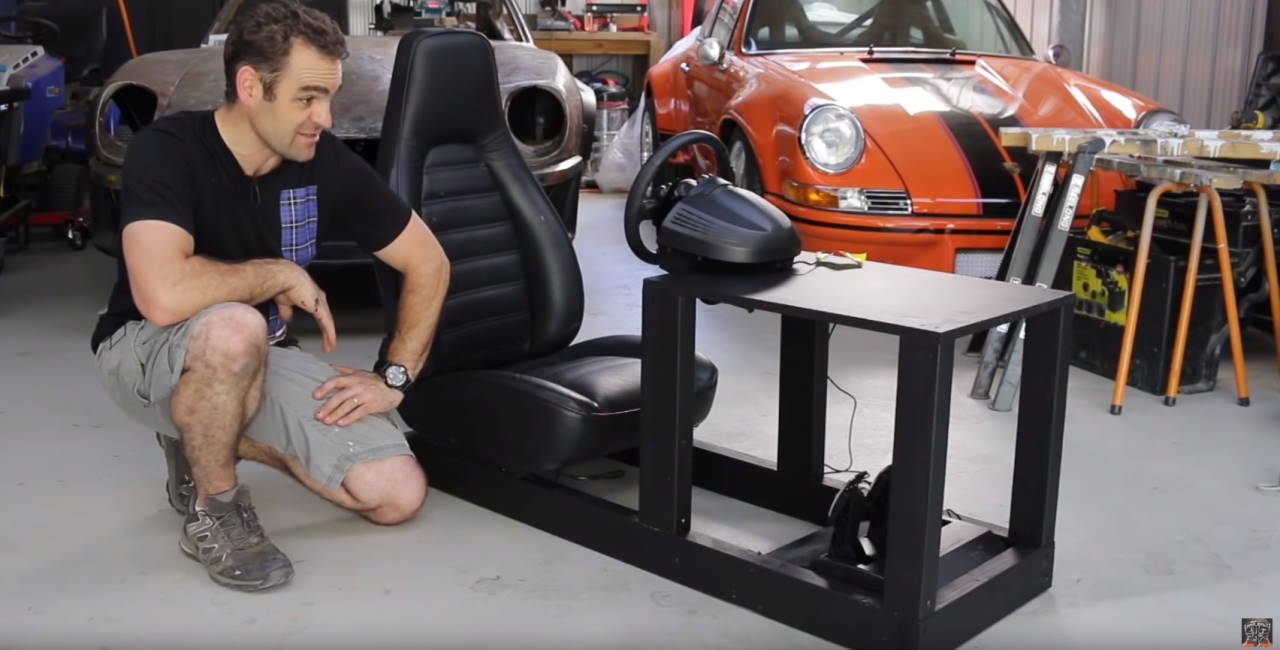
Place your seat atop the two pieces of timber you just cut and hopefully, if the seat rails are just the right width, your pedal box will sit between them on the floor.
If this doesn’t work and you REALLY want that little bit of elevation, you may consider fitting a flat piece of MDF or particleboard on which to mount the seat; or creating a separate framework to house the pedal set nicely.
Step 3 - Screw Together the Frame
Cut some end pieces to the correct width and screw the whole lot together.
A bit of PVA wood glue will ensure those joints don’t come apart. Screw the seat to the top of the frame, fix your pedals where you’d like them and test how it feels.
If you left a little extra length in step one, you might need that to get the seat position just right for you.
Step 4 - Mounting the Steering Wheel
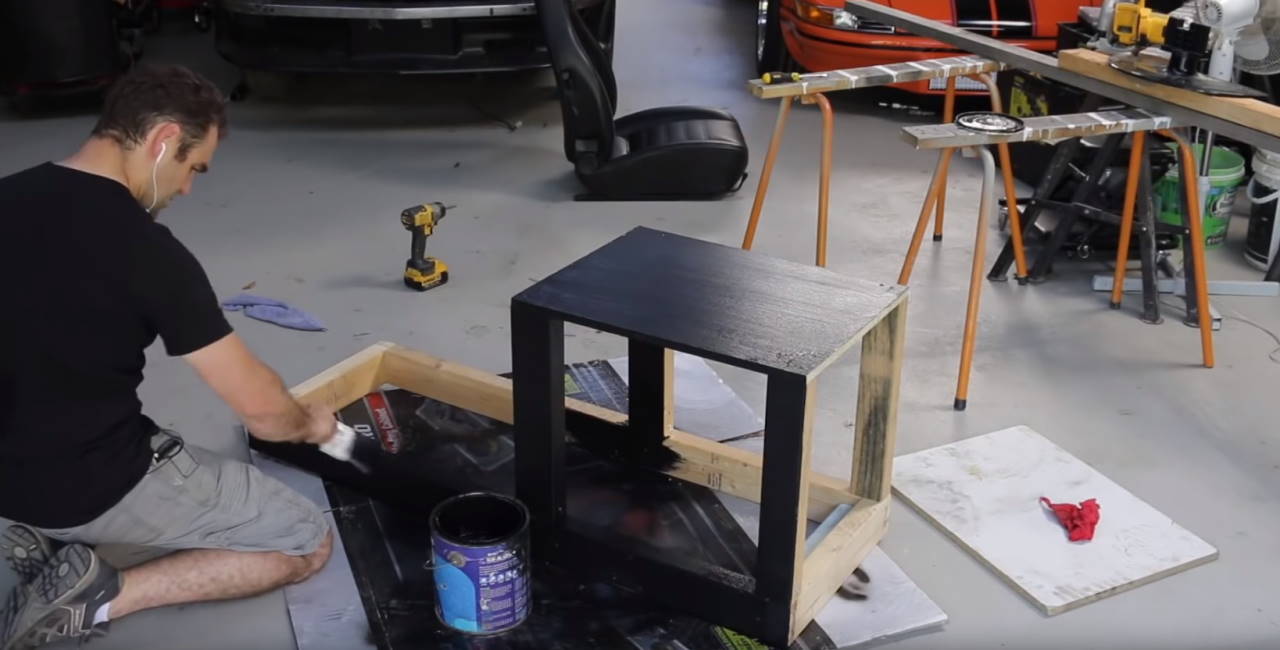
You might need 3 hands for this bit, or another person to help. While you’re seated in position, hold your steering wheel up about where you’d like it, and get an approximate height measurement and distance from the front of the frame.
Now you need to cut two posts to the height you measured, and place them at the distance you measured from the front of the frame.
Hint:If you want to take home security further, there’s plenty more you can sink into. Sometimes all it takes is to take a step back, think like the thief for a moment; and implement the change. But hey, completing even one task on this list is another step safer than before.
Step 5 - Just the Wheel? Or a TV too?
If you’d like to incorporate a TV into your simulator and make it more ‘stand alone’; this is an easy addition.
Cut yourself another two posts to the same height as in step 4. These will go right at the front corners of your wooden frame. Now you’ve got four posts onto which you can fit a piece of flat board to stand your TV.
>Attach your steering wheel to the front of this, and check again that it’s at a comfortable height. You can always chop a bit more off the top of each post if it’s too high.
Of course, if you don’t need to incorporate the TV, you can just fit a piece between two original posts for just the steering wheel.
Step 6 - Final Touches!
*Important information* - Click here to read more about our How-To terms and conditions.