Car Interior Cleaning: 10 Essential Steps
Overview
Some of us drive for fun, for others it's a necessity. Whichever it is for you, a solid car interior cleaning routine will make that cabin a more pleasant and enjoyable place to be. Let’s dive into car upholstery cleaning and the 10 essential steps to interior detailing.
Items
Steps
Step 1: Vacuum For A Tidy Start
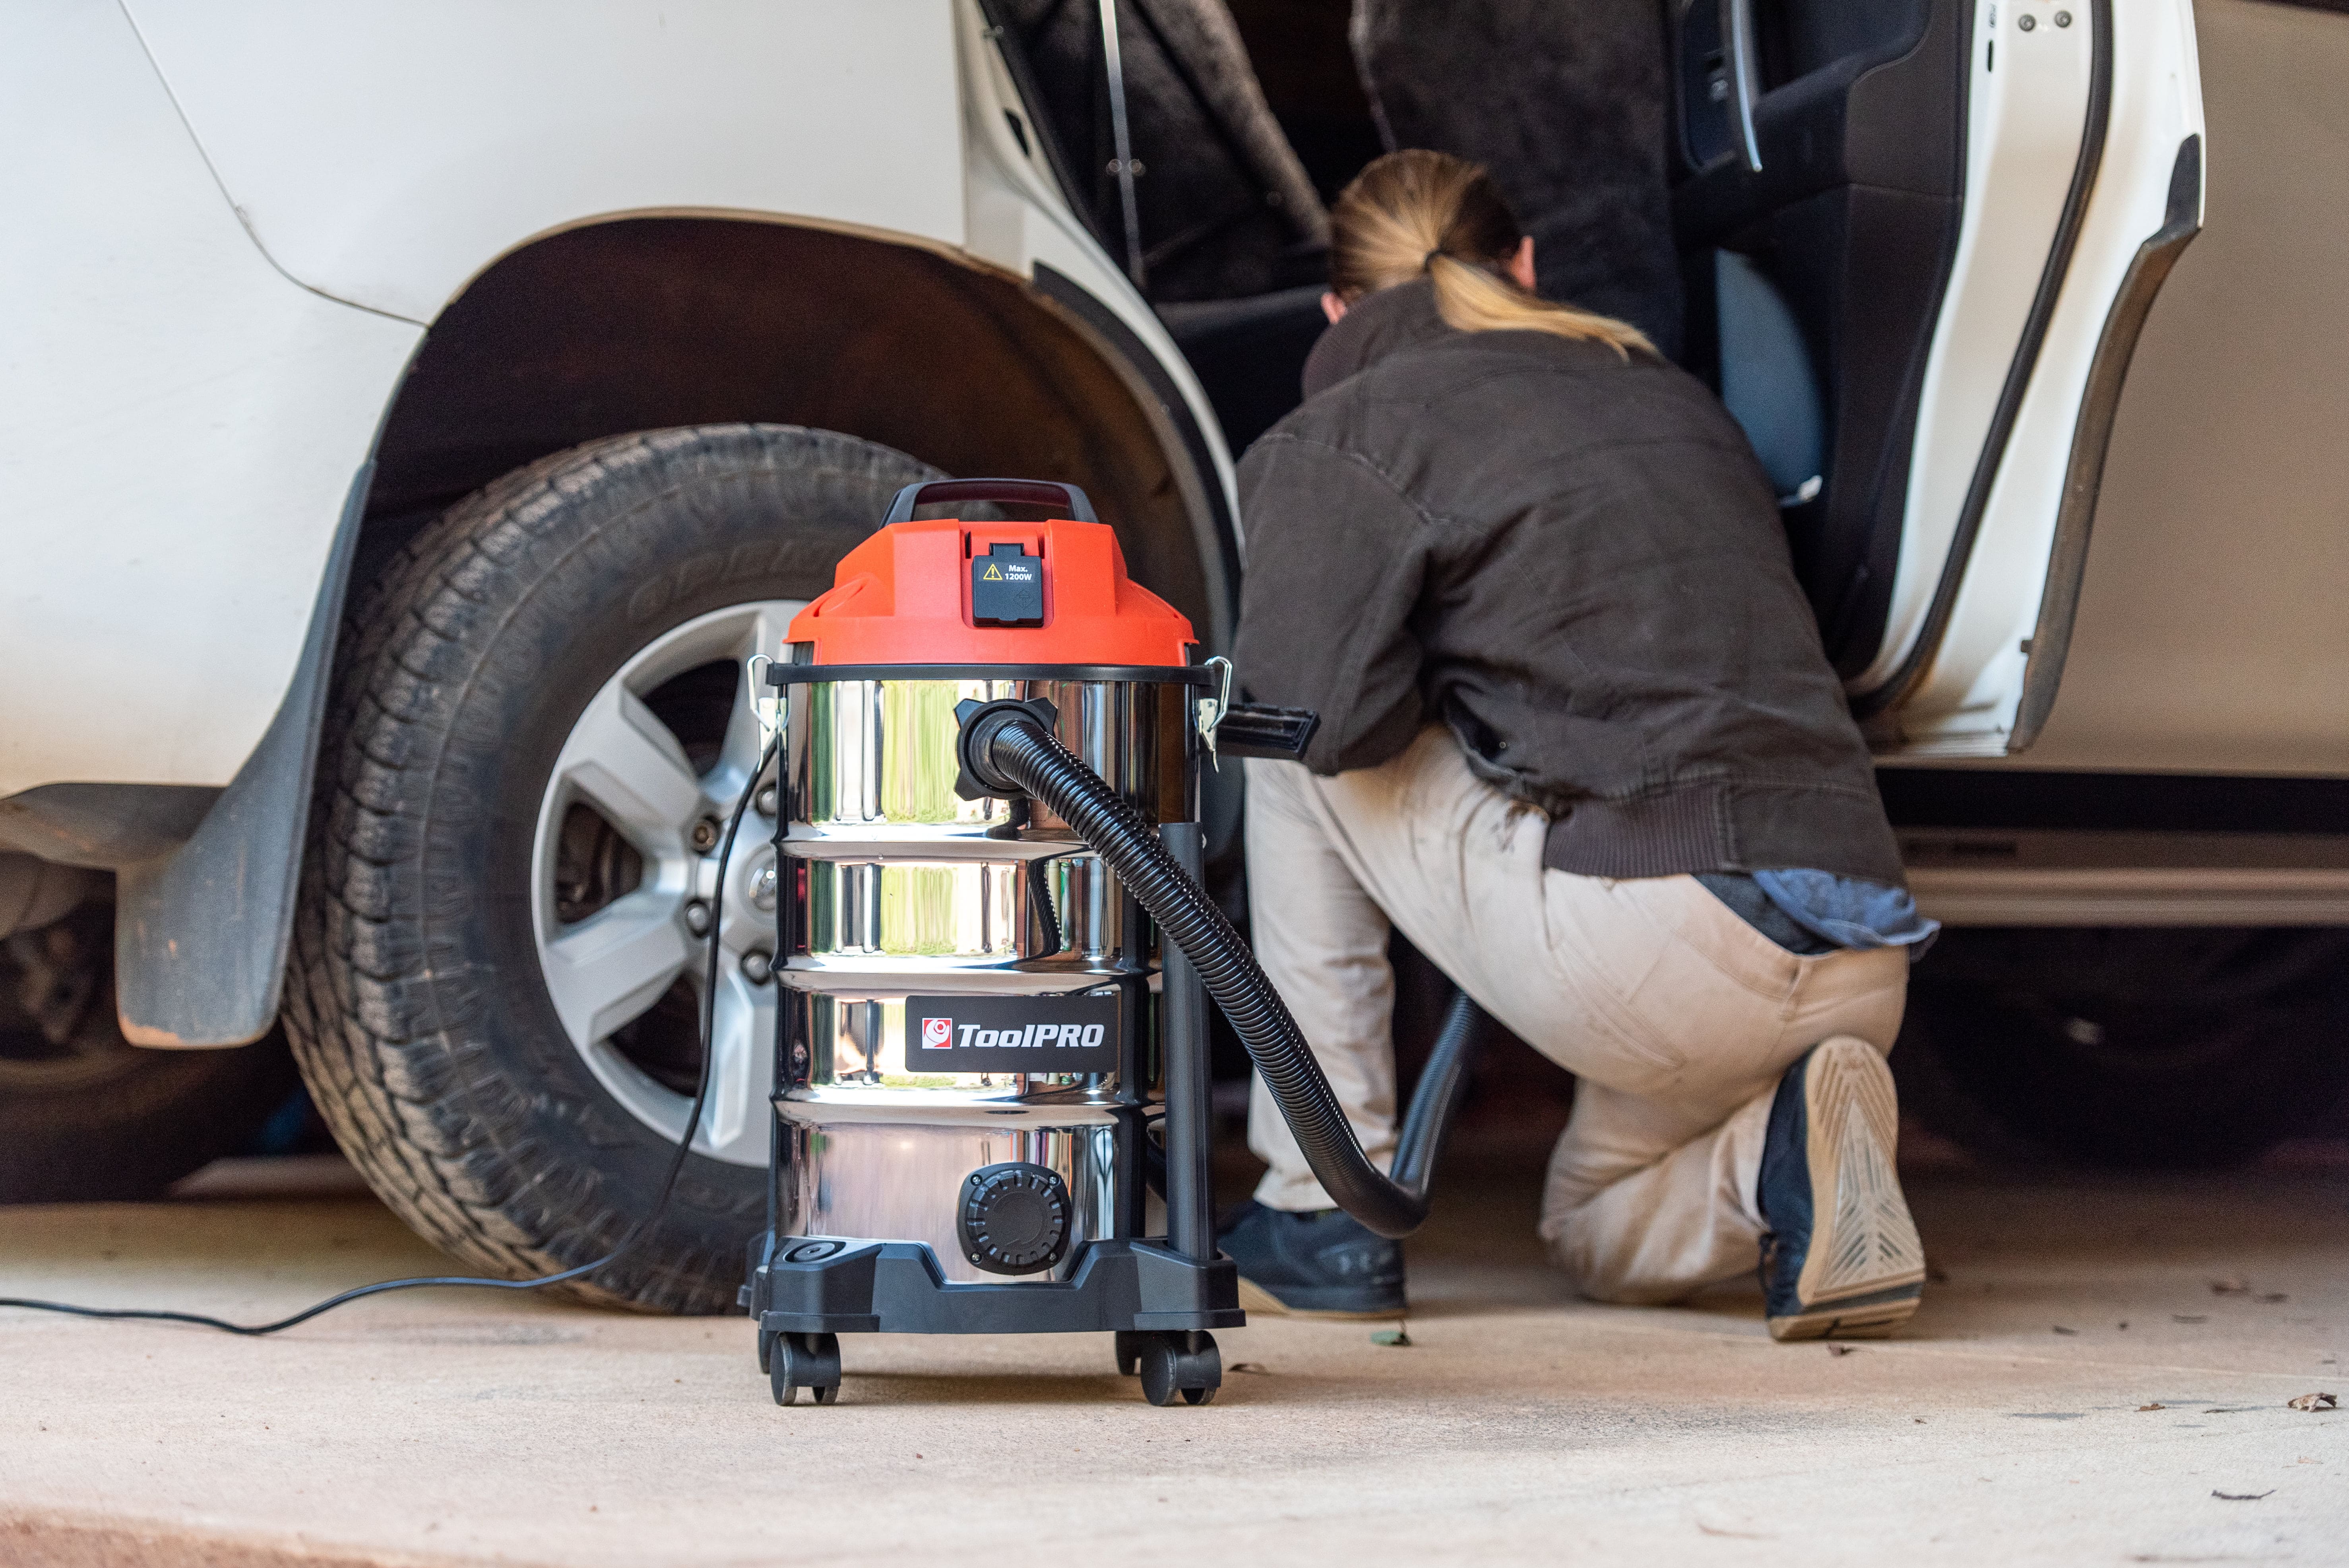
Bin those empty coffee cups and crinkled chip packets. Remove the floor mats, and any other items you keep in your car. Then grab the vacuum.
The brush attachment will help to free up particles stuck in the pile of your carpet, but you’ll want the nozzle attachment to get the stale French fries out from between your seats.
Step 2: Effective Car Upholstery Cleaning
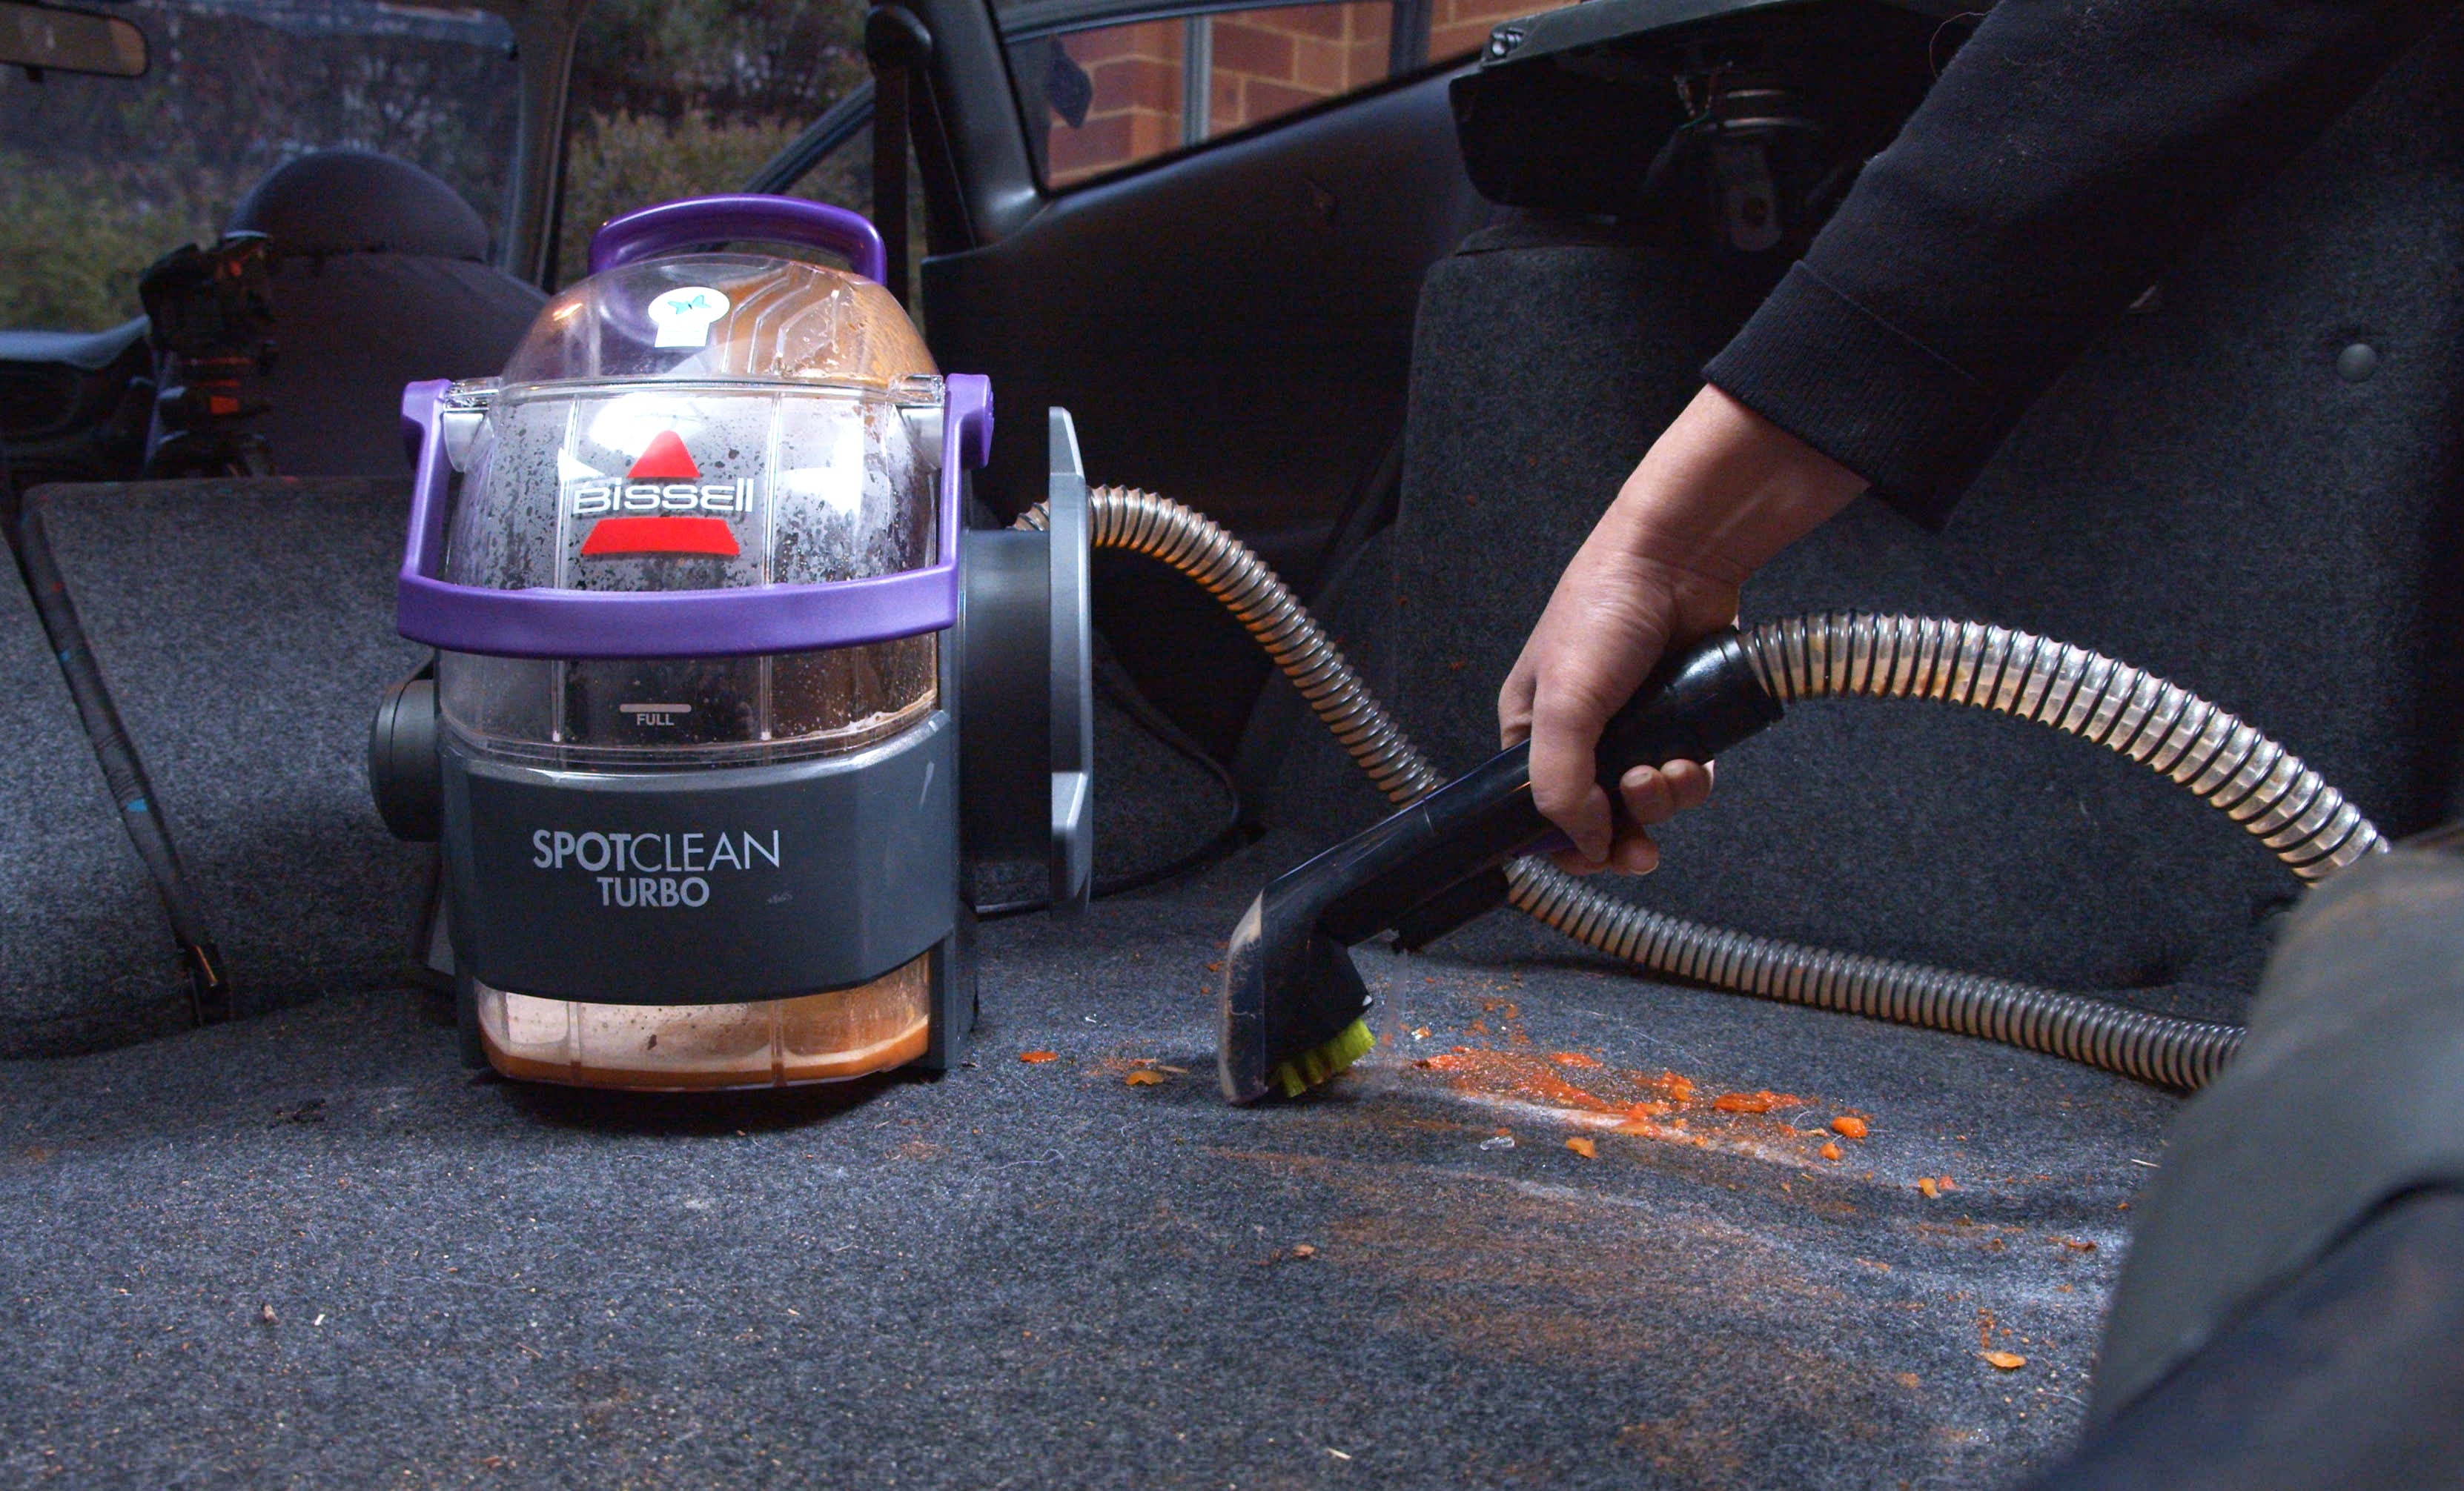
The Bissell Spot Clean Turbo is perfect for car upholstery cleaning. Fill the clean water tank with warm (not boiling) water and add the spot and stain formula. Working one seat or patch of carpet at a time, spray the hot mixture and allow it to soak for 5 minutes. Give it a good scrub with the brush on your Bissell; then switch the machine on and pull the trigger, allowing more cleaning solution to rinse through the fabric as the machine sucks it up.
Prepare for morbid fascination with how filthy that water comes out!
SUPER TIP!
If car upholstery cleaning means you’ll be working with leather or vinyl; use a specialised leather or vinyl cleaner and protectant. Especially important for leather, it keeps the leather hydrated and prevents cracking.
Step 3: Tackle Stubborn Upholstery Stains
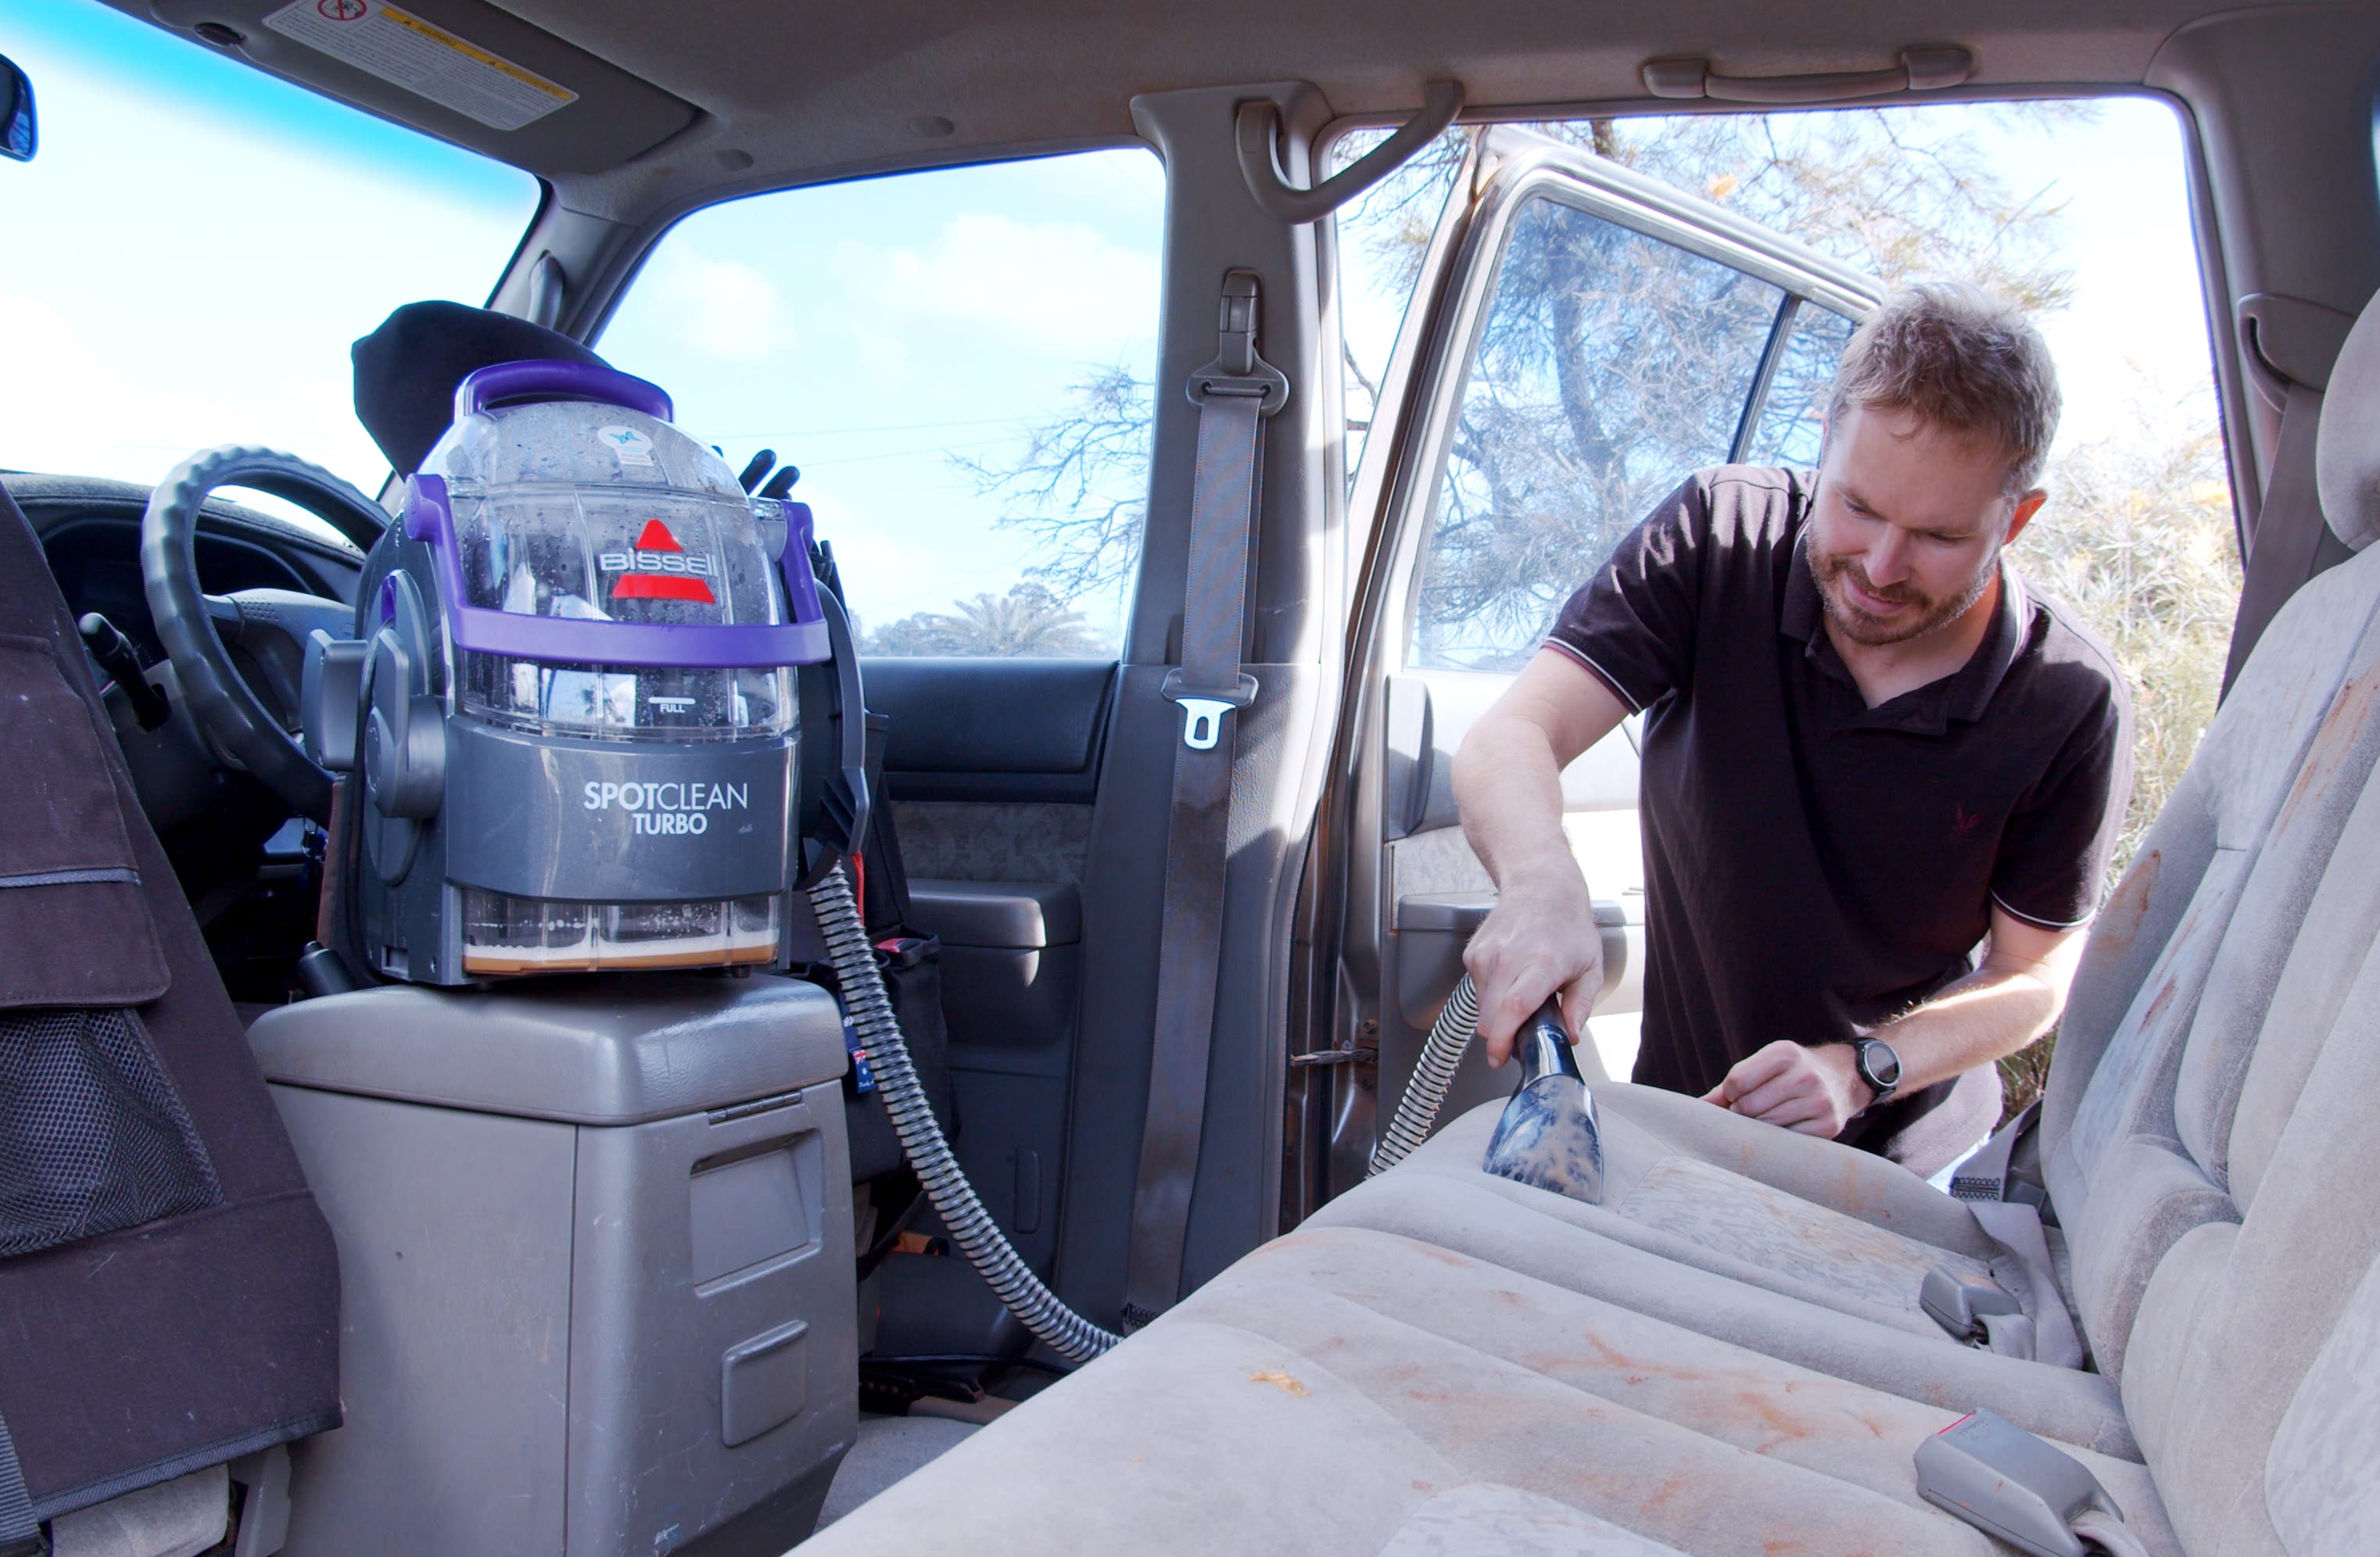
Any remaining tough stains can be dealt with using your Bissell and the oxy boost formula. Use it the same way as the spot and stain formula and test it on an inconspicuous area first. This is powerful stuff!
If you feel it’s necessary; you can finish off your car upholstery cleaning with hot water alone run through the Bissell.
SUPER TIP!
Got chewing gum or tar stuck to your upholstery? You can apply an ice cube to the area to harden the substance and scrape it off with a spoon or knife. Or believe it or not; a dab of peanut butter may help. The oils in peanut butter will break it down for easier removal.
Step 4: Dash & Console Clean
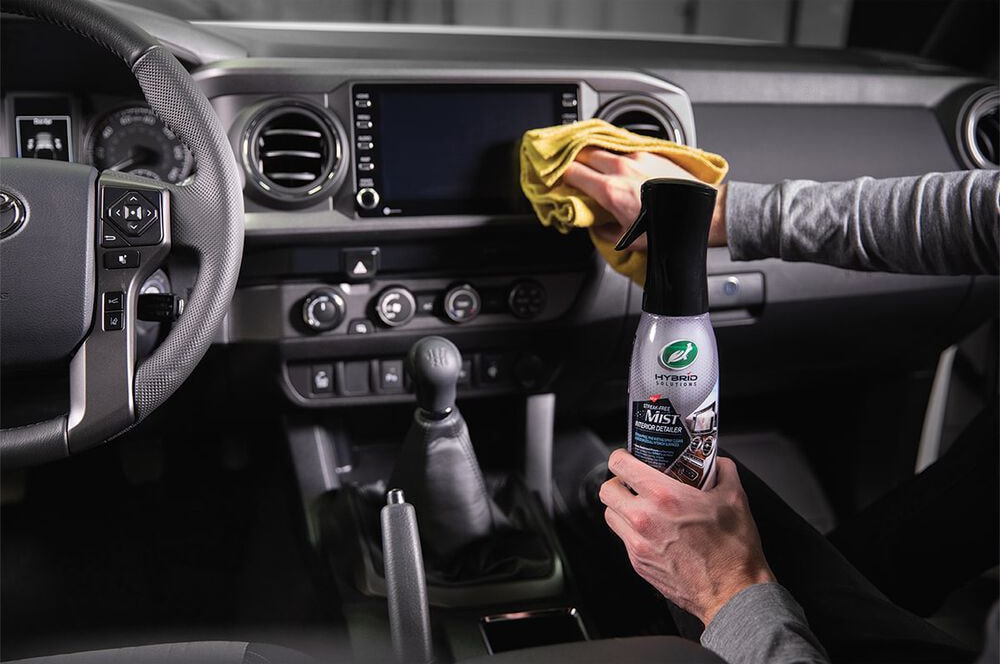
Apply a squirt of interior detailing spray to any spills around the cup holder area and allow that to soak as you move onto the dash. A squirt of interior detailing spray onto a microfibre cloth followed by a quick wipe will do the trick.
Get into those fiddly areas with the interior detailing brushes. These will come in handy to loosen up those spills in the cup holders too.

Step 5: Door Trims
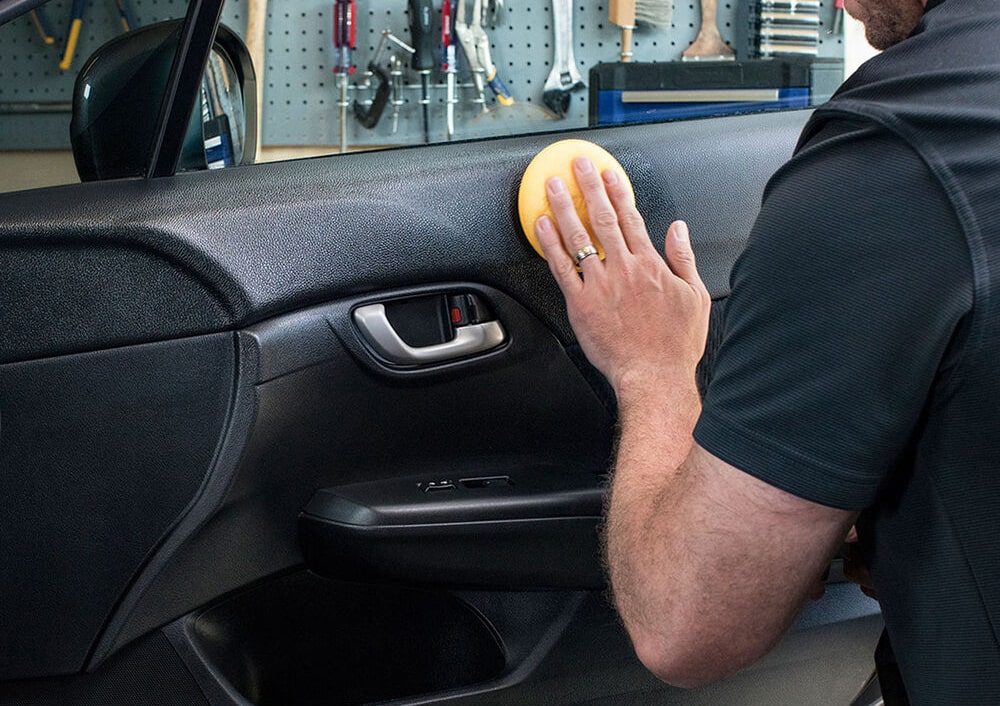
The top of the door trim is often used as an arm rest and may be caked with oils and dirt. A good soaking with interior detailer followed by a scrub with a small stiff bristled brush should free it up. If you have tinted windows, be very careful to avoid overspray.
For those vehicles with fabric inserts in the door trims, grab that Bissell again and get back into car upholstery cleaning using the small brush attachment.
Step 6: Sparkling Interior Glass
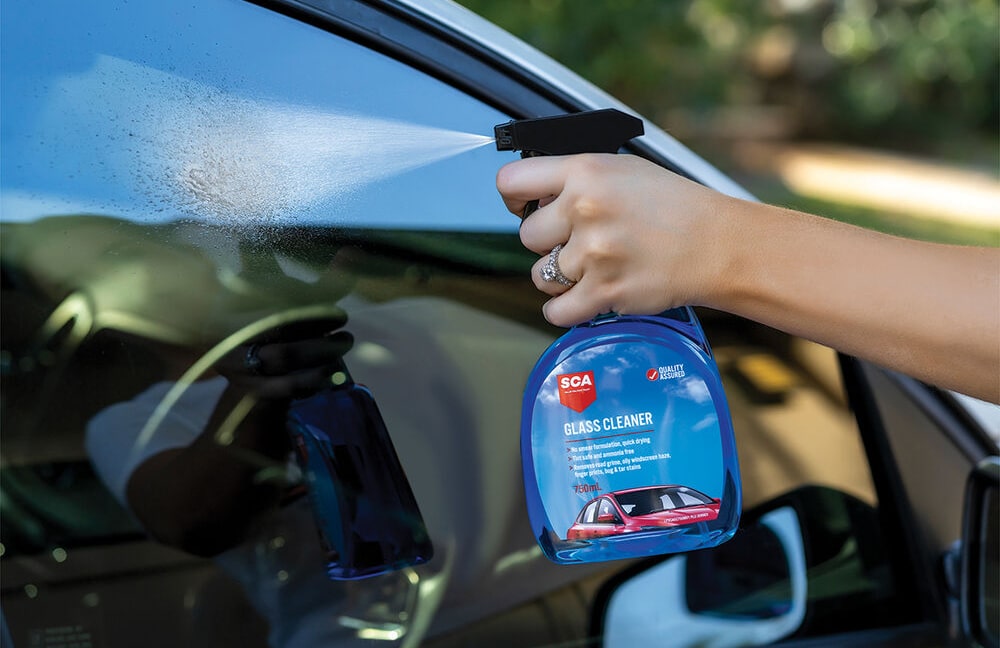
As part of your car interior cleaning routine, it's important to pay attention to your interior glass. Most window tint brands will recommend nothing but warm soapy water and a cloth, which you can follow up with a dry microfibre towel to avoid streaks.
If you would like to use a glass cleaner, make sure you choose one for interior detailing that clearly ensures compatibility with window tint.
Step 7: Removing Scuff Marks
Scuff marks on doors and kick panels can be removed with baking soda mixed into a paste with a touch of water. This mild abrasive paste can be rubbed in a circular motion with a clean cloth to remove the scuff marks.
Step 8: Enhance and Protectant
If removing those scuff marks left the plastic a little dull, plastic and vinyl protectant will bring it right back. A key step of car interior cleaning; protectant will also reduce damage and fading caused by UV rays on all unpainted plastic and vinyl surfaces (except for clear plastics).
However; ‘Steer’ clear of the steering wheel, floor mats, pedals, gear shifter or anywhere else the resulting slippery surface could be a hazard.
Step 9: Air Con Clean
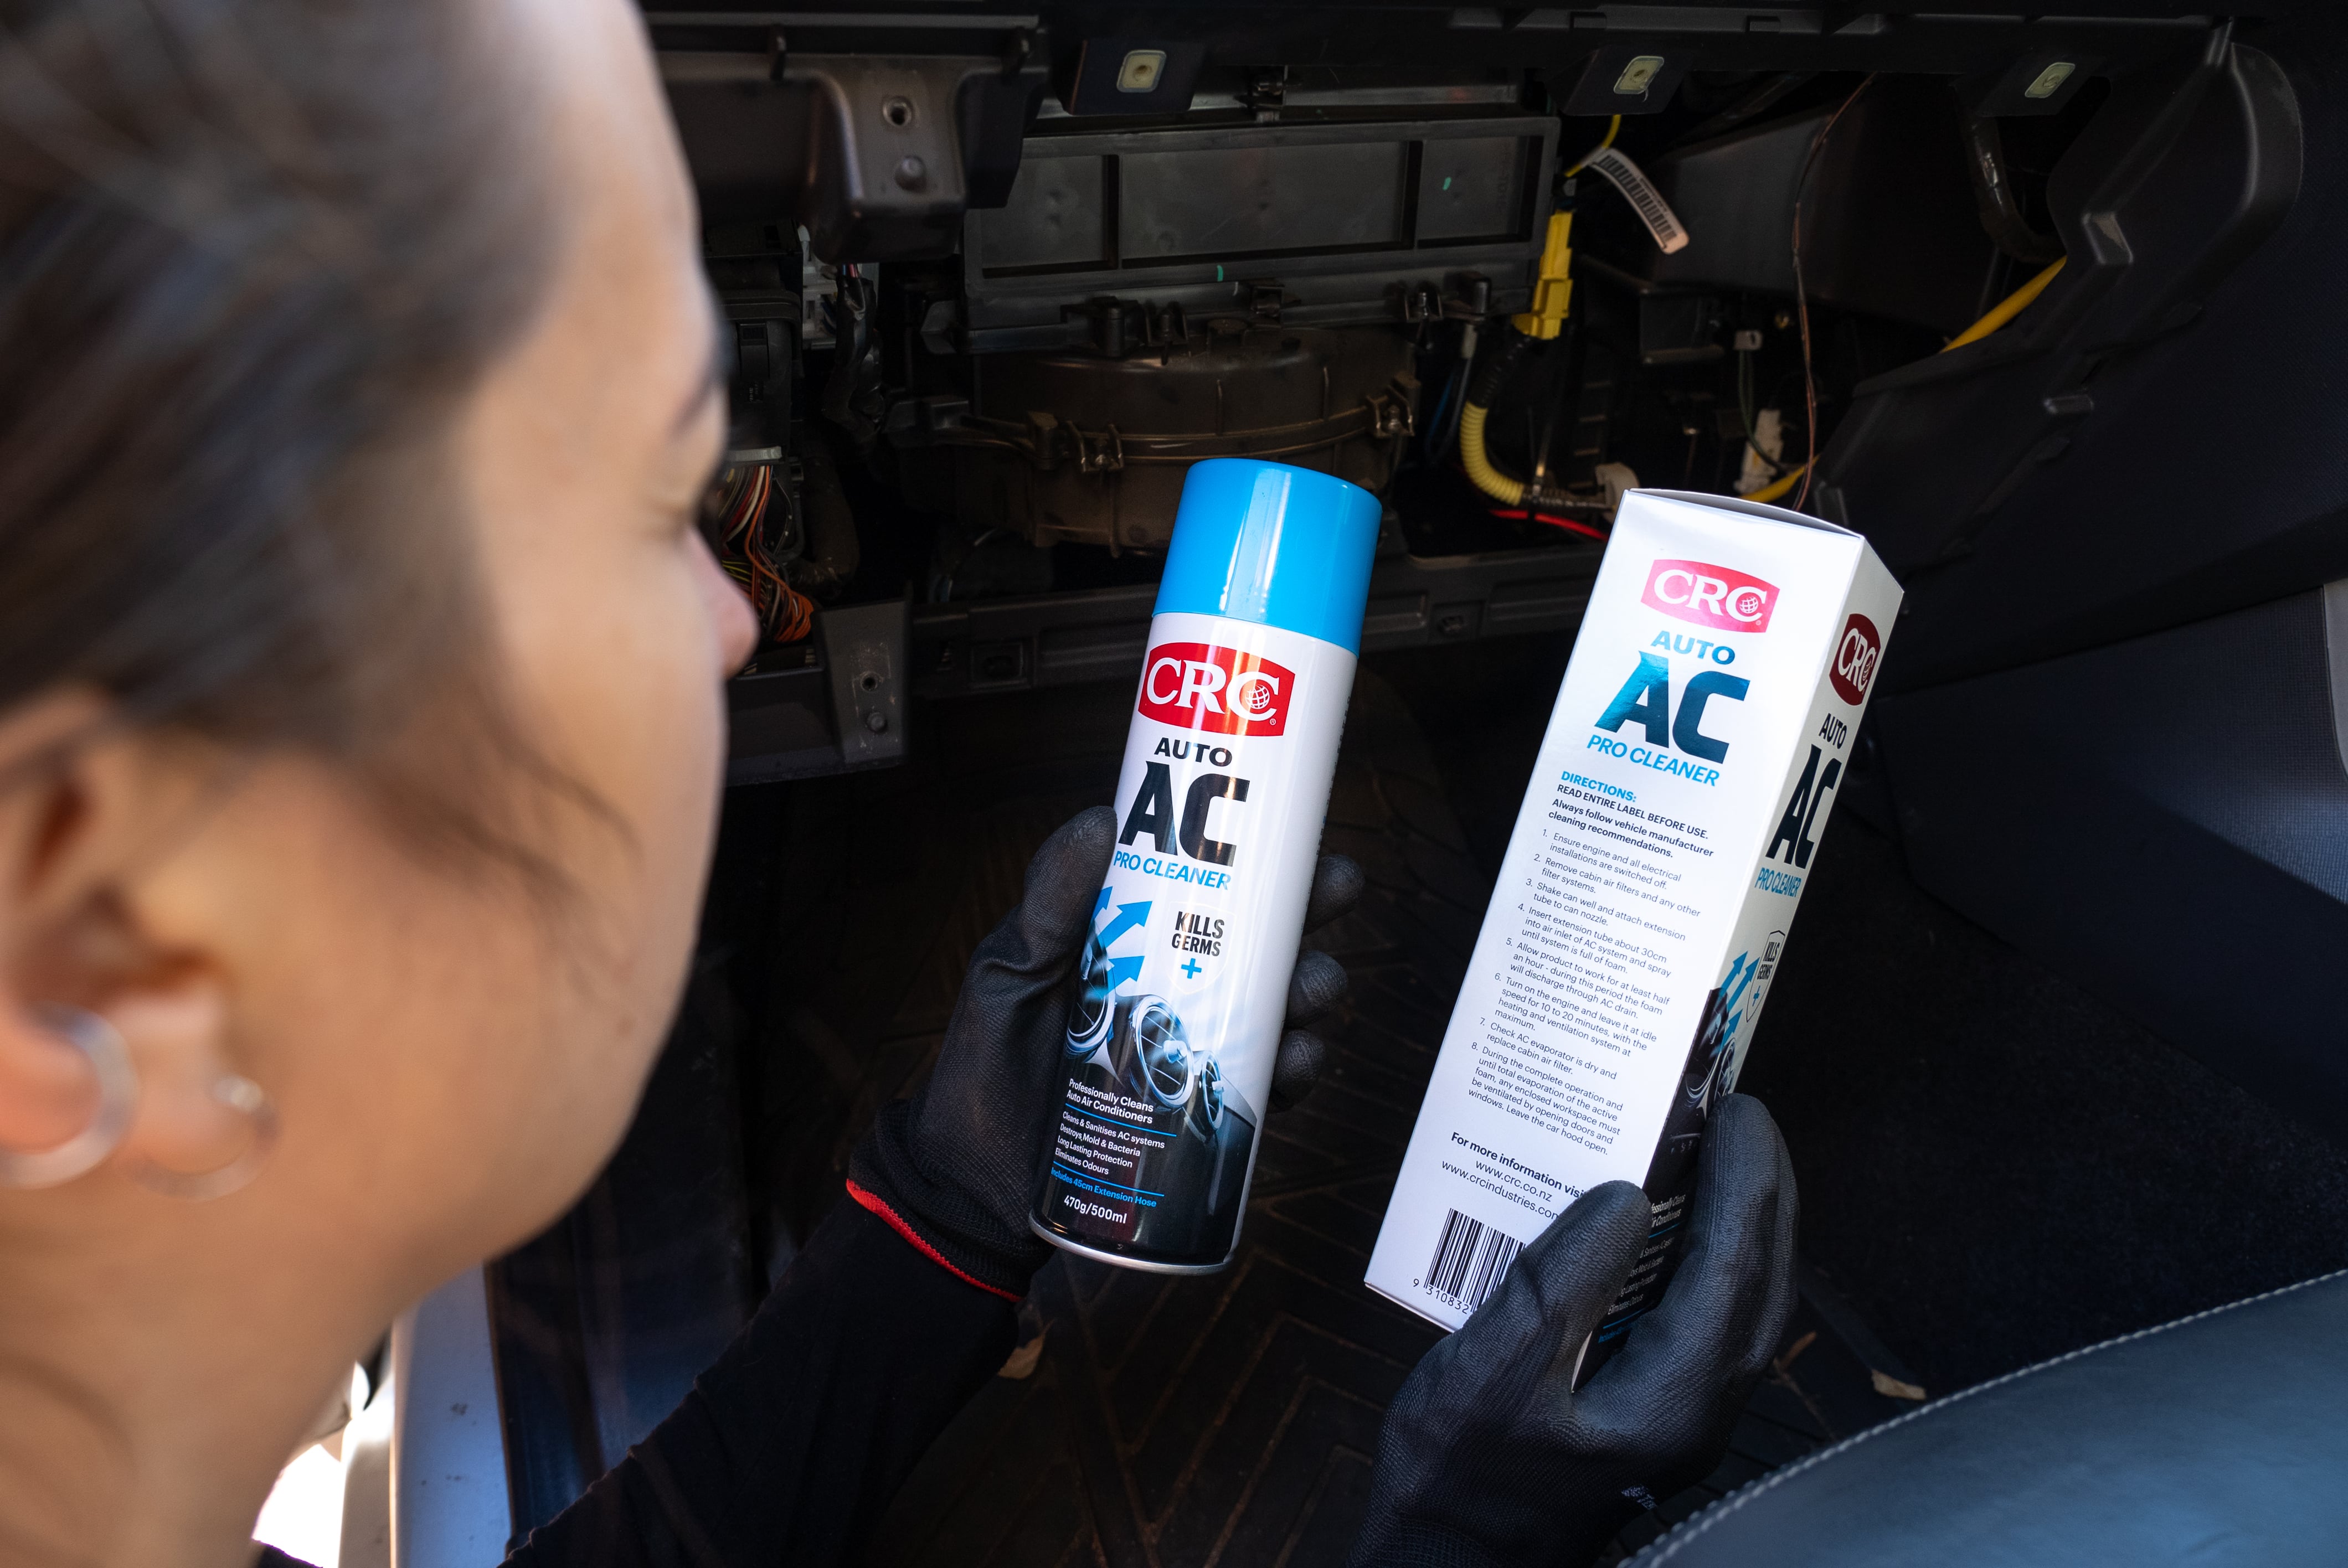
Any remaining funky smells could be lurking in your ventilation system. It may sound like an impossible part of car interior cleaning, but with an air con cleaner product it’s SUPER easy! You’ll want to remove the cabin air filter first, then release the air con cleaner into the cabin and let it do its job. Once that’s done, you can pop in a new cabin air filter. You can learn how to do the entire job HERE in 10 minutes!
Step 10: Fresh Air for Longer!
It would be rude not to finish off your car interior cleaning with the classic little tree hanging off the rear-view mirror.

*Important information* - Click here to read more about our How-To terms and conditions.