How to Remove Oxidation from Paint
Overview
As great as it is for us that the air has a whole lot of oxygen in it, it isn’t so great for your car’s finish because of the damage that oxidation can cause. Oxygen has a tendency to react with certain other molecules that are in contact with it, which causes them to lose electrons and essentially fall apart. This happens to the finish on your car, and can have gradual, but eventually severe effects.
Initially, you might notice that the paint on your car is looking a little dull - colours will start to fade or lighten, and eventually become somewhat chalky. In extreme cases, oxidation can totally destroy the clear coat on your car and therefore expose the paint beneath. This in turn can lead to rust developing and your car will require a repaint in order to fix the damage.
Before things get too bad, however, there are ways to effectively nip the oxidation in the bud. Removing the initial signs of oxidation can be done in a cost effective way, and protecting the finish on your car can ensure that the process is slowed down sufficiently. Tim from Focus On Detailing has put together a video that shows how to take care of panels that are showing signs of oxidation using an electric polisher and a few other bits and pieces.
Learn more about automotive paint here.
Learn how to find your paint code here.
Learn how to repair dents on your car.
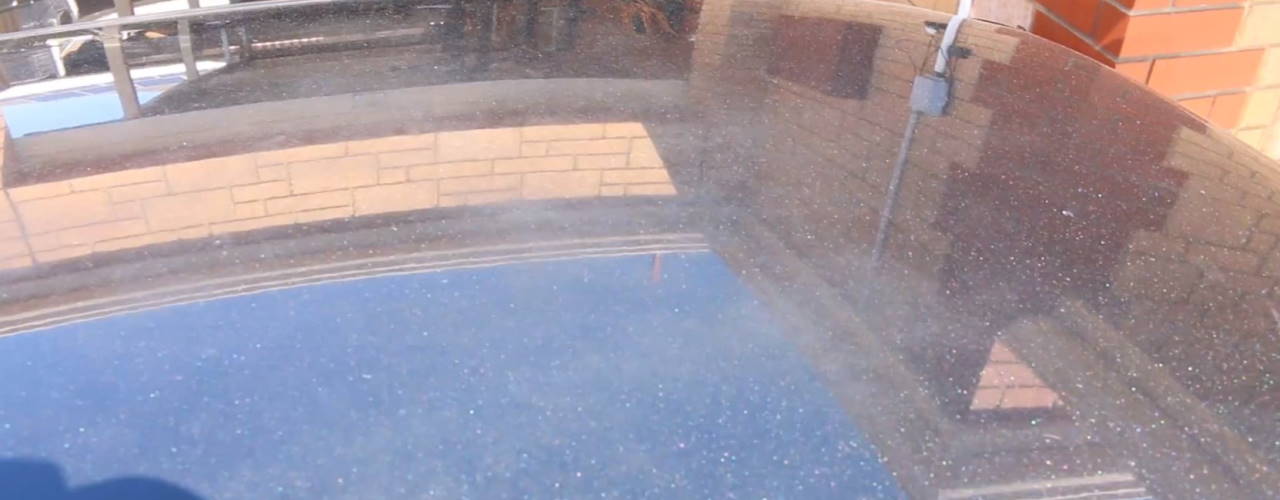
What equipment do I need to remove oxidation from my car’s paint?
Before you begin, you’ll need a few bits of care-care equipment, which may vary depending upon the severity of the oxidation on your paint.
- Car washing gear - You’ll need to clean your car before you start tackling the oxidation and for this you should use your usual washing gear; a bucket and appropriate detergent, wash mitt or sponge, and a few microfibre towels or similar drying cloths (you’ll need a few on hand for wiping down your panels at various stages of the process)
- Clay bar - A big part of the preparation stage is ensuring that you remove any contaminants that could be picked up by your machine polisher and mashed against the surface of your paint. Any contaminants present during the buffing or polishing stage can cause major scratches or swirling to your paint.
- Electric buffer - Sure you could probably do this job by hand, and back in the old days it would be the only way to take care of oxidation, but thanks to the great range of affordable electric buffing tools at Supercheap Auto, you can easily grab an electric buffer and a few pads and save yourself a huge hassle.
- Cutting compound - There are quite a few different compounds available and the right one for your job will vary depending upon the severity of the oxidation. Make sure that if your paint is heavily damaged, you get a heavy duty cutting compound that has great abrasive properties. If you are dealing with only minor paint damage, then a more gentle compound can be used instead.
- Polish - Once the cutting/buffing is done, you’ll need to polish your clear coat up to a high gloss finish. For this, you’ll need to use a dedicated polish along with the appropriate polishing pad. There are plenty of polishes available, with a variety of different added properties, but which one is the right one for you is often down to personal tastes.
- Protective coating - Applying a protective coating to your freshly shined up paint is a no-brainer. You’ll want to make sure all that pesky oxygen doesn’t start eating away at your paint as soon as you are done polishing it, so for that you should be applying a dedicated finishing product. Depending on your environment, personal taste, and most importantly; your budget, you may want to use anything from a simple wax to a more specialised protective coating.
- Polishing pads - This is where the equipment tends to vary. If your oxidation isn’t particularly severe then you can get away with a more gentle polishing pad, but if the damage is heavier, you’ll likely need to use a dedicated cutting pad. It’s probably best to get a range of pads, so that you can switch them out as required.
Note: If you aren’t sure which pad you should use (or which compound, for that matter) it is always a good idea to start with the least abrasive combination, and see how it looks before working your way back to the most aggressive - this way you won’t be going overboard on the buffing and potentially causing more hard than good.
Steps
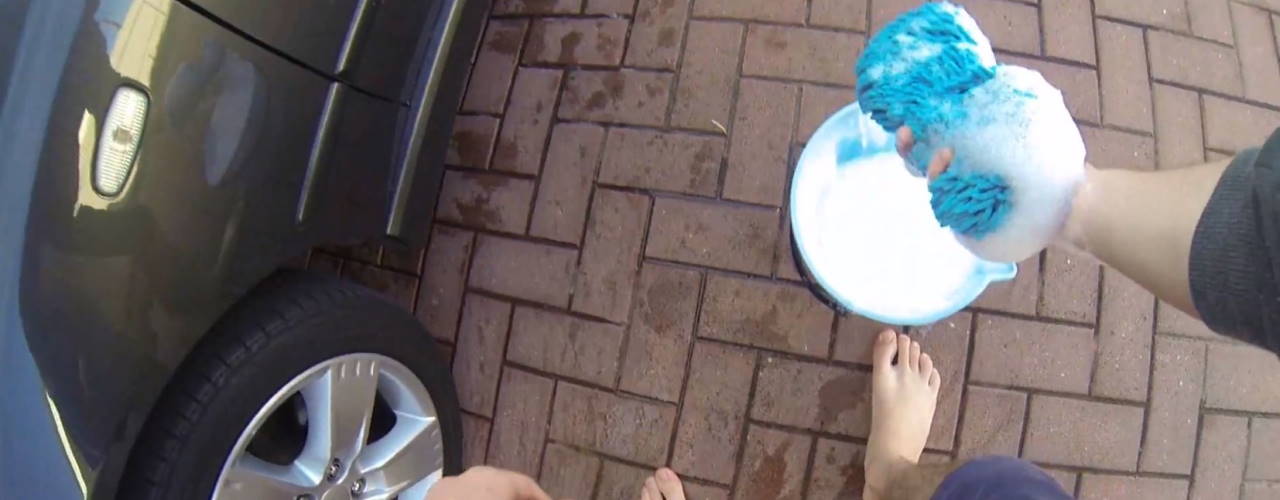
Wash your car
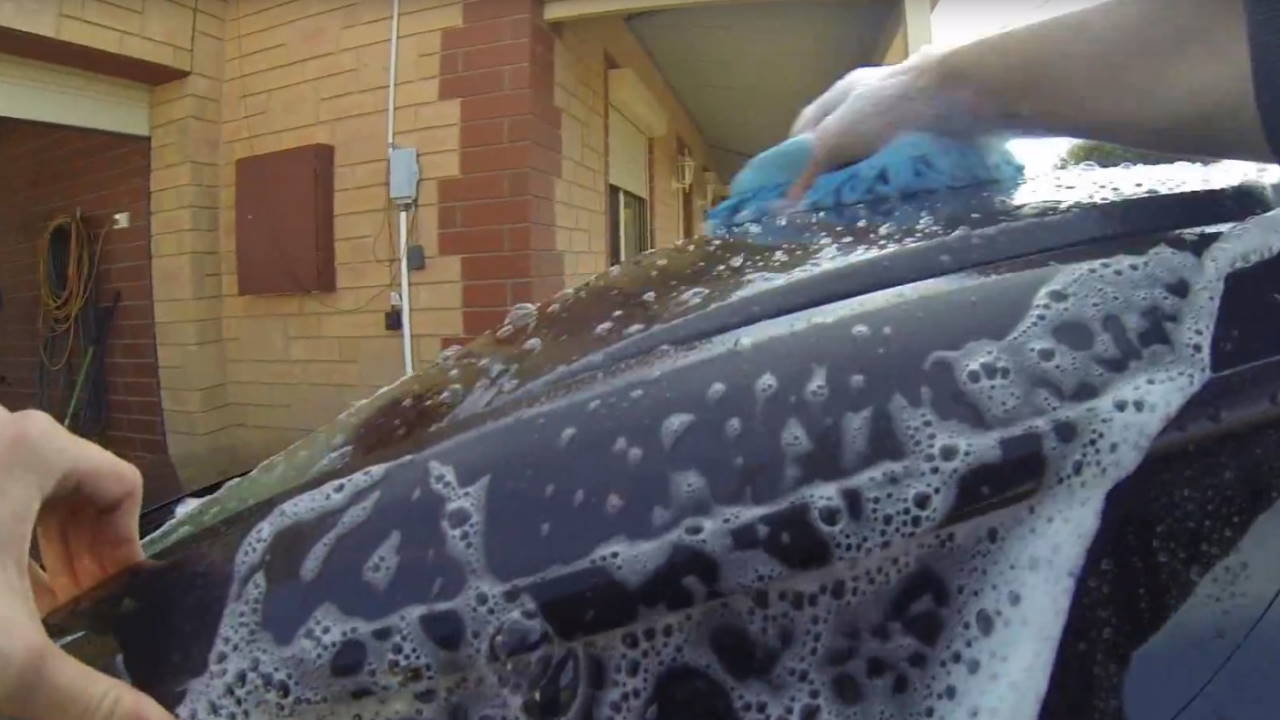
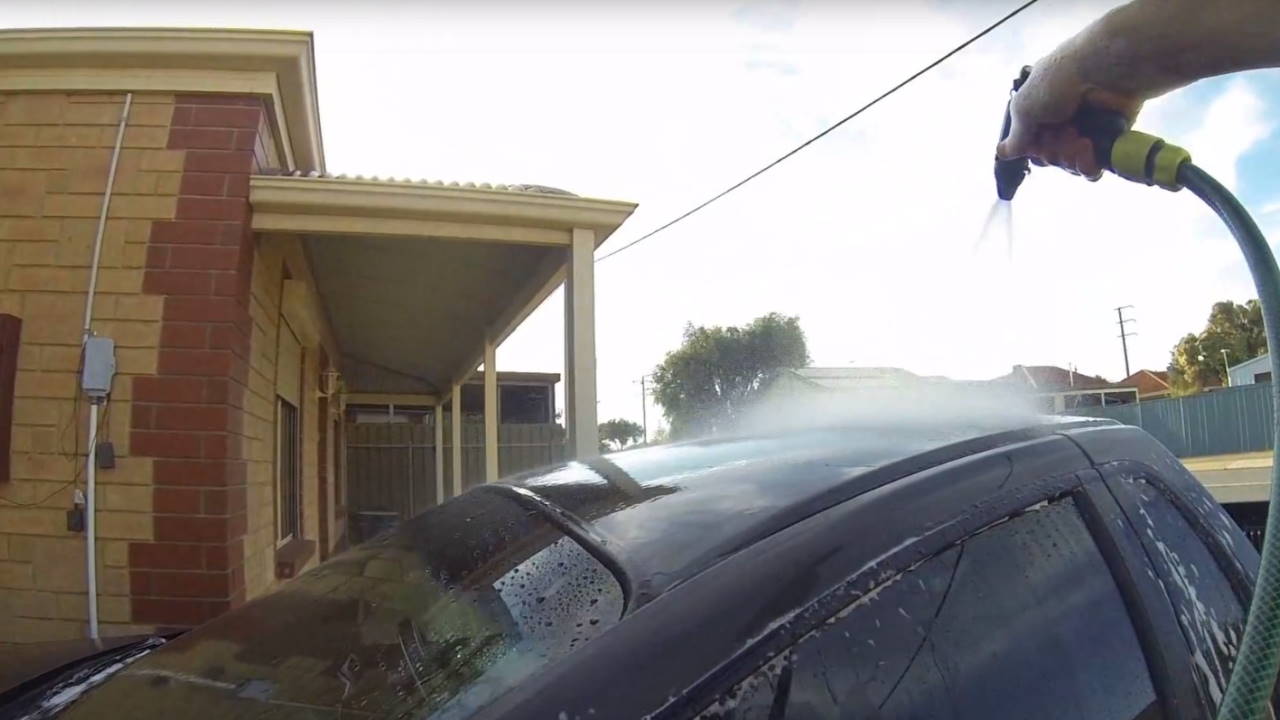
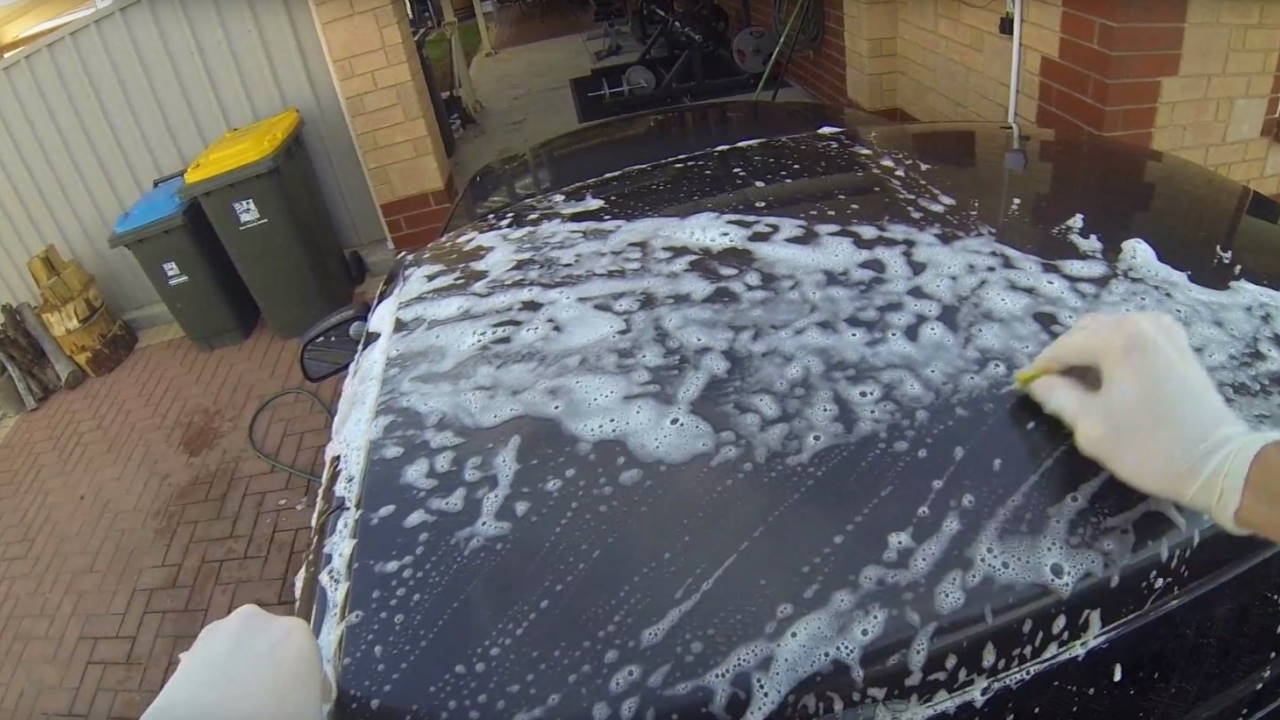
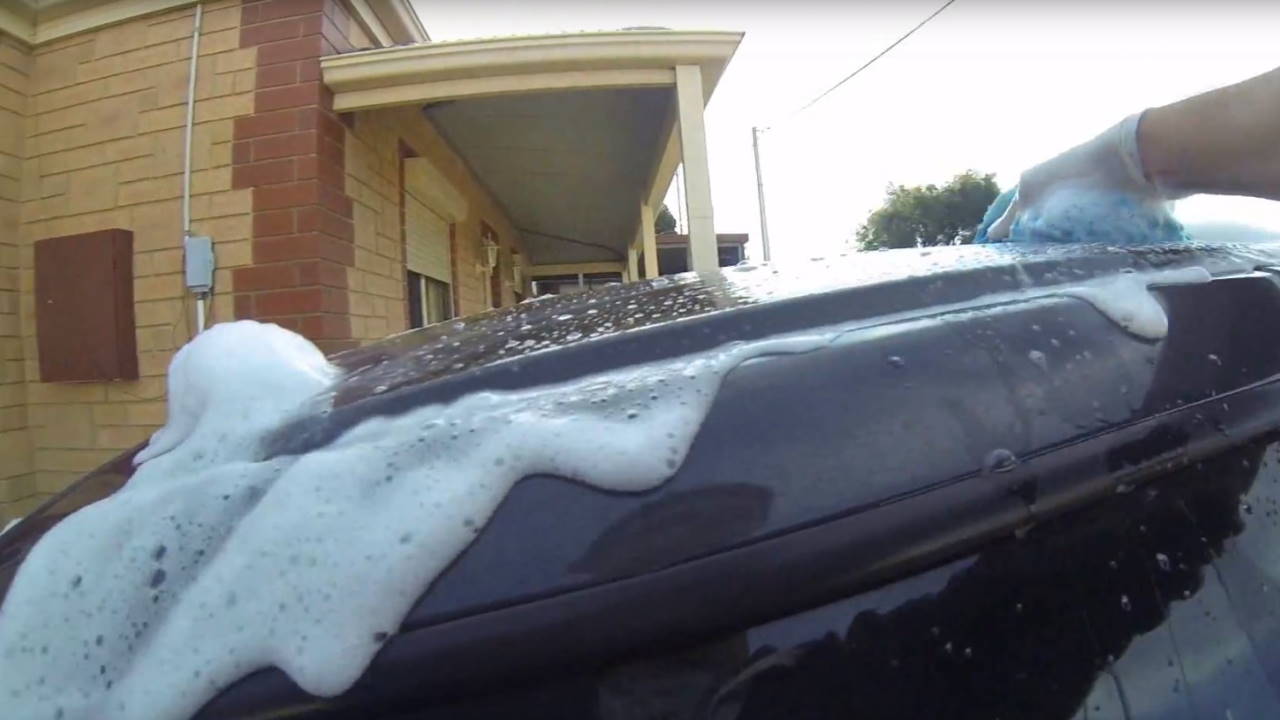
Rinse your affected panel thoroughly - getting rid of any loose dirt and grime, then, using a wash mitt or sponge and a bucket of car-wash, gently rub over the surface of the paint.
Be sure not to rub any contaminants back into the paint by keeping your mitt or sponge soaked, and by using good quality gear. Again, rinse your car - from top to bottom, and apply another coating of soapy water - this will act as a lubricant for the next step.
Use a clay bar to remove contaminants
Grab your clay bar and begin kneading it to ensure that it is sufficiently malleable. Ensure that both your clay and the panel you are working on are nice and soapy, then gently rub your clay bar back and forth over the surface of your paint. This will pick up any contaminants, and leave the paint clean and exposed - ready for the next steps.
Add more soapy water if necessary as you don’t want the clay bar leaving any residue and feel the paint as you go so that you can keep track of your progress - it should feel smooth and a little slippery to the touch, not grippy or coarse. If your clay bar begins to get dirty as you go, simply fold it over on itself to expose fresh clay.
Rinse and dry your paint
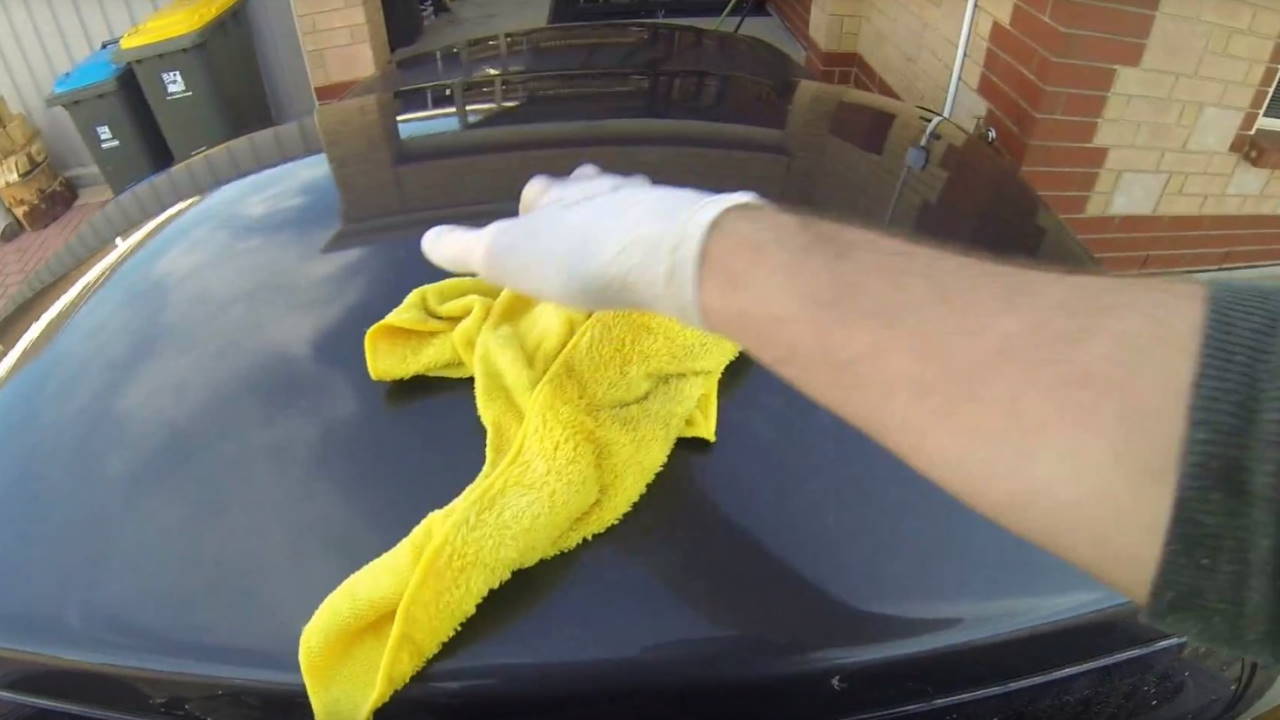
Once you’ve finished with the clay bar, rinse off your car again in order to wash away all the soap, then dry your car with a clean microfibre towel. Don't rub hard as this may scratch your paint.
Buff/cut your paint
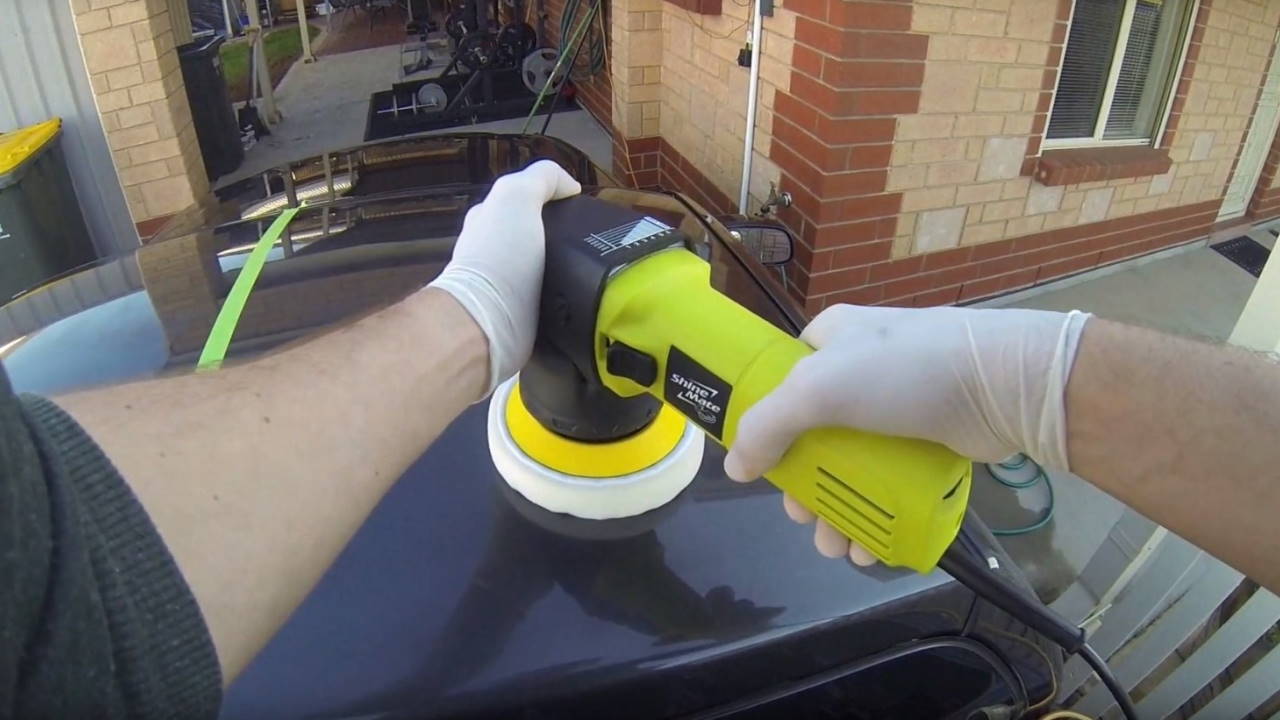
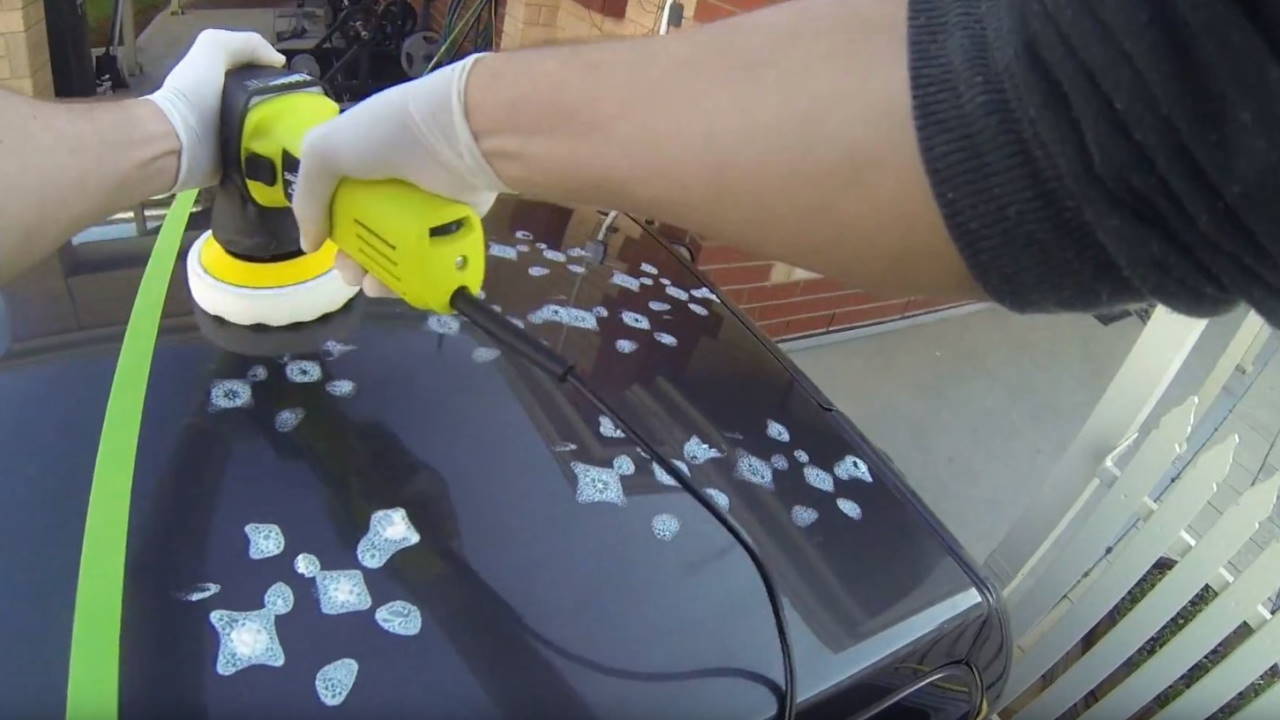
When using your electric polisher, make sure you hold your pad flat against the surface of the paint - this will prevent any compound from being splattered everywhere, and stop excess force from being applied to one spot and damaging the paint beneath.
Attach a cutting pad or similar (depending upon the severity of the oxidation and remembering that more severe oxidation = harsher pad) then apply cutting compound randomly across the surface of your pad.
Press the polishing pad down on your paint in a few places to spread the compound around before you switch the machine on.
Note - Set your polisher on the lowest setting to begin with, and hold any excess power lead over your shoulder to prevent it from scratching anything.
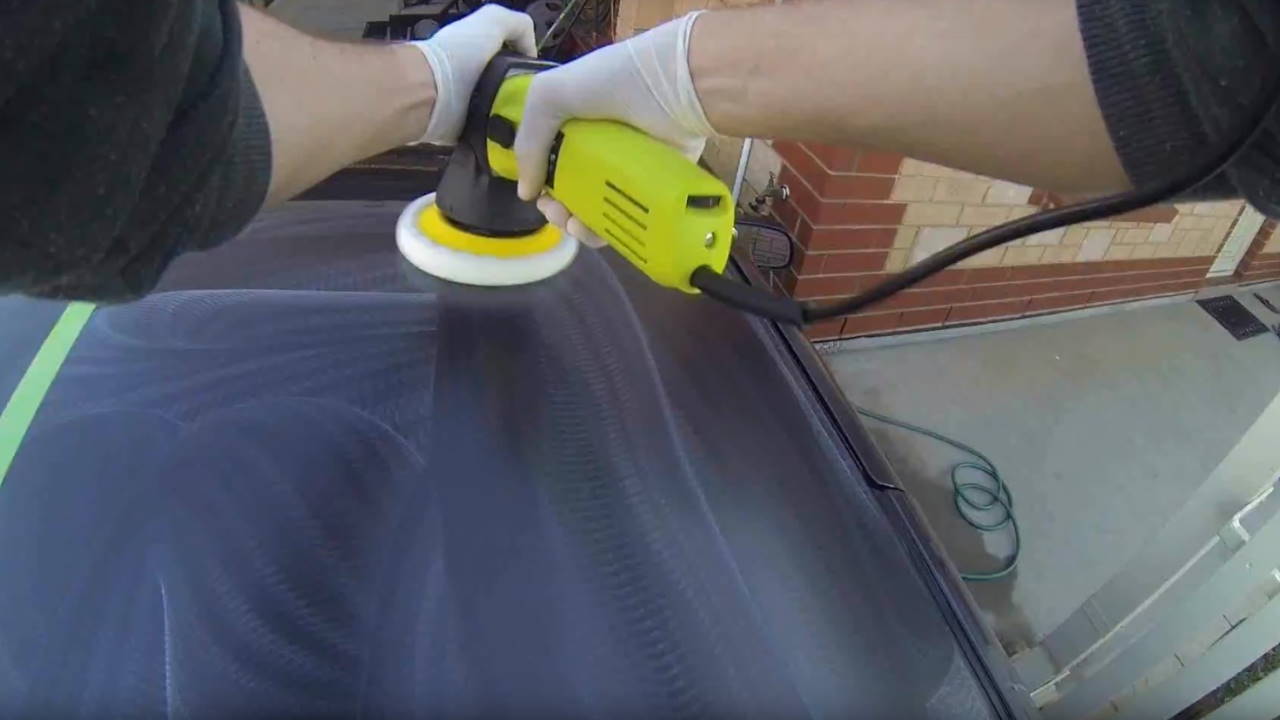
Once you have evenly spread the cutting compound over the entire panel, you can turn the speed on your machine up a few notches and carefully work the polisher over your paint.
When you have finished, wipe away any excess with a clean microfibre cloth - making sure that you wipe off surrounding areas where compound may have splattered.
Polish the panel
Switch your pad out to a polishing pad and repeat the exact same process as you just did with the cutting compound - taking care not to push too hard, or run your electric polisher on too high a setting.
Again, wipe off the panel once you’re done polishing it with a fresh microfibre cloth. The results will be a huge improvement already, but we aren’t done yet.
Apply a protective coating to your polished paint
The final step is one of the most crucial since it will save you having to repeat the process all the time (which would eventually wear down your paint and cause more damage than it fixes) so make sure you don’t skip it.
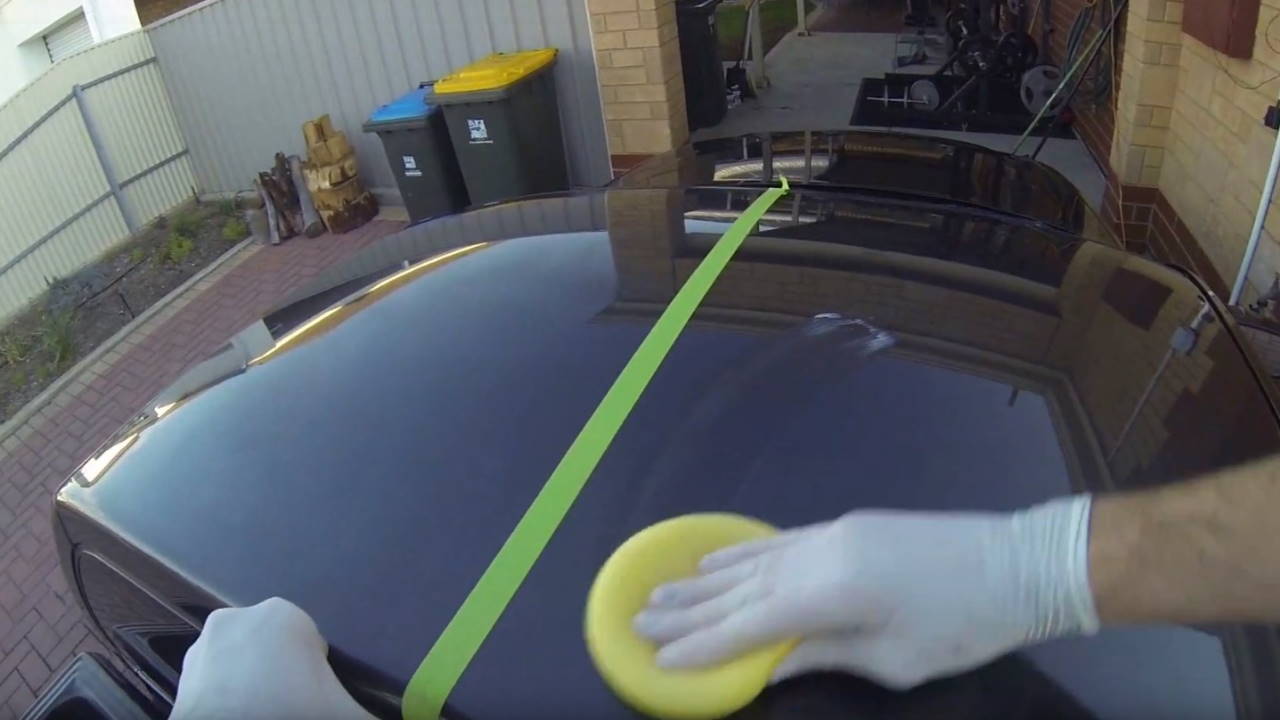
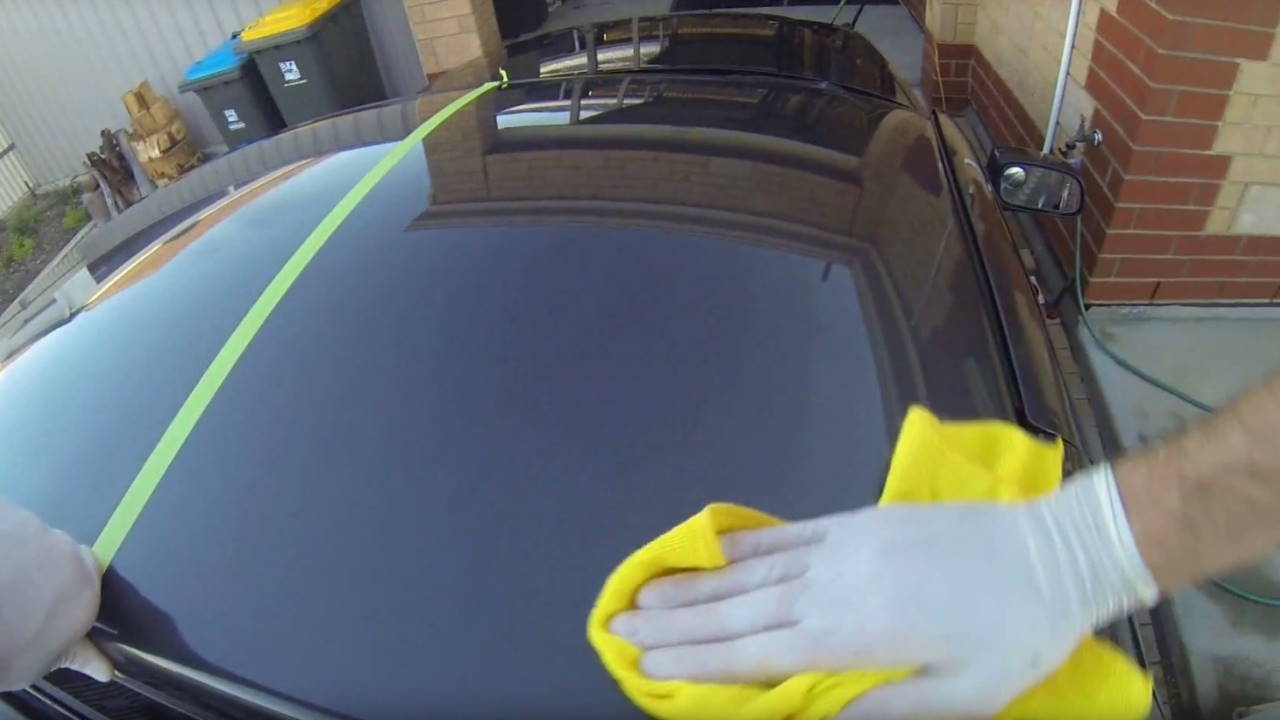
Using a separate foam pad, apply your chosen wax or other finishing product by hand to the entire panel (and the rest of your car, since your here.) Wait a few minutes then using yet another microfibre cloth, rub it into your paint, until there are no streaks or residue visible.
It might seem like a good idea to use your electric polisher to apply your finishing coating, but it is usually better to do it by hand in order to make sure it is properly applied and that you don’t damage the paint you just fixed.
*Important information* - Click here to read more about our How-To terms and conditions.