How To Install a Winch
Overview
An electric winch can save you and your mates a world of hassle when the tracks get tricky.
With a winch compatible bull bar on your vehicle installing your own may not be as difficult as you think!
Heres how!
Steps
Vehicle Inspection
First up, take a look at your bull bar and ensure there is a mounting cradle for your winch.
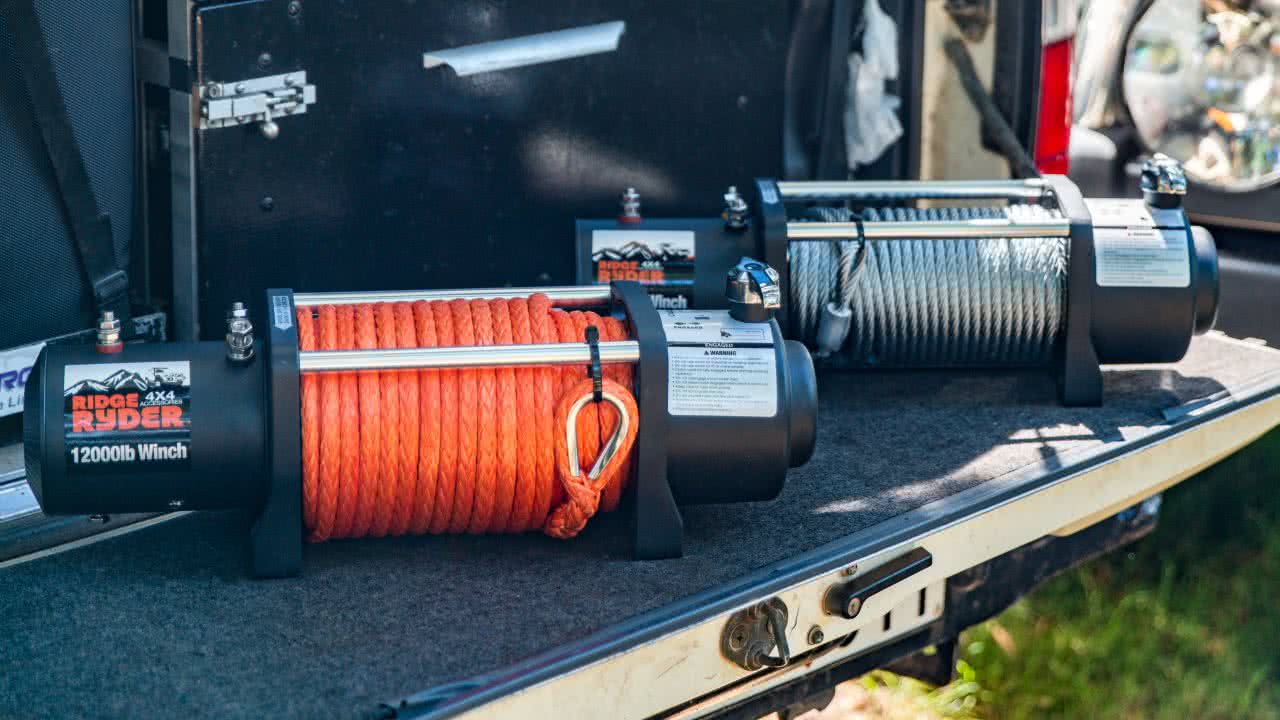
Some vehicles will have a horizontal cradle, while this example features a vertical cradle requiring the winch’s gearbox to be rotated 90 degrees to allow access to the clutch handle.
Winch Inspection
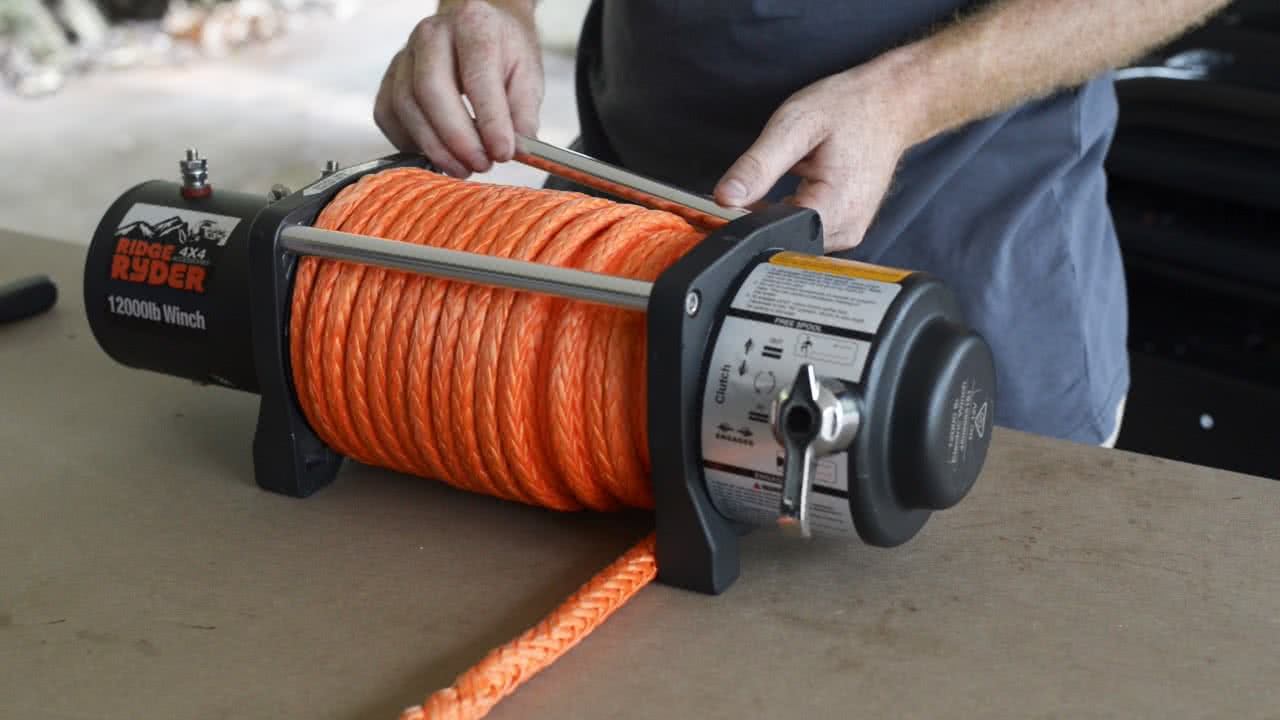
To rotate the gearbox, place the winch on a workbench and remove the two tie bars.
There is also a third bar which keeps the winch secure during transit this does not need to be replaced.
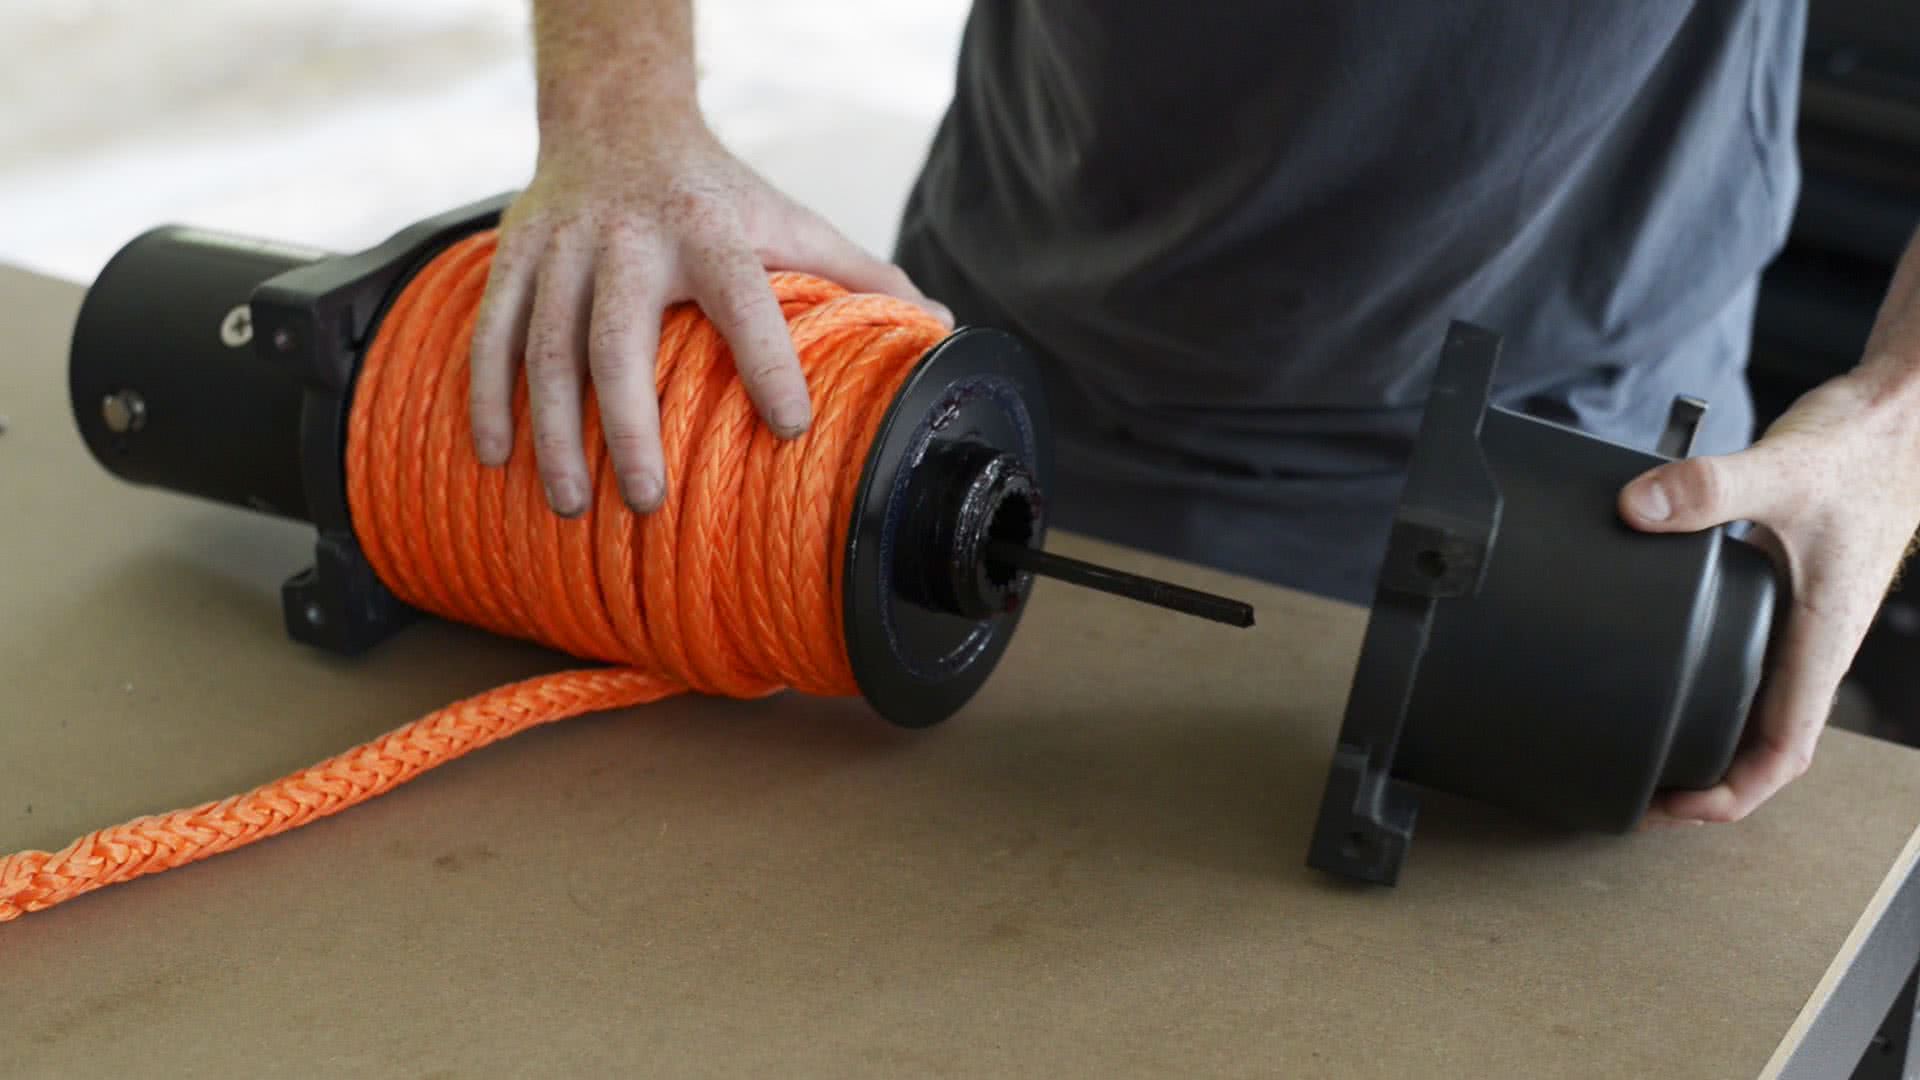
The gearbox will now pull away from the drum, and can be completely separated.
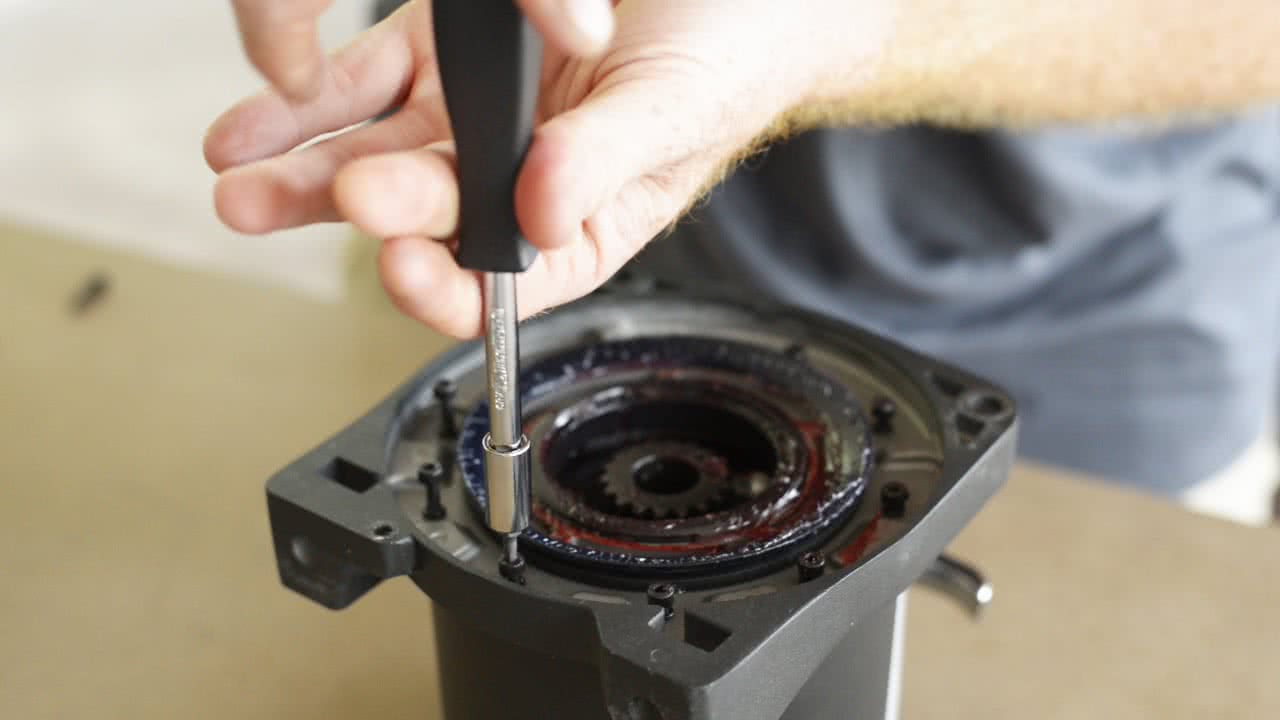
Now remove the series of hex head screws from the gearbox and rotate the mount to your desired position.
Assembly is as simple as reversing the process and your winch is ready to be mounted.
Mounting the Winch
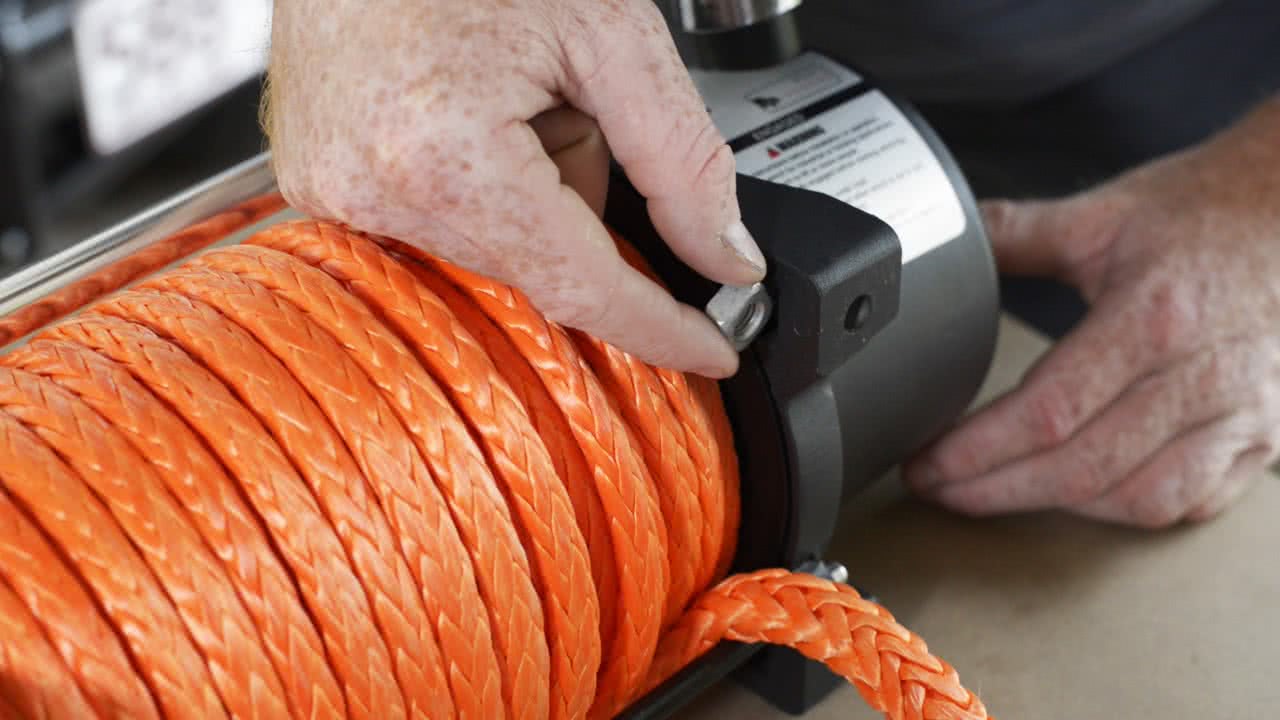
Slide the square nuts into the cavity next to the drum. A little double sided tape or even a dab of grease may help if they keep falling out while positioning the winch.
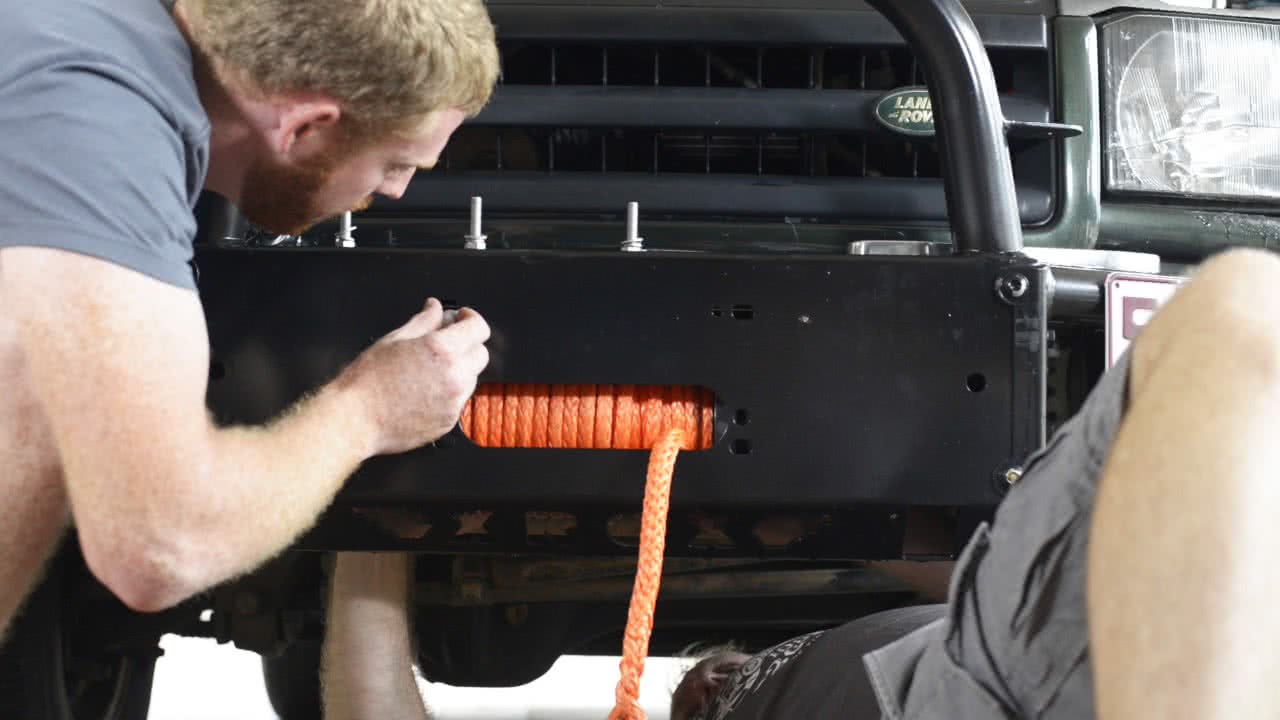
With the help of a friend, lift the winch into position and thread the upper bolts through the bull bar and into the square nuts on the winch.
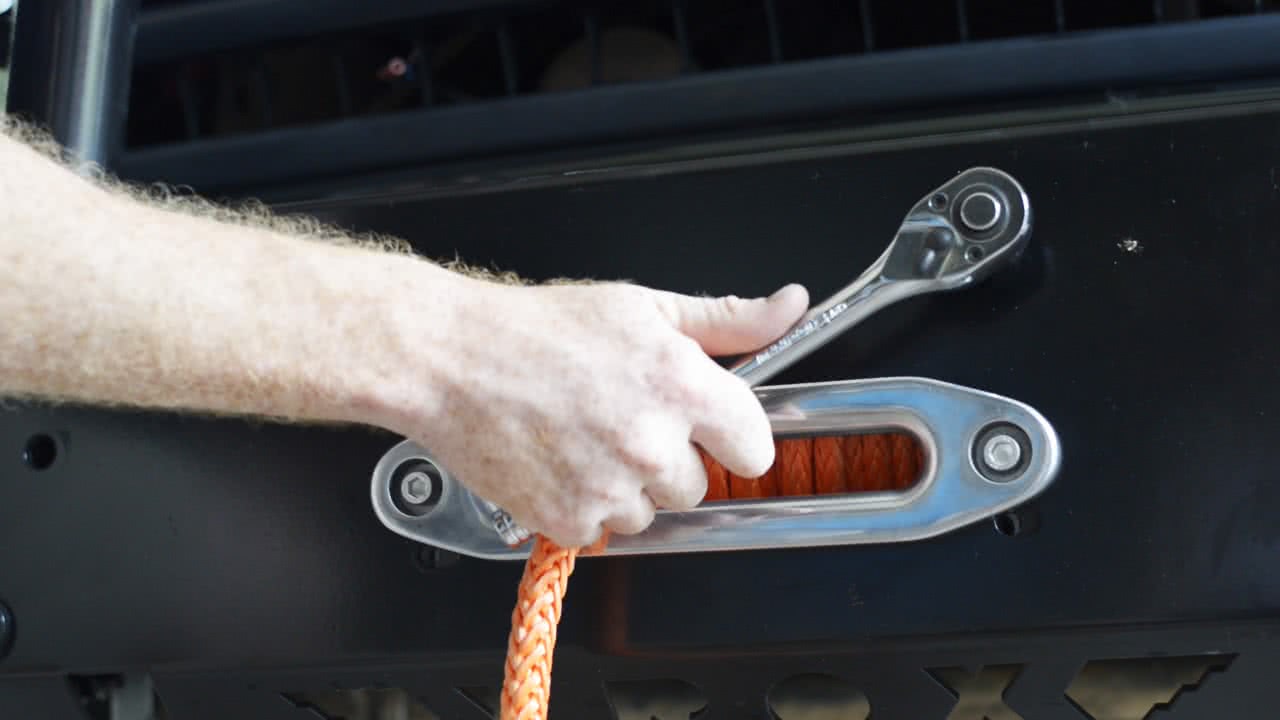
Do the same with the bottom bolts, attaching the fairlead at the same time.
Installing the Control Box
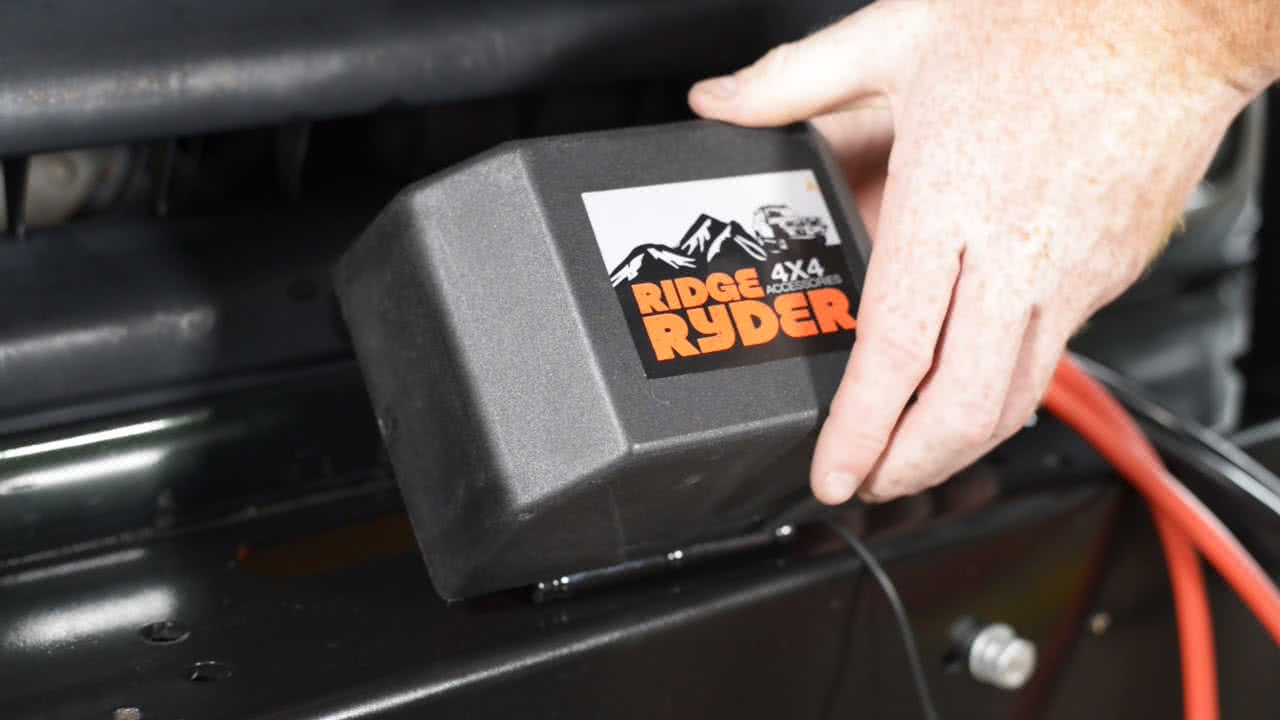
Once the winch is properly mounted, the control box can be attached to the bull bar.
This bar does not have holes for mounting a control box; and the bracket has been removed from the control box to mark holes for drilling.
A rag or piece of cardboard used here will prevent drill swarf from ruining the winch rope.
Wiring the Control Box
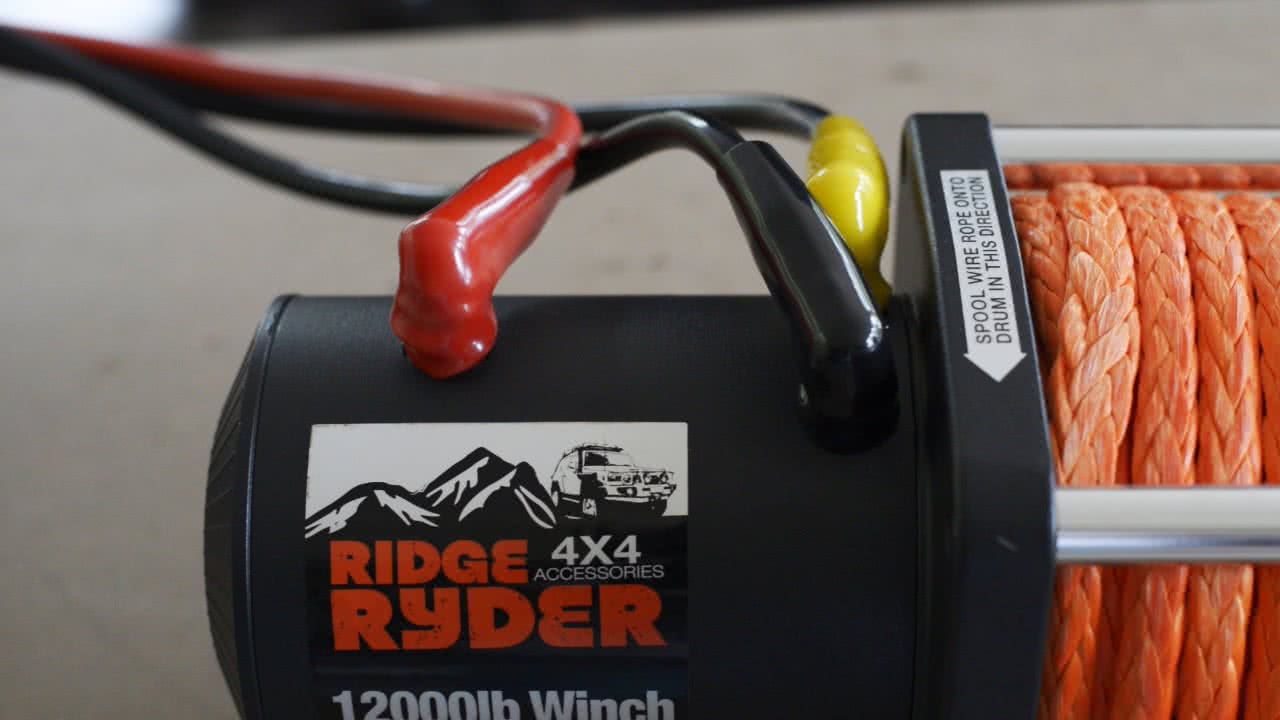
Connecting the control box to the winch motor is straight forward. Each wire features a uniquely coloured rubber boot which corresponds with the terminal it connects to.
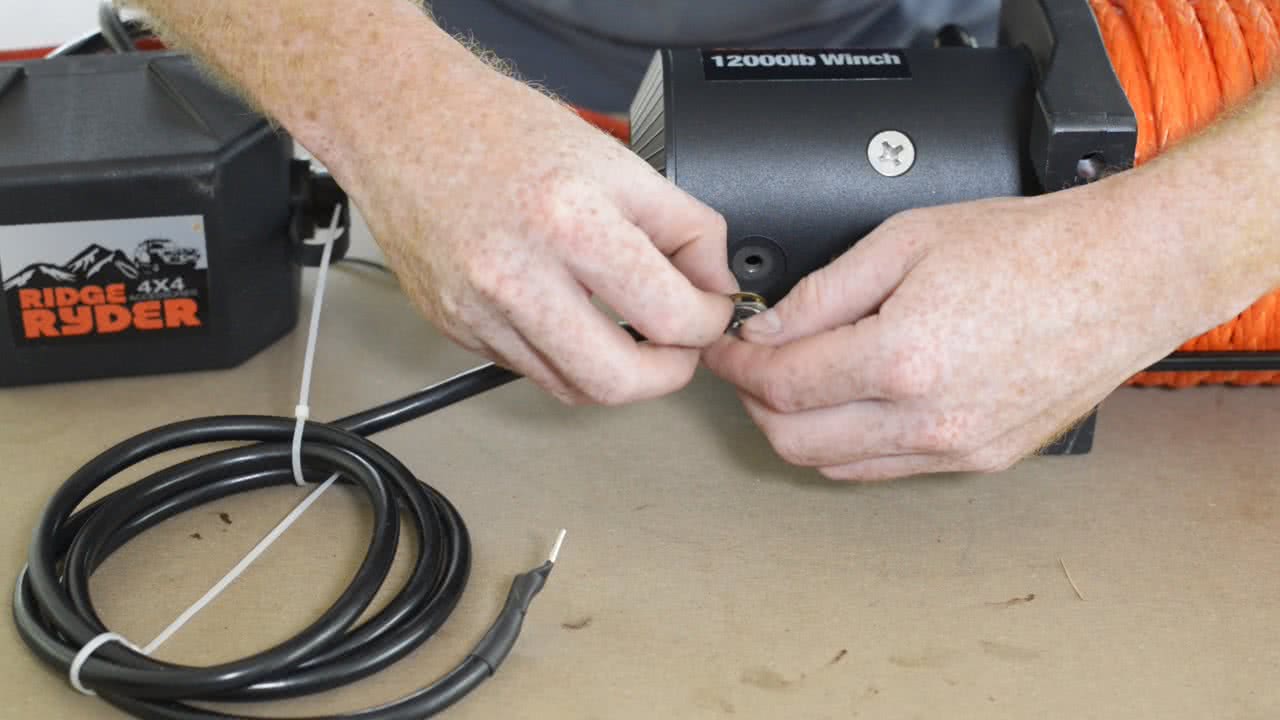
The remaining two wires; the large black earth cable and the small black earth cable are to be attached to the bolt on the opposite side of the motor.
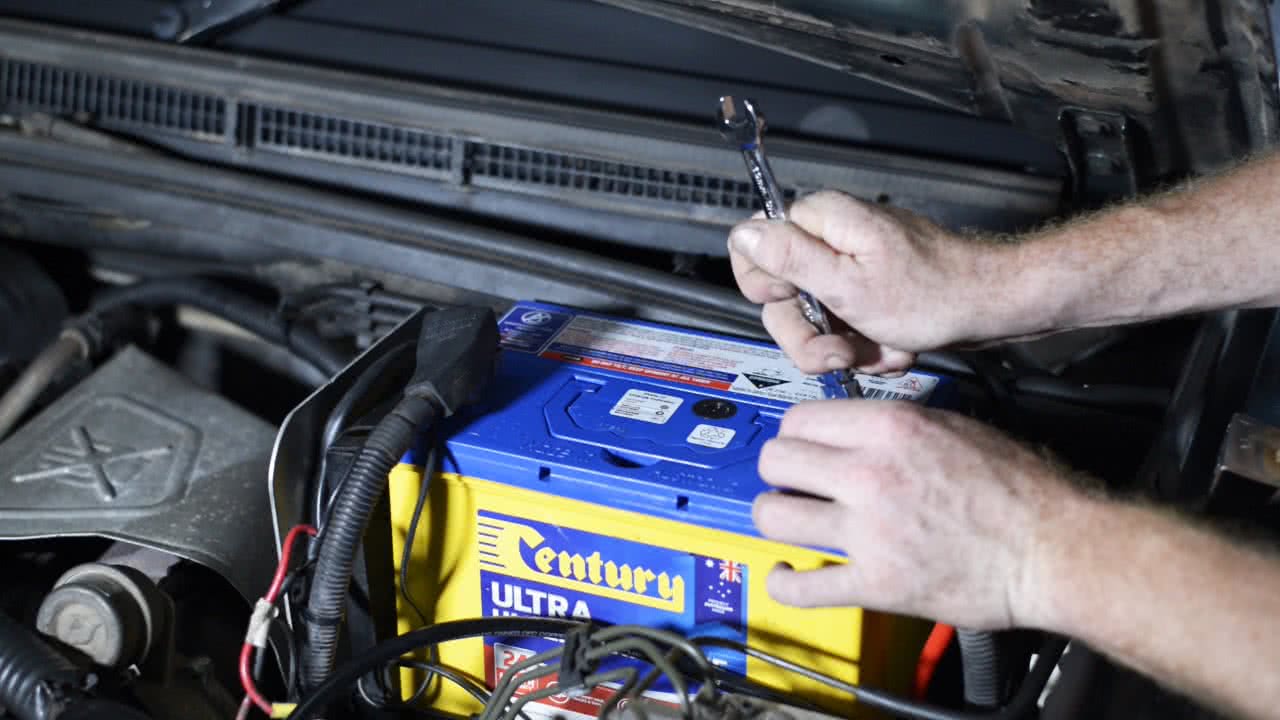
Nearing the end of the install, the power and earth cables must be run straight to the vehicles starting battery.
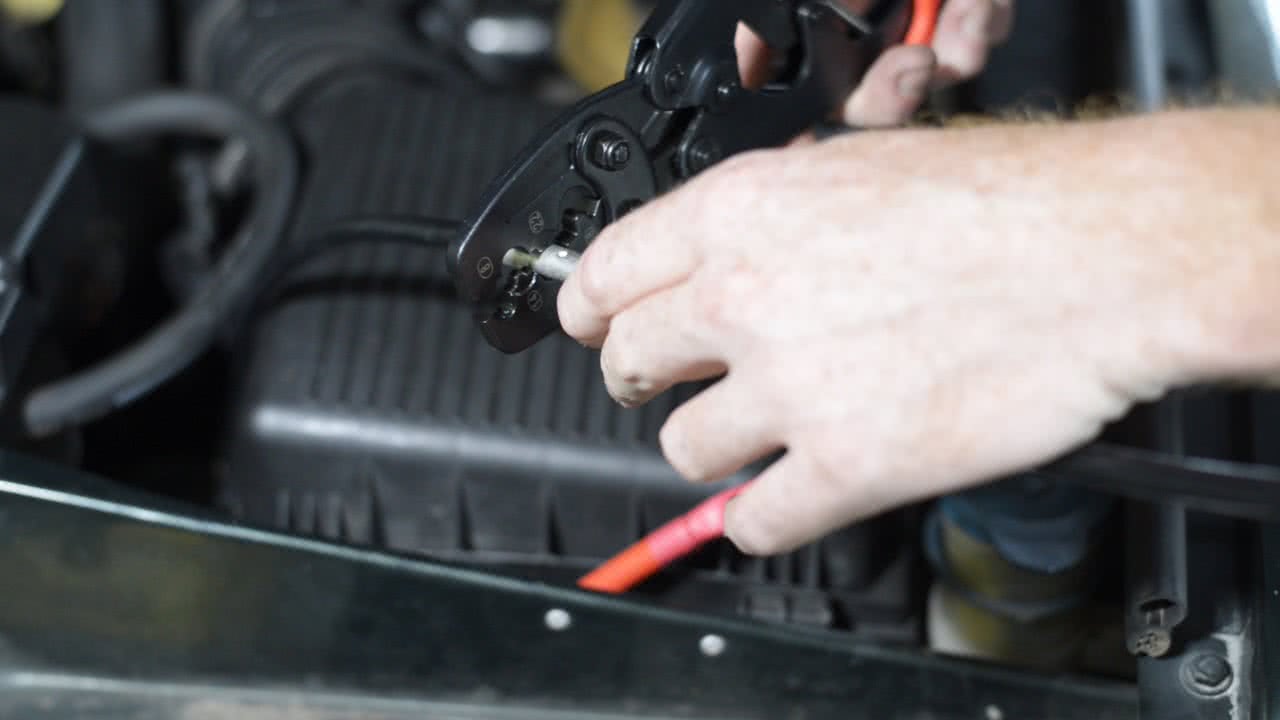
Most vehicles should not require the wiring to be extended, but in cases such as this – extending the cables can be done by purchasing extra cable - and using appropriate joiners and tools to crimp them together.
Testing
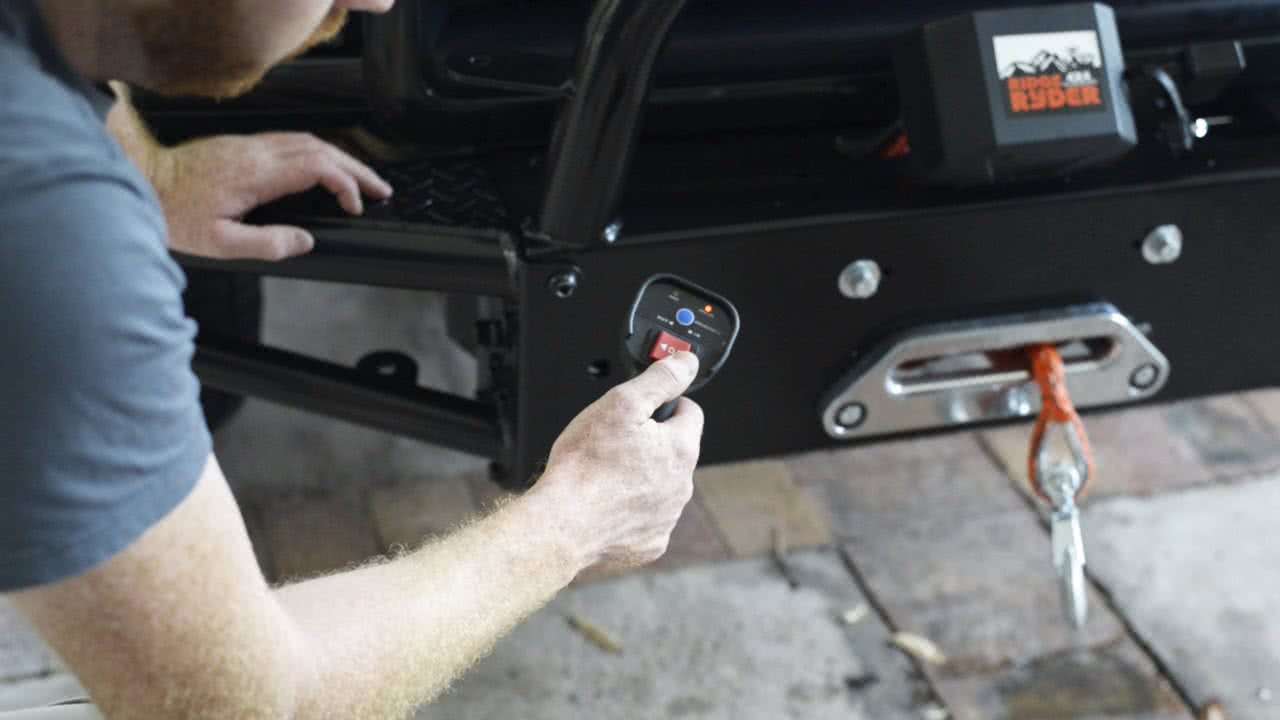
Once your winch is connected to the battery, it is time to give it a test. The hand control can be used either wireless by connecting the receiver to the control box, or wired – by running the included cable between the control box and the hand piece.
In just an afternoon you can have your winch fitted and ready – you’ll wonder why you didn’t install one sooner!
*Important information* - Click here to read more about our How-To terms and conditions.