The hammer function on your drill serves an important single purpose – the drilling of masonry. Knowing how to use your drill correctly on hammer mode will make your job easier - and prolong the life of your drill and drill bits.
Here's how it's done.
Tip 1 - Safety
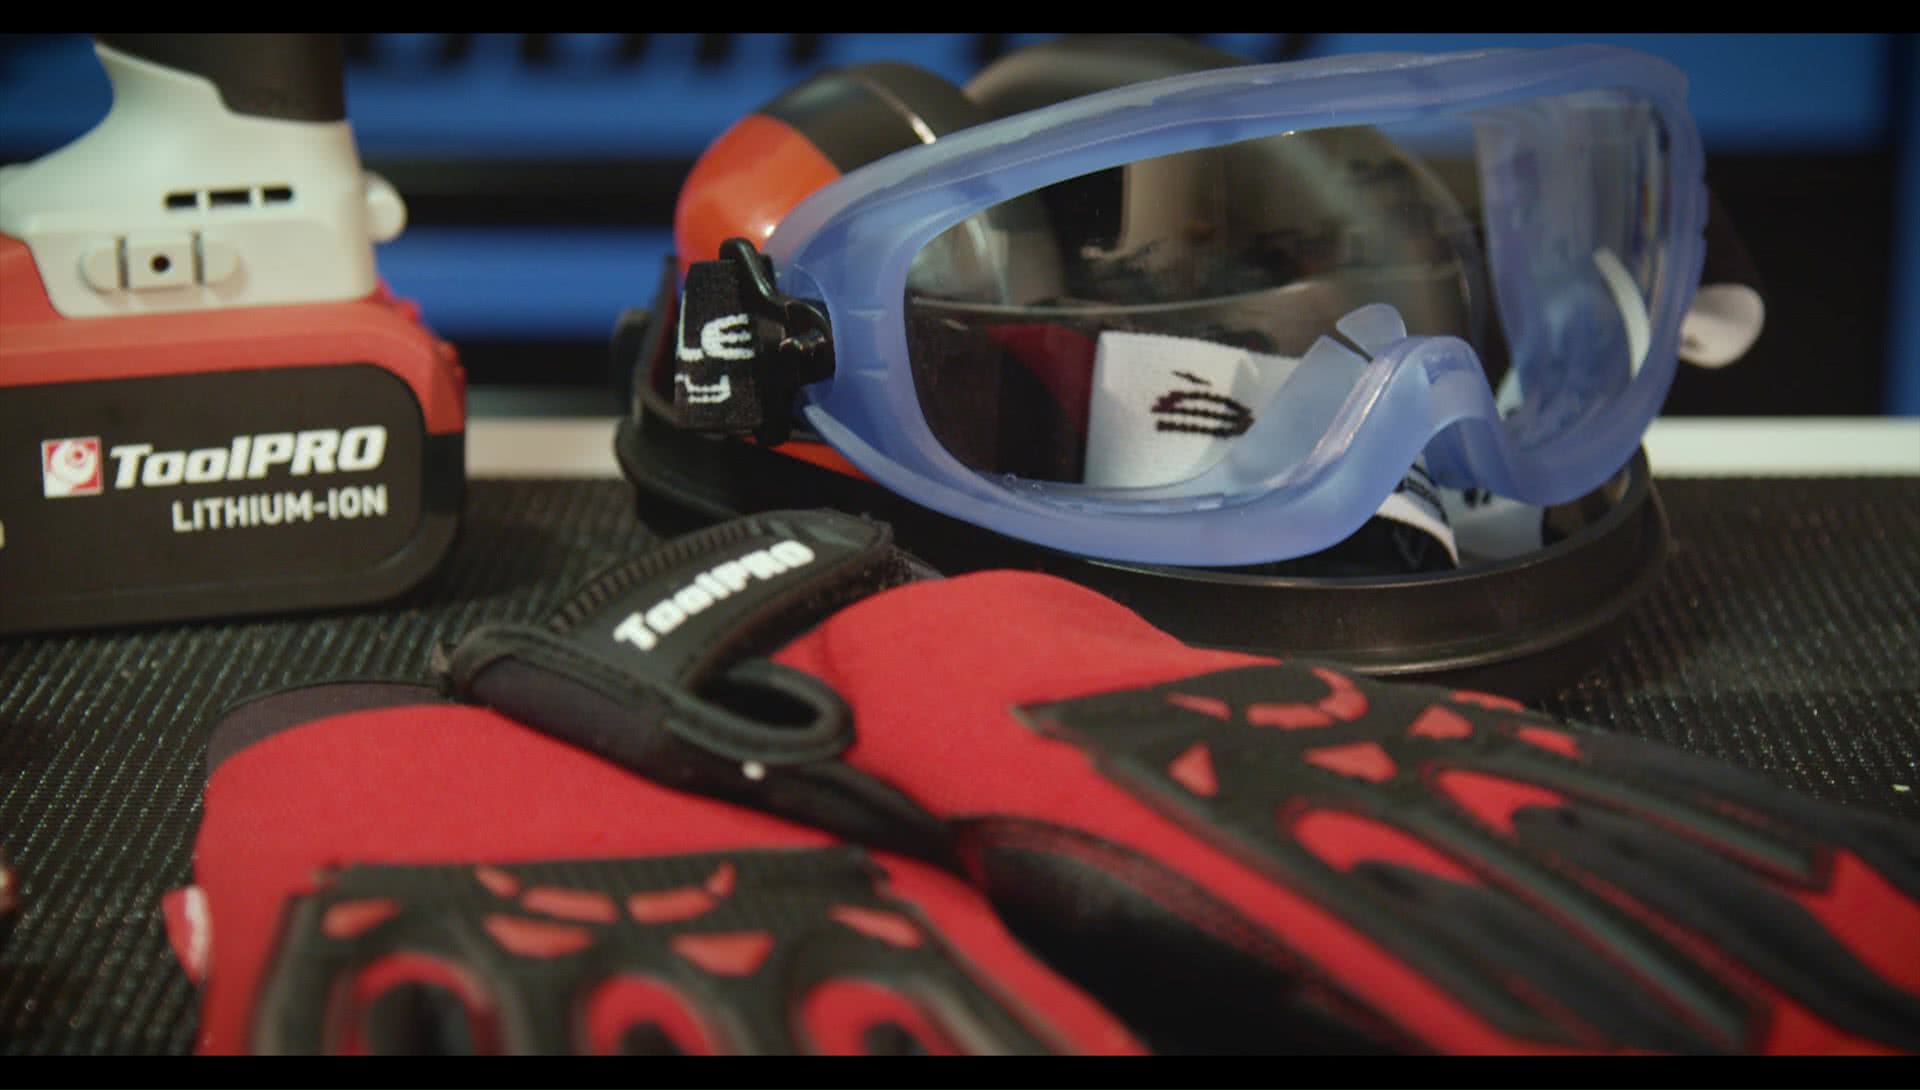
Before you start, you'll need safety equipment:
- A decent pair of gloves
- Clear eye protection
- Ear protection
Tip 2 - Hammer Action
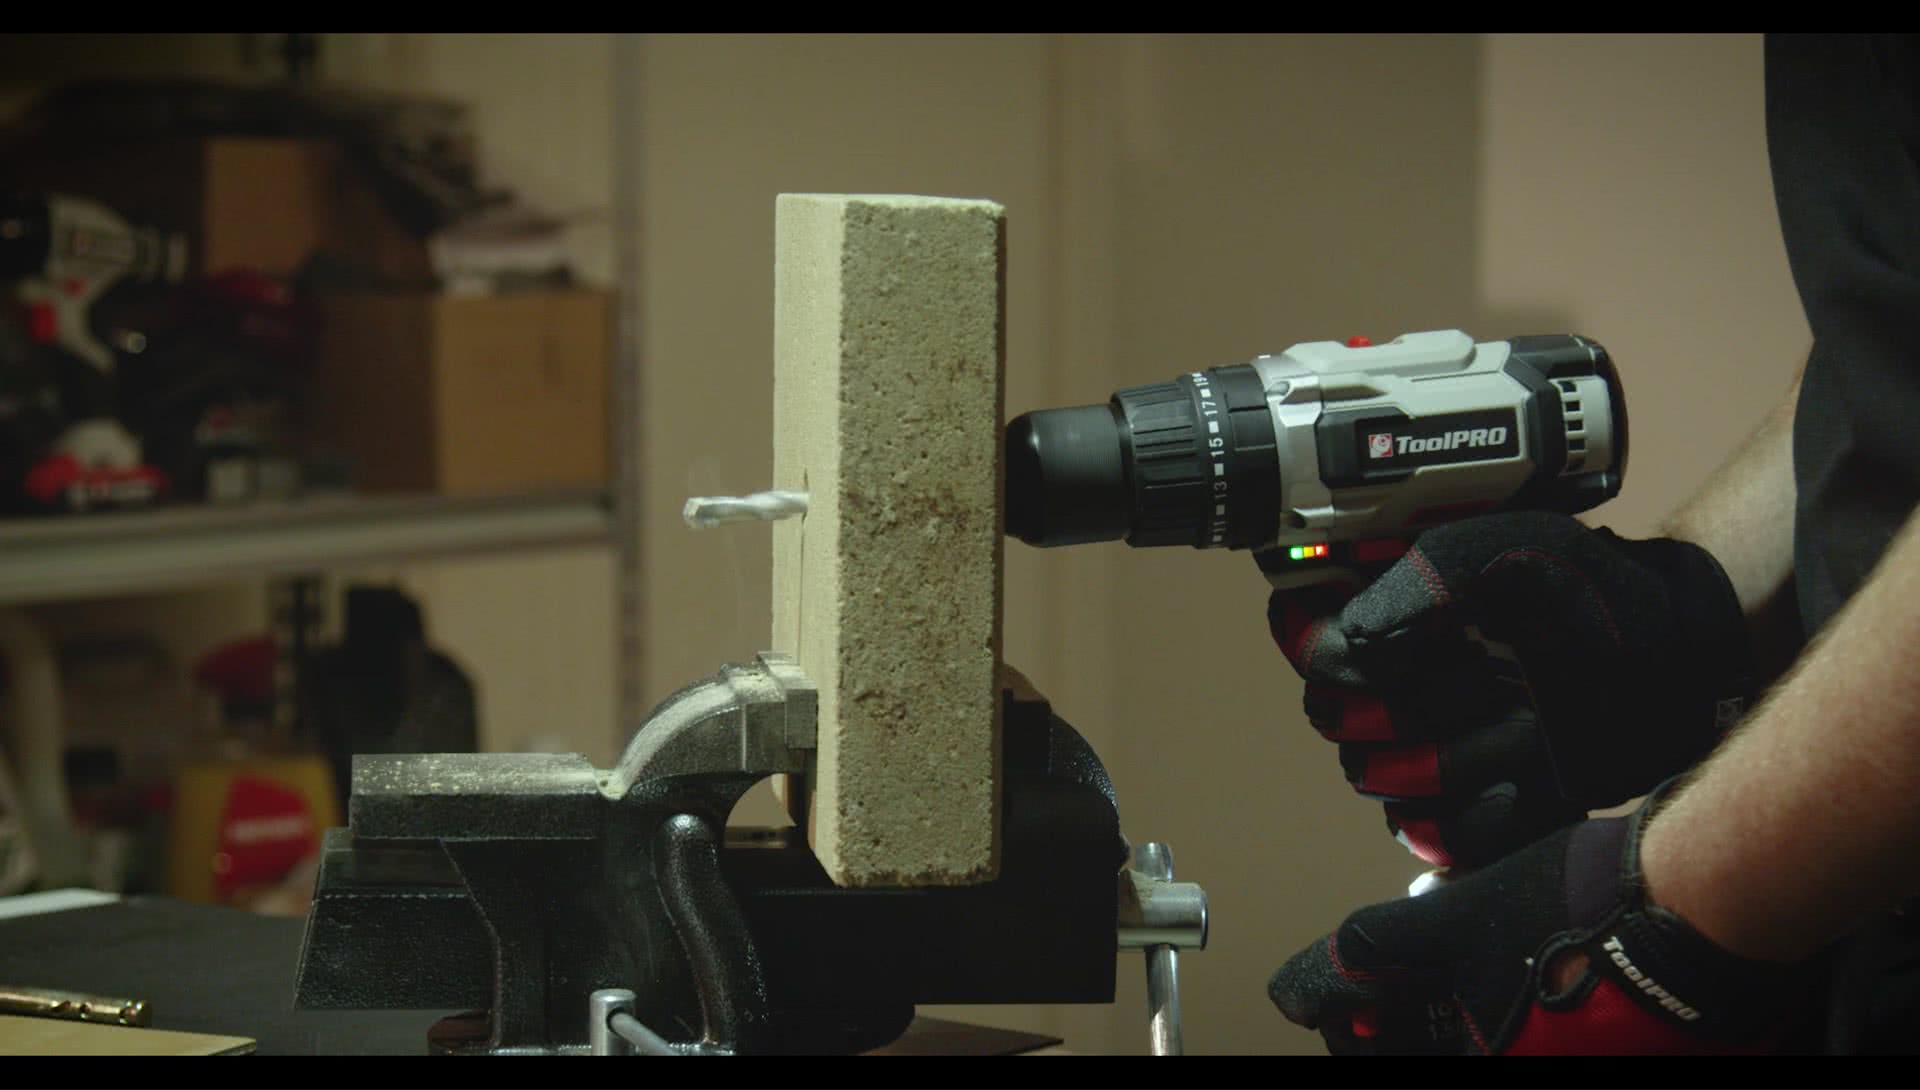
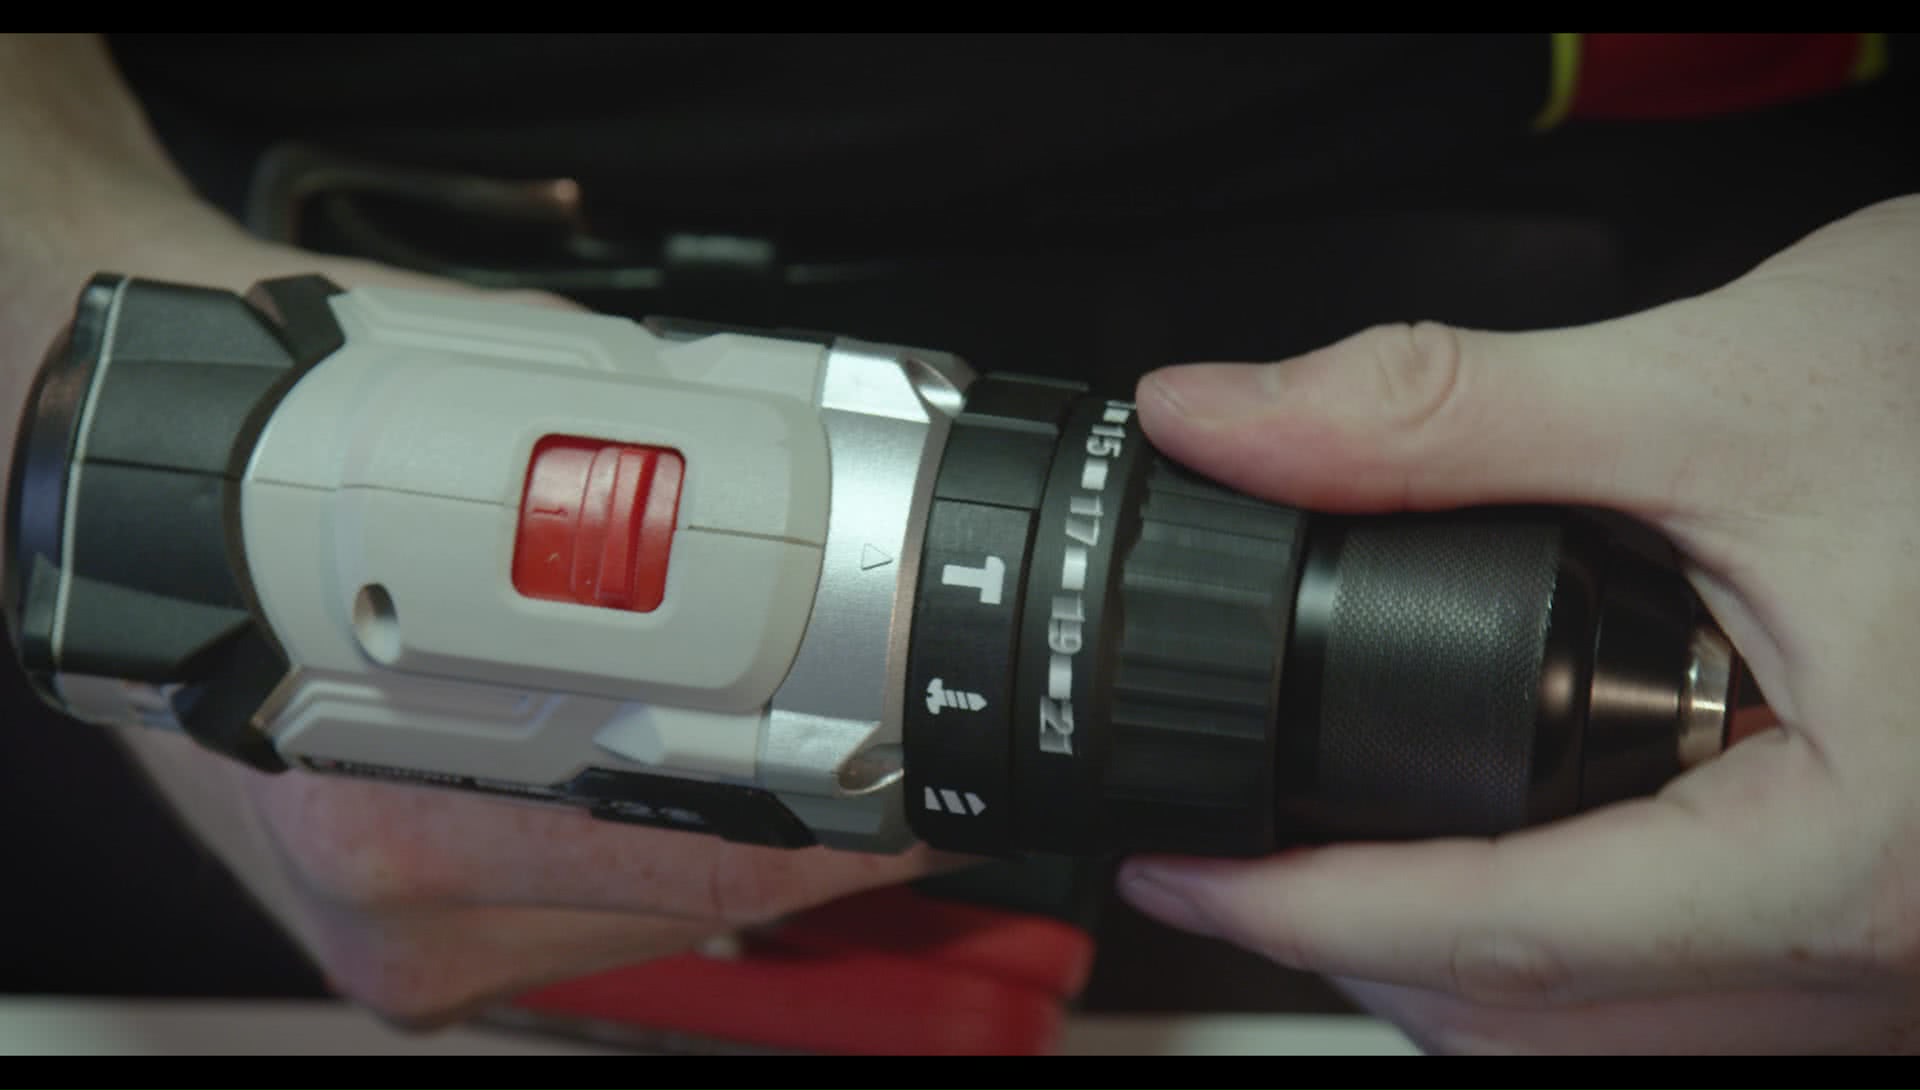
A hammer drill usually presents itself as a regular power drill with forward and reverse function, drill speed adjustment, and a switch to change between hammer drill and regular drill settings.
Some models also offer multiple torque settings for use with driving bits for fasteners.
The hammer function on your power drill is designed to be only used for masonry and concrete drilling jobs, not to be confused with an impact driver – which serves the single purpose of installing fasteners.
Tip 3 - Drill Bits
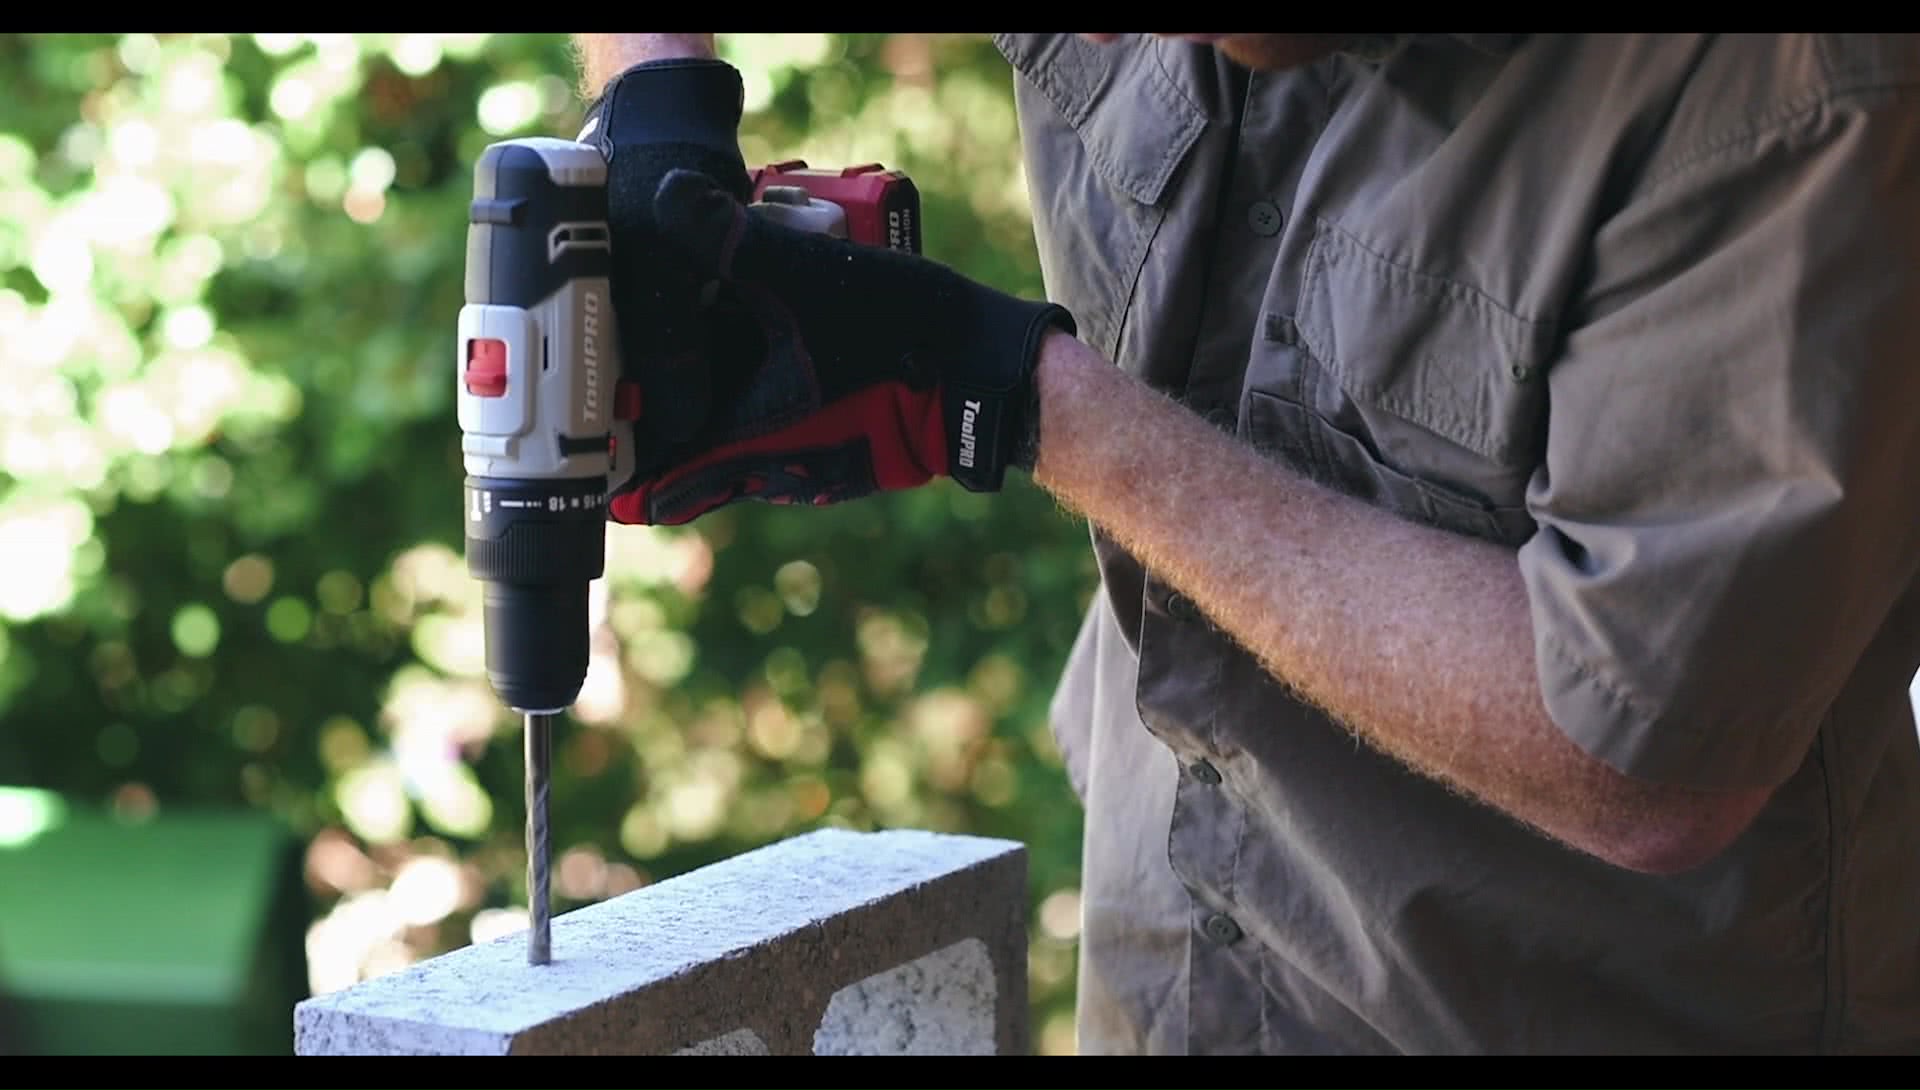
A masonry drill bit is required to penetrate these surfaces – these drill bits can be identified by the winged tip composed of a hardened material.
With your masonry bit installed, set the power drill to hammer mode and select the desired speed – be sure to stay on the slower side to decrease heat build-up.
Tip 4 - Heat
Using a hammer drill creates a lot of heat, which can easily damage the hardened drill bit and render it useless.
To combat this heat build-up, withdraw the drill bit frequently to clean its flutes and rest the drill for a few minutes between holes when undertaking a large project.
Tip 5 - Precautions
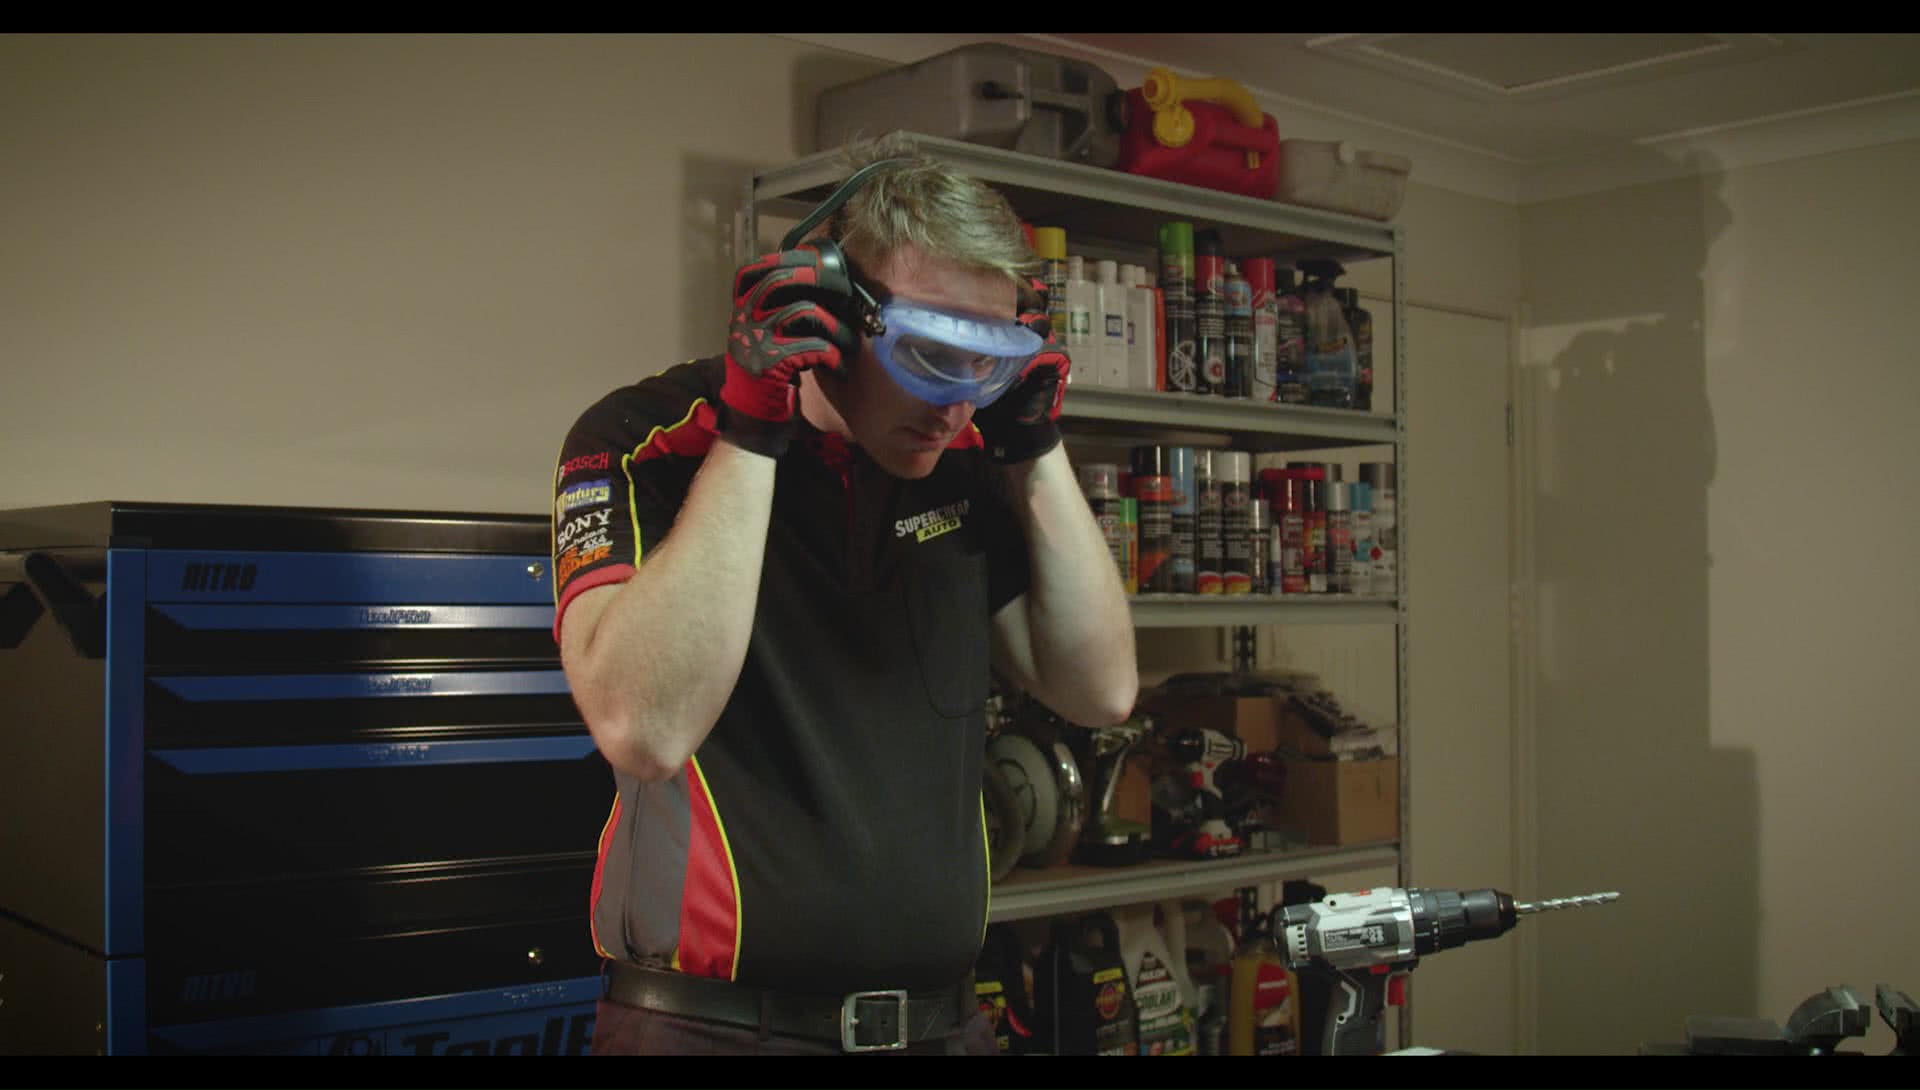
Always keep your personal safety in mind with any drilling job.
Eye protection is essential, as is hearing protection, a drill on hammer mode is much louder than other drilling operations.
*Important information* - Click here to read more about our How-To terms and conditions.