Fix my bumper (or bull bar, tailgate or panel, for that matter)
Overview
A 76 Series Land Cruiser with more accessories than your wife’s handbag, but a nasty scratch on it. Ouch. This one won’t buff out any time soon. Think you’d be up for a full bull bar respray and maybe a $1000 bill? We reckon this is an easy fix, costing less than half that. So let’s do this.
Items
- Primer surfacer
- Colour-matched base coat
- Deep crystal-clear coat
- Wax and grease remover
- Masking tape and paper
- 180, 320, 600 grit dry sandpaper
- 800 and 1500 wet and dry sandpaper
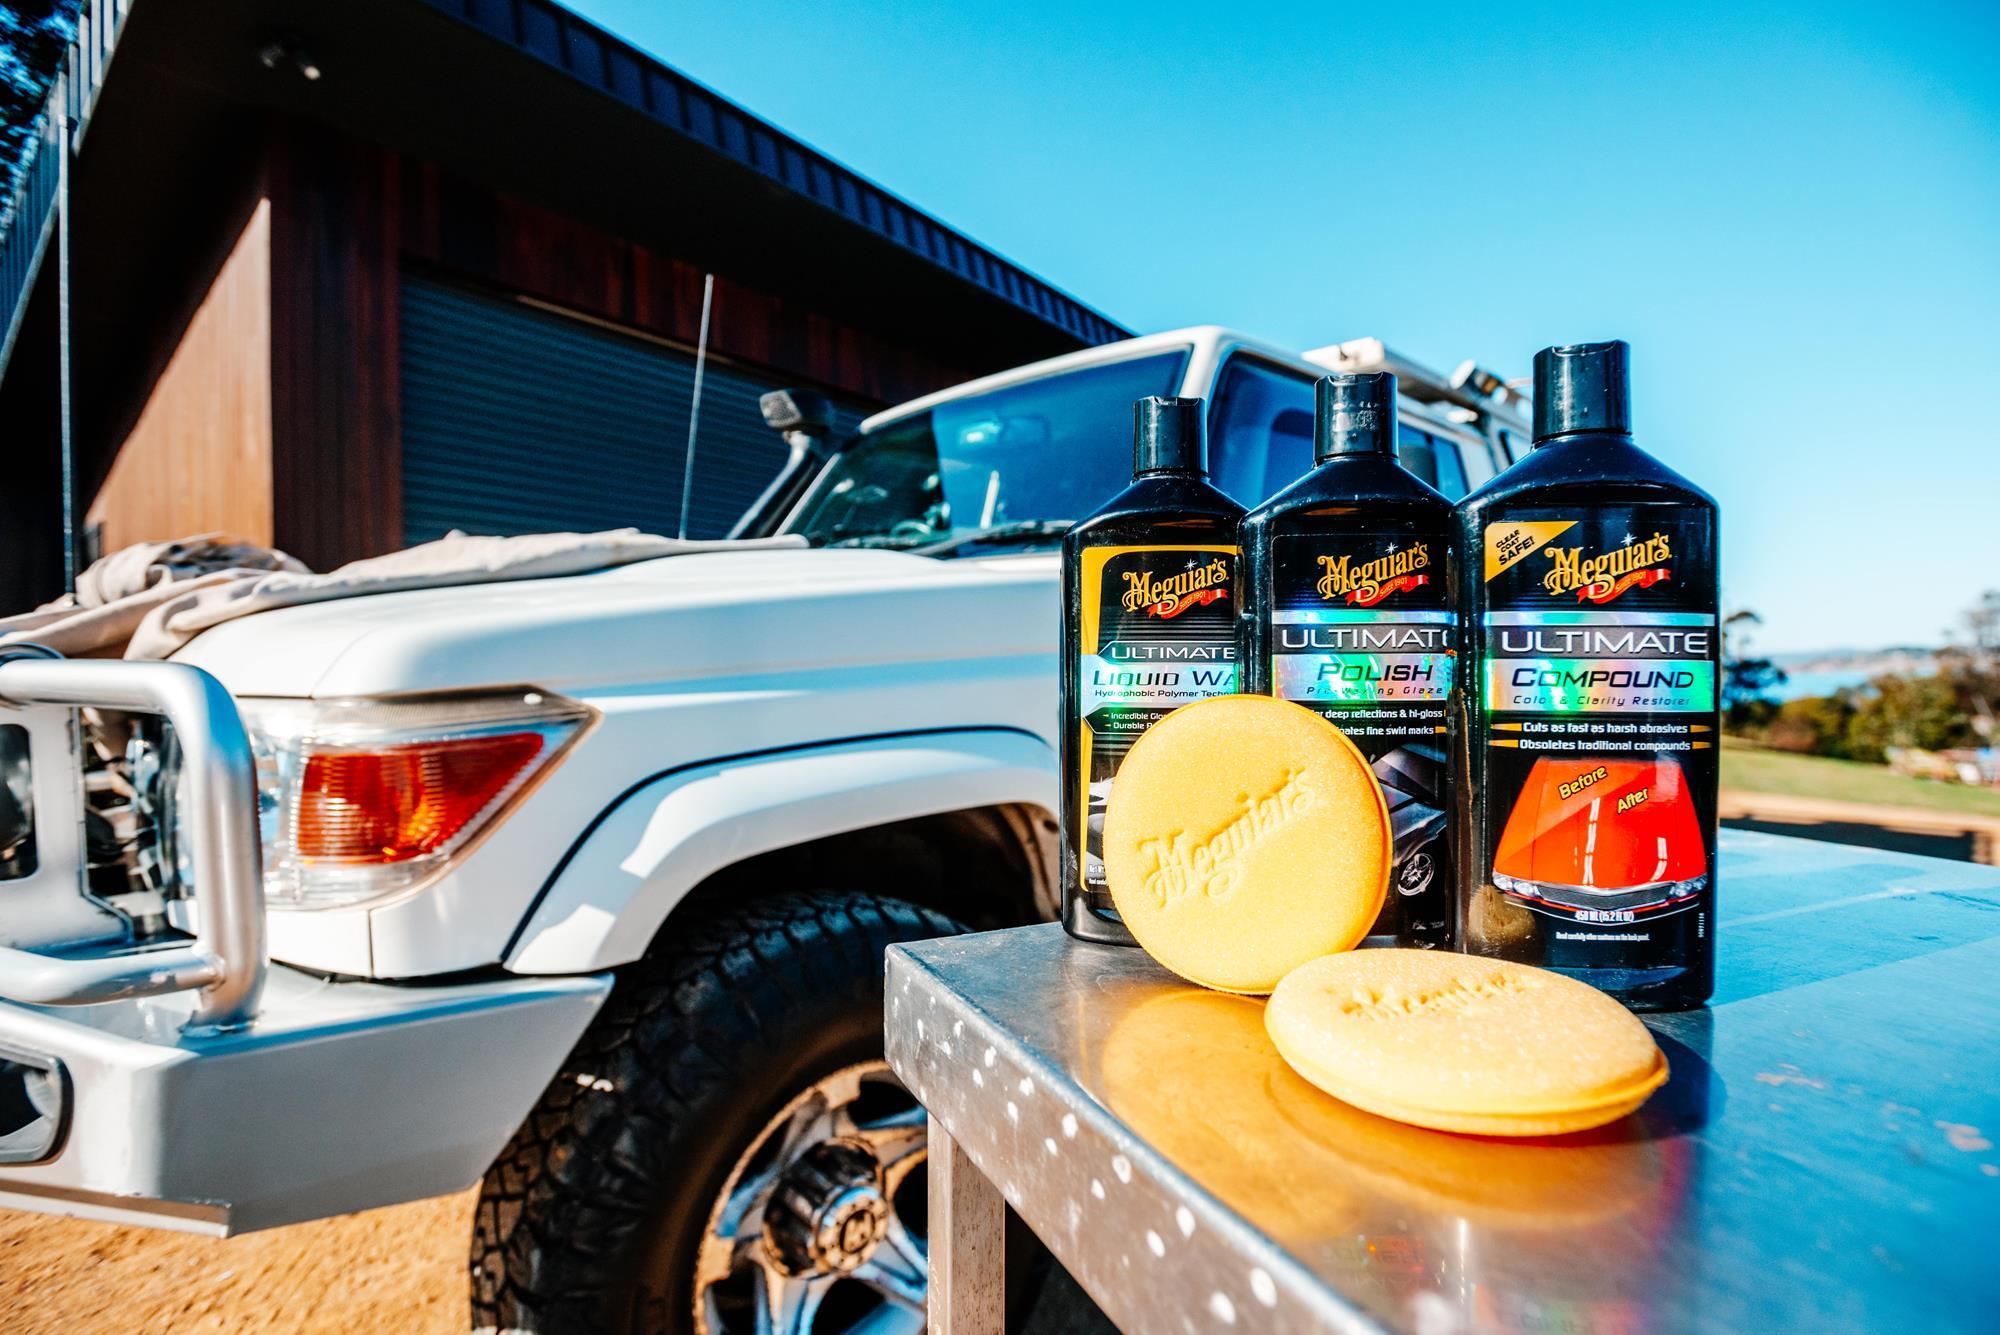
- Meguiar’s Ultimate Compound and buffing pads
- Plenty of clean cloths (that will soon be dirty)
- Drop sheets to protect larger areas
- PPE gear including goggles, face mask and gloves
Steps
Find the right paint
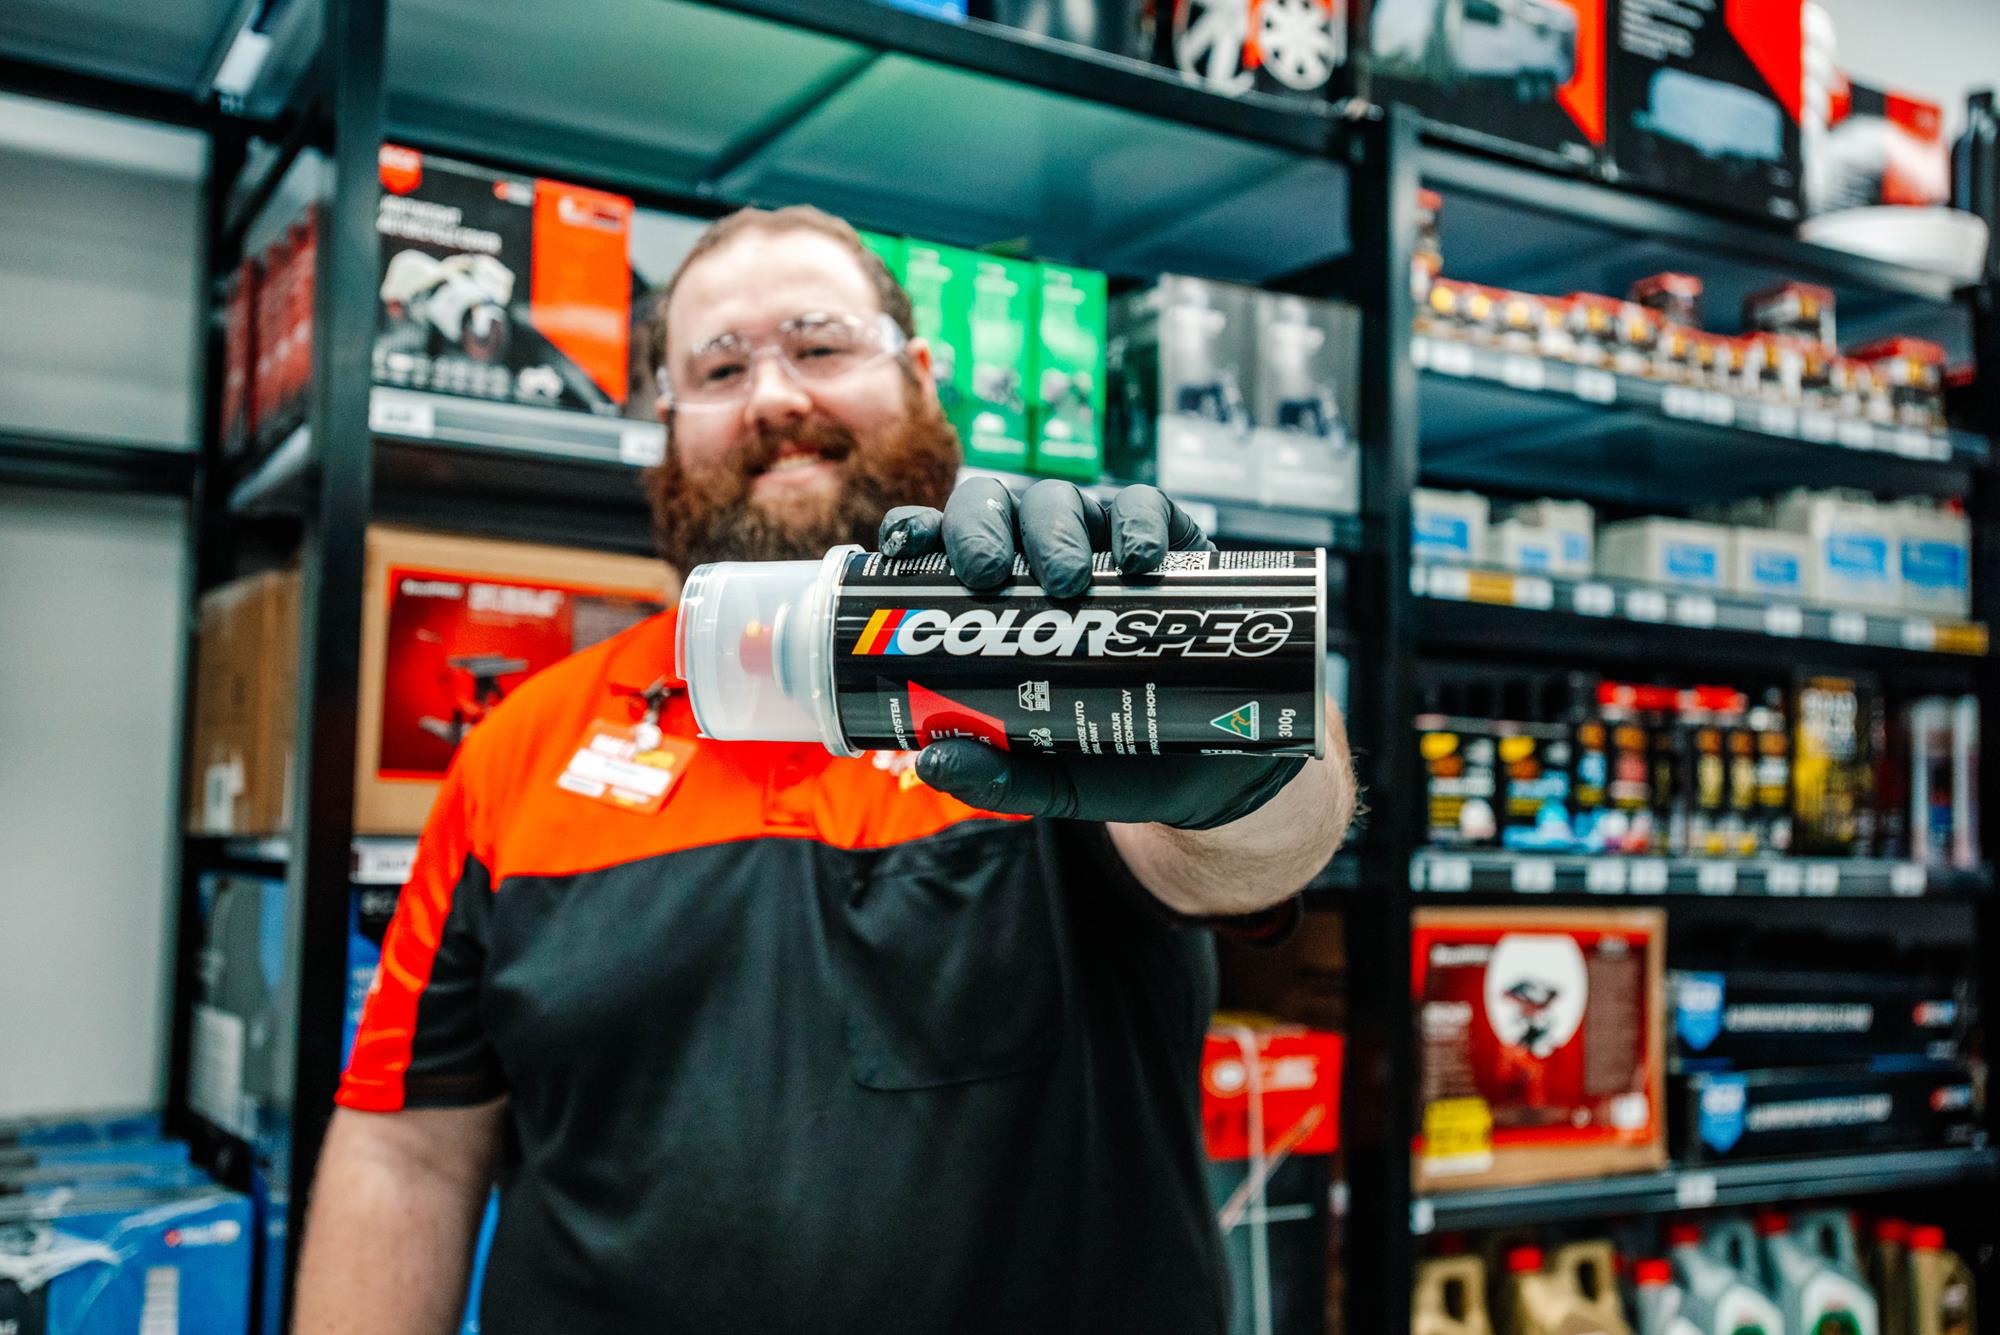
First step is to find the paint code. You’ll spot it in the door jamb or under the bonnet. If you can’t find the right code, head to a panel shop or paint specialist and they’ll find it for you with a clever gadget called a spectrophotometer. Next step is to visit your local Supercheap Auto and get the paint mixed. You’ll need a few other products while you’re there (see shopping list, above).
Clean up your act
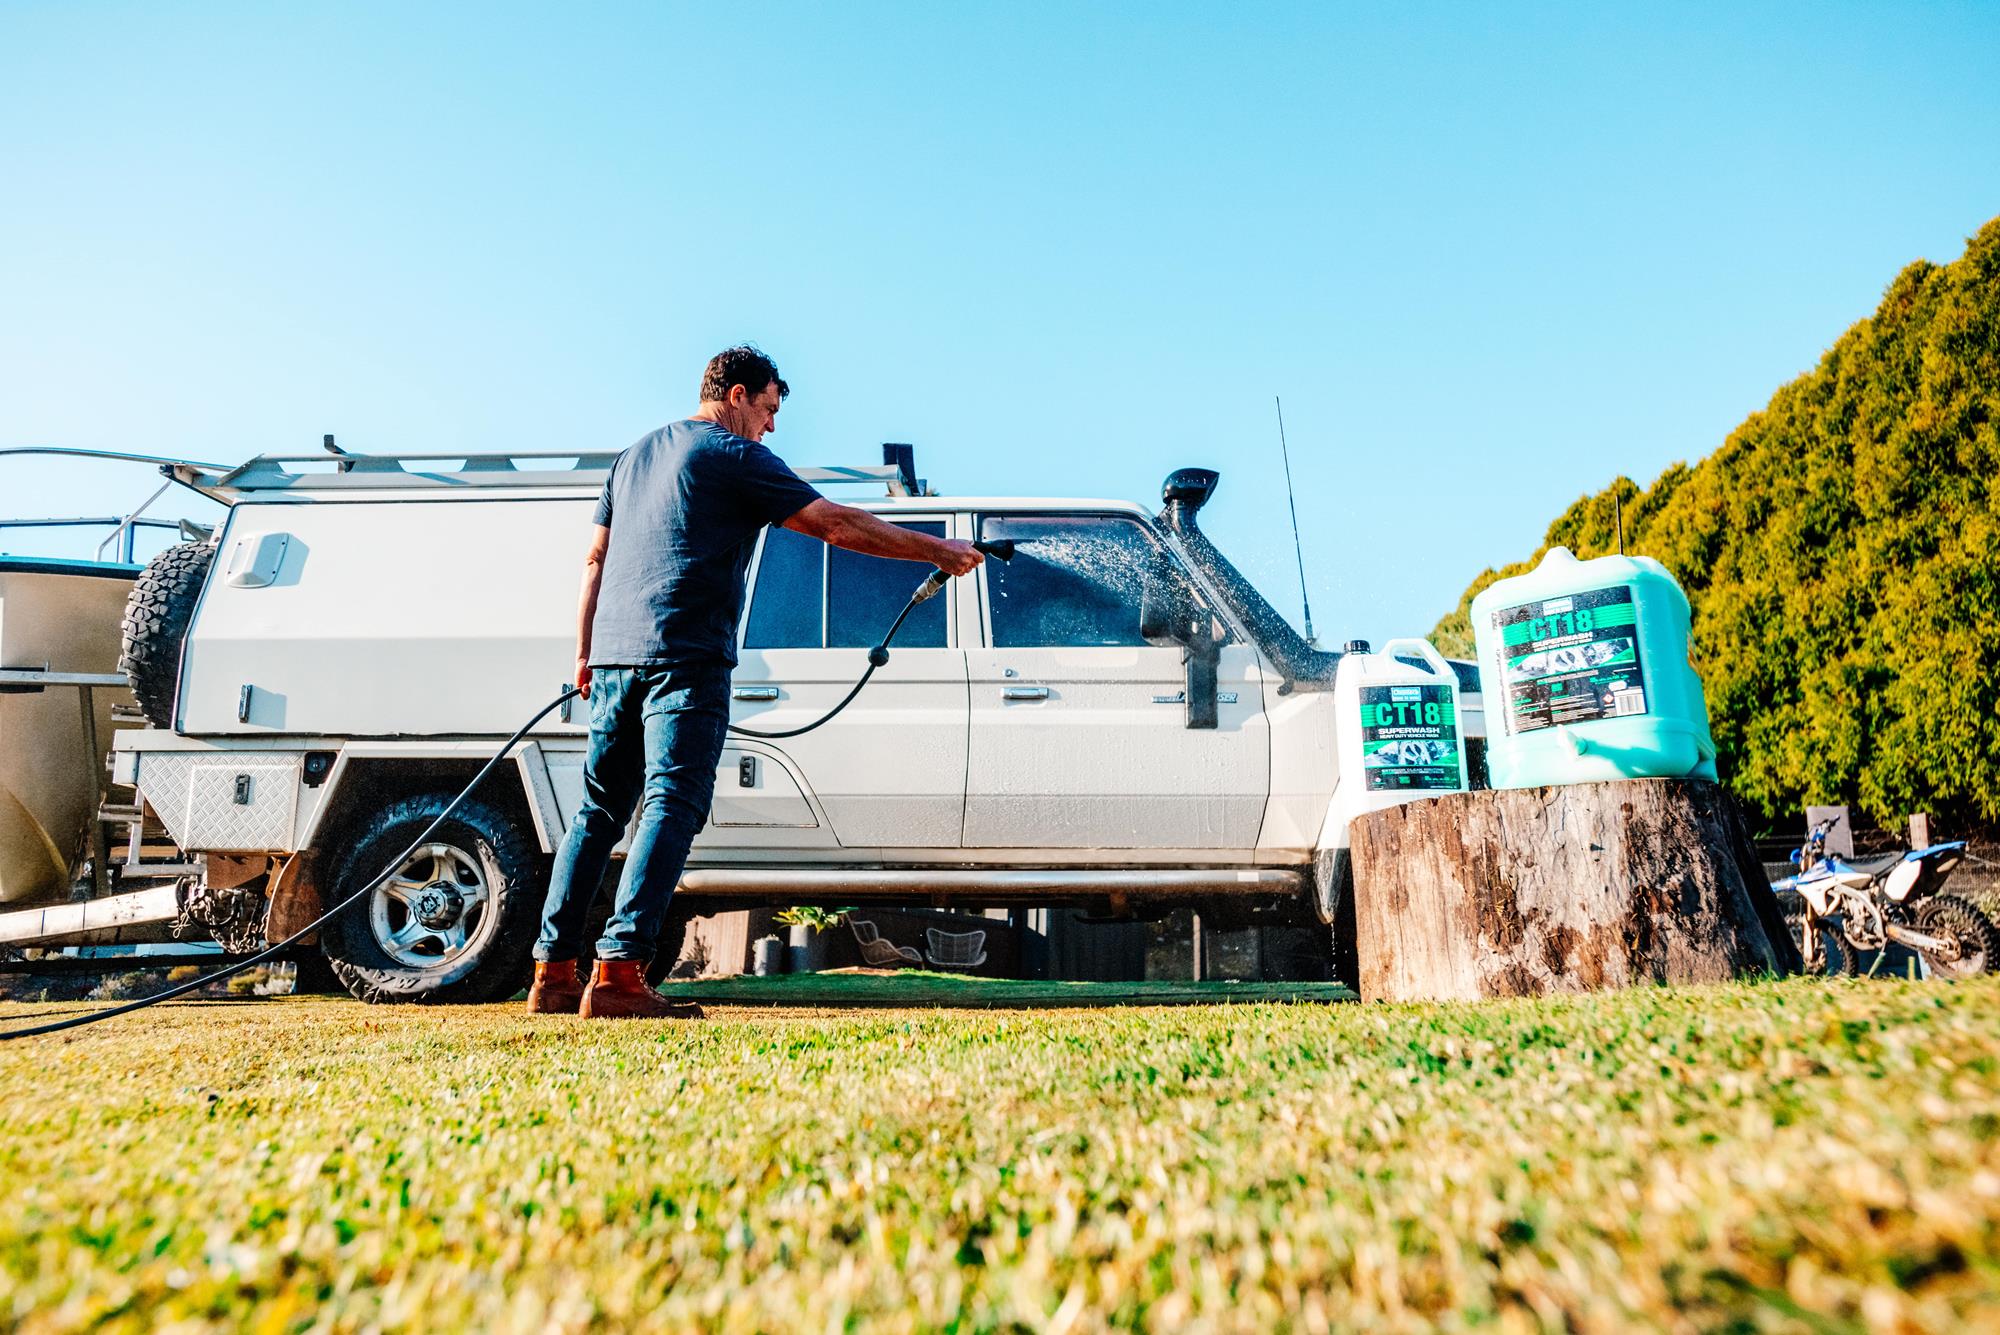
Start by cleaning the whole rig. Chemtech CT18 Superwash can be used for everything— trucks, cars, boats and motorbikes. This cleaning gel is perfectly safe on all metals including alloy, brass and copper, as well as fibreglass, glass, plastic, vinyl, rubber and neoprene. It’s also pH neutral, so it won’t fade the paintwork or stickers.
Now the truck is washed, let’s clean the repair area with wax and grease remover.
Mask the repair area
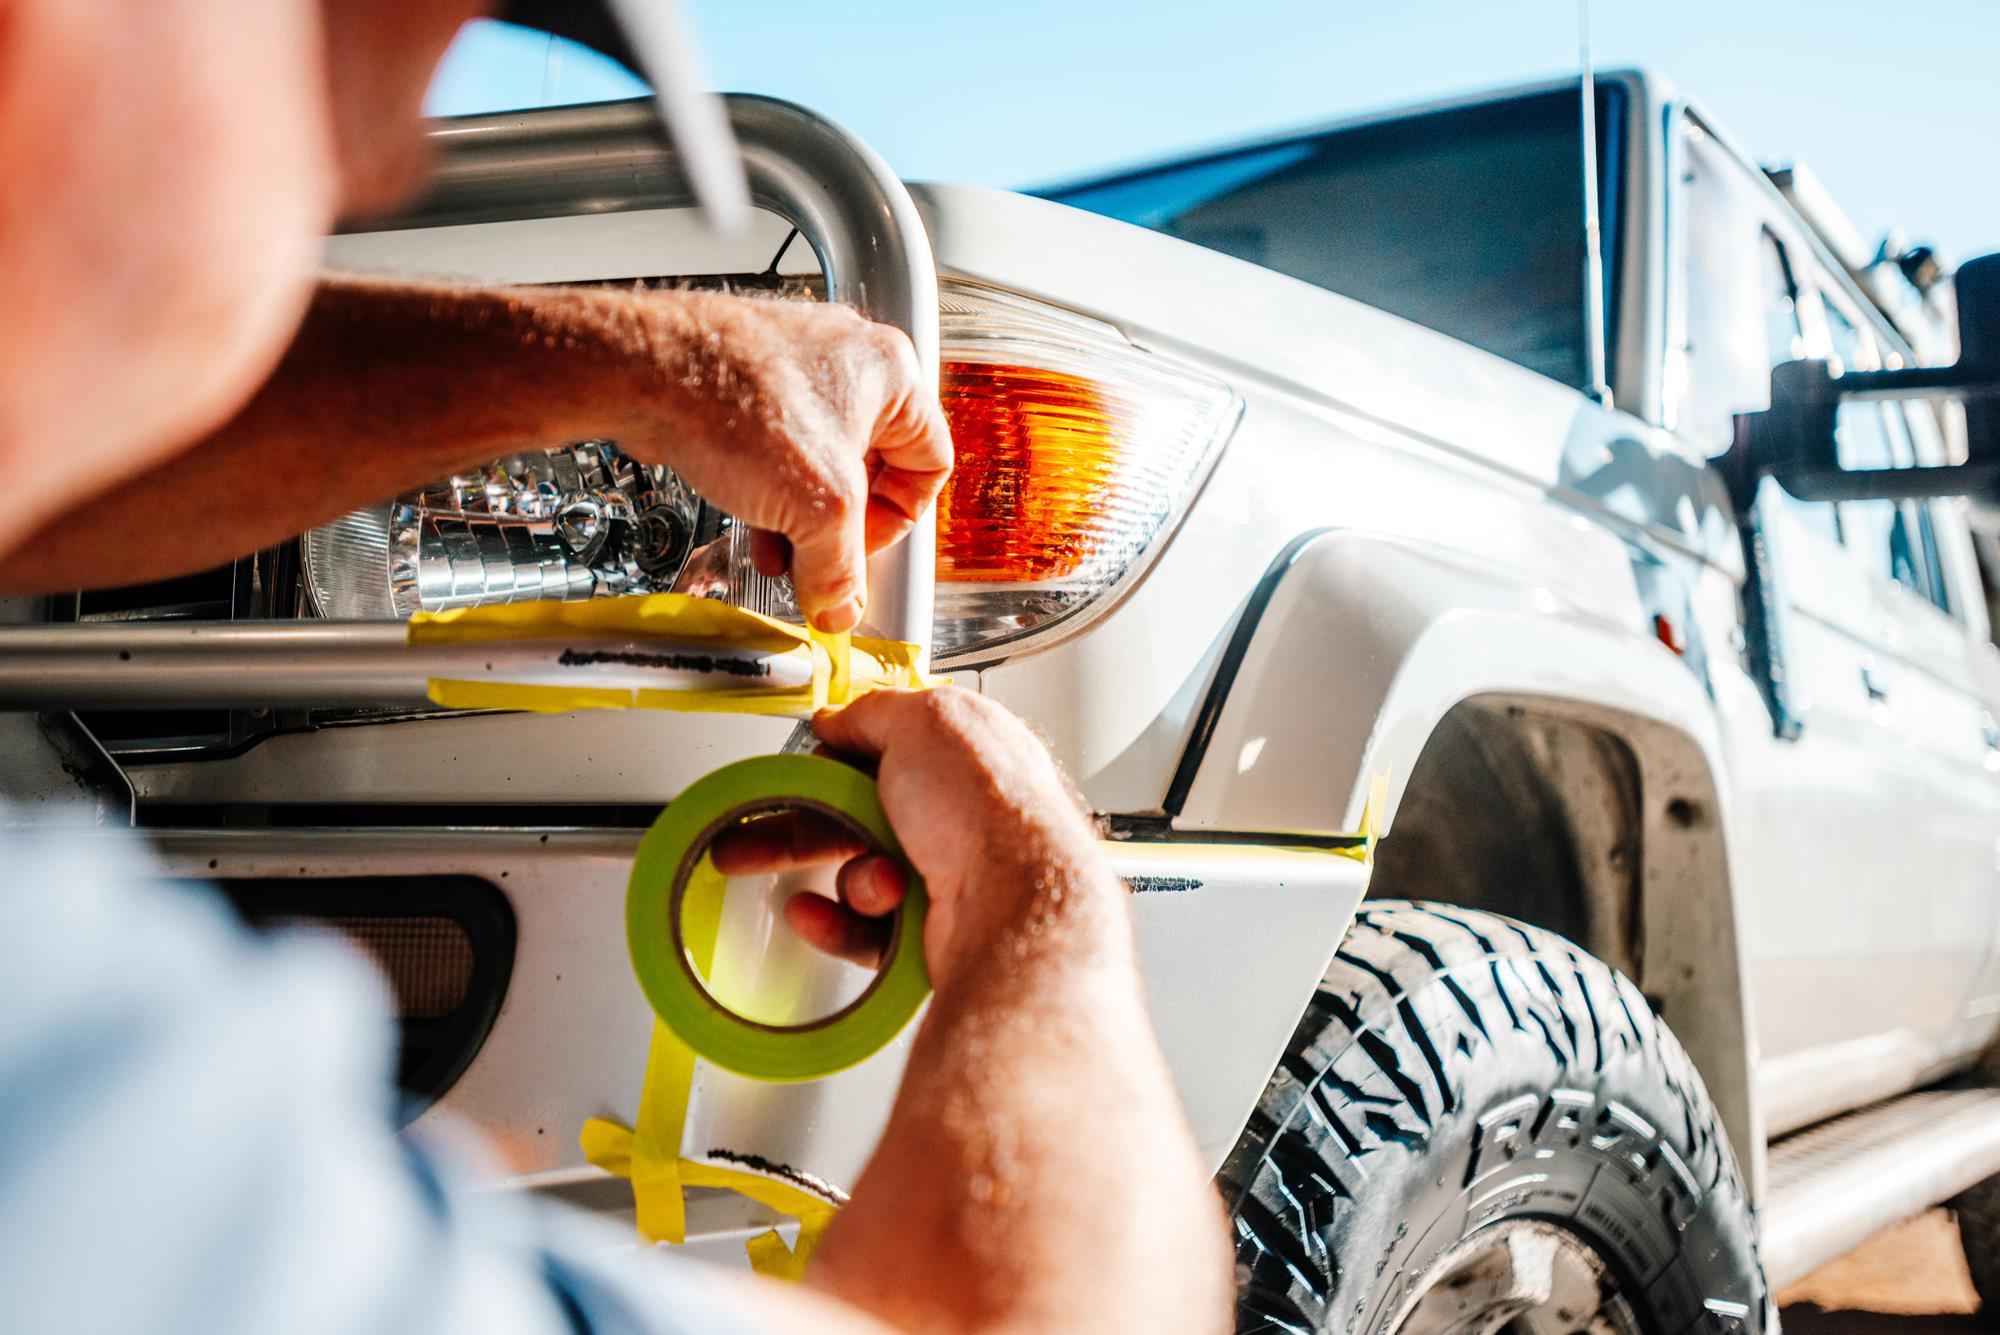
Apply a mask. No, we’re not talking facials or pandemic protection. Mask the repair area with masking paper to protect the adjacent panels. Reverse-mask the area to avoid sharp edges.
Sand repair area
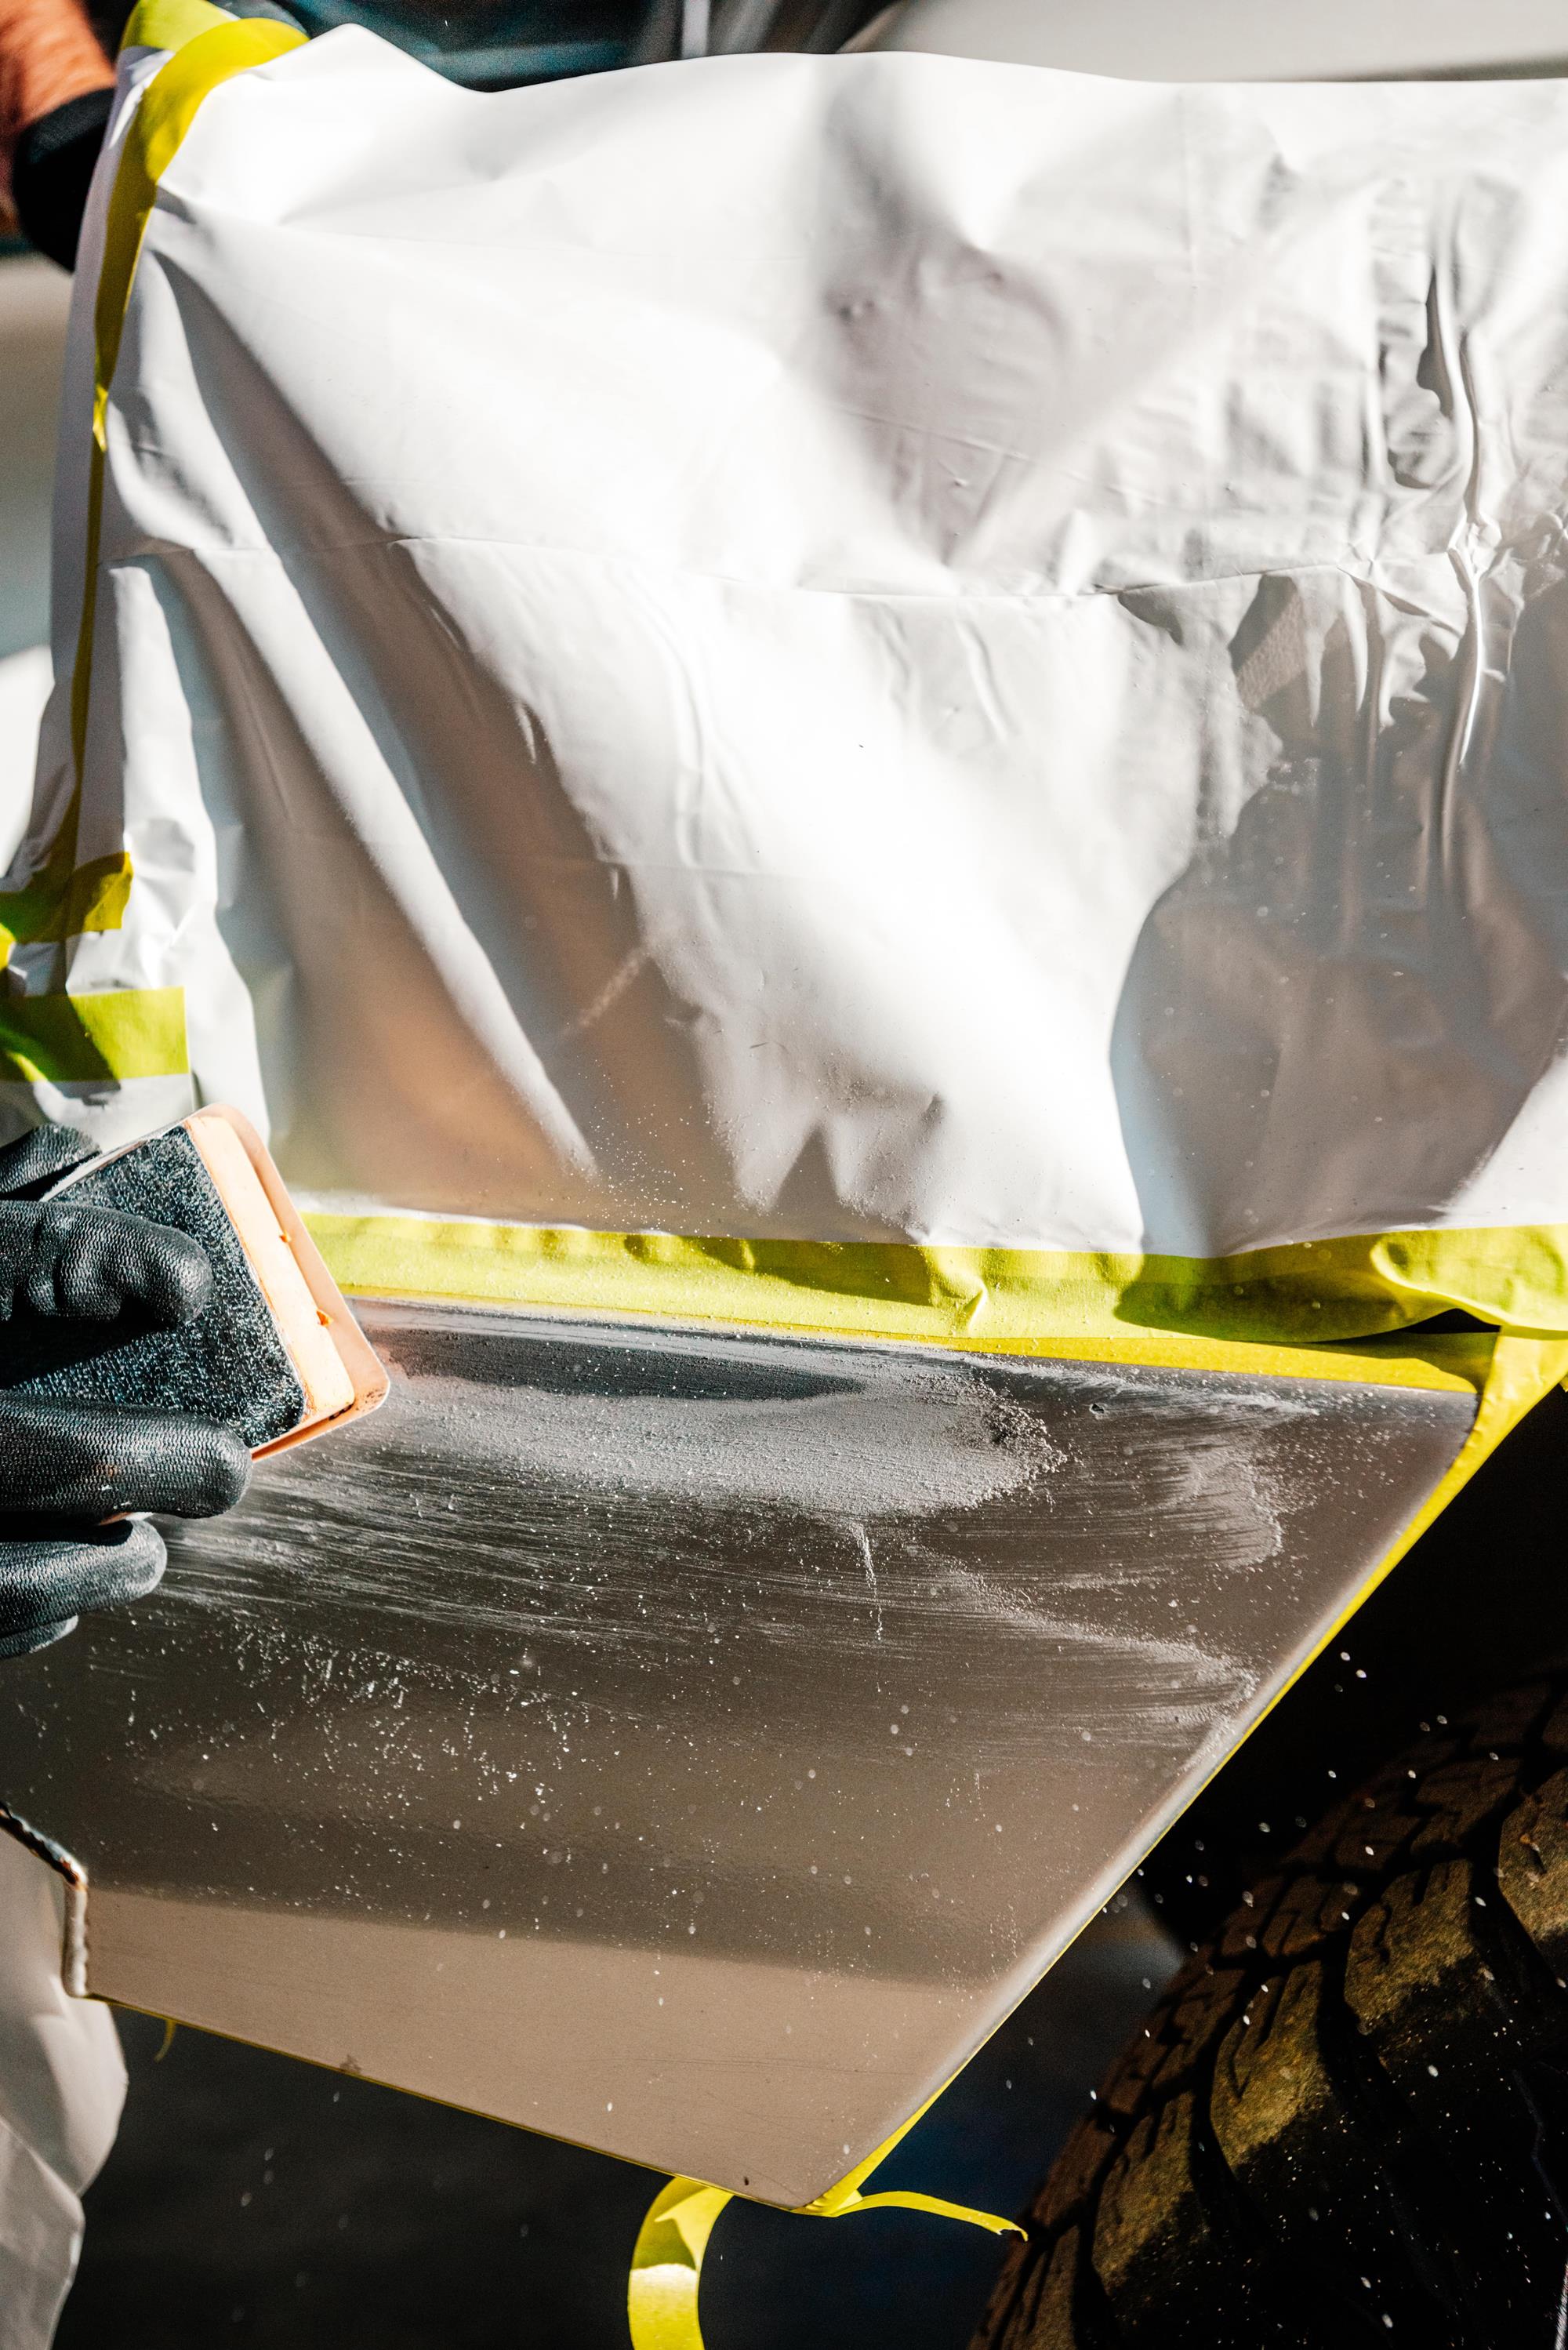
Sand the damaged area with 180 grit dry sanding paper, feathering the edges of the repair area with 320 grit sanding paper. After that, clean the repair area and surrounding area with wax and grease remover.
Prime time
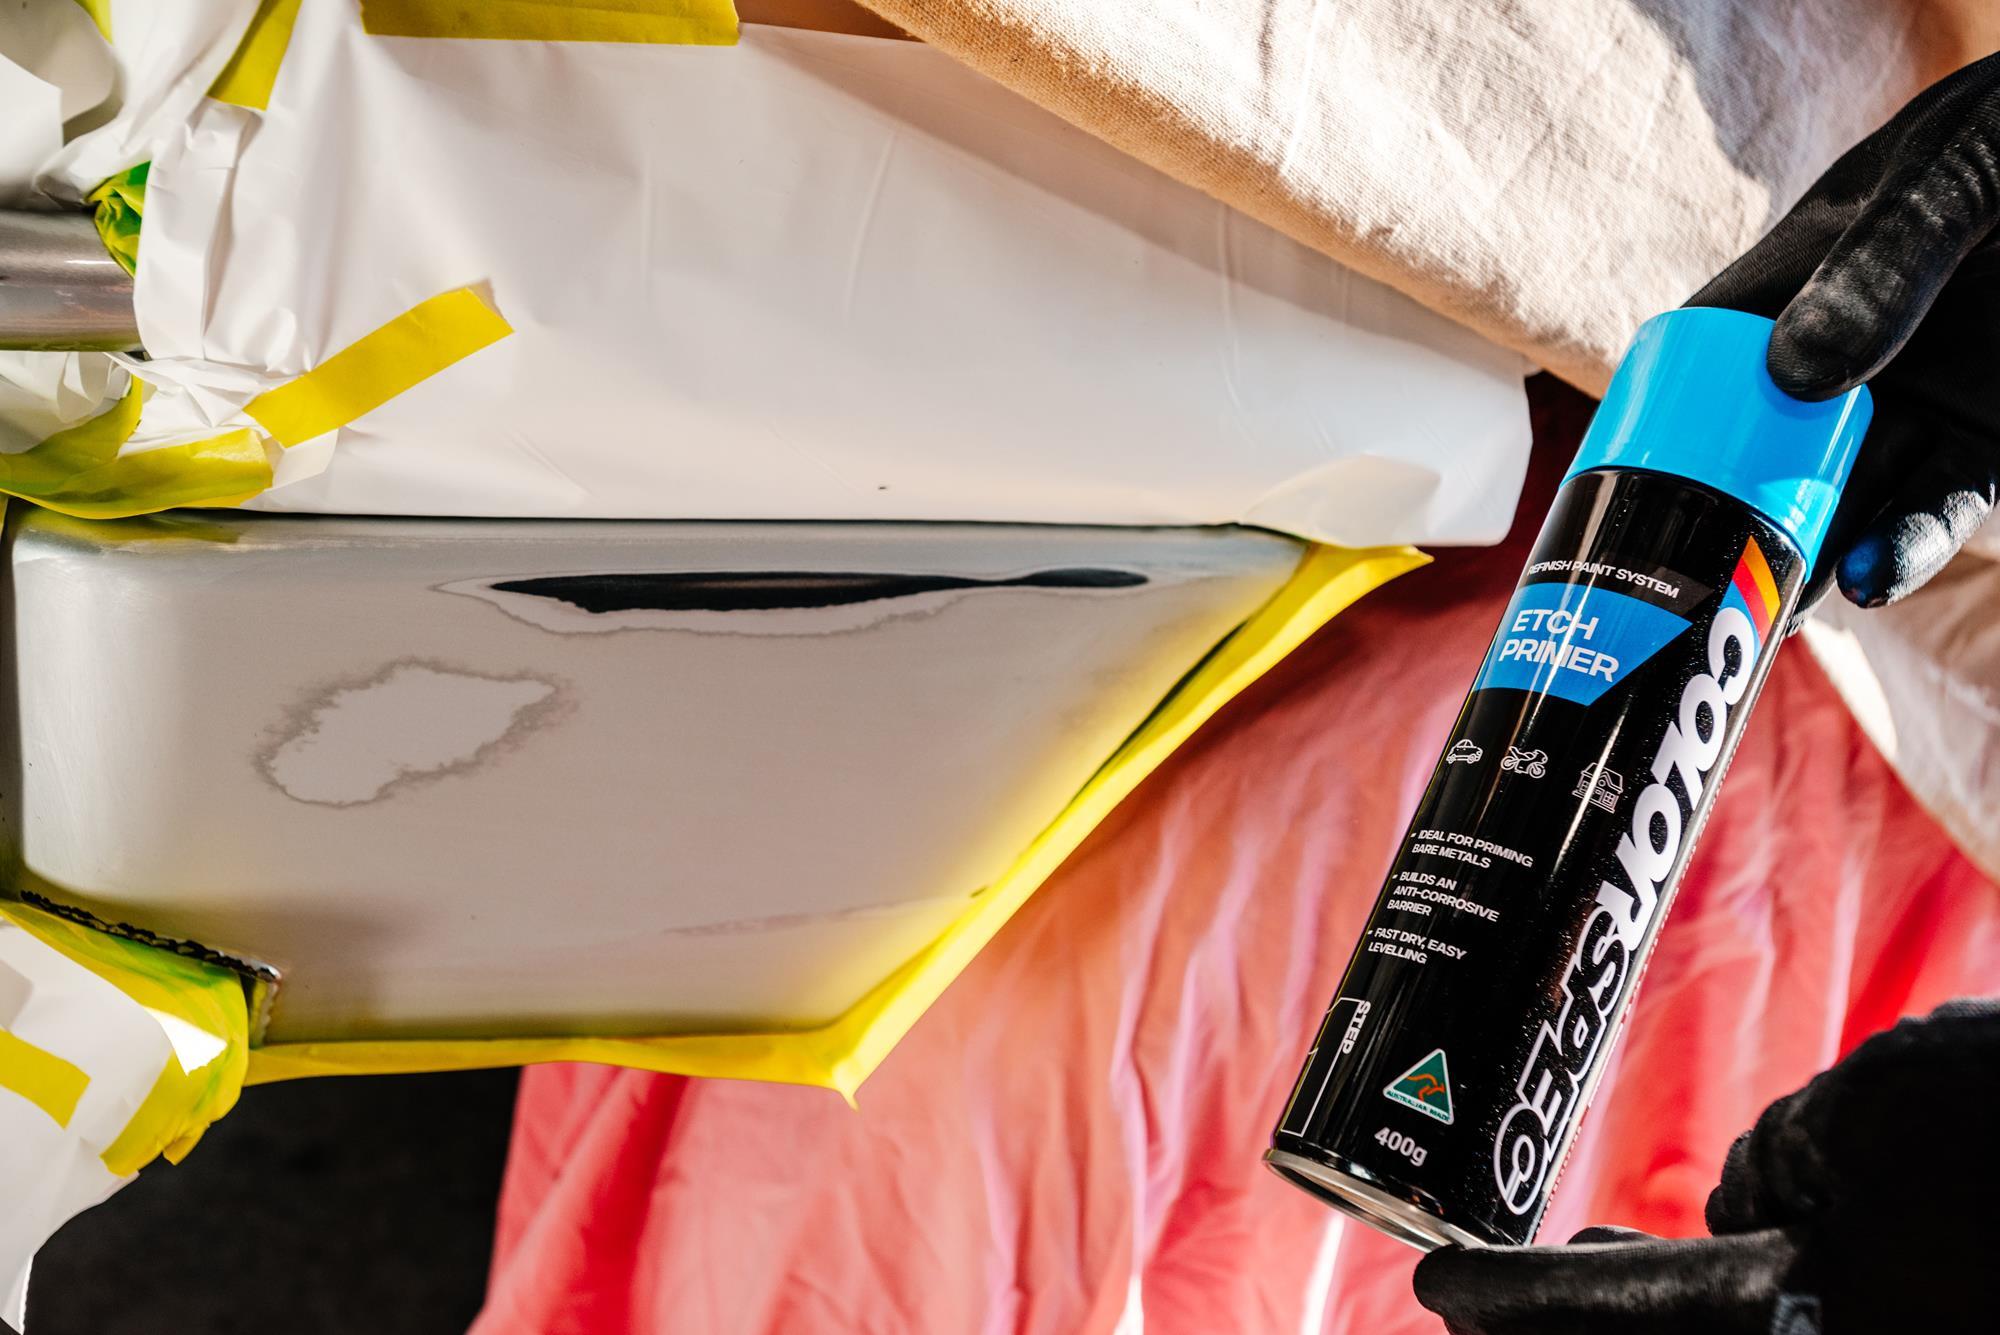
Now mask off the repair area again in preparation for the primer surfacer. Be sure to reverse-mask the area to avoid sharp edges. For any large bare metal areas, use Etch Primer first.
Time to spray
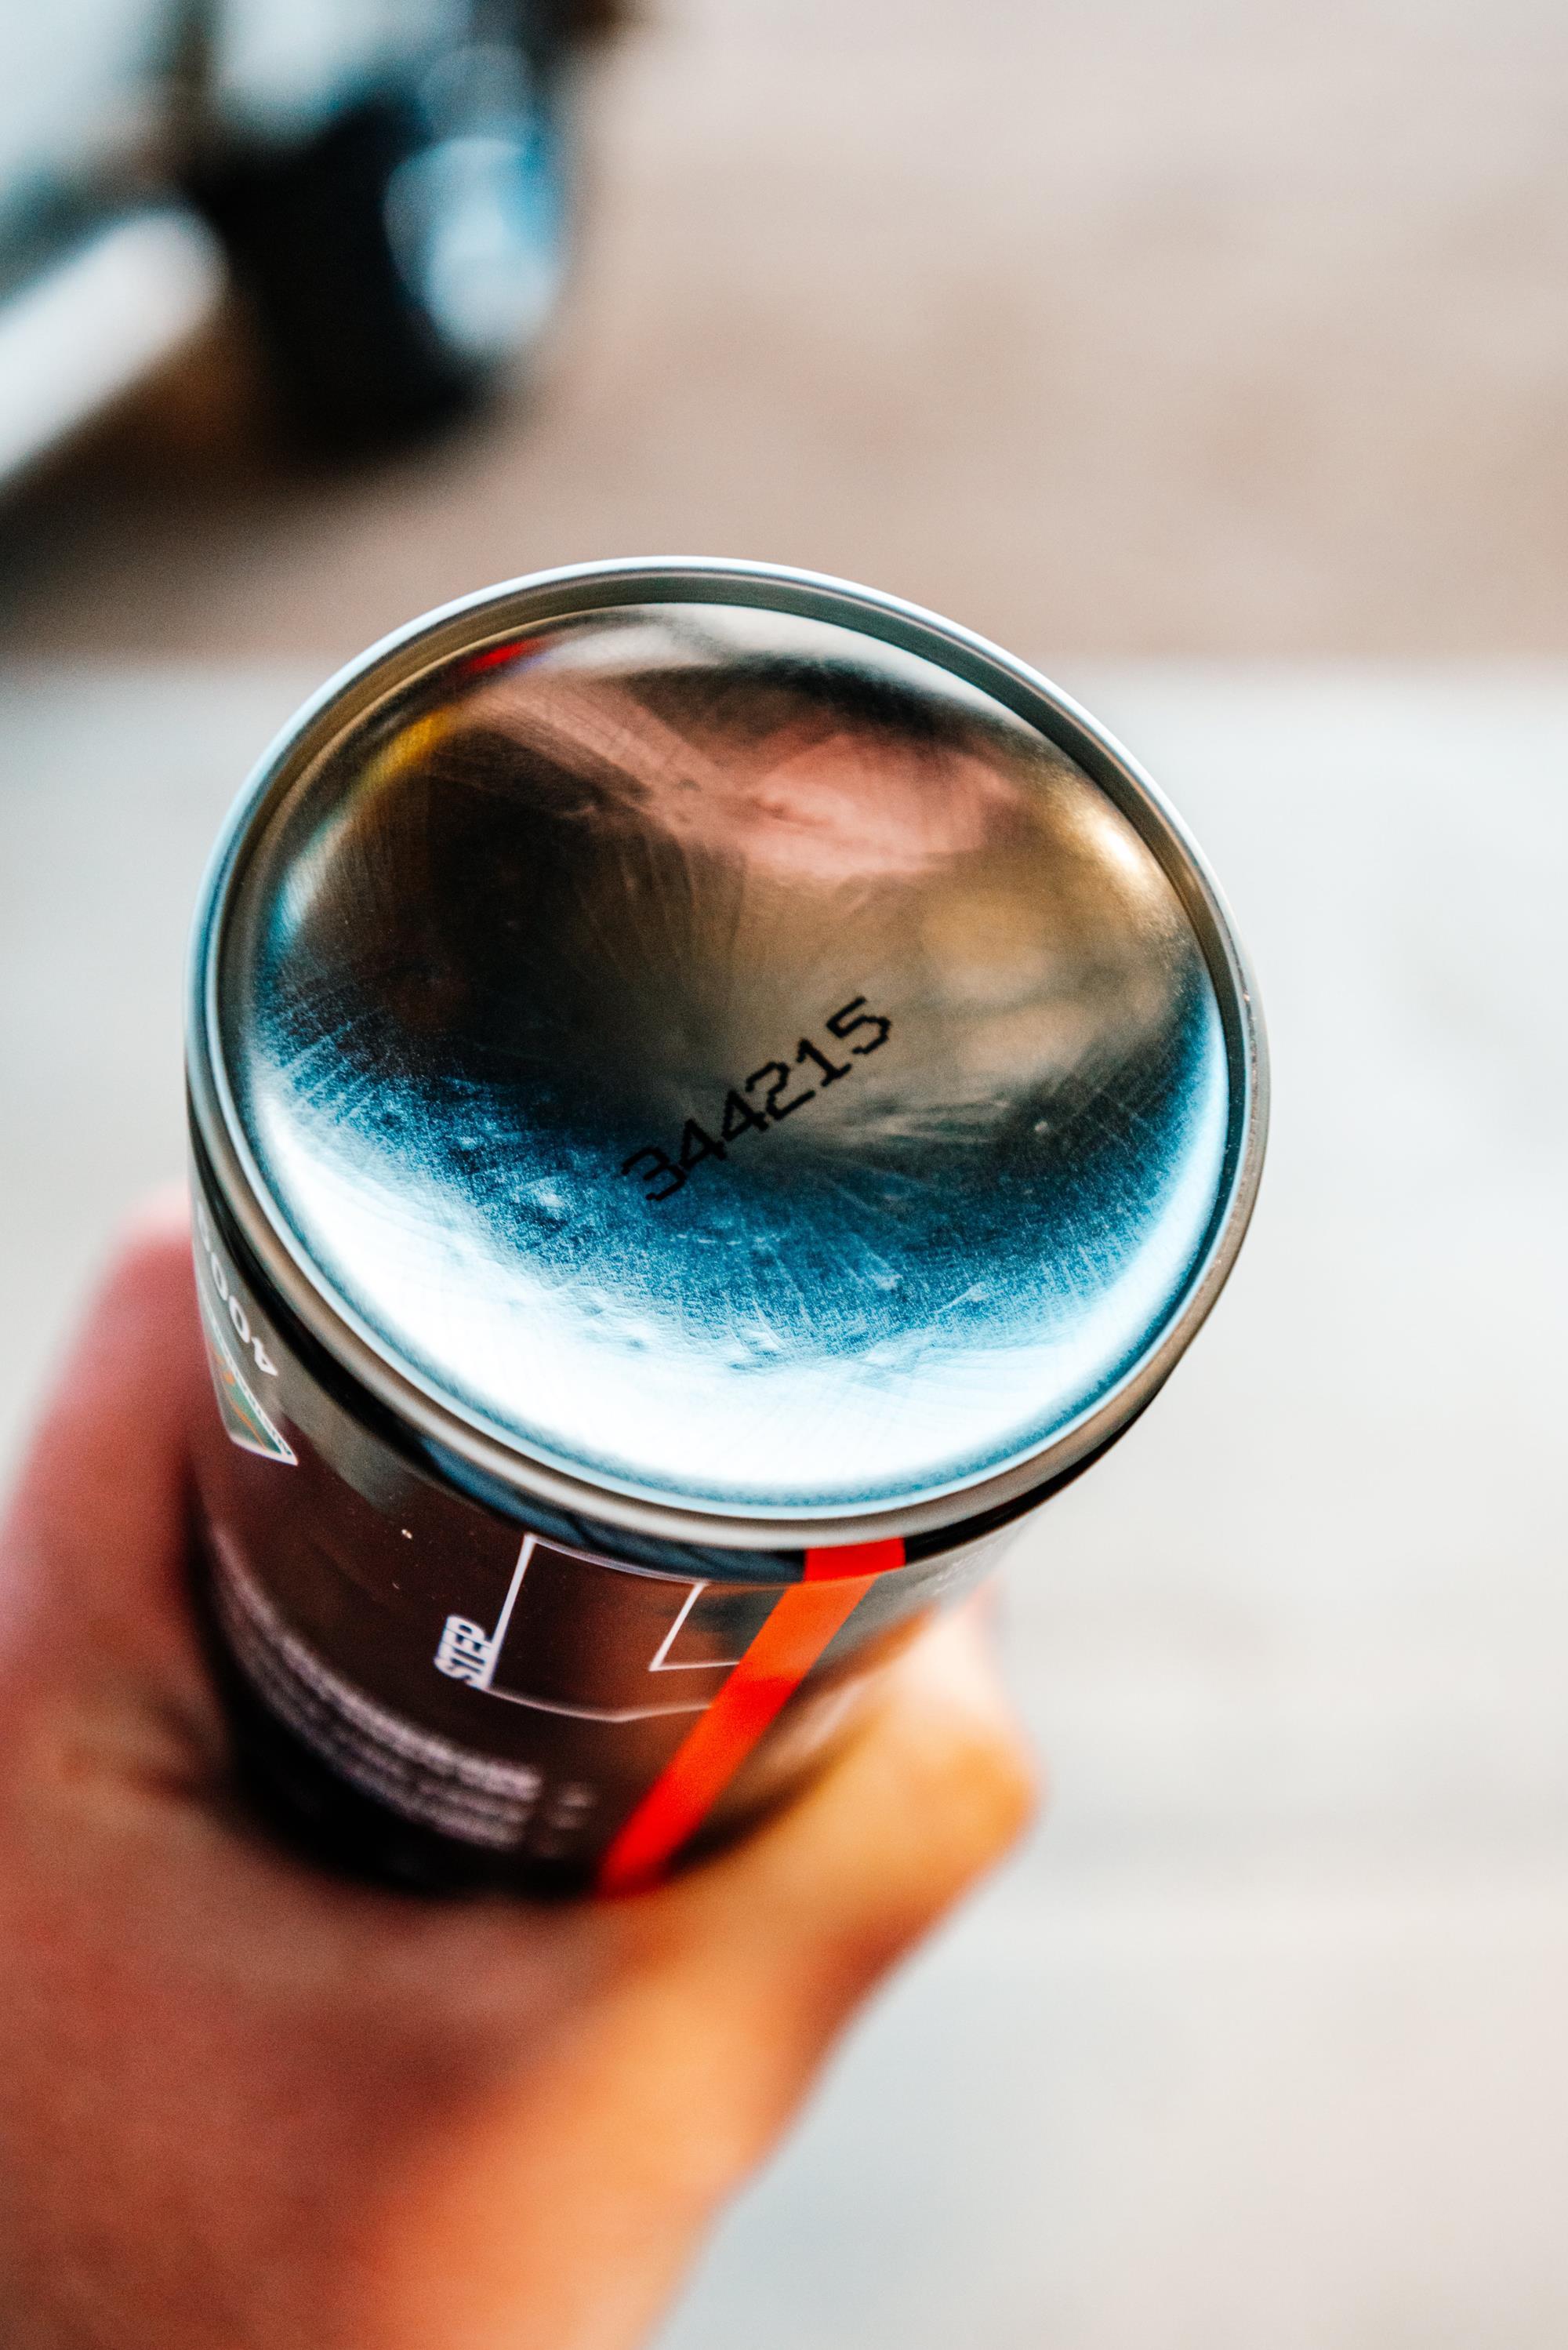
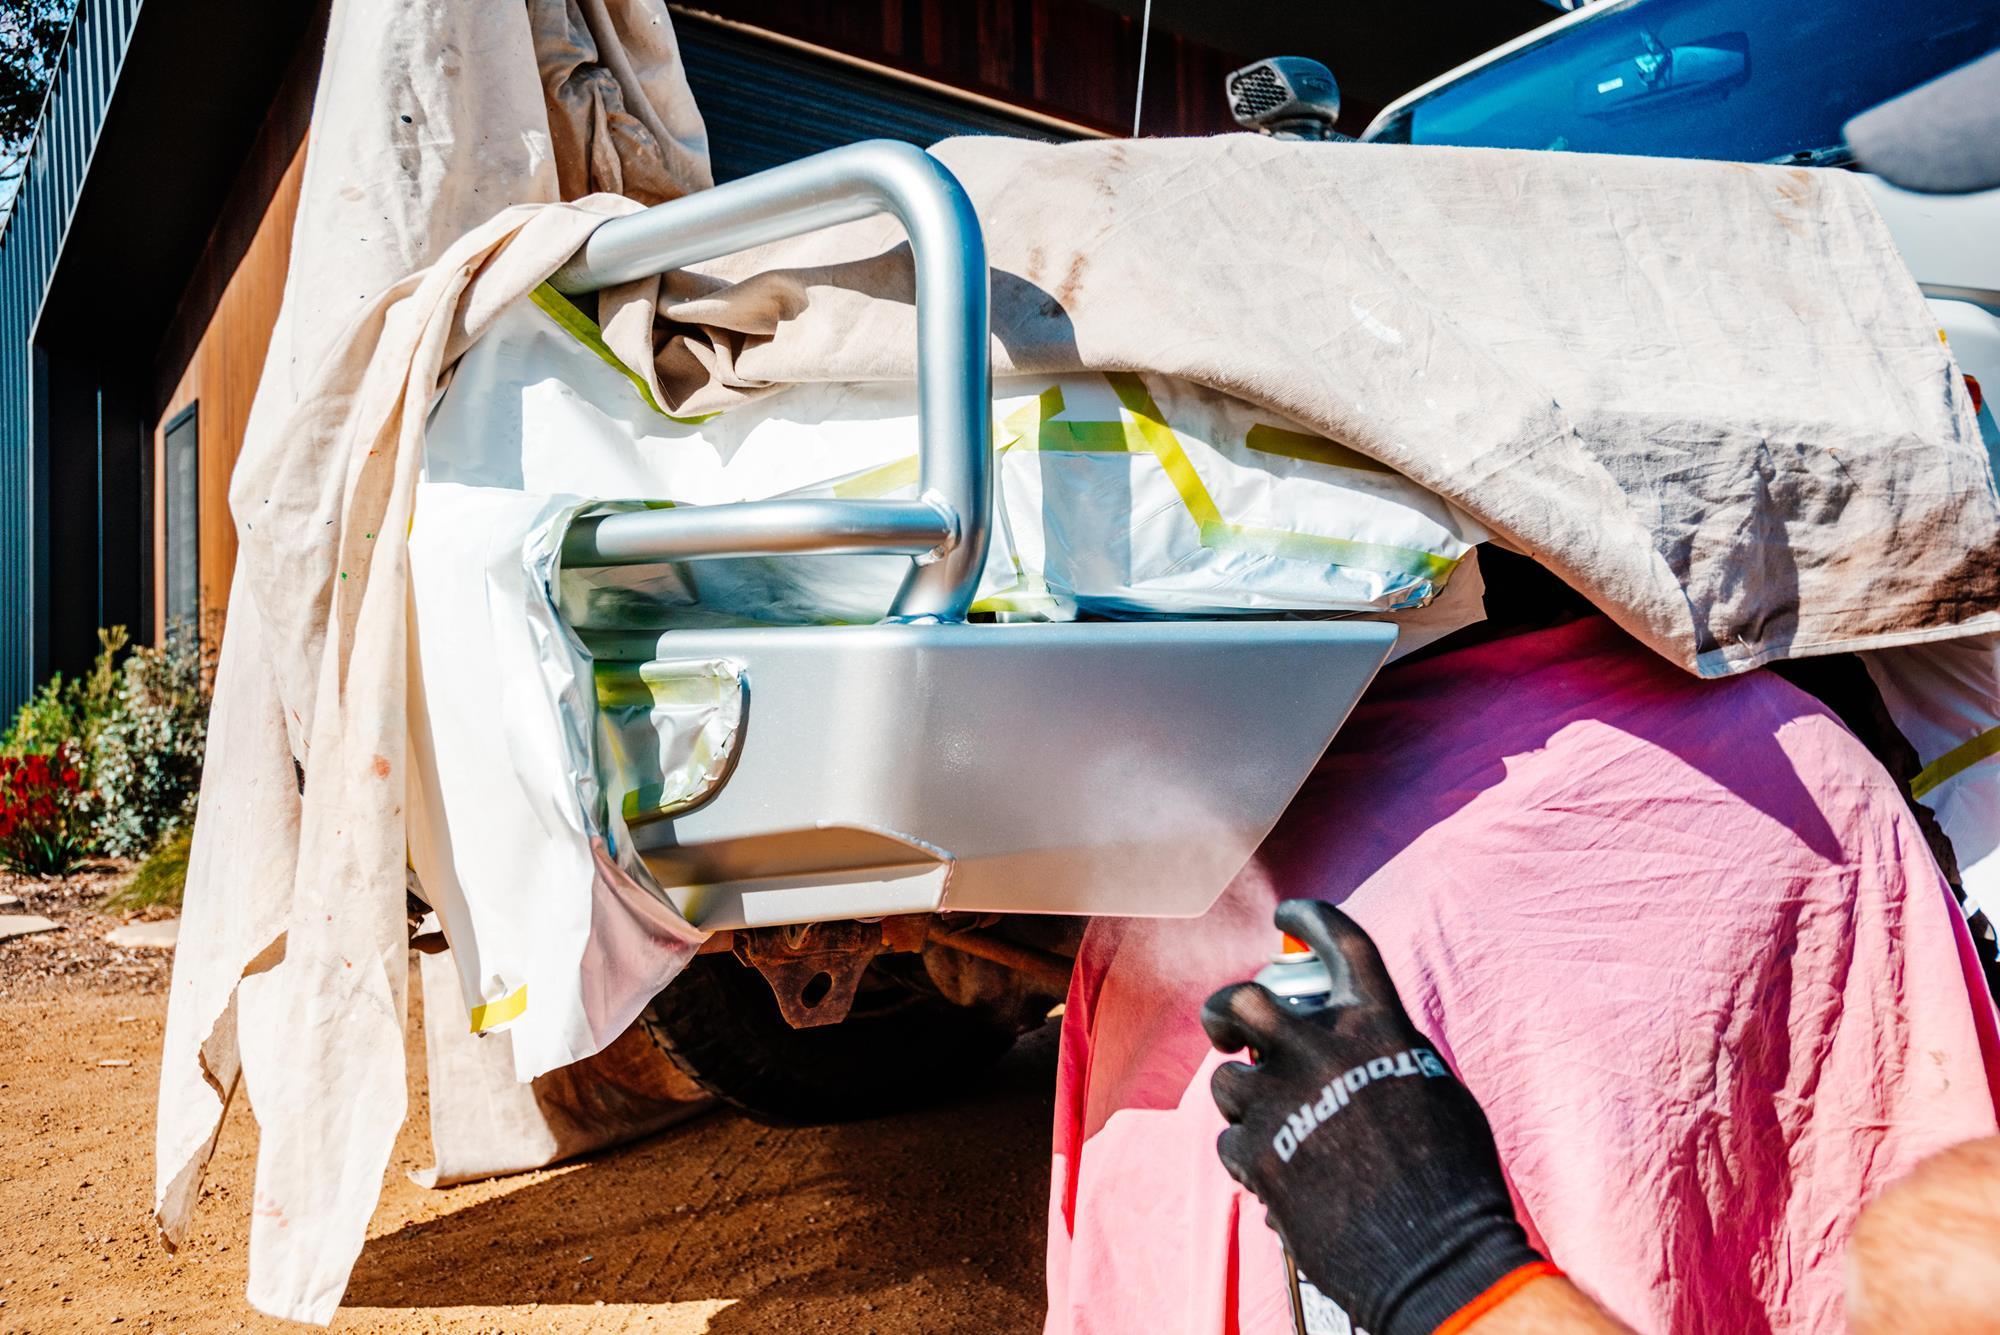
Shake the primer prior to use. Apply two to three medium coats of primer surfacer. You’ll know it’s ready when small dents appear in the base of the can. Leave five minutes drying time between each coat. Leave for four hours or overnight before sanding.
When you’ve finished, invert the can and spray to clear the nozzle so the paint doesn’t clog it for next time.
Unmask & Clean
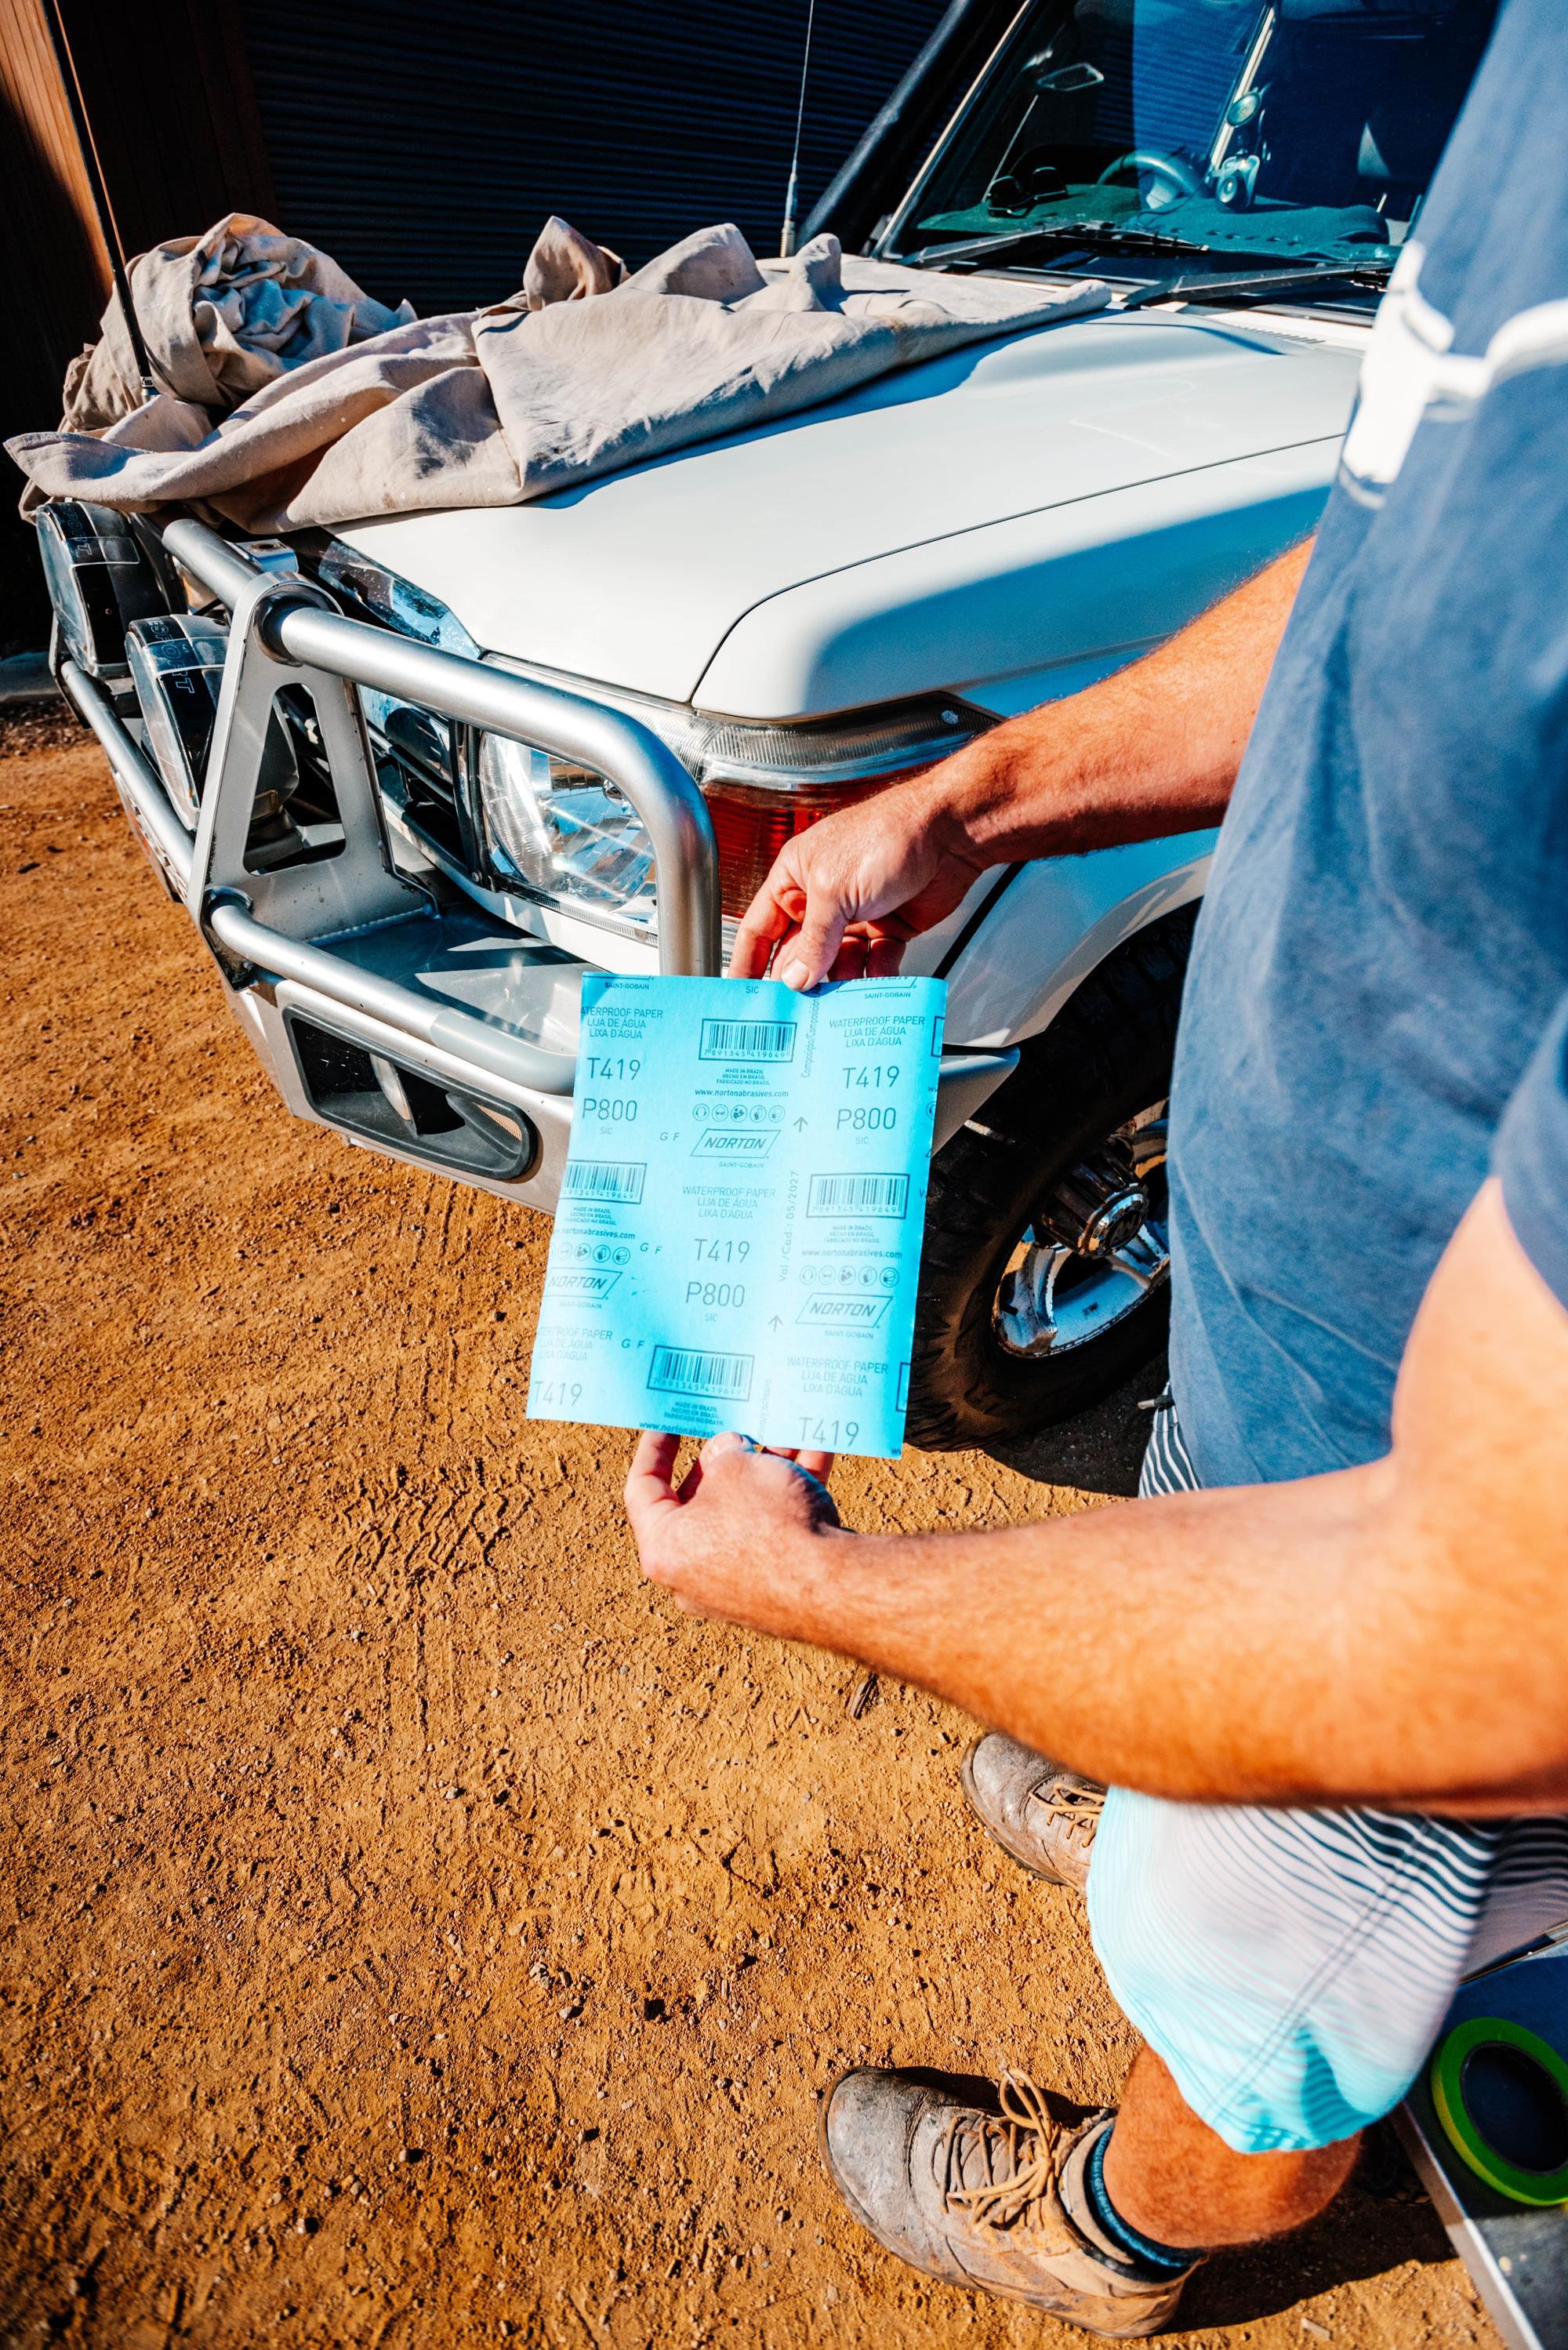
Unmask the repair area and sand with 600 grit dry sandpaper or 800 grit wet and dry sandpaper to remove any imperfections from your repair, including some of the fine sanding scratches. Clean the repair area and surroundings with wax and grease remover. Rub compound around the repair area – but not on it – using Meguiar’s Ultimate Compound. This will help the paint stick. And remember, one cloth to apply, one to wipe off. Clean the repair area and surroundings with wax and grease remover again.
Paint the panel
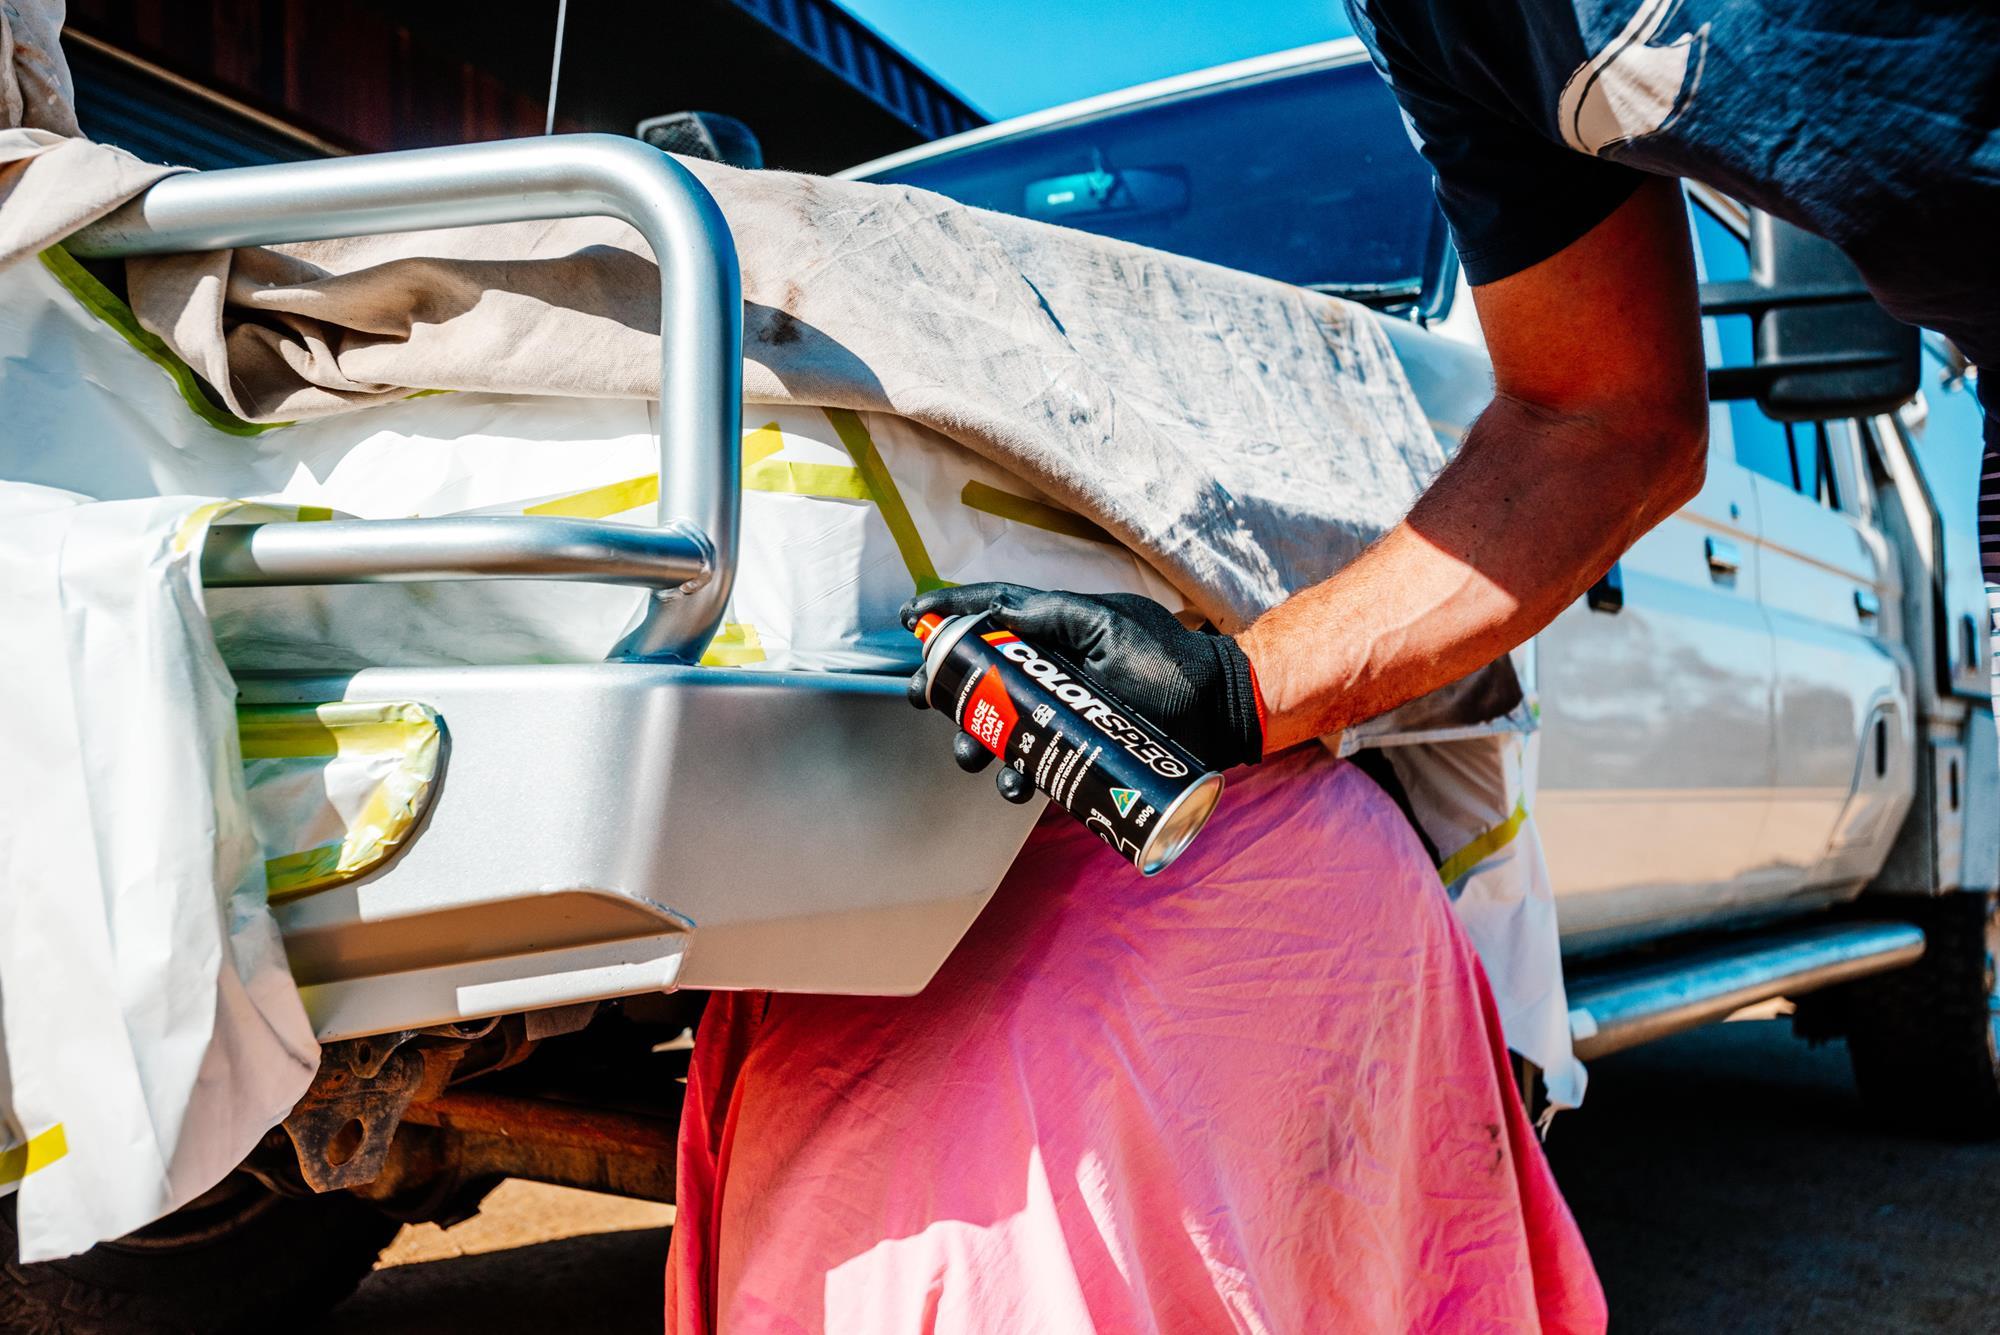
For the last time, mask off the complete panel in preparation for applying the paint. Reverse-mask the area to avoid sharp edges — you should be an expert at this by now. Give the paint a test spray to ensure you have accurate spray control, then apply a minimum three coats of base coat, leaving for five minutes between applications.
Fully cover the primed area to achieve the correct colour match. For best results, paint in temperatures between 15-30°C. Leave for 40 minutes before the final step.
Apply clear coat
Now it’s time to replicate that glossy finish and protect the fresh paint from UV. After the base coat is dry, apply two to three coats of Clear Acrylic Deep Crystal Clear, blending over a wider area than the repair.
Apply gloss finish
If the job isn’t 100 per cent perfect, finish the job with Meguiar’s Ultimate Compound for a smooth gloss finish. For any imperfections sand with 1500 grit wet and dry sandpaper first. Leave your new paint for at least 60 days — that’s two months — before applying a wax.
Tips
Note: The ColorSpec brand is only available in Australian stores. The Lyndar brand can be found in New Zealand stores.
*Important information* - Click here to read more about our How-To terms and conditions.