How To Paint Car Parts: Windscreen Wipers
Overview
As your vehicle ages, parts start to look a little tatty. You may be tempted to replace them, but if you choose to save them from the bin and paint car parts; you can save some money and make your car a little more SUPER with a custom colour.
Today we’re going to re-paint a pair of windscreen wiper arms, but the method is the same for most metal car parts. Let’s dive right into how to paint car parts in just four simple steps.
How to Paint Car Parts at Home
If possible, it is easiest to remove the part before painting it. In the case of our wiper arms, a single bolt holds each one on. Once the wiper blade is removed from the arm, and the arm removed from the car; no masking up is required. It’s straight into step 1.
Items
- PPE including gloves, glasses, and a mask
- A basic socket set
- 400 grit sandpaper
- A power drill & wire brush attachment
- Some rags or microfibre towels
- Montana Ethyl Alcohol
- Montana Spray Primer
- Montana 94 Spray Paint
- Montana Acrylic Varnish
Steps
Step 1: Preparation
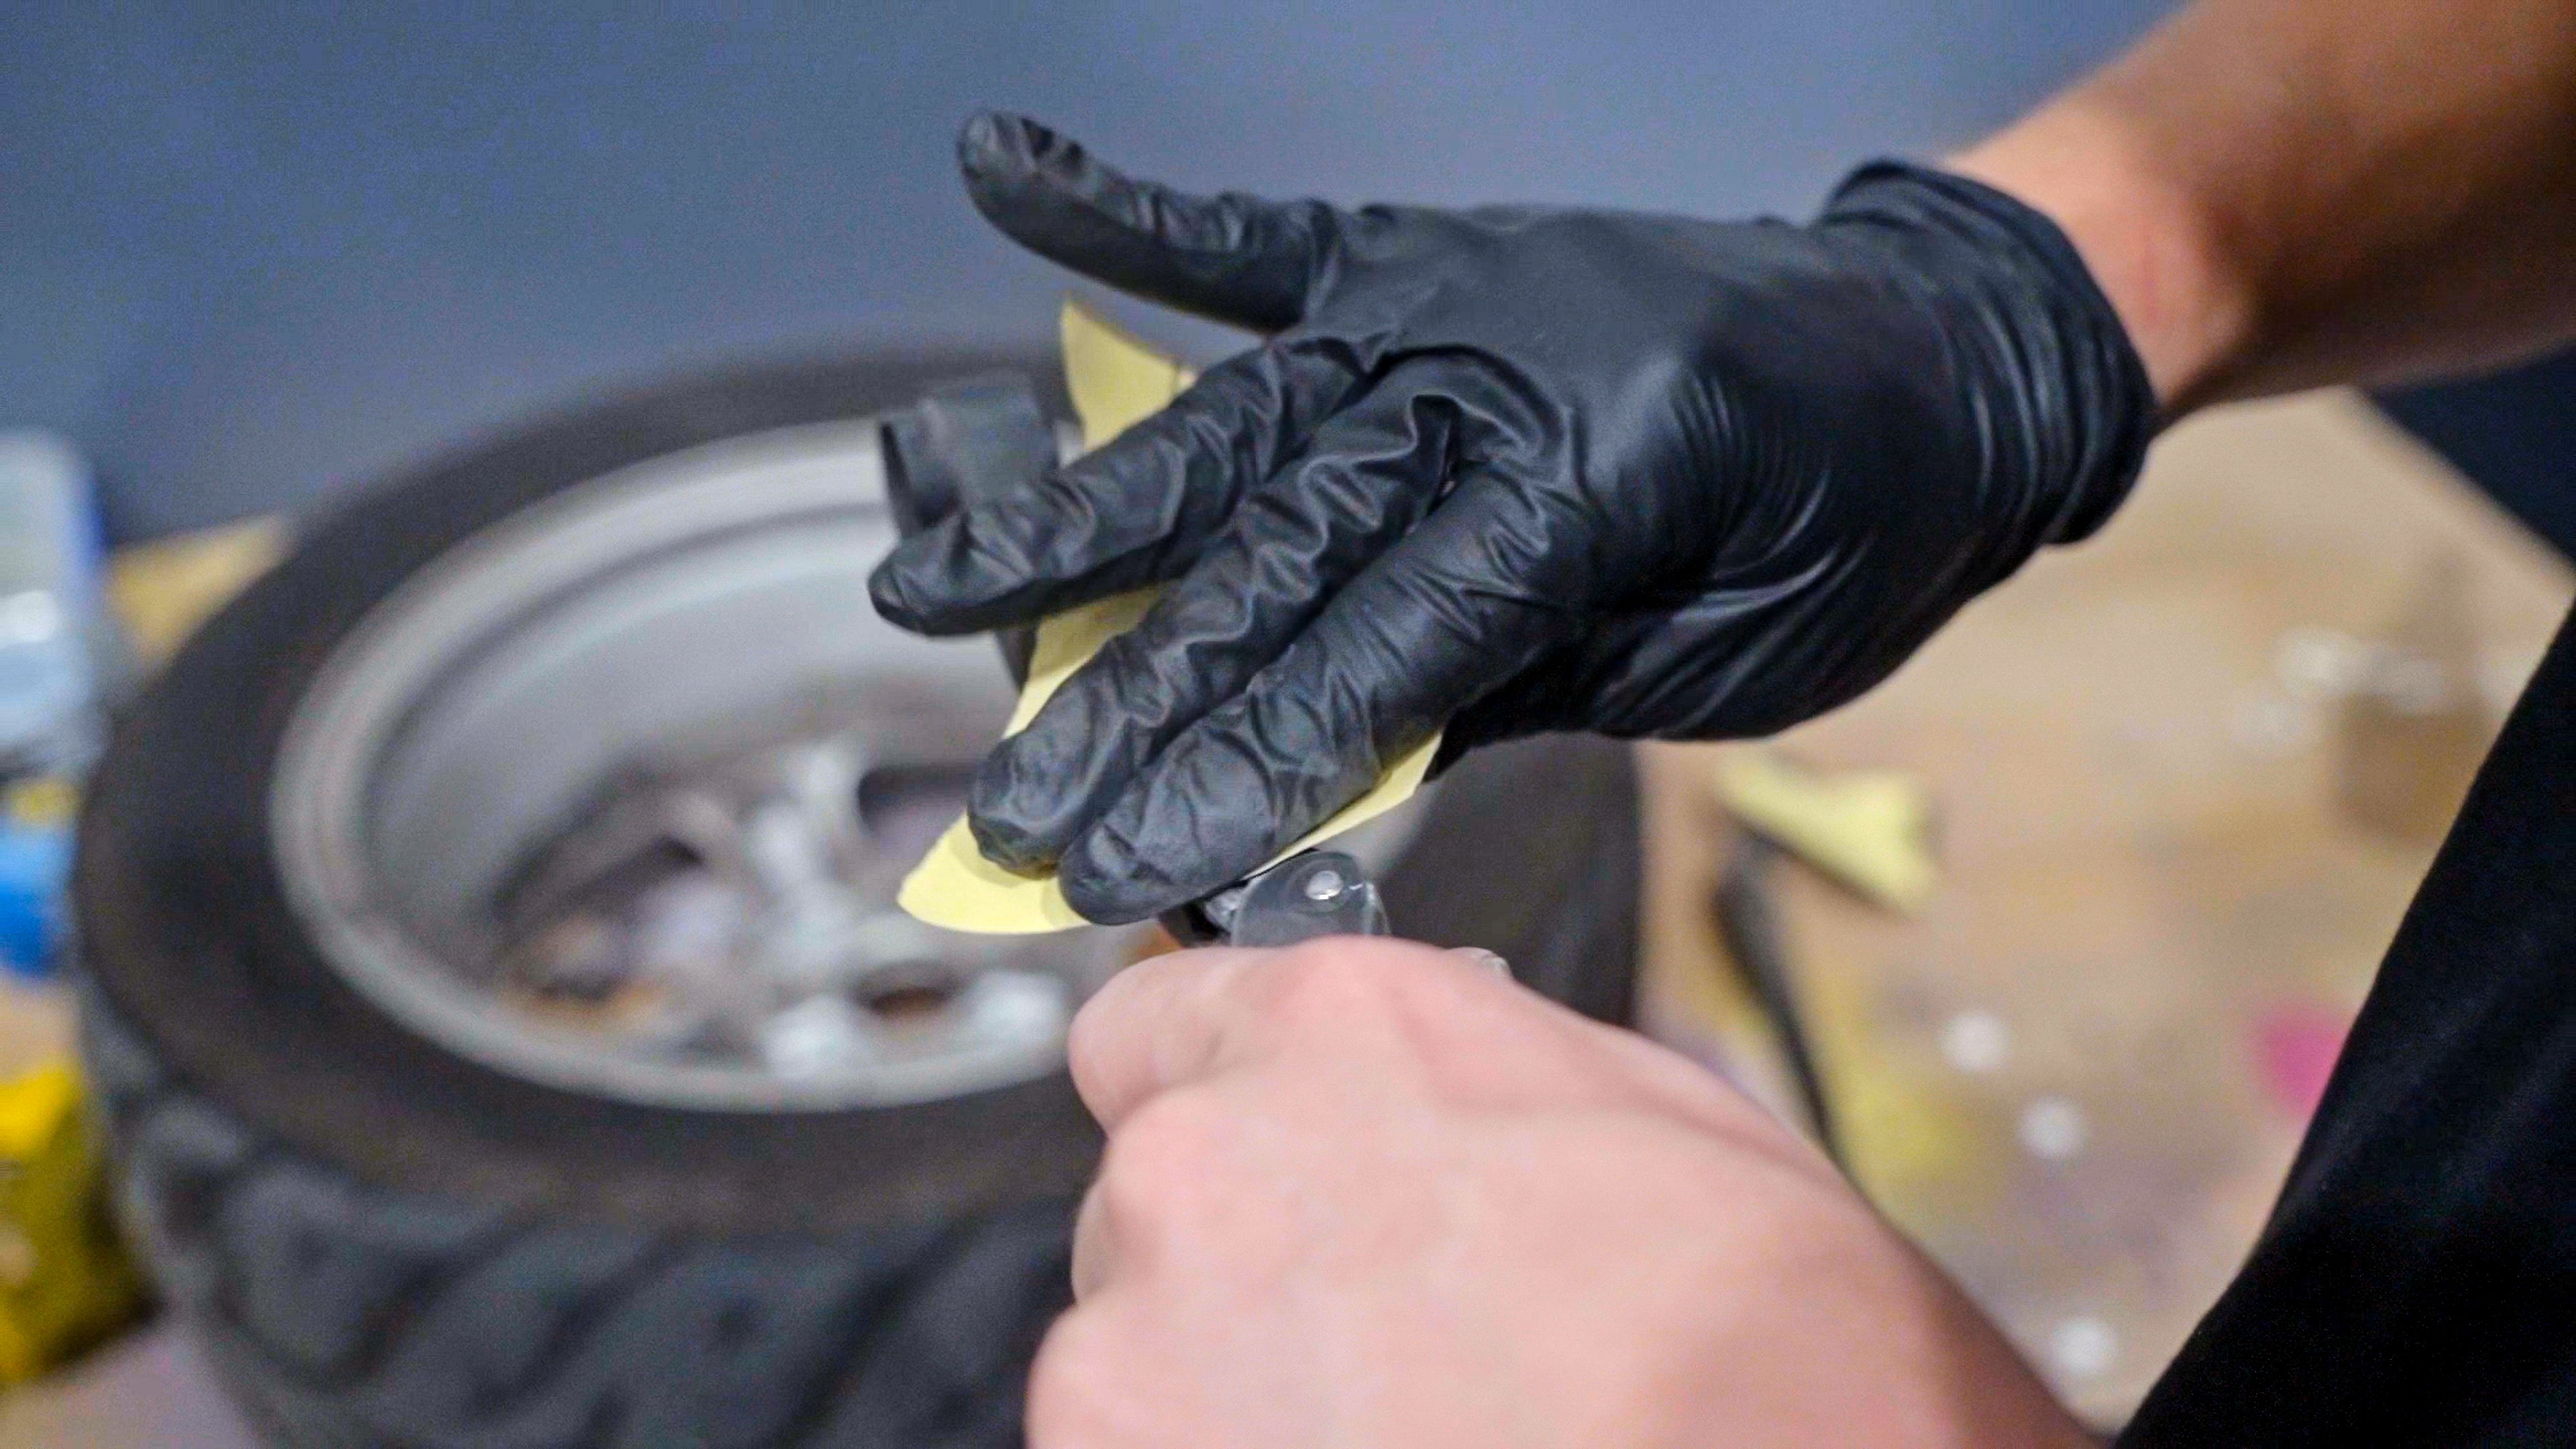
The key to a top-quality, long-lasting paint job lies in the preparation. This is where you’ll spend most of your time, so grab your sandpaper and start rubbing. Only loose paint must be entirely removed, and this can be done quickly with the wire brush attachment in your power drill. Everywhere else can be lightly sanded until it’s evenly scuffed.
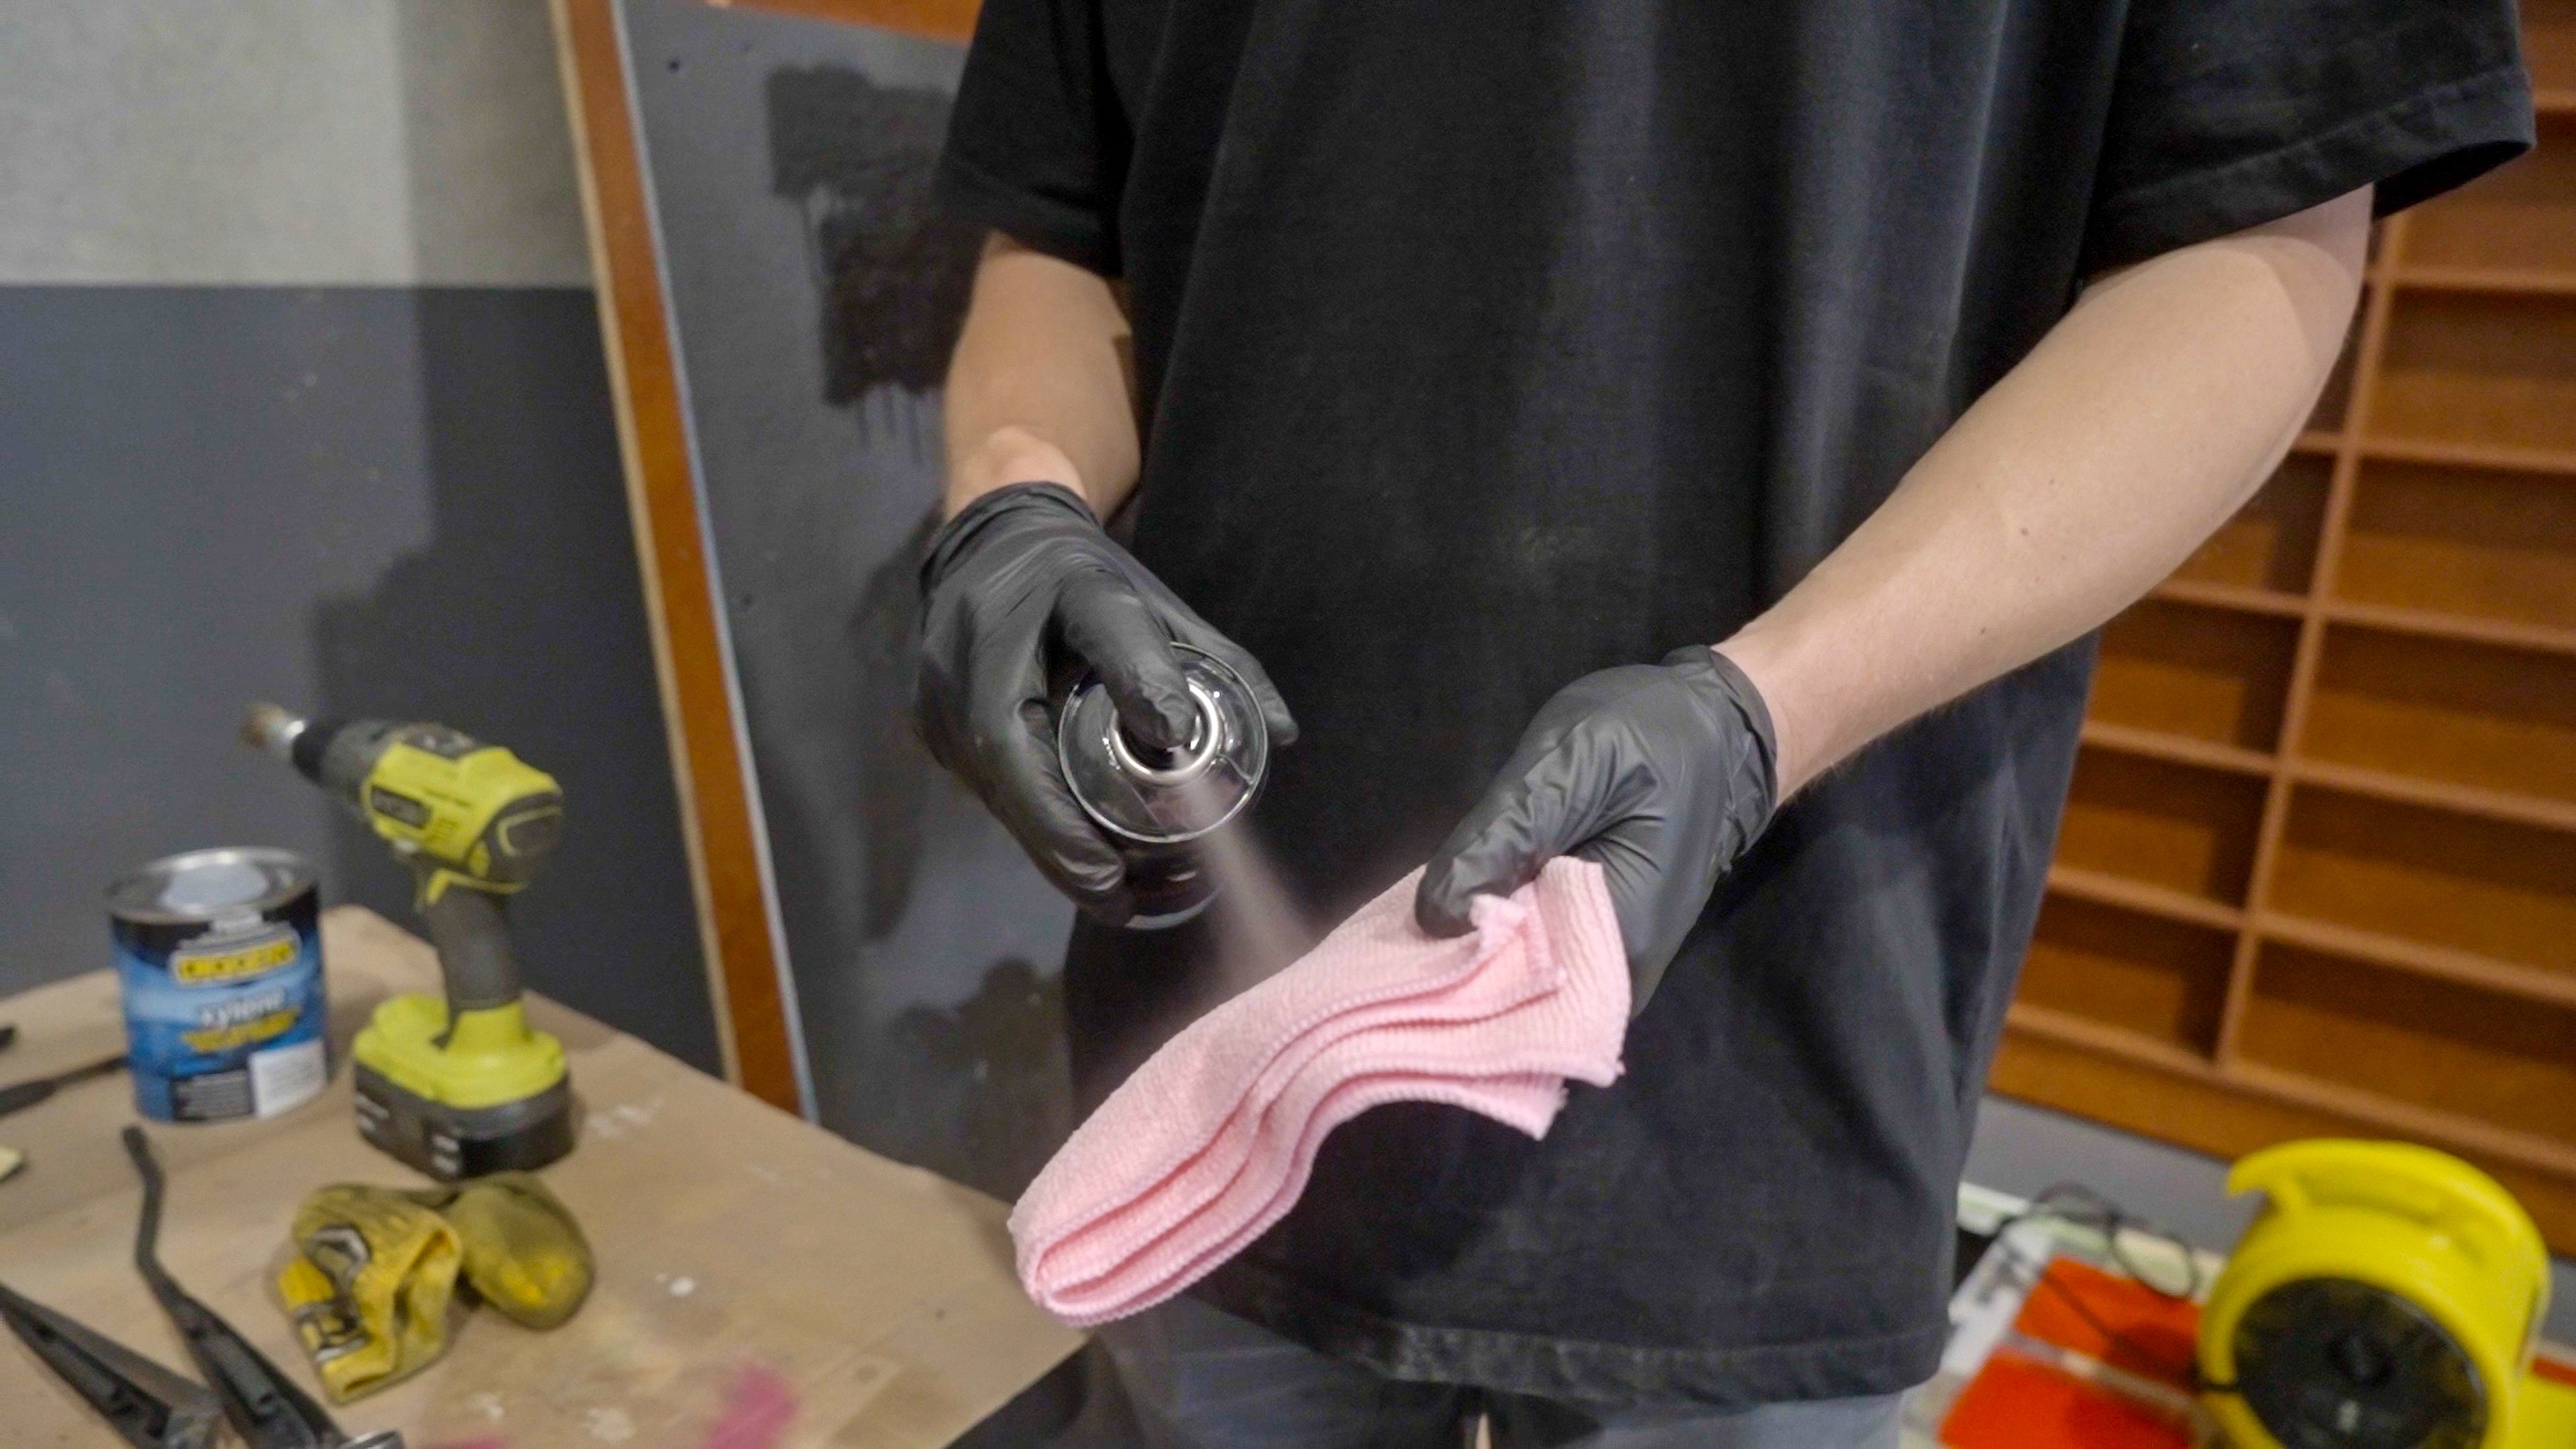
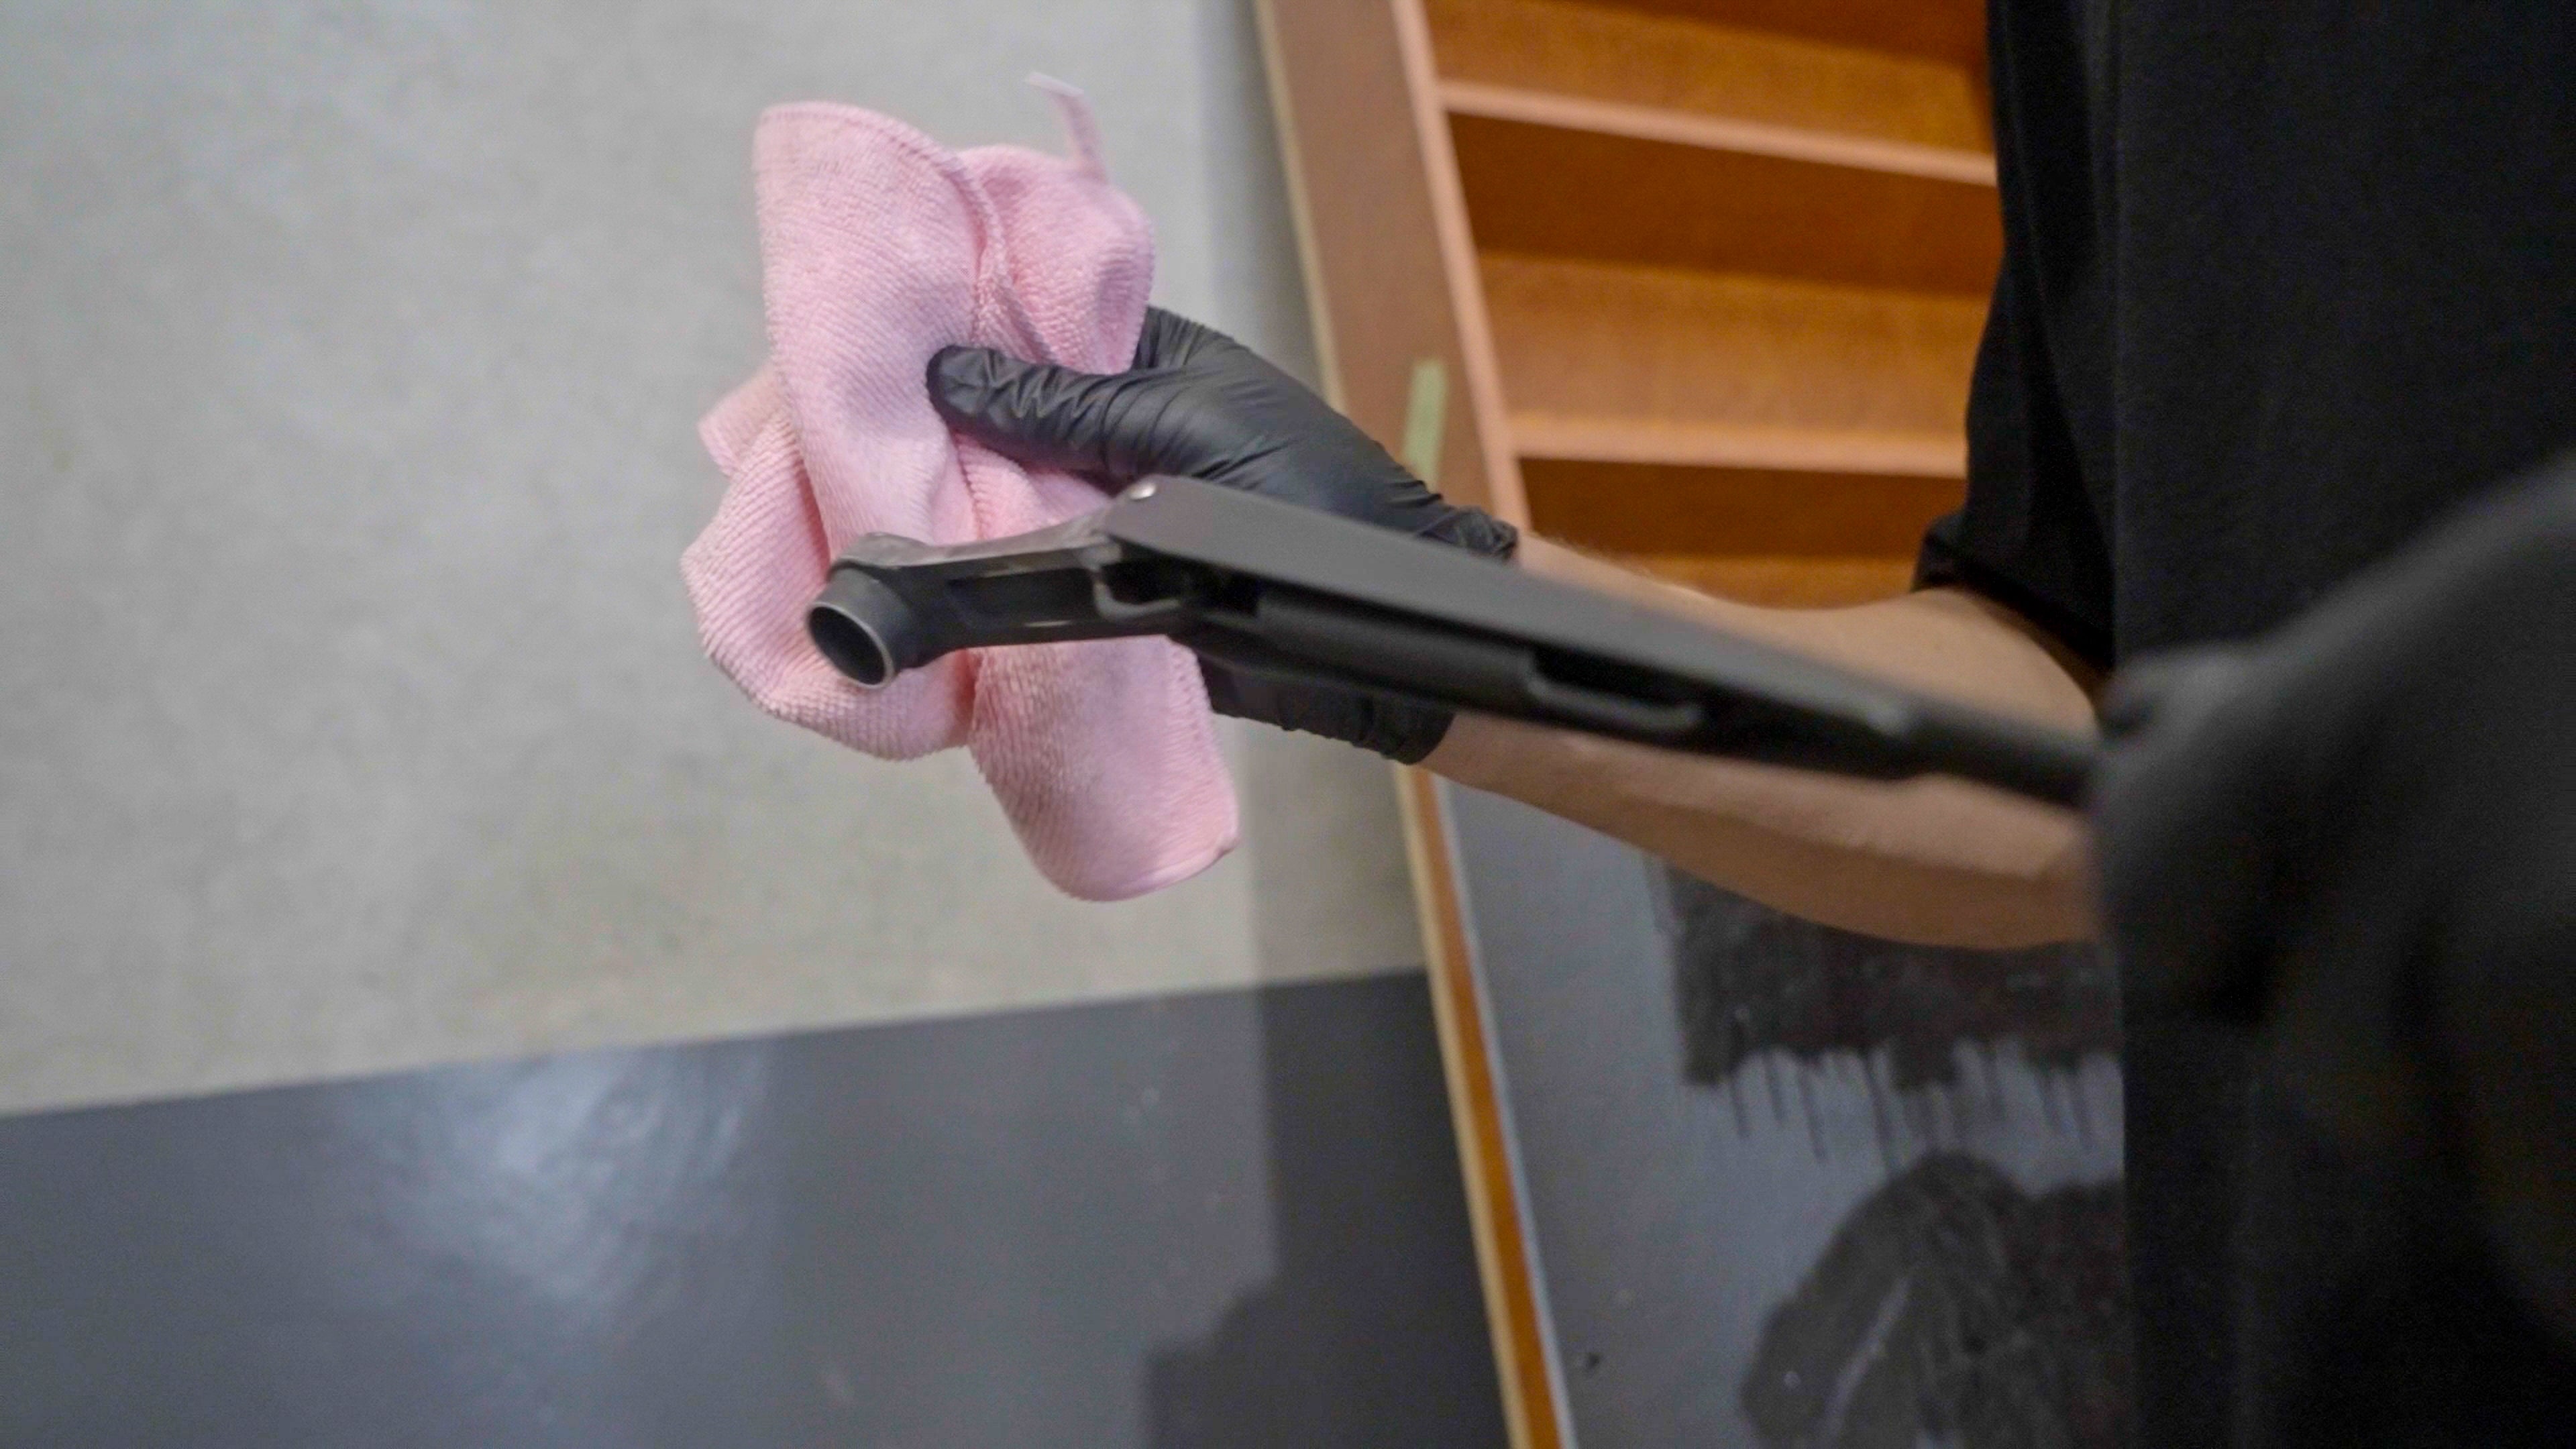
Once you’re done with the sanding, soak a rag in the Ethyl Alcohol and wipe over the entire surface to remove any wax, grease and dust.
Step 2: Priming
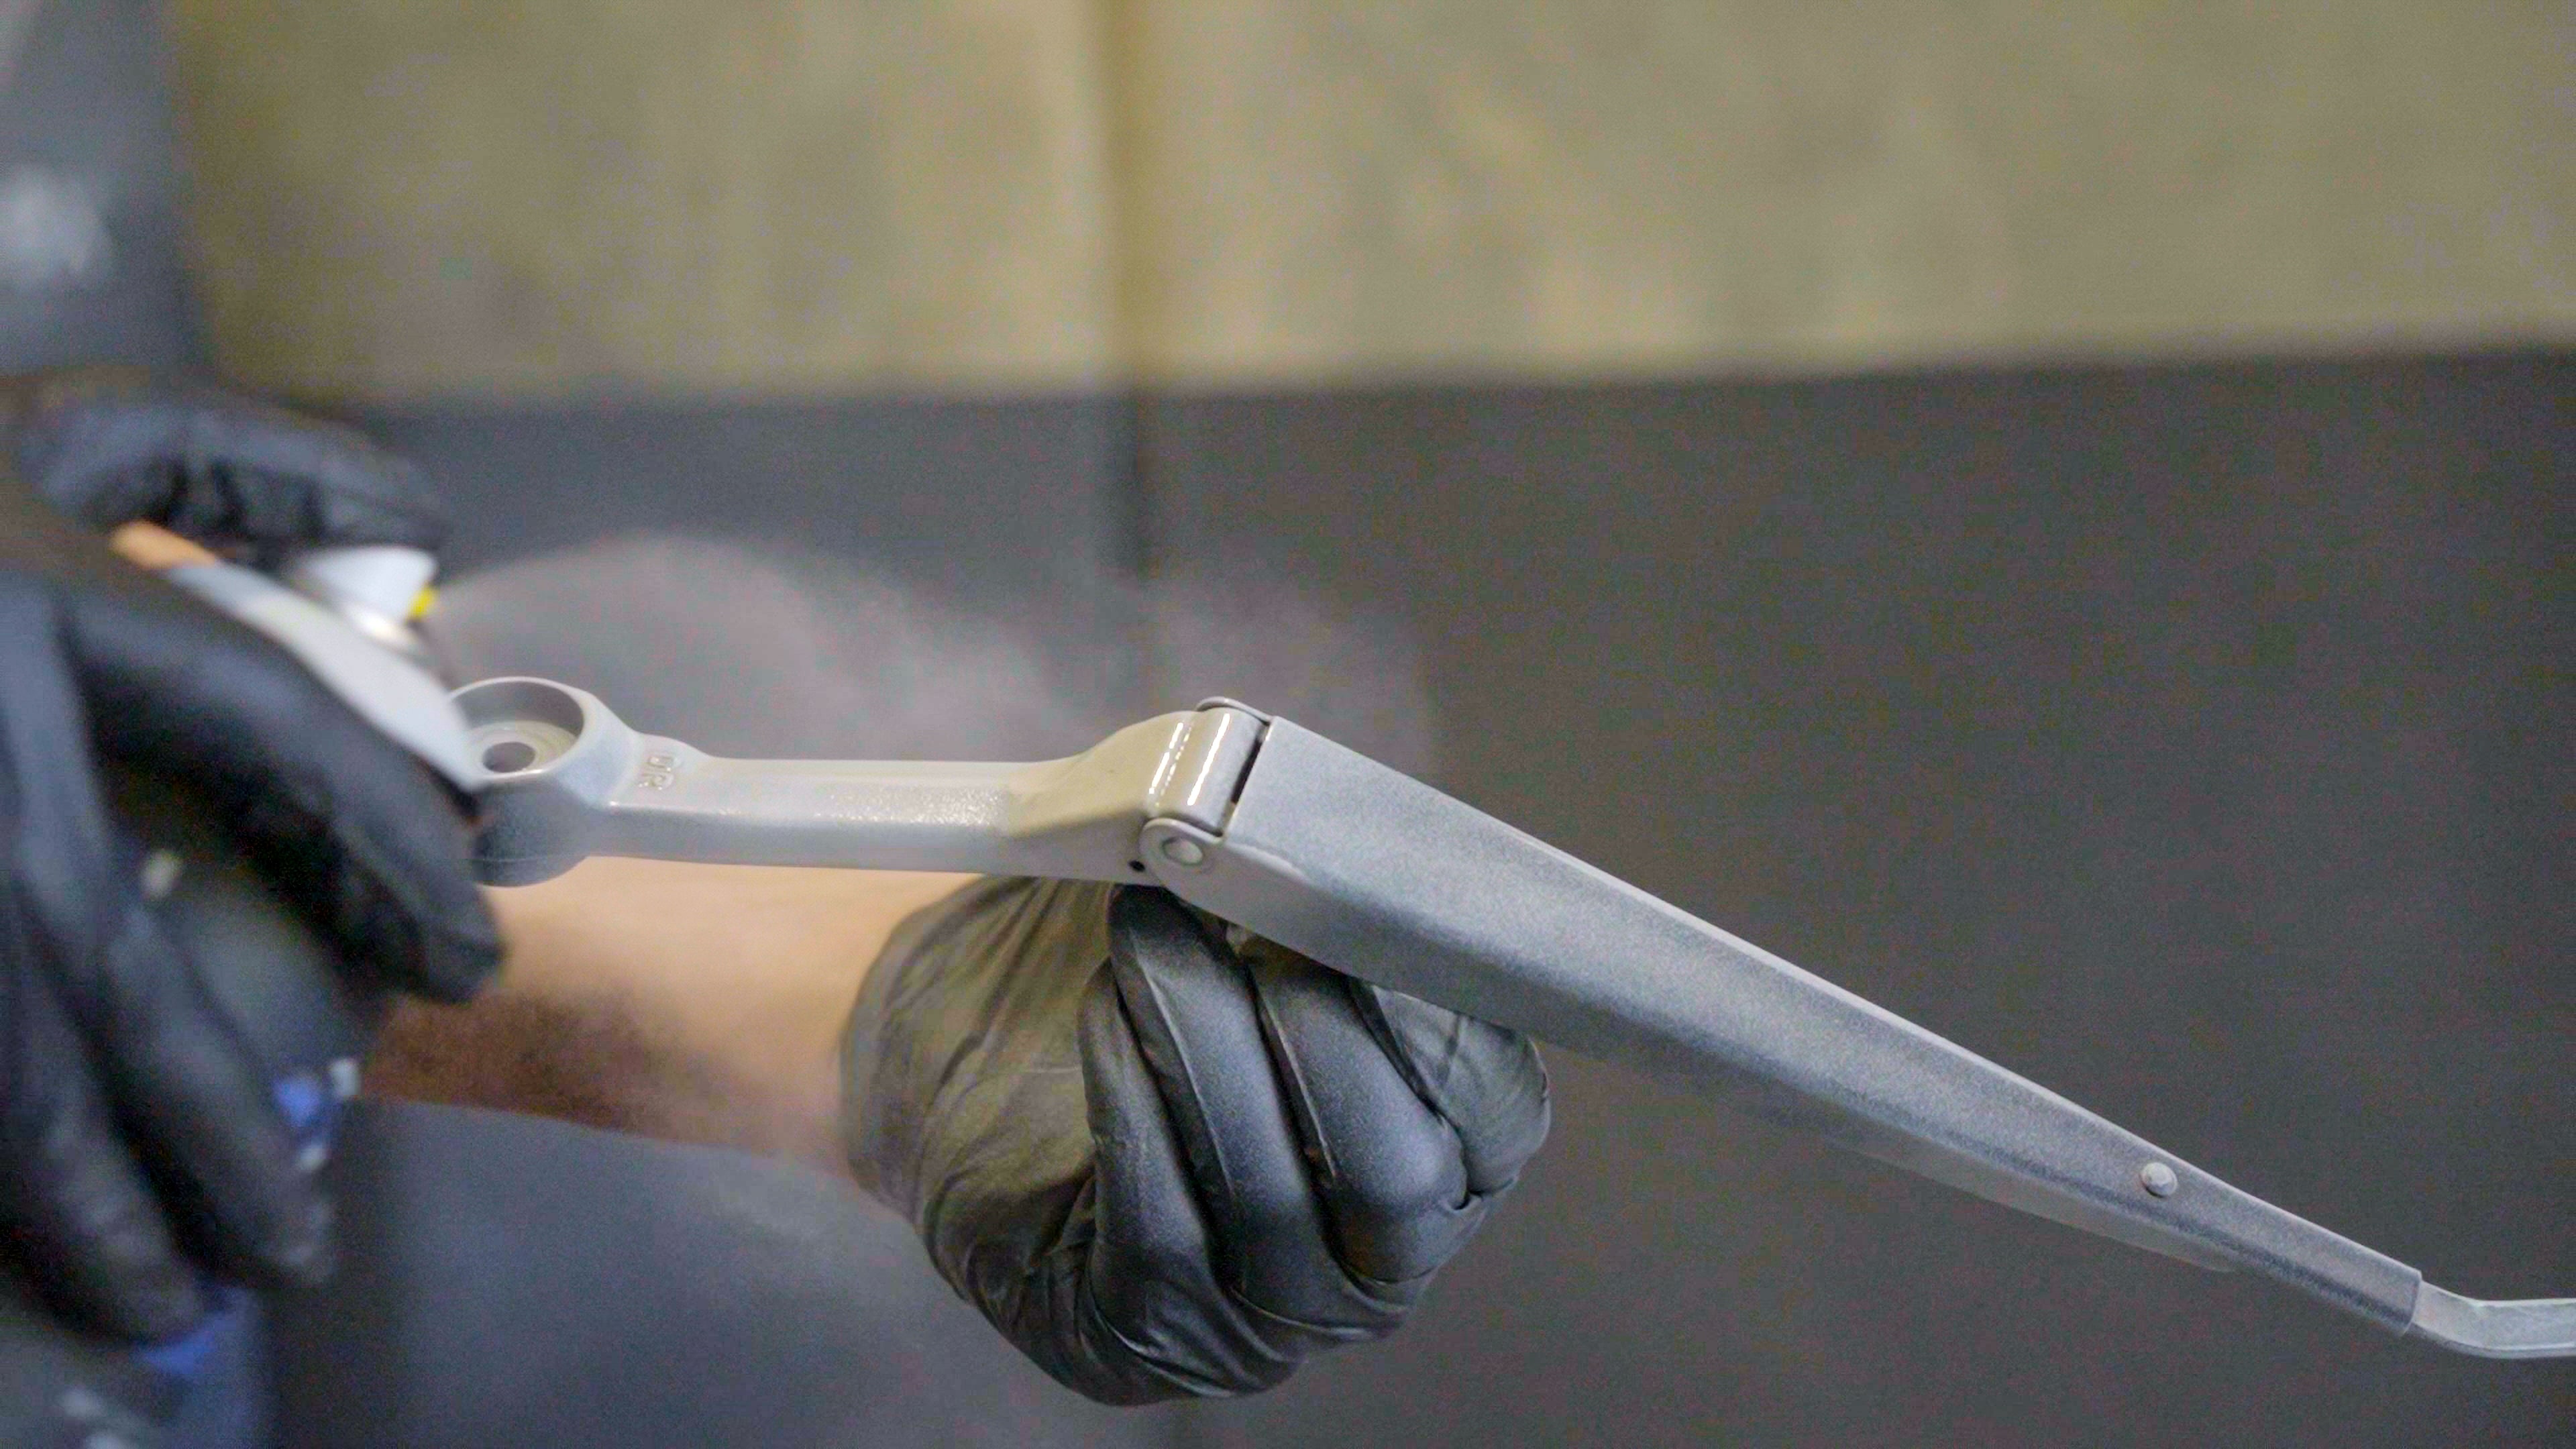
Grab that can of primer and give it a good shake. A couple of minutes should do the trick. Then gently apply light coats until your part is fully covered.
PRO TIP!
Don’t be tempted to coat your parts too thick all at once. This could result in paint runs, which means you’ll have to wait until the part is dry then sand it back again. Better to wait ten minutes and do a light recoat if required.
Step 3: Painting
The most satisfying bit! Allow the primer to dry for 20 minutes and give that spray can a good shake while you wait. 2 minutes should do, then it’s the same process for applying your paint as it was for applying the primer. Apply light coats and wait 10 minutes between re-coats to avoid drips and runs.
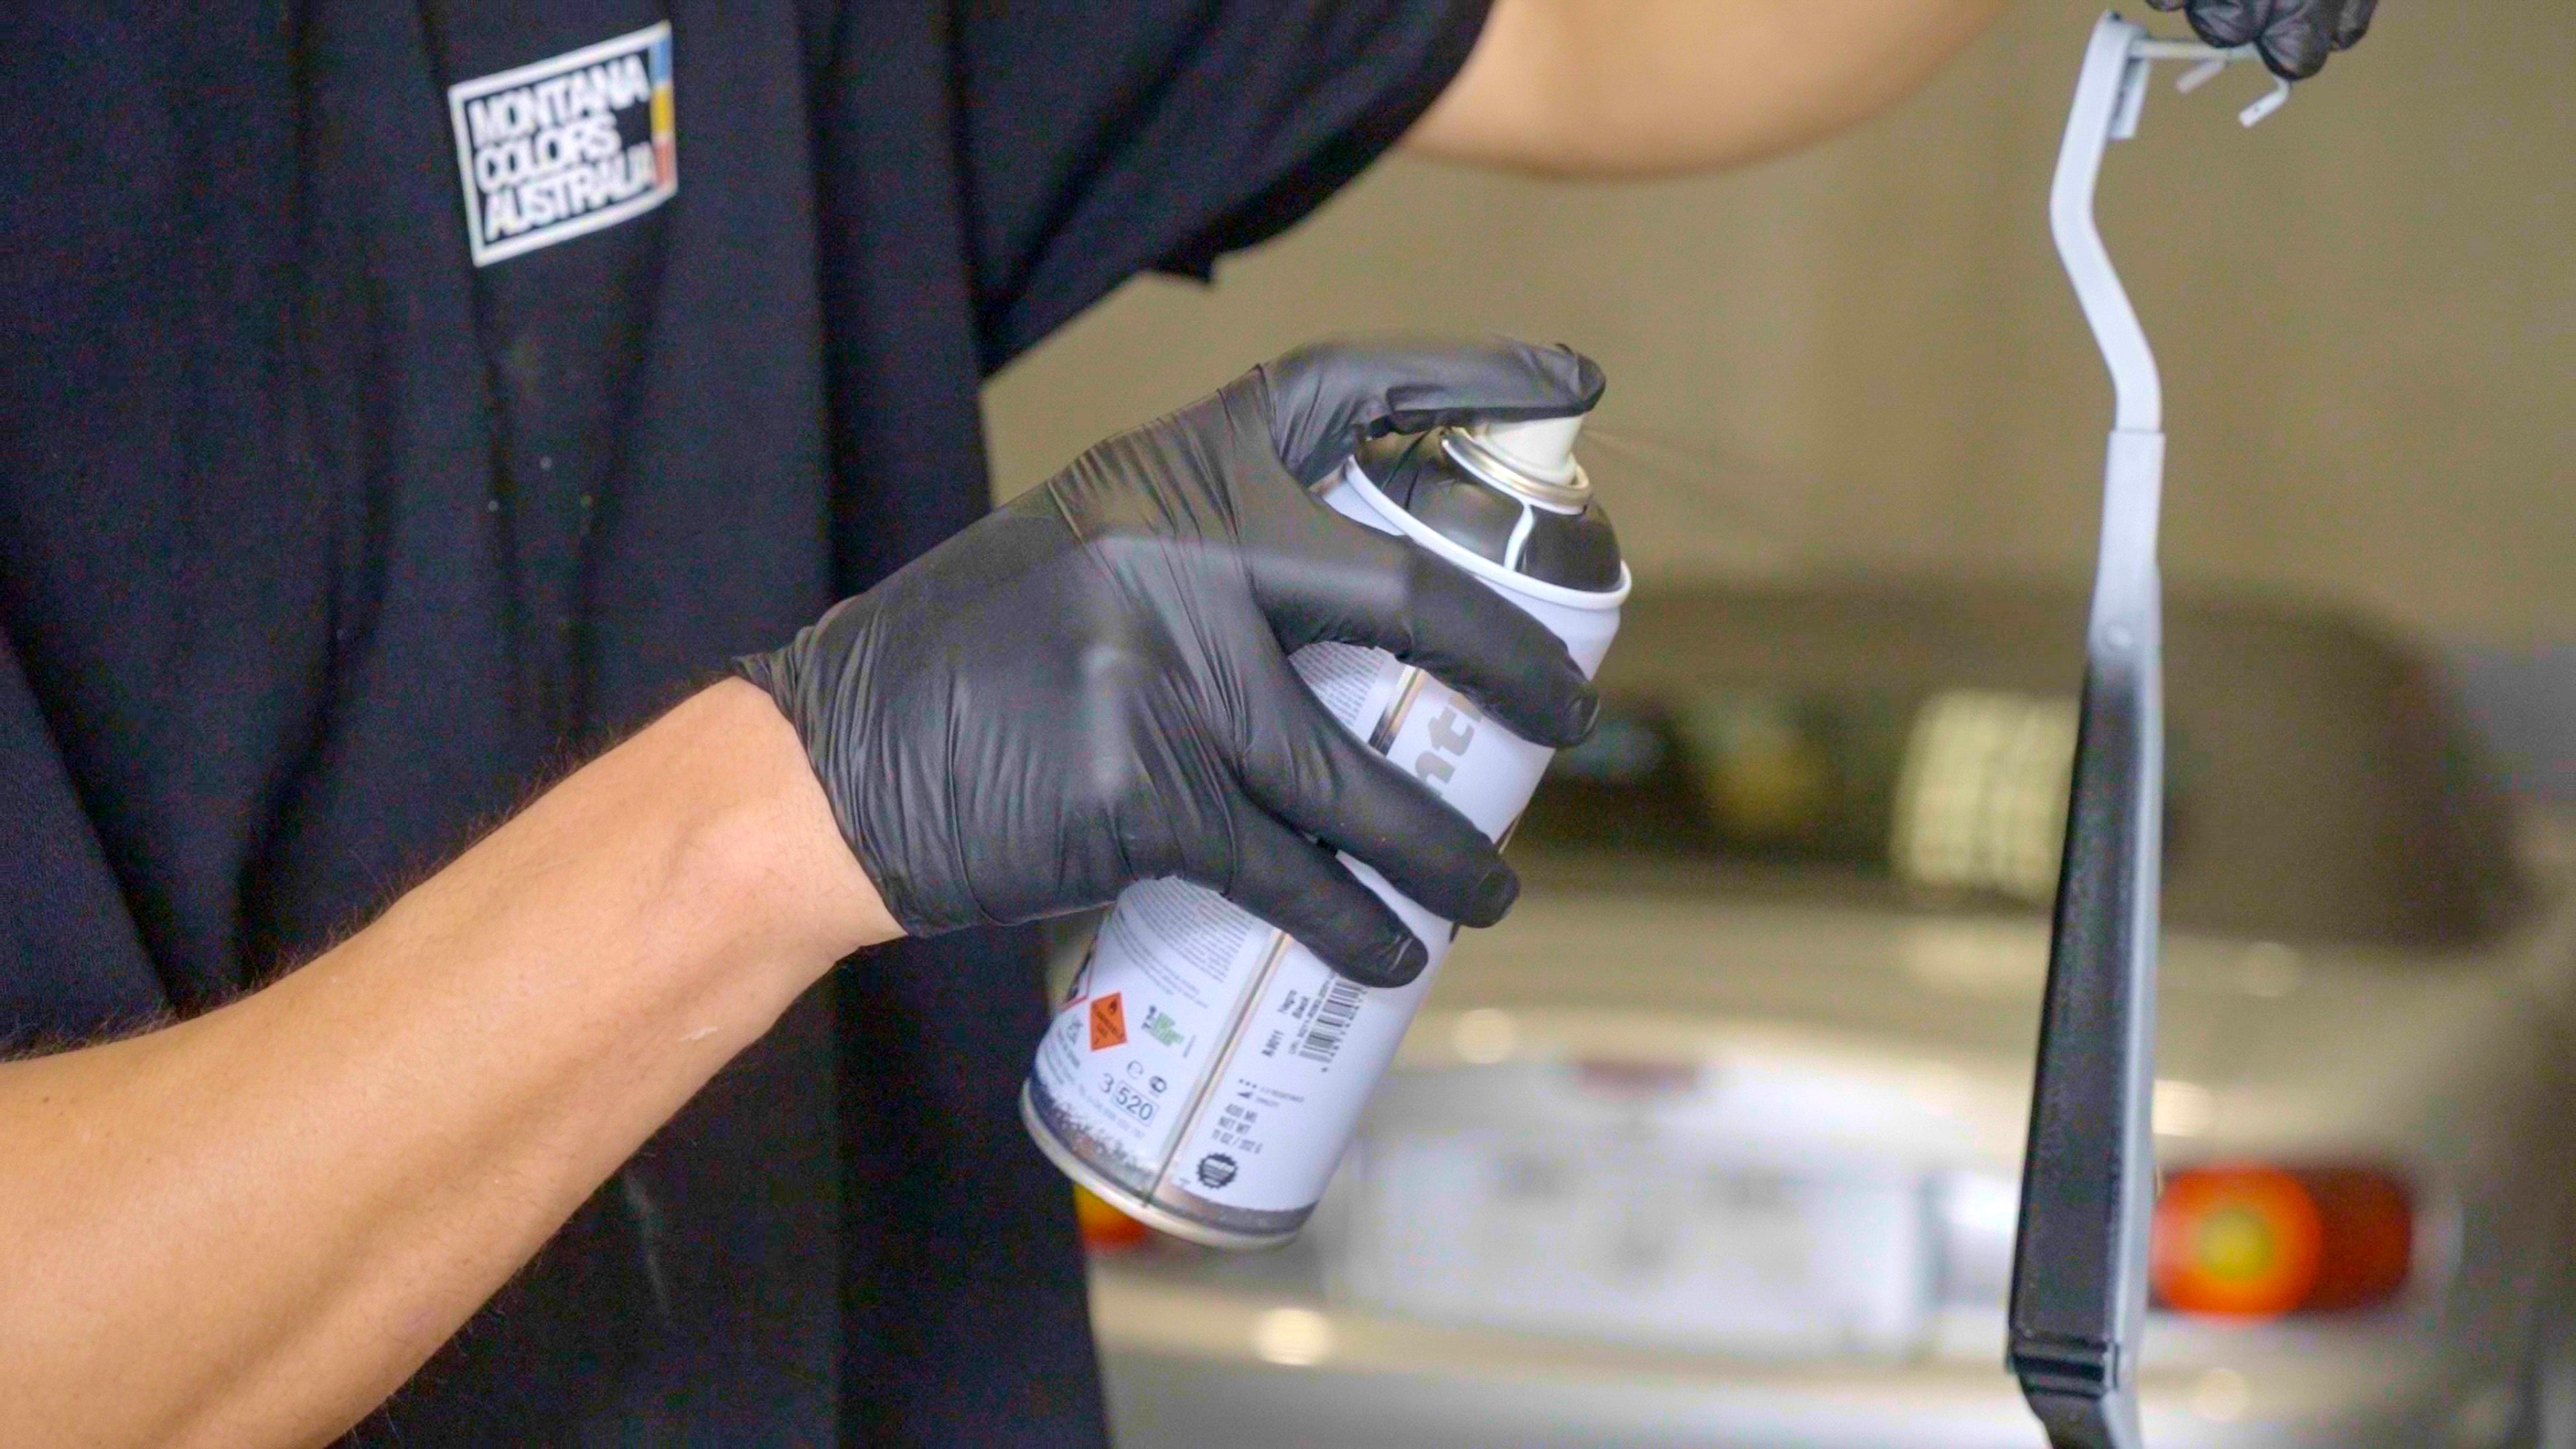
Step 4: Top Coat
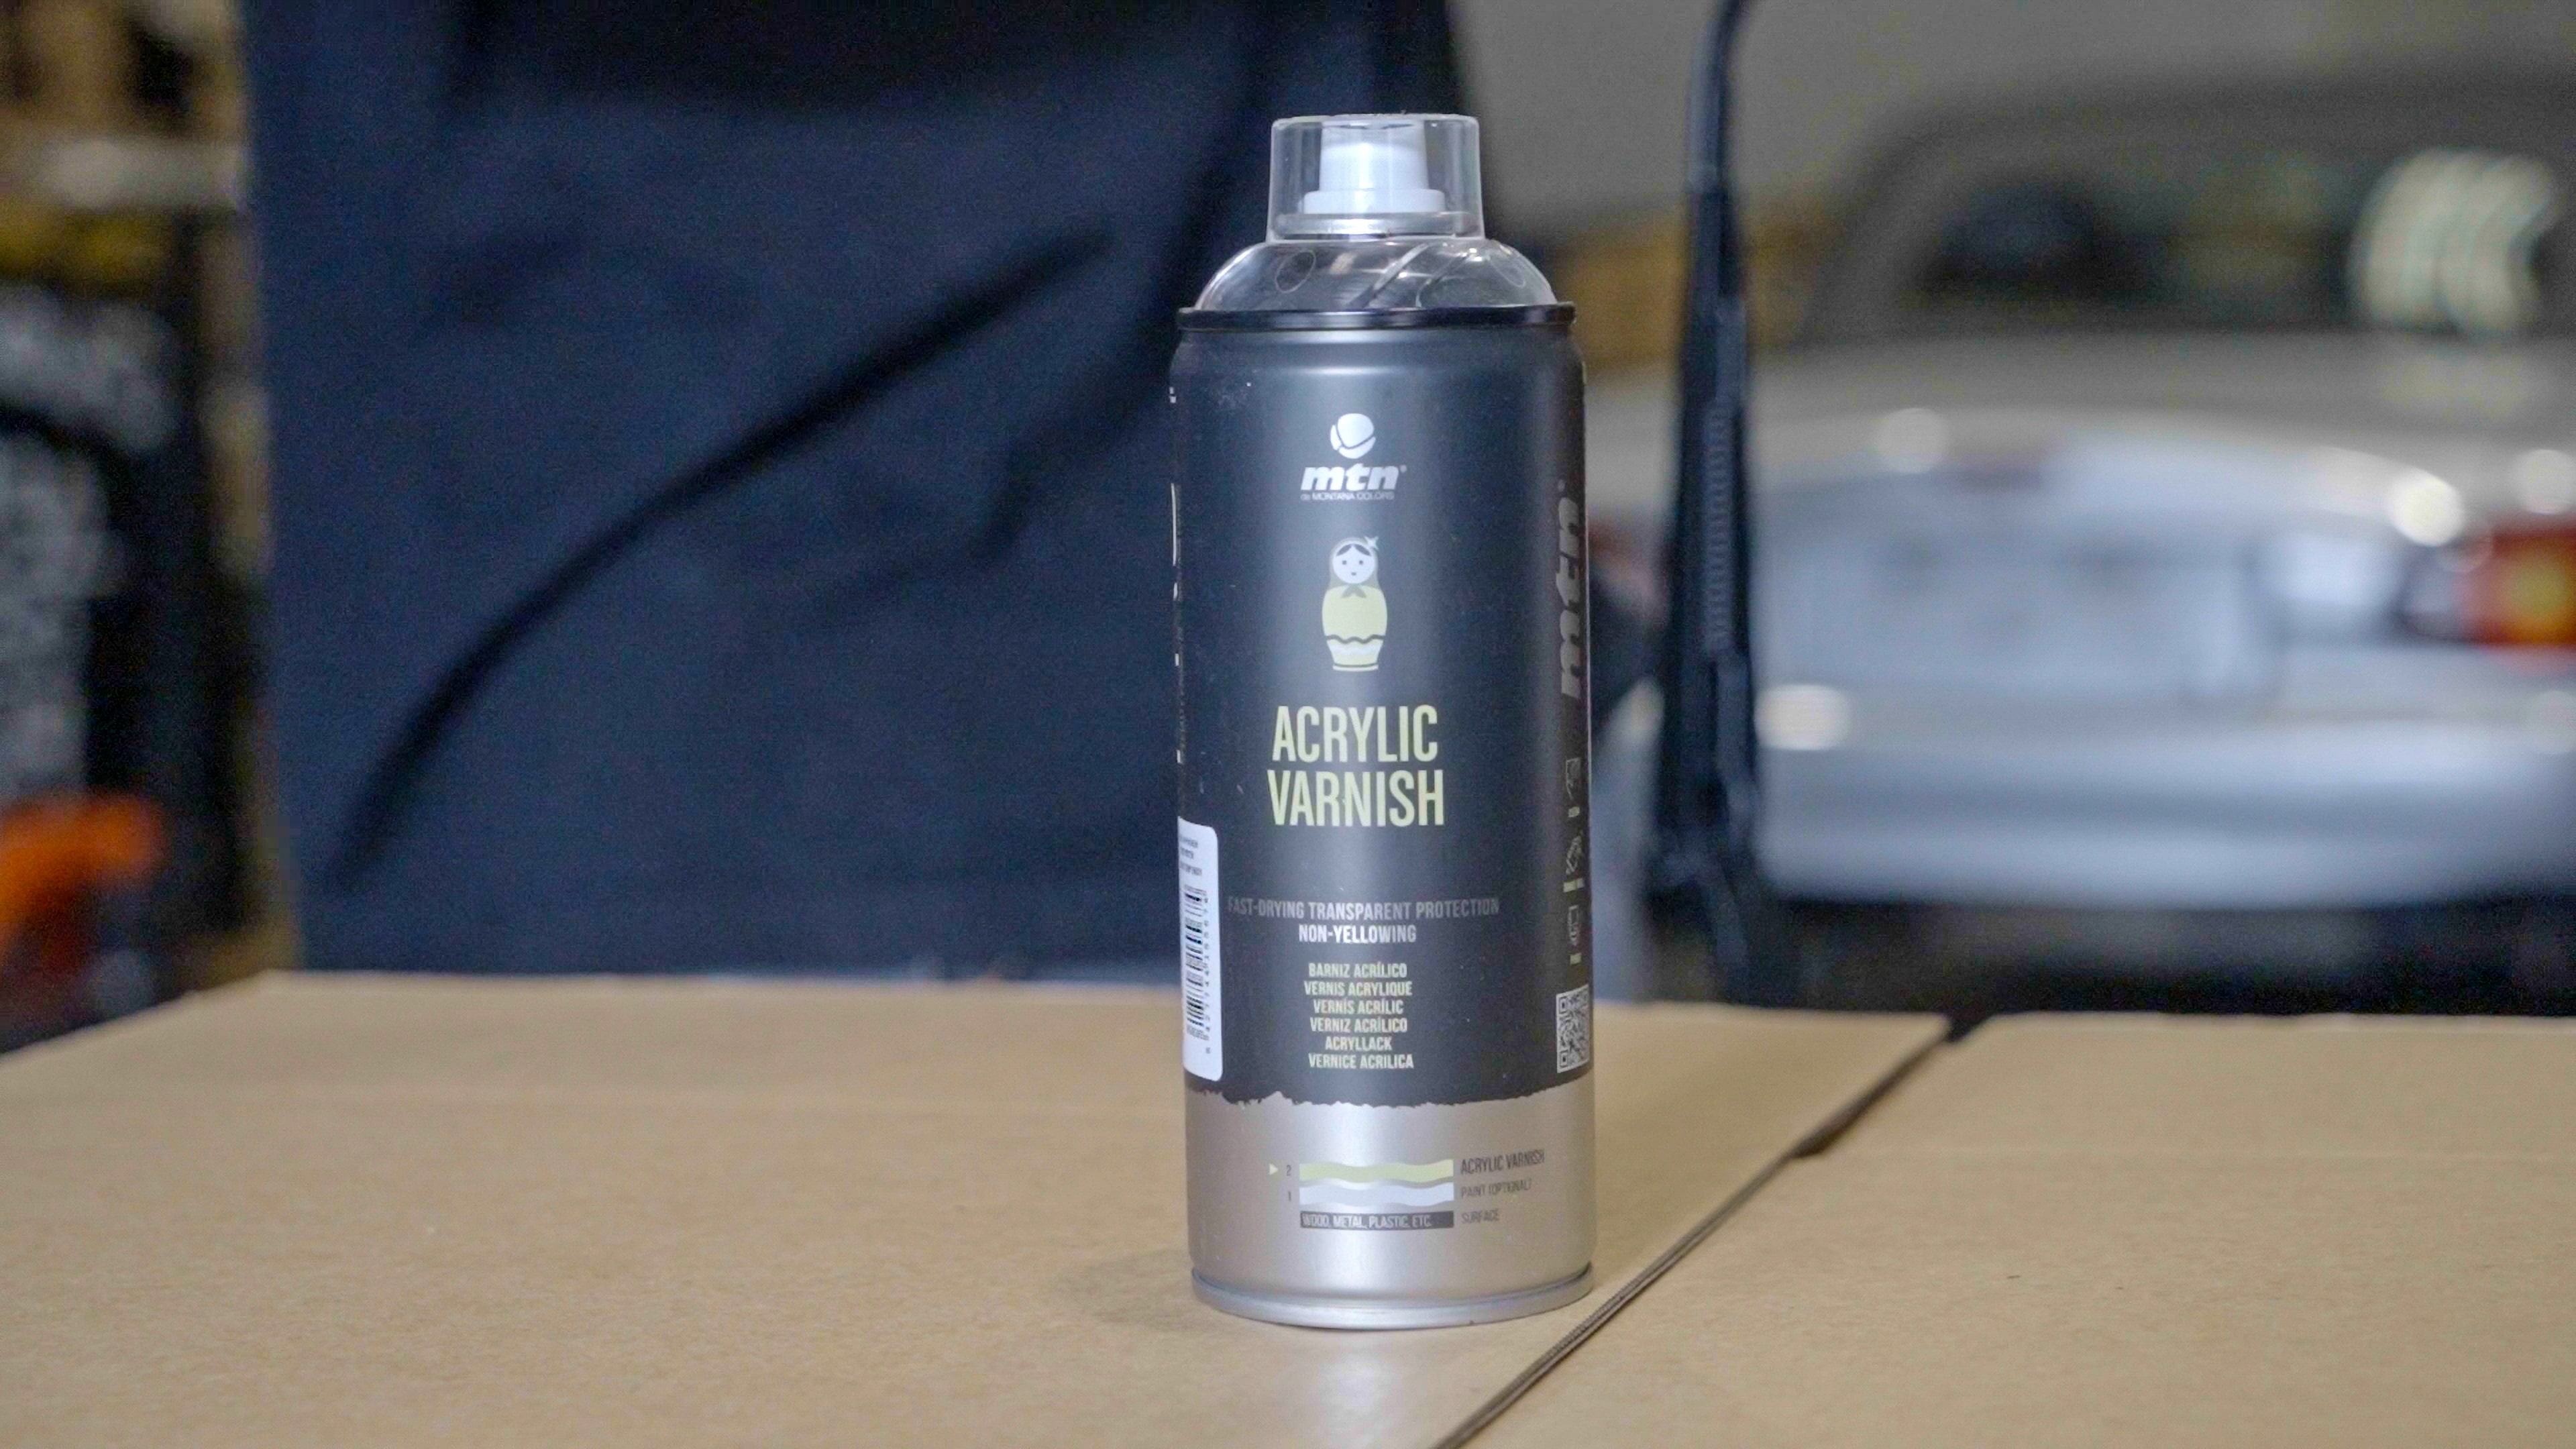
It’s time to shake again. Who needs a gym!? The acrylic varnish may not look much different, but this step will help your paint job stay shiny and resist fading. Follow the same procedure as with the primer and paint, then set your freshly painted parts aside to dry for 24 hours.
Your empty spray cans are classed as a hazardous waste, so check with your local council for disposal instructions
Tips
Save money, create a custom look, and save perfectly good parts from the bin. It’s hard to argue with that!
*Important information* - Click here to read more about our DIY Advice Terms and Conditions.