How To Repair A Plastic Bumper
Overview
Everyone knows how easy it is to accidently scratch a bumper bar. But did you know how easy it is to fix? Septone have a huge range of products availbel to use to get the job right right, first time. Below we have a step by step guide that'll take you through the process.
Learn more about repairing small dents and scratches here.
Learn more about repairing fibreglass panels here.
Learn more about removing all scuff marks from your paint here.
Items
Steps
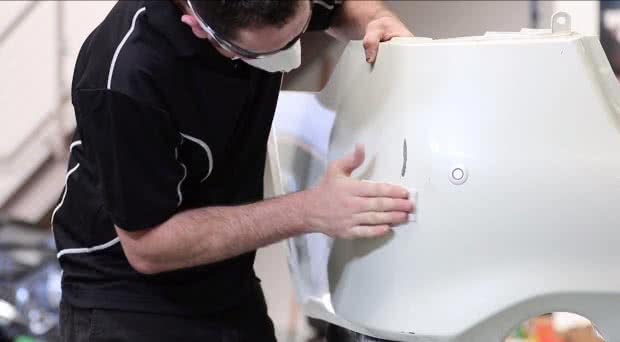
Sand Area to be Repaired
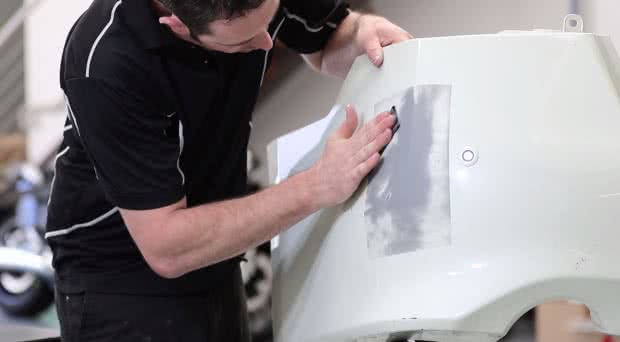
Sand area to be repaired with 240 grit sandpaper, removing a fine layer off the surface.
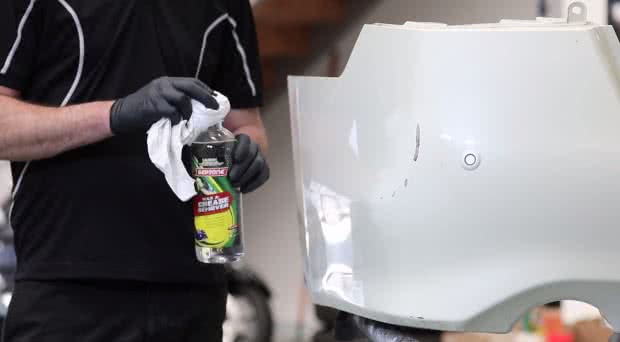
Apply Septone & Grease Remover
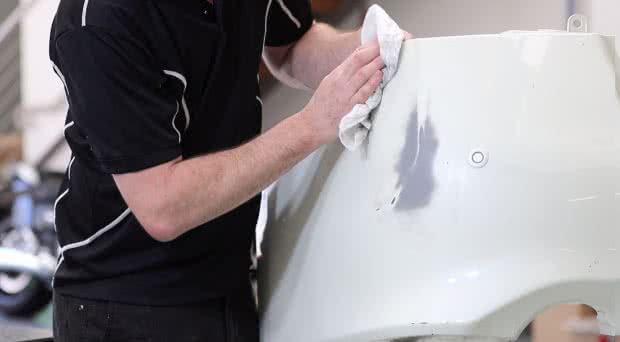
Clean the sanded area with Septone Wax & Grease Remover.
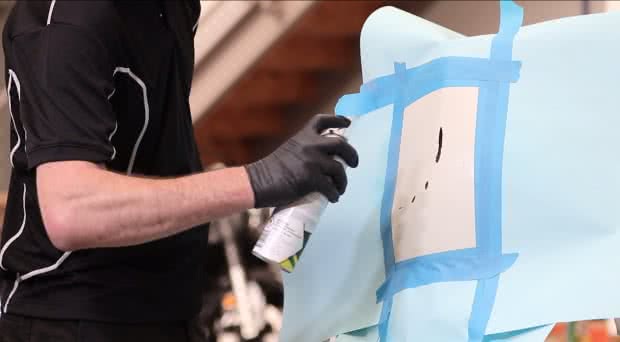
Prepare Primer
Prepare the surface with Septone Plastic Adhesion Primer.
Depending on the depth of the scratch, Septone Body Filler may be required.
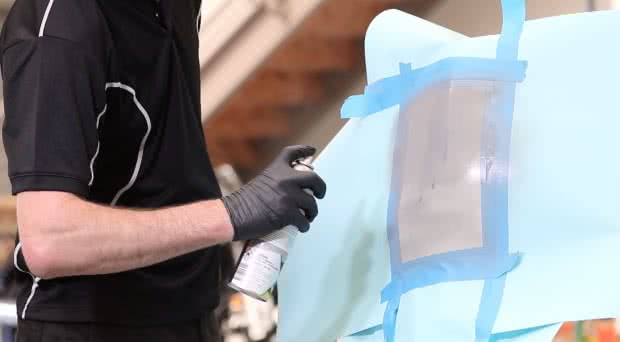
Apply in Light Even Coats
Apply Septone Plastic Primer Filler in light even coats.
Allow 5 minutes dry time between each coat.
Sand Area Where Required
Sand the area again with 800-1200 wet & dry sandpaper & if required reapply Septone Plastic Primer Filler.
Re-clean
Re-clean with Septone Wax & Grease Remover.
Apply Basecoat
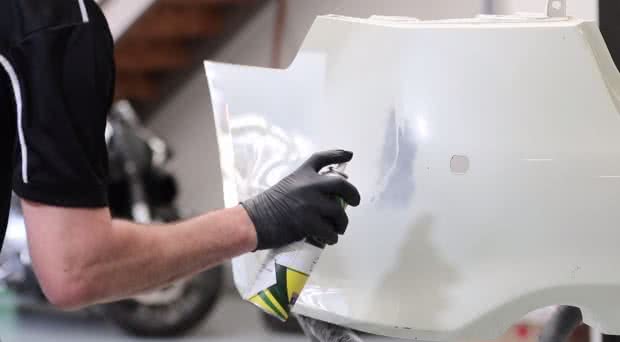
Your repair is now ready for application of a coloured basecoat.
Select a basecoat colour matched to your original vehicle paint code & apply as directed on the back of the can.
Choose Base Coat Wisely!
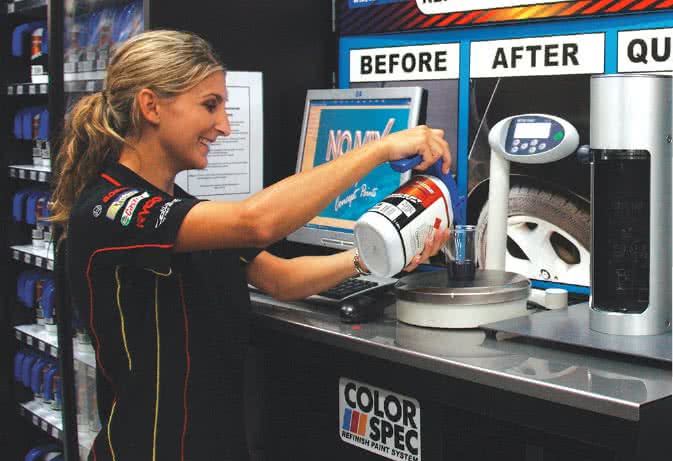
When selecting a base coat, make sure you check out the "ColorSpec Paint Mixing" services offered in store while you wait!
*Important information* - Click here to read more about our DIY Advice Terms and Conditions.