How to Perform an Oil Pressure Test
Overview
Checking engine oil pressure is part of a basic engine health test, which is super easy using the ToolPRO 12 piece engine oil pressure test kit.
Here’s how to perform the test using a ToolPRO oil pressure test kit.
Steps
Locate Oil Pressure or Temperature Sender
Firstly ensure that the engine is cool enough to work on. Apply the handbrake, chock the wheels and put the transmission in neutral or park.
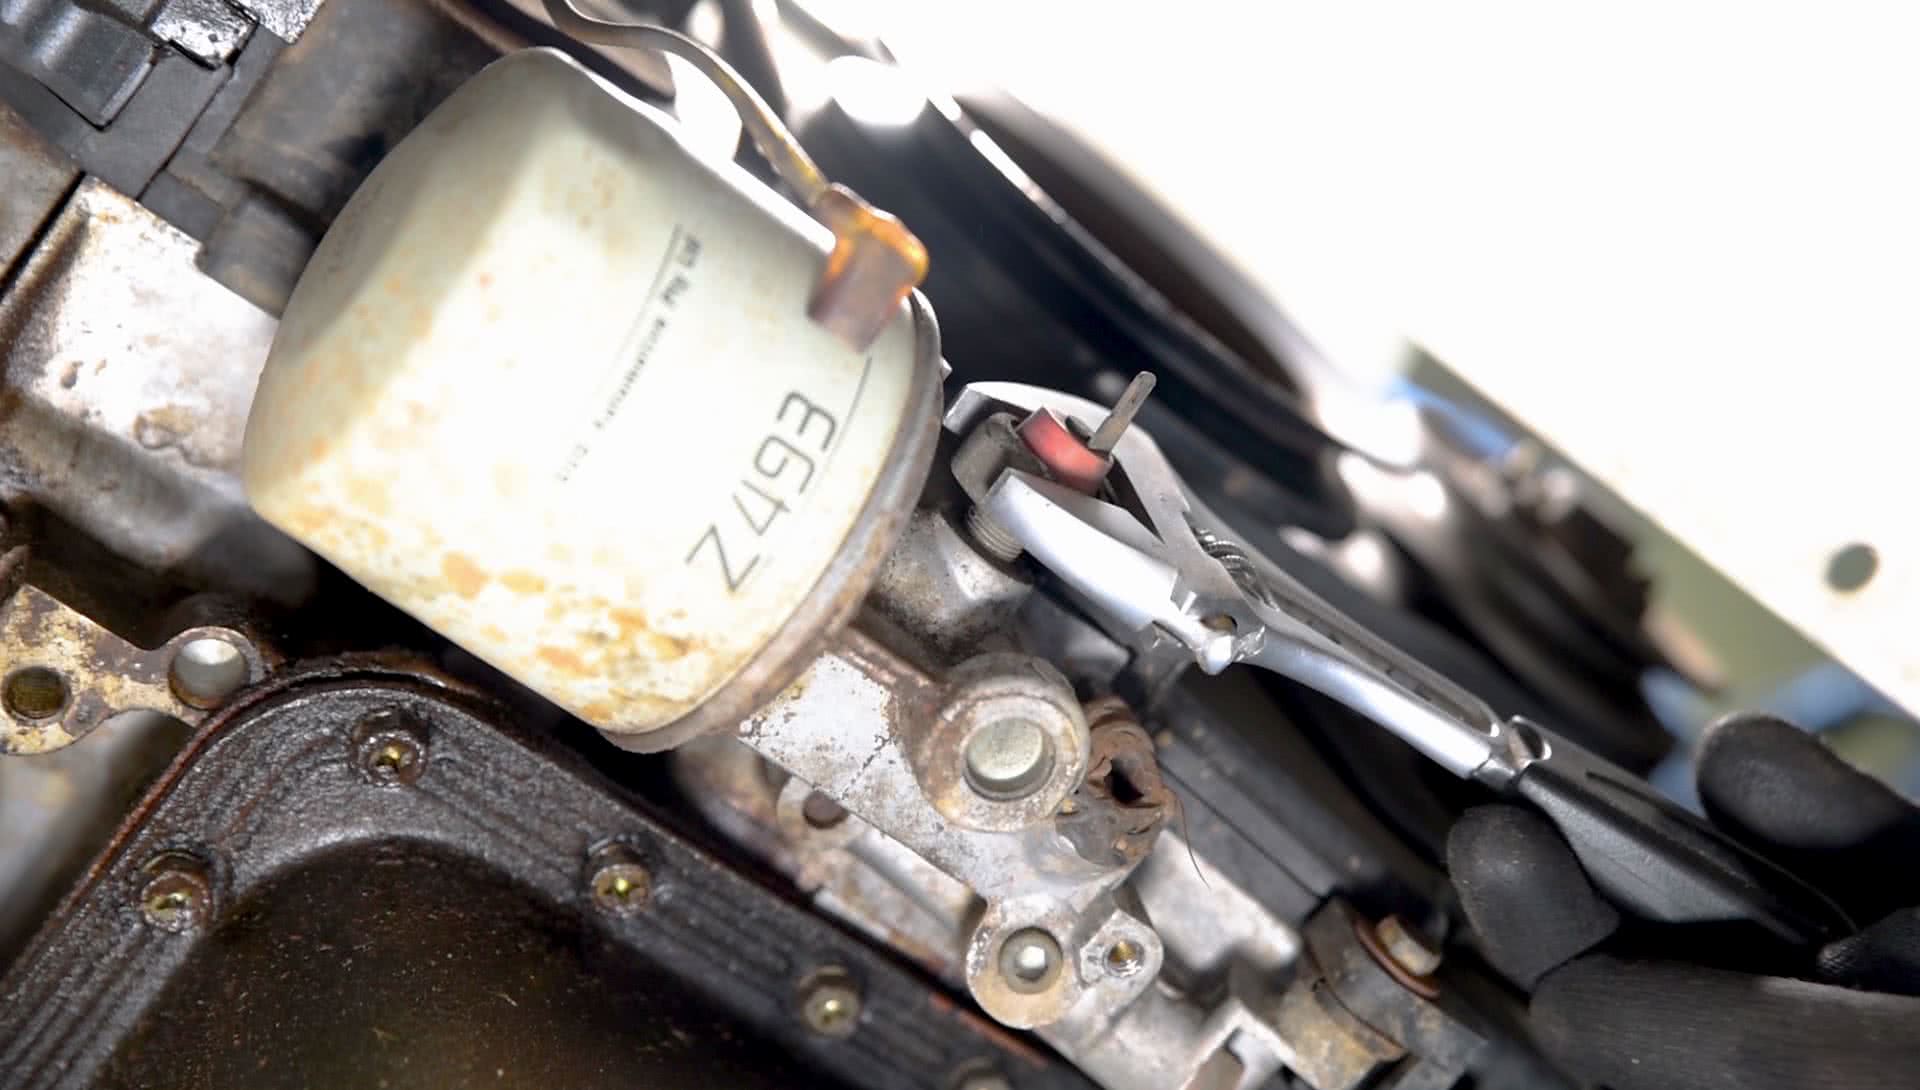
Now locate the oil pressure or temperature sender – situated in the engine block and often near the sump.
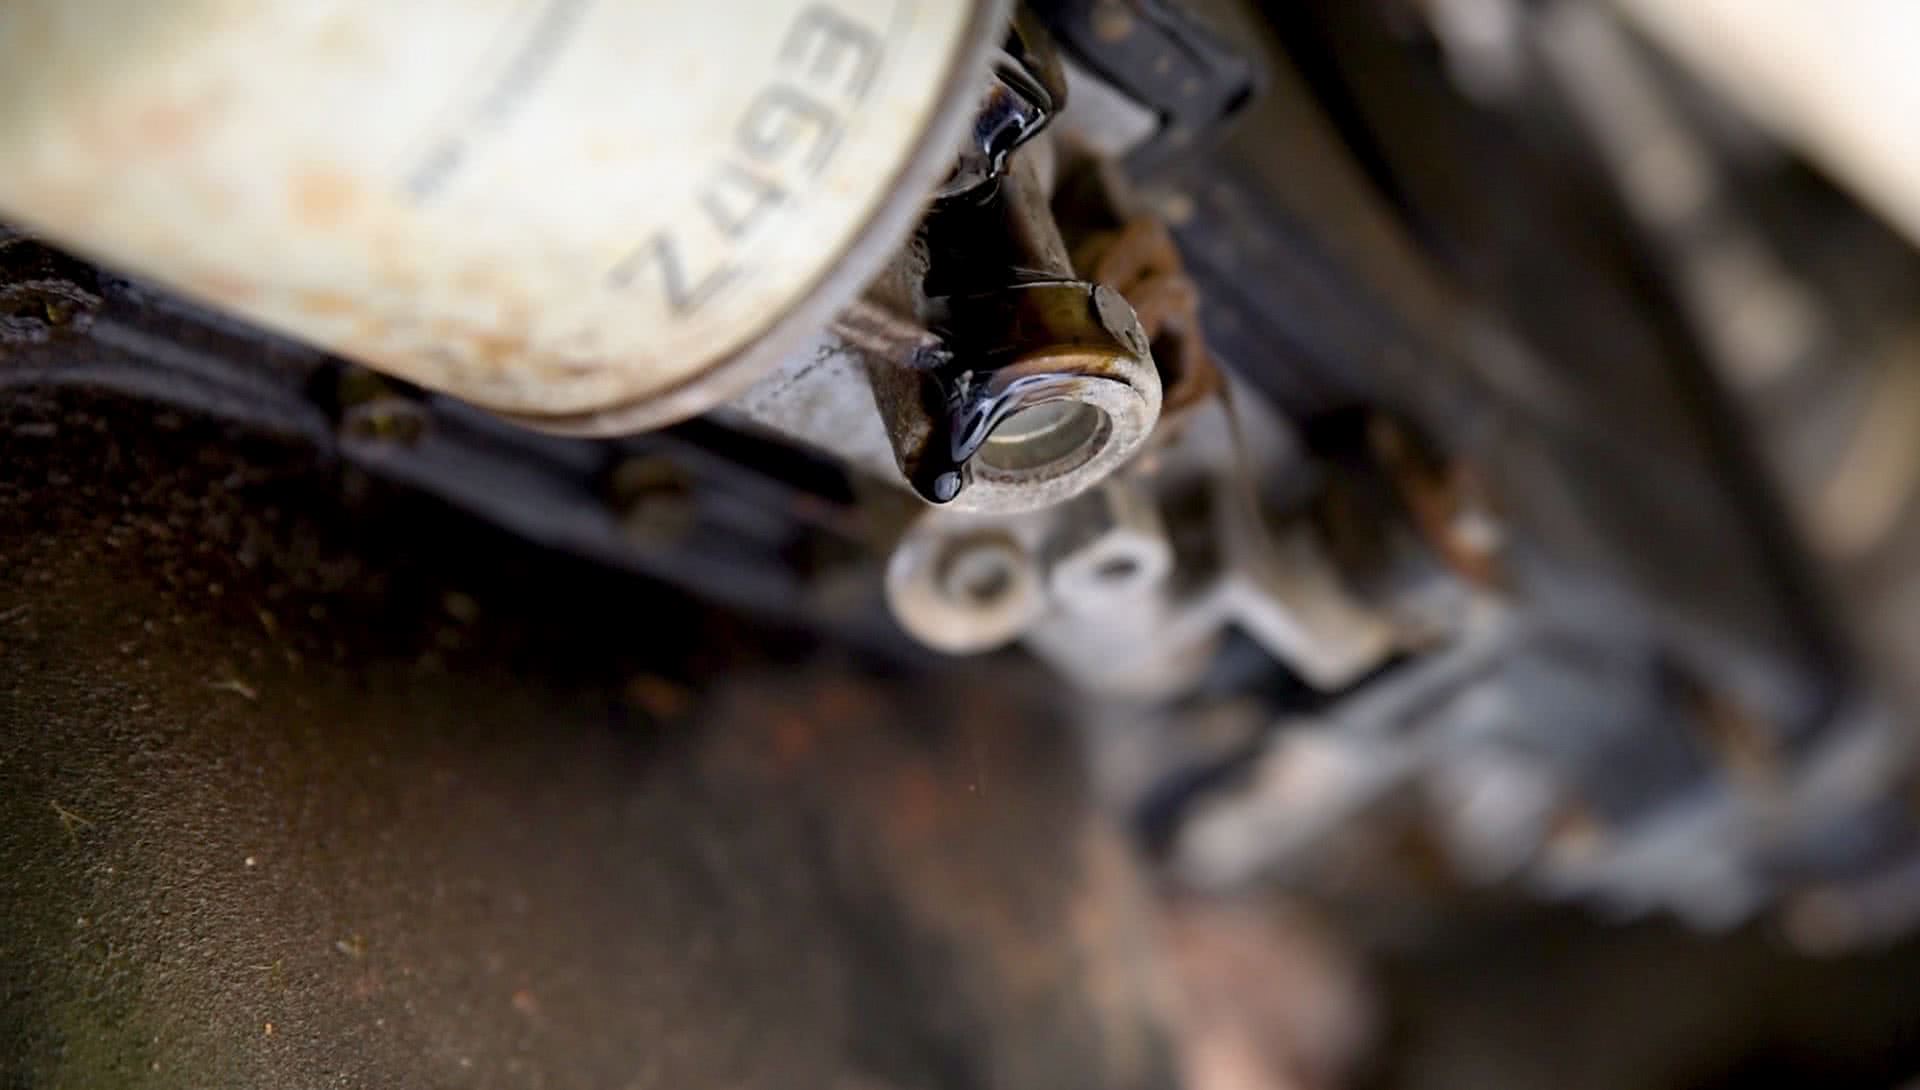
Remove the switch and be prepared with an oil drip trayto catch any oil.
Find the Right Adaptor
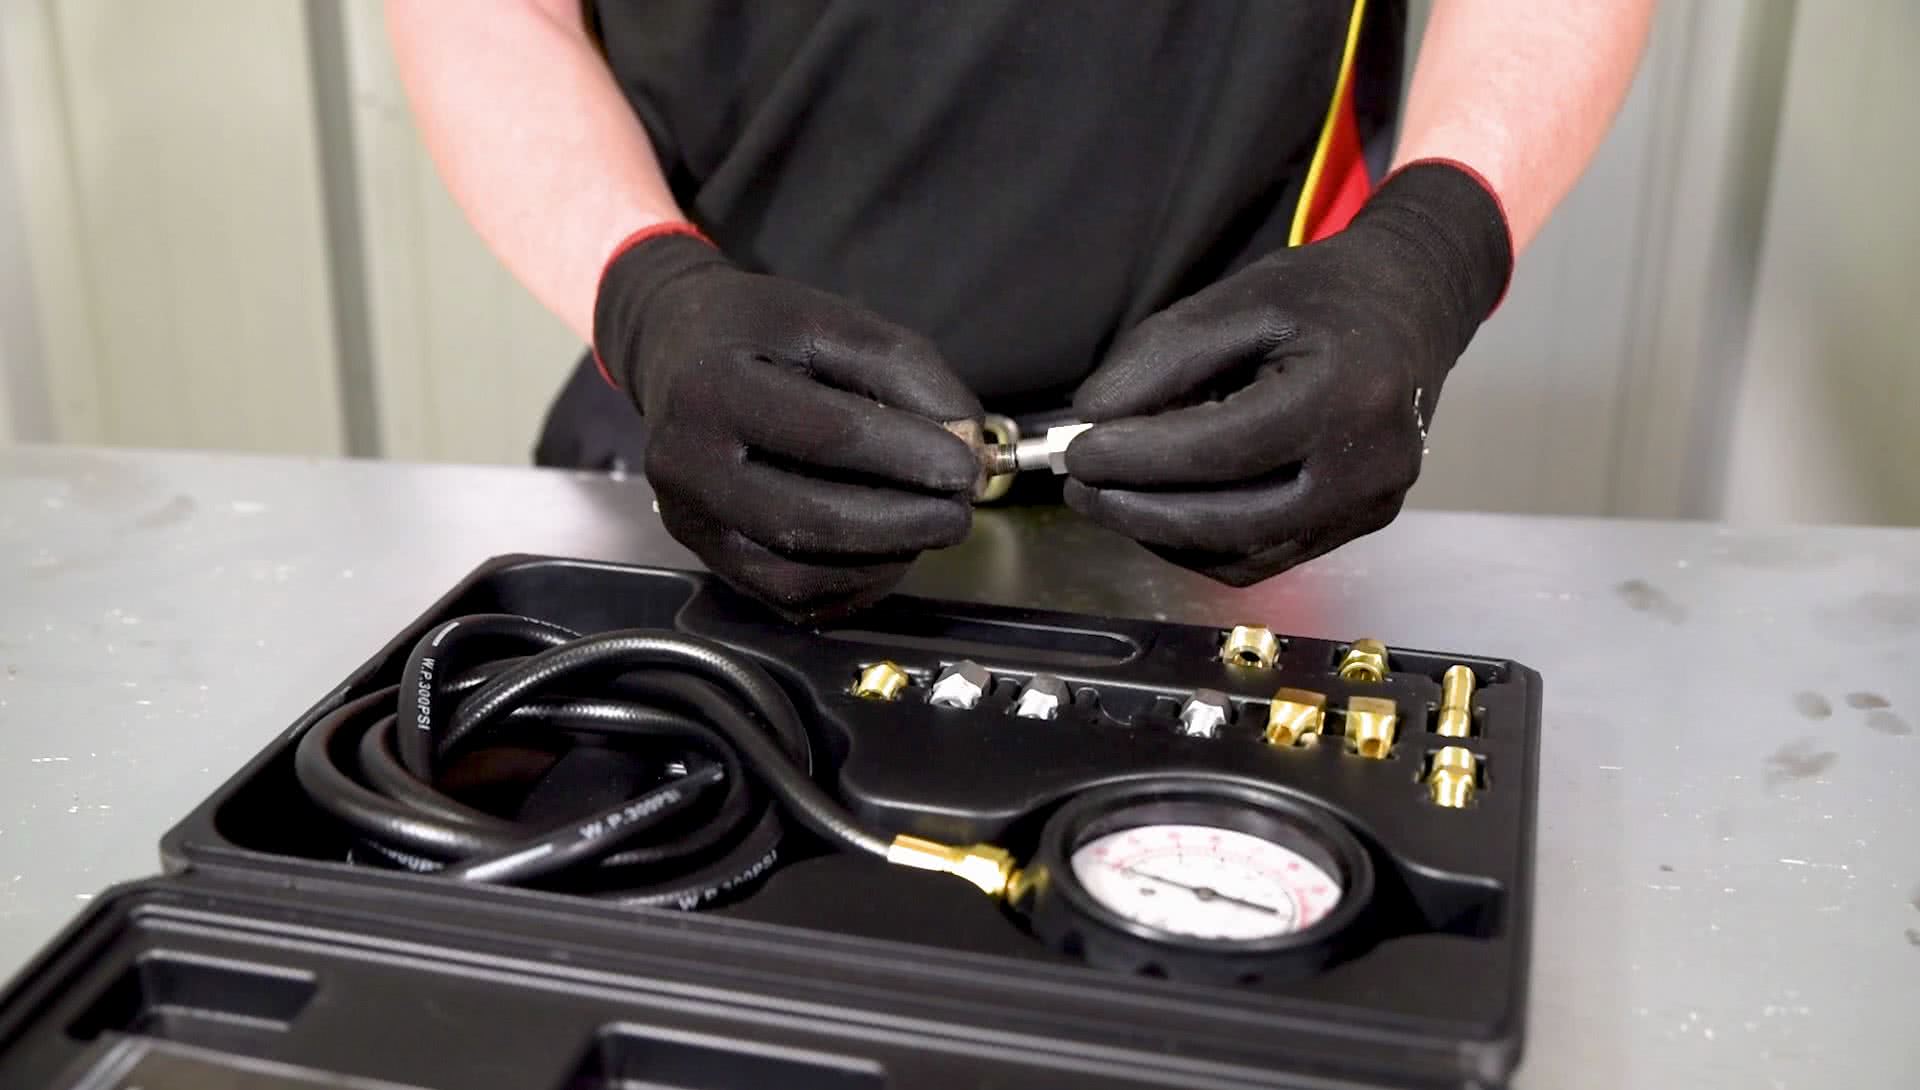
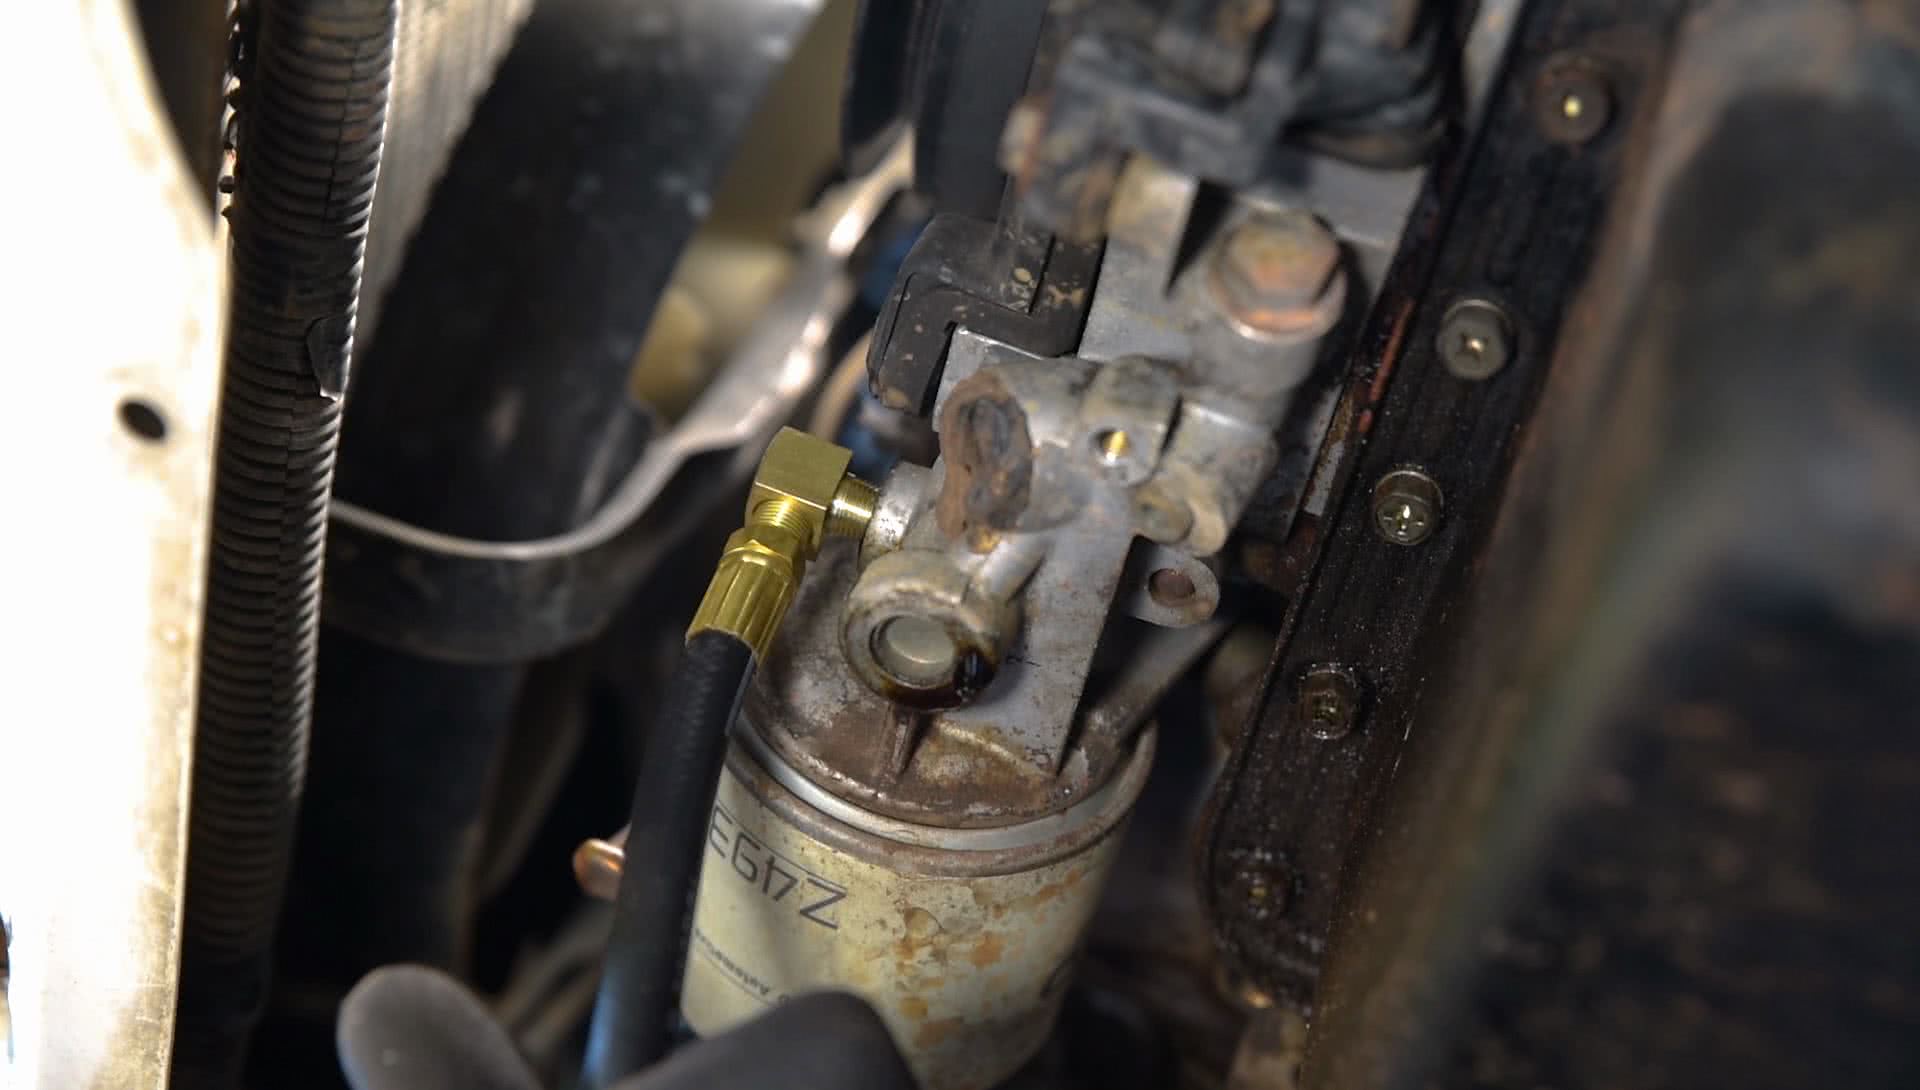
The ToolPRO 12 Piece Oil Pressure Test Kit has a selection of adaptors to suit a variety of thread patterns, so find the one that matches your engine and fix this into the block where the oil pressure sender was removed.
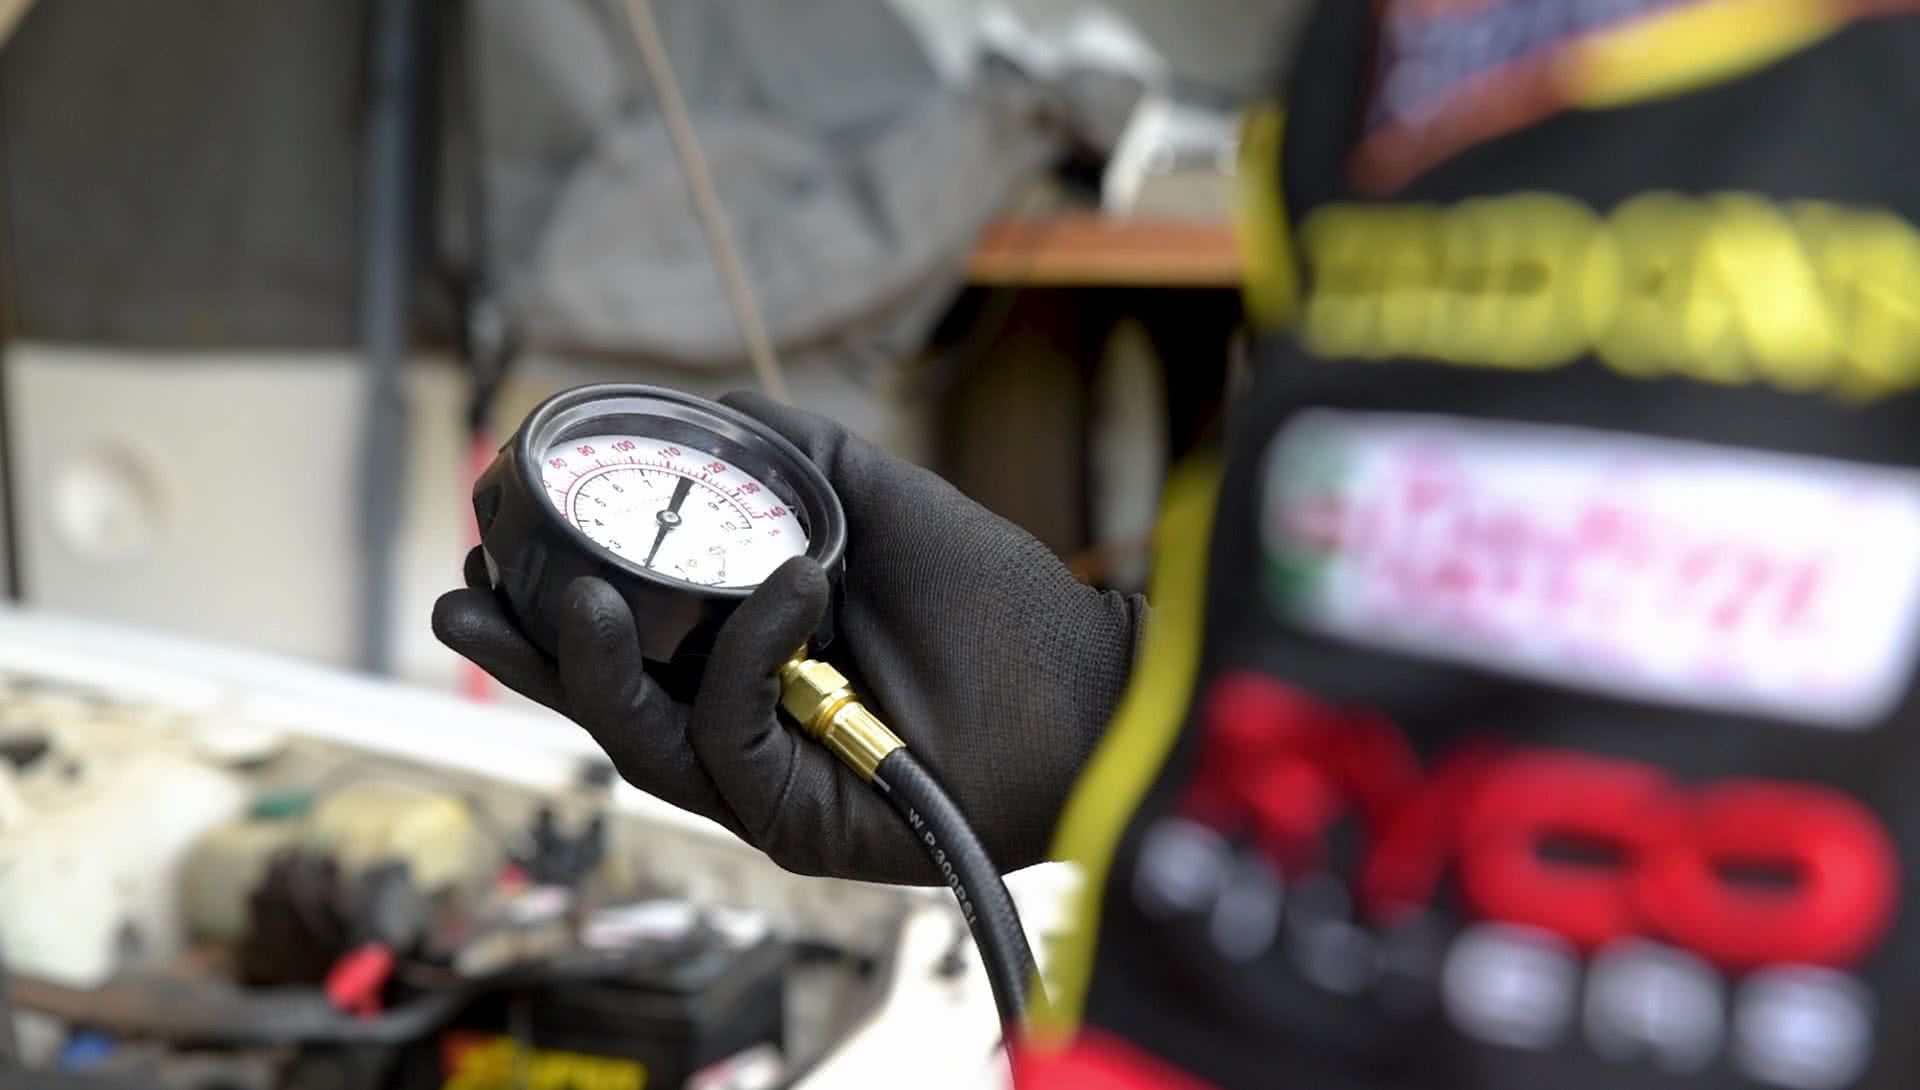
Now attach the oil pressure gauge to the adaptor and check the engine oil level before starting the vehicle and allowing it to reach operating temperature.
Consult Service Manual
Consult a service manual to determine what RPM the test should be performed at, and what pressure your engine should maintain. If necessary, have an assistant hold the engine at this RPM while you take a reading.
A low reading could indicate a blocked oil filter, worn oil pump, restricted oil pickup - or simply a grade of oil that is too thin for the engine. A high reading could be due to a faulty pressure relief valve or other blockages.
Re-install Oil Pressure Sensor
Once you have taken the reading, switch the engine off and allow it to cool before removing the oil pressure test gauge, and re-installing the oil pressure sensor.
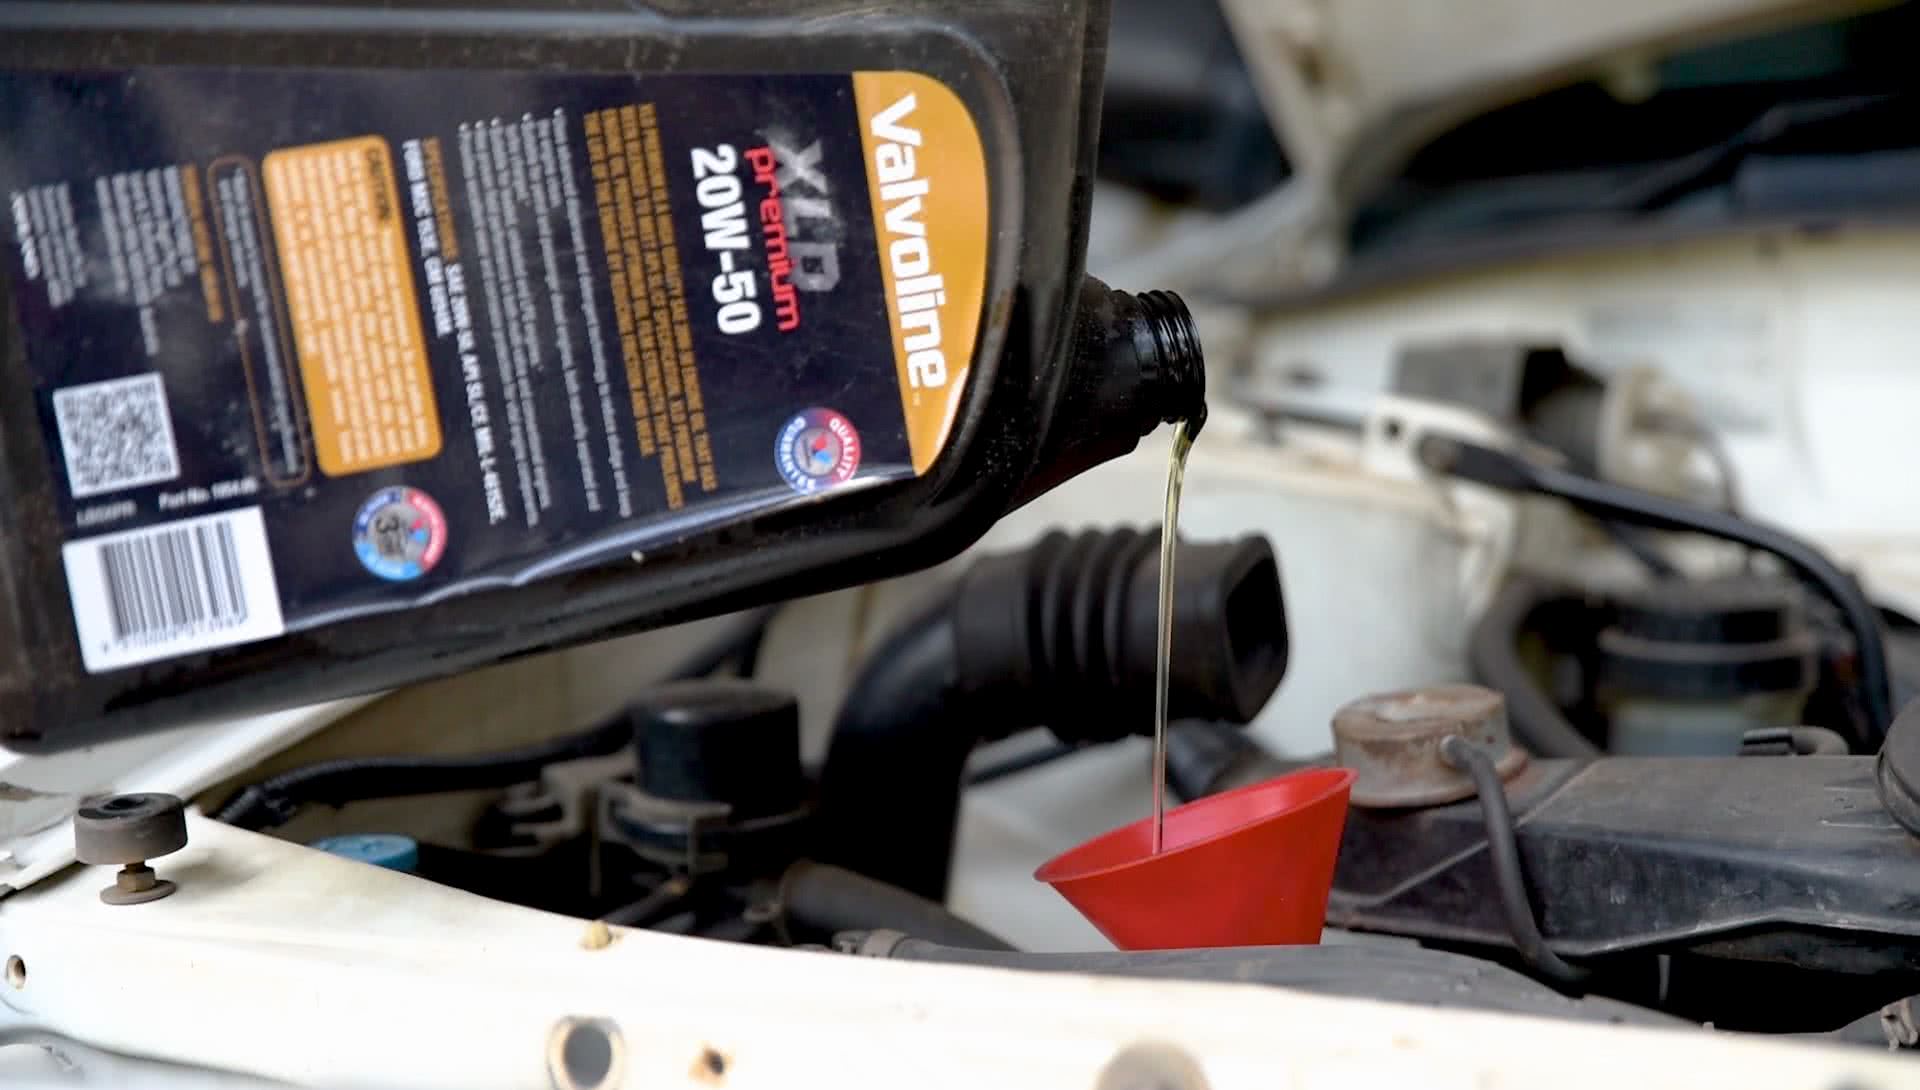
Top up the oil as necessary – and the job is complete.
*Important information* - Click here to read more about our DIY Advice Terms and Conditions.