How to Tune your Ignition
Overview
Keeping your car in time is a good way to ensure your car is running at optimal performance levels. Modern vehicles keep this in check automatically – but if you own an older vehicle, ignition timing can be adjusted with the help of a timing light.
The ToolPRO timing lights will help you get the job done properly. We offer two types of timing lights in our range, from your basic Inductive Xenon timing light to a Professional Angled timing light.
Learn More About Ignition Systems
Steps
Distributor Ignition Timing - Step 1
To set the timing on your engine, first determine the correct timing for your vehicle – shown as degrees before top dead centre. This will often be printed under the bonnet or in a workshop manual. Next, locate the timing marks on your engine.
These can be on the crankshaft pulley - or the flywheel. If your vehicle uses a distributor system, and you wish only to set ignition timing; the ToolPRO Inductive Xenon Timing Light will do the job.
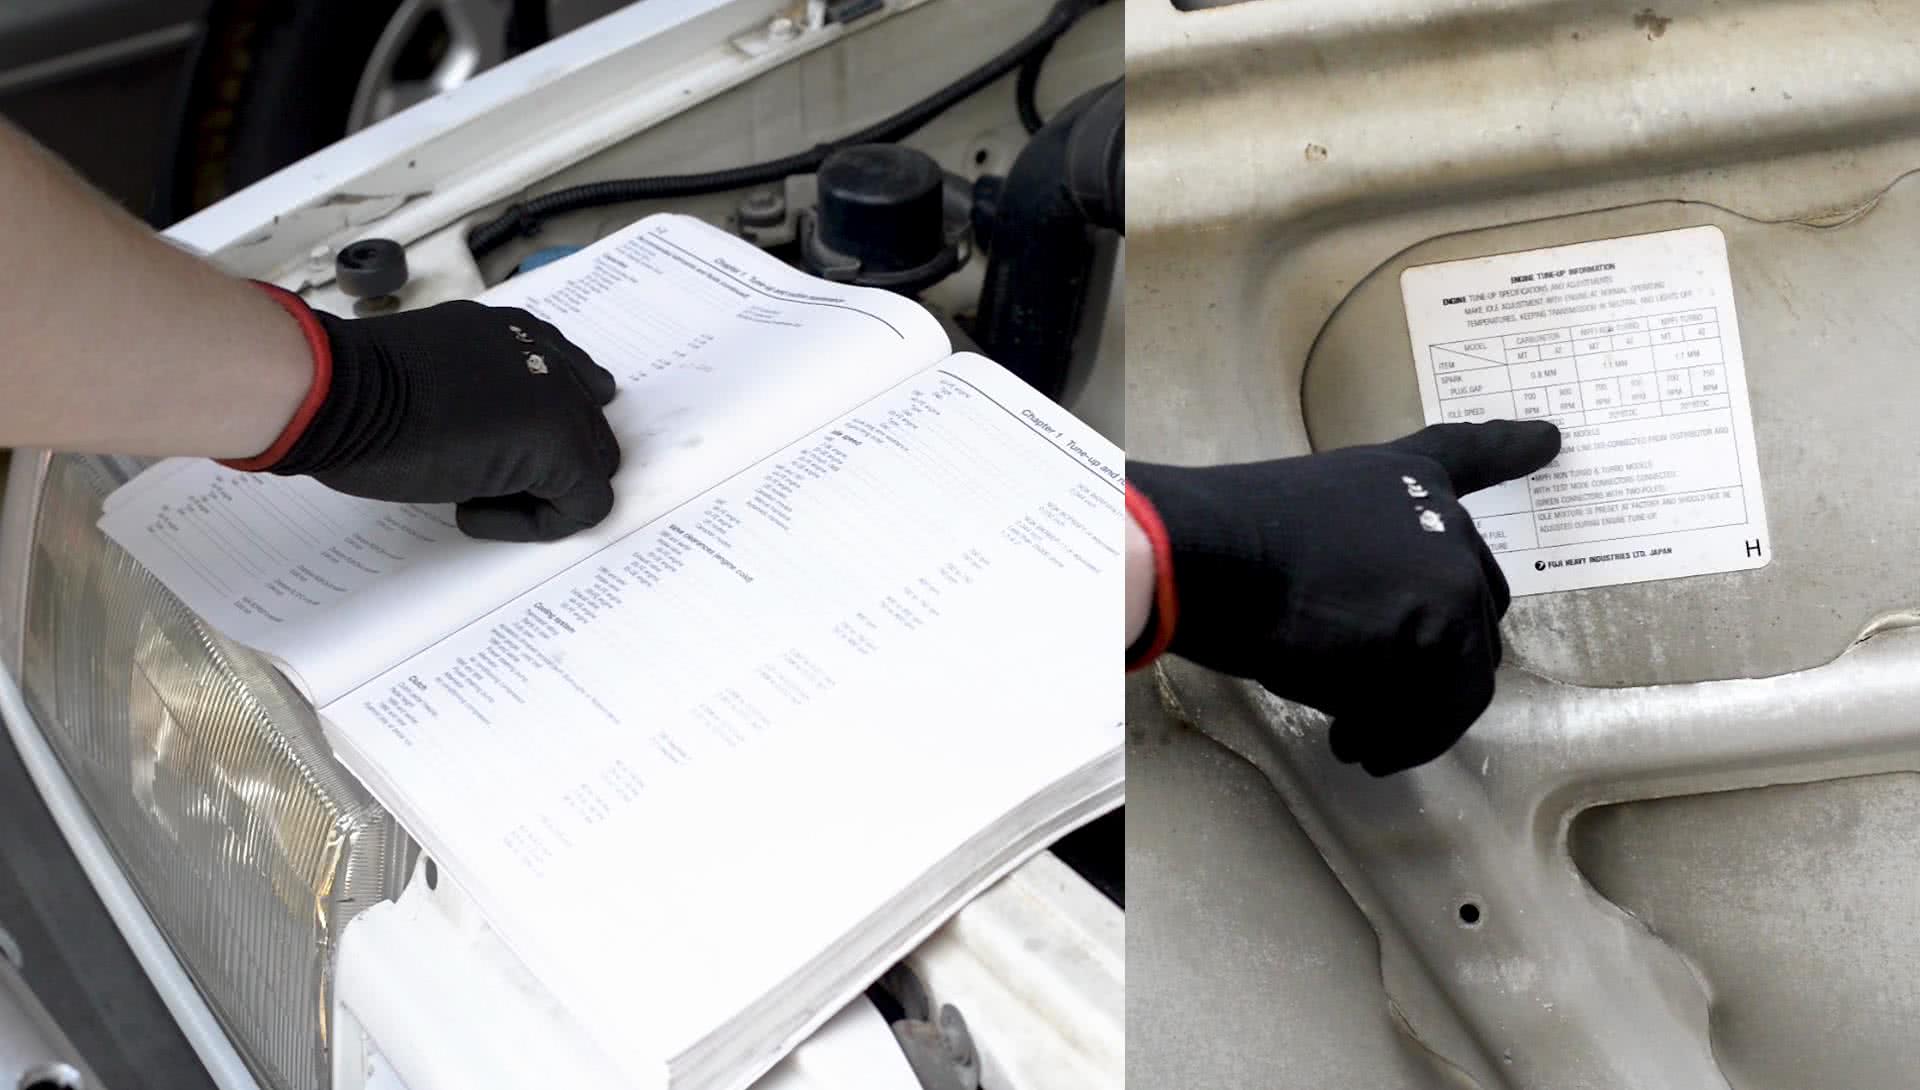
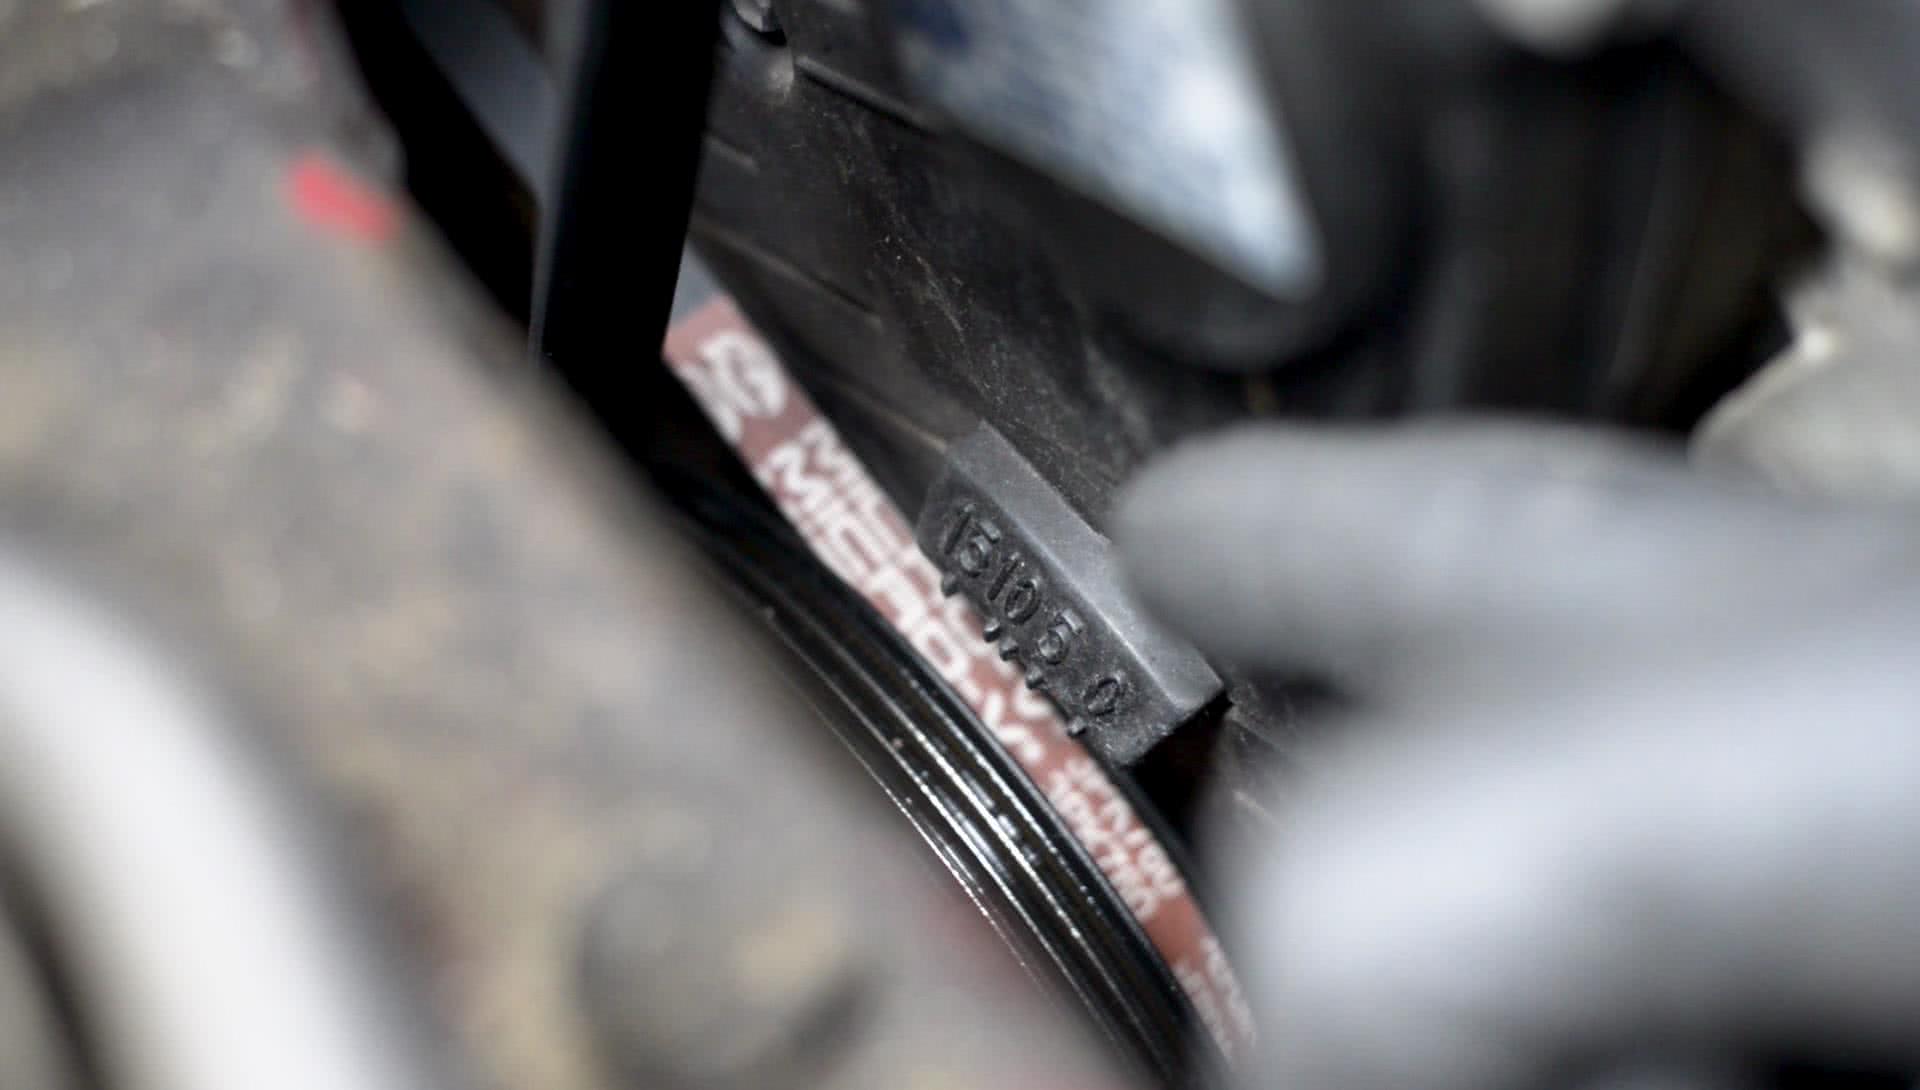
Distributor Ignition Timing - Step 2
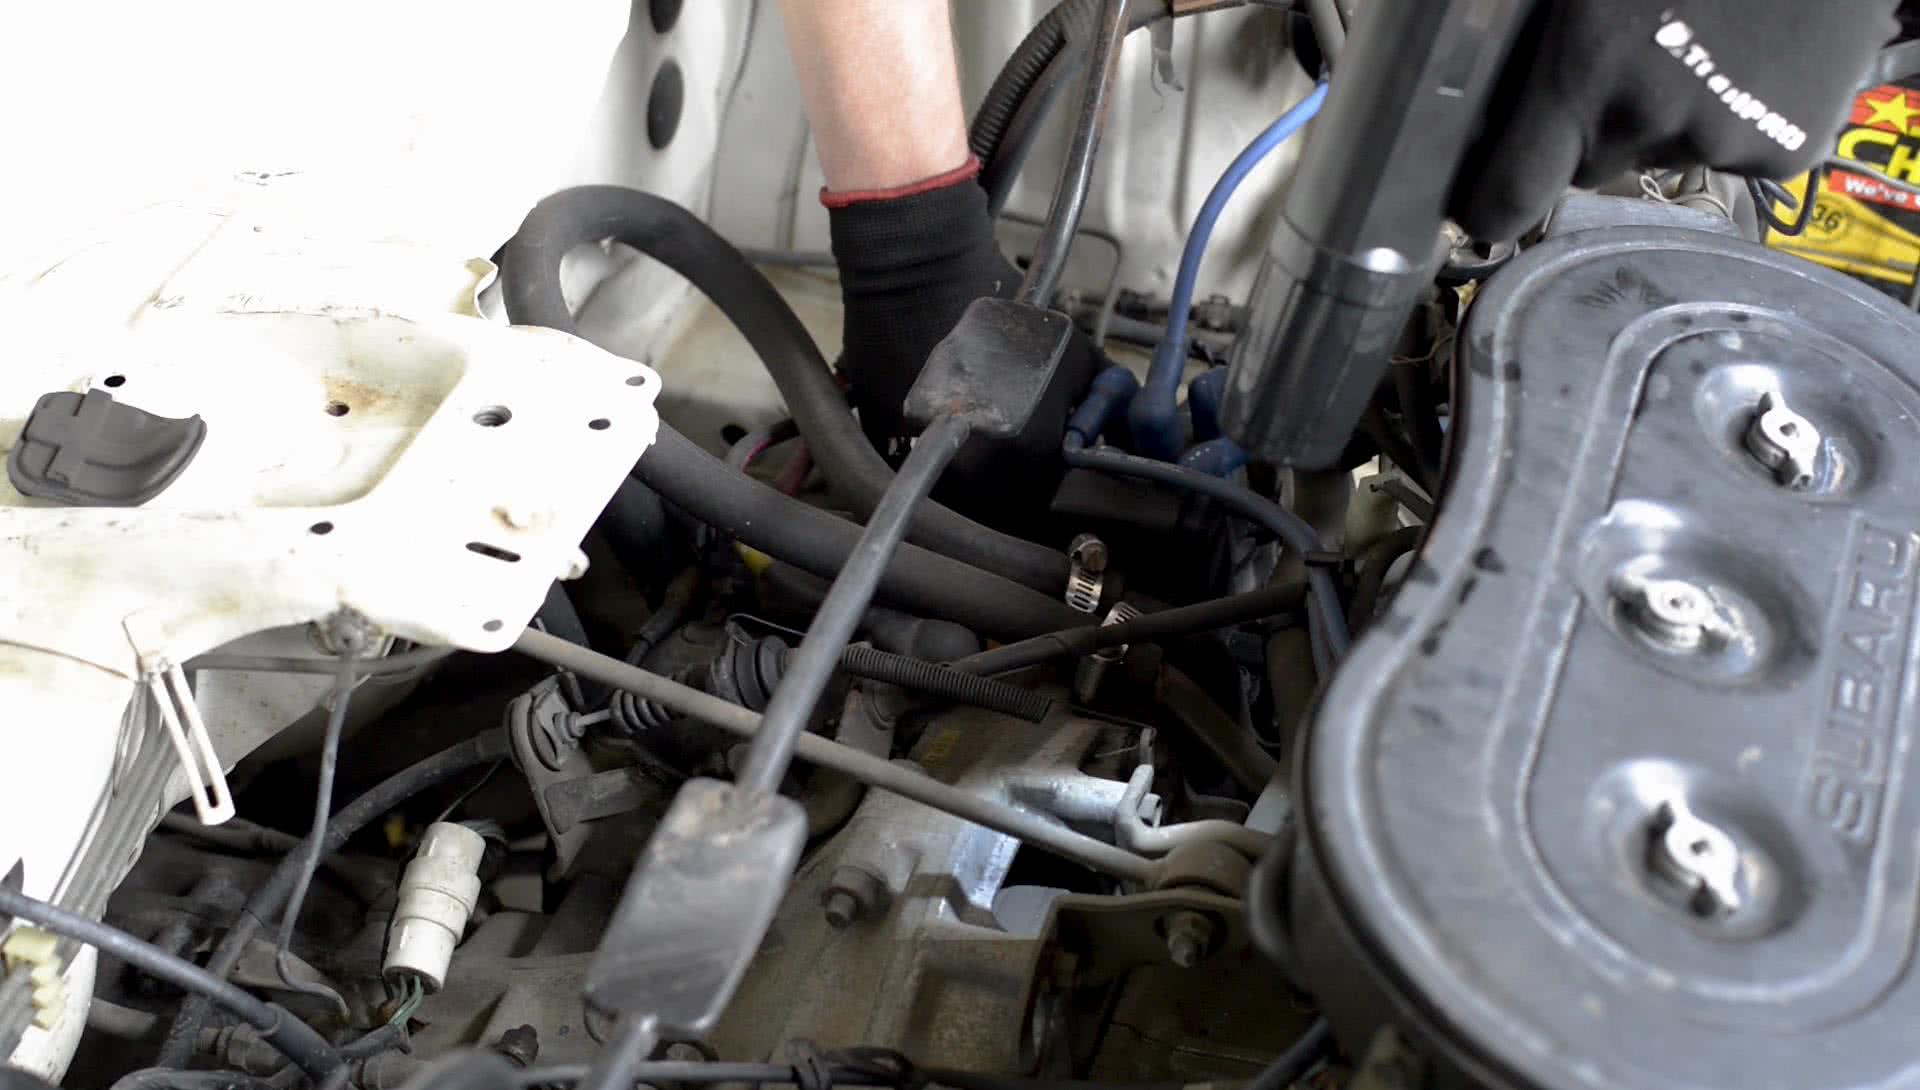
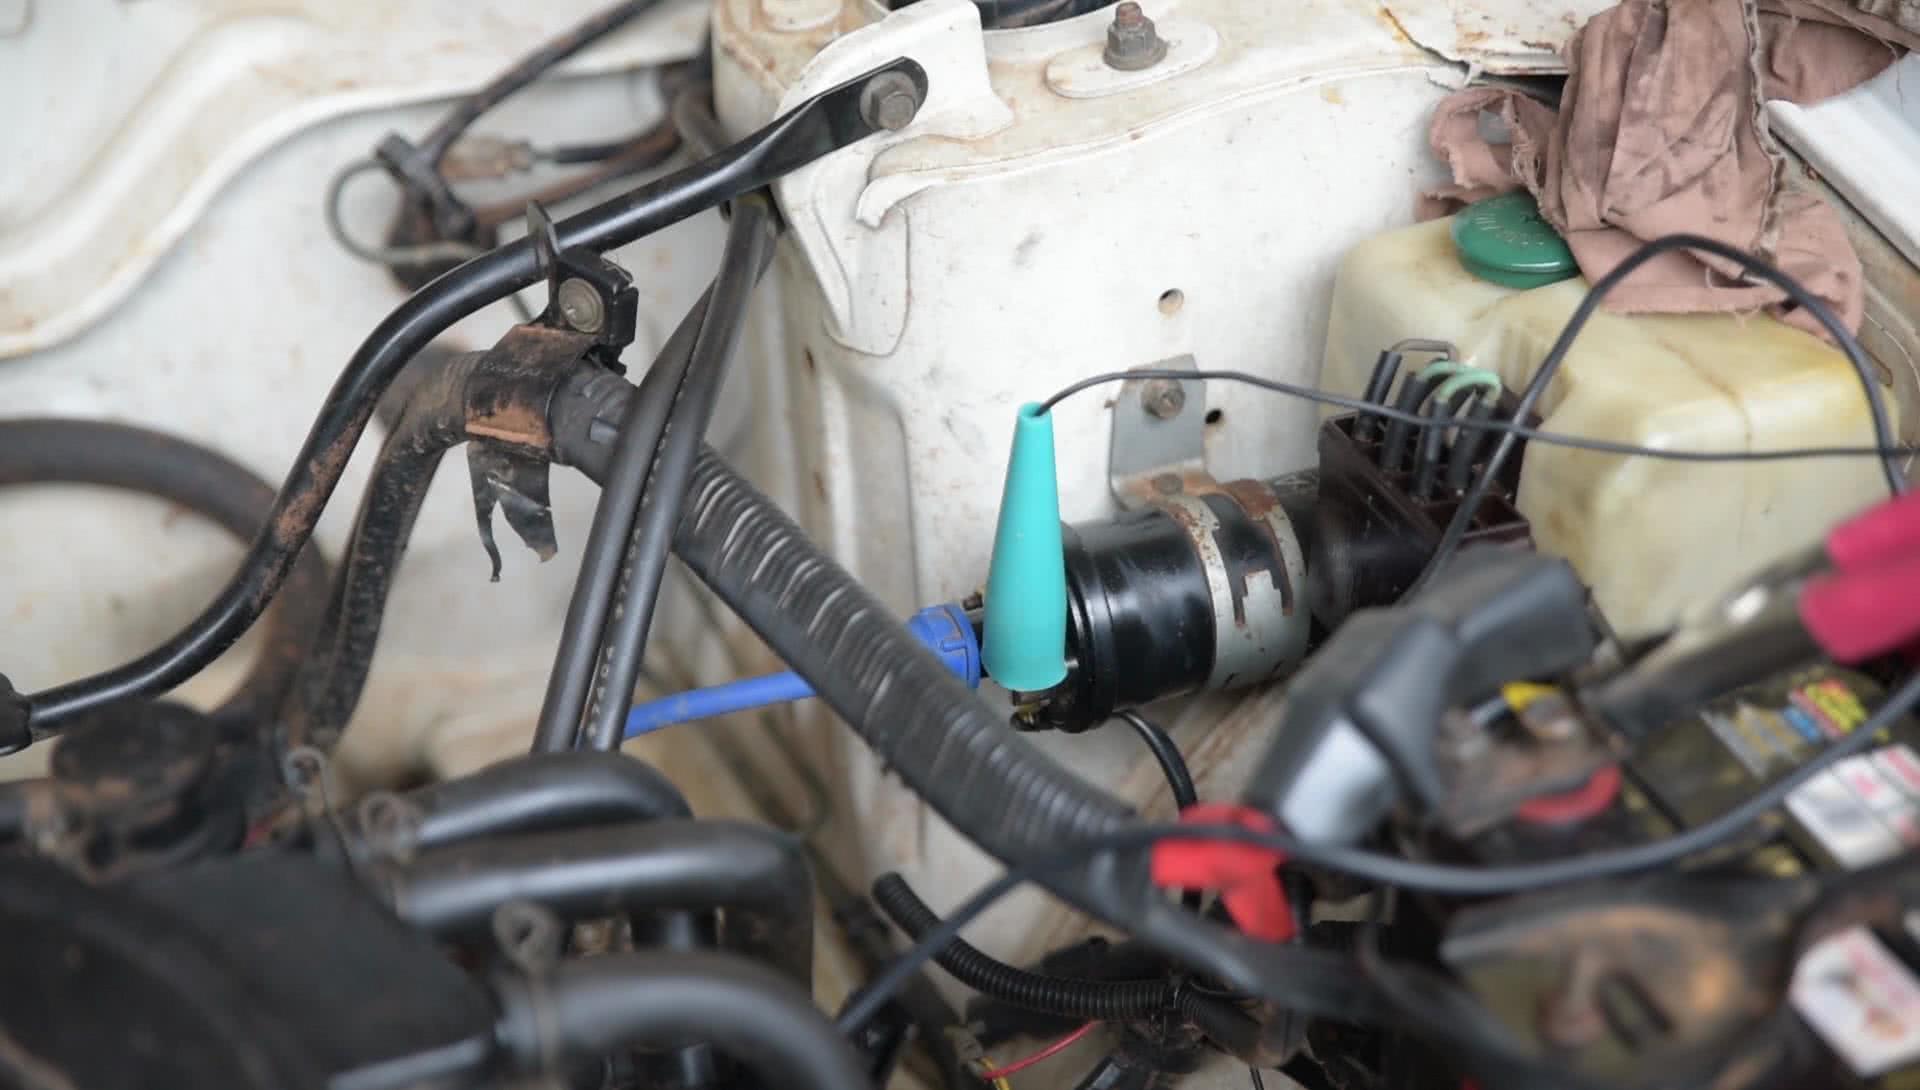
Ensure that your engine is at operating temperature. With the engine off, hook up the battery clamps to the positive and negative terminals on your battery - and attach the inductive clamp to the number one ignition lead.
Now start the car – and the timing light will begin flashing. Point the light at the timing mark on your crankshaft pulley or flywheel – and the timing mark will appear to be stationary as it lines up with a value stamped on the timing cover or engine block.
From here, it is simply a matter of loosening a couple of bolts on the distributor; and rotating this until the timing light flashes in sync with the desired timing value.
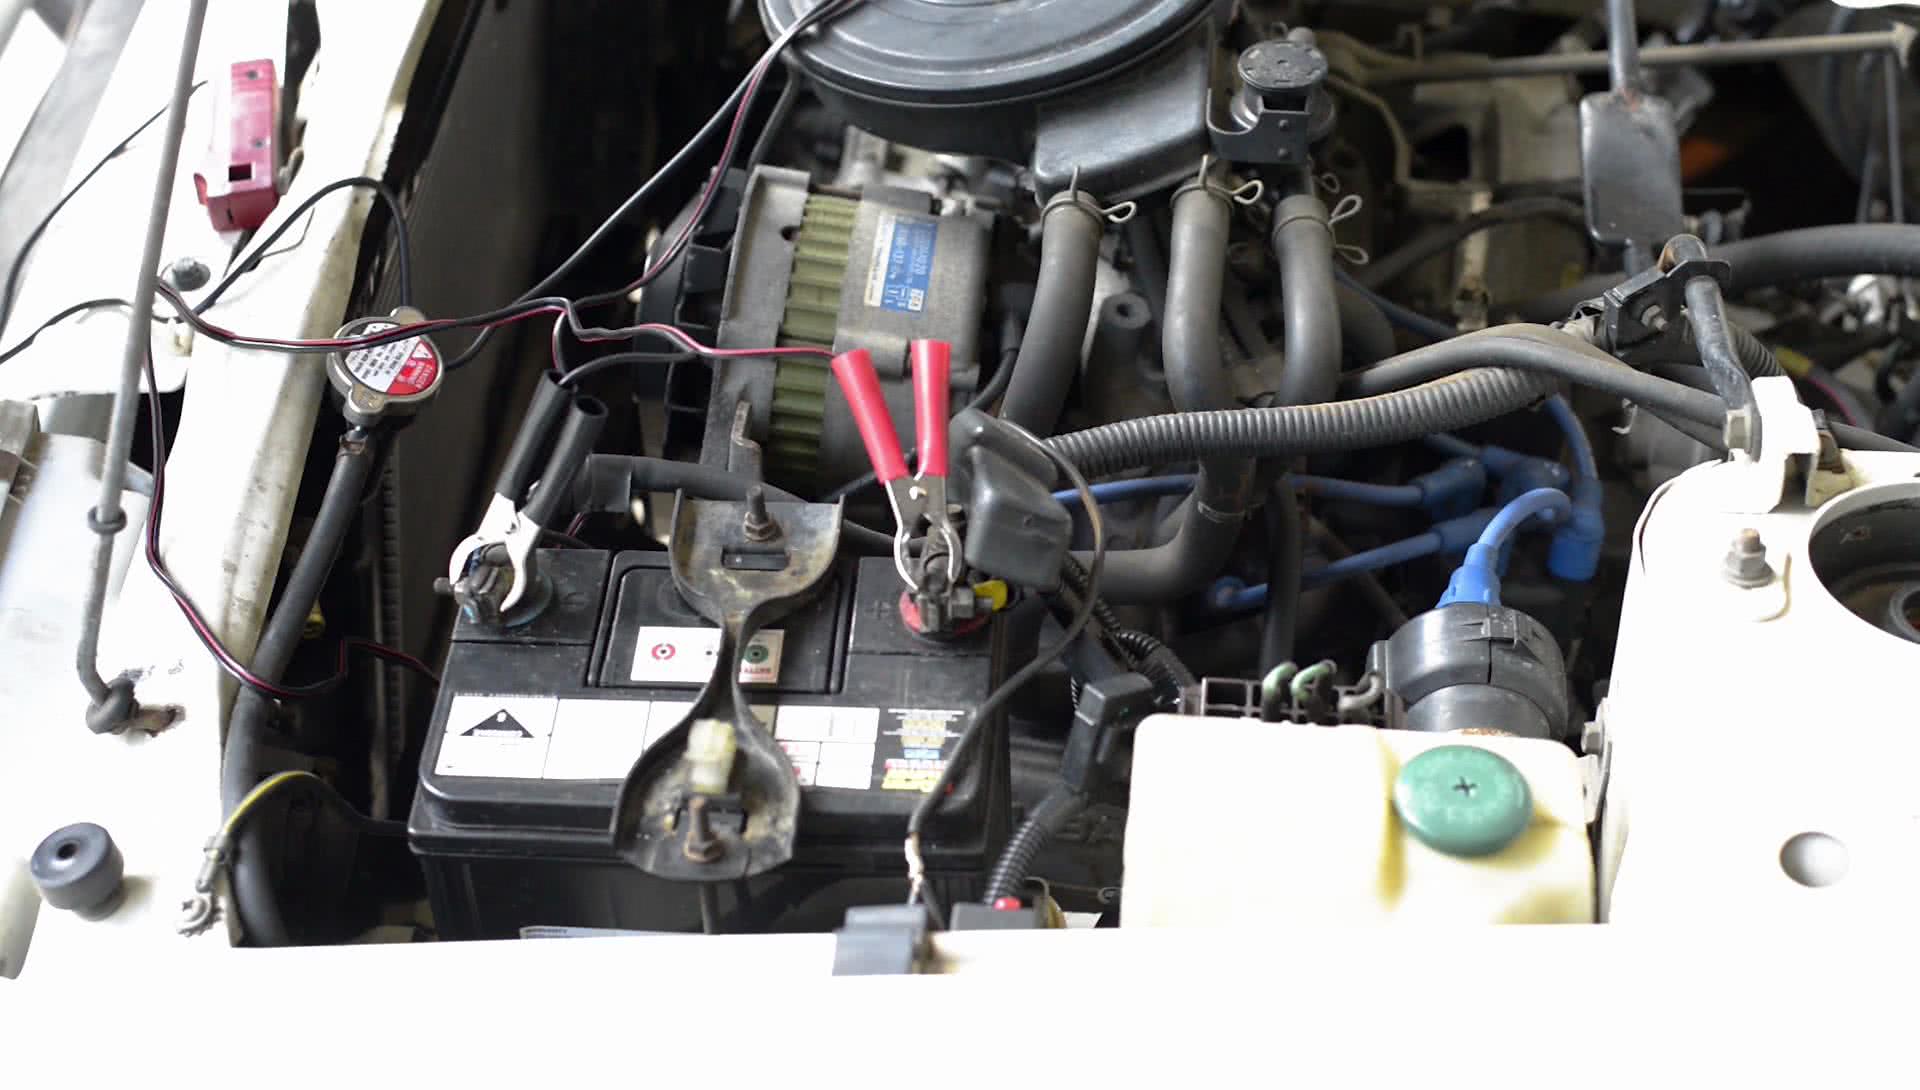
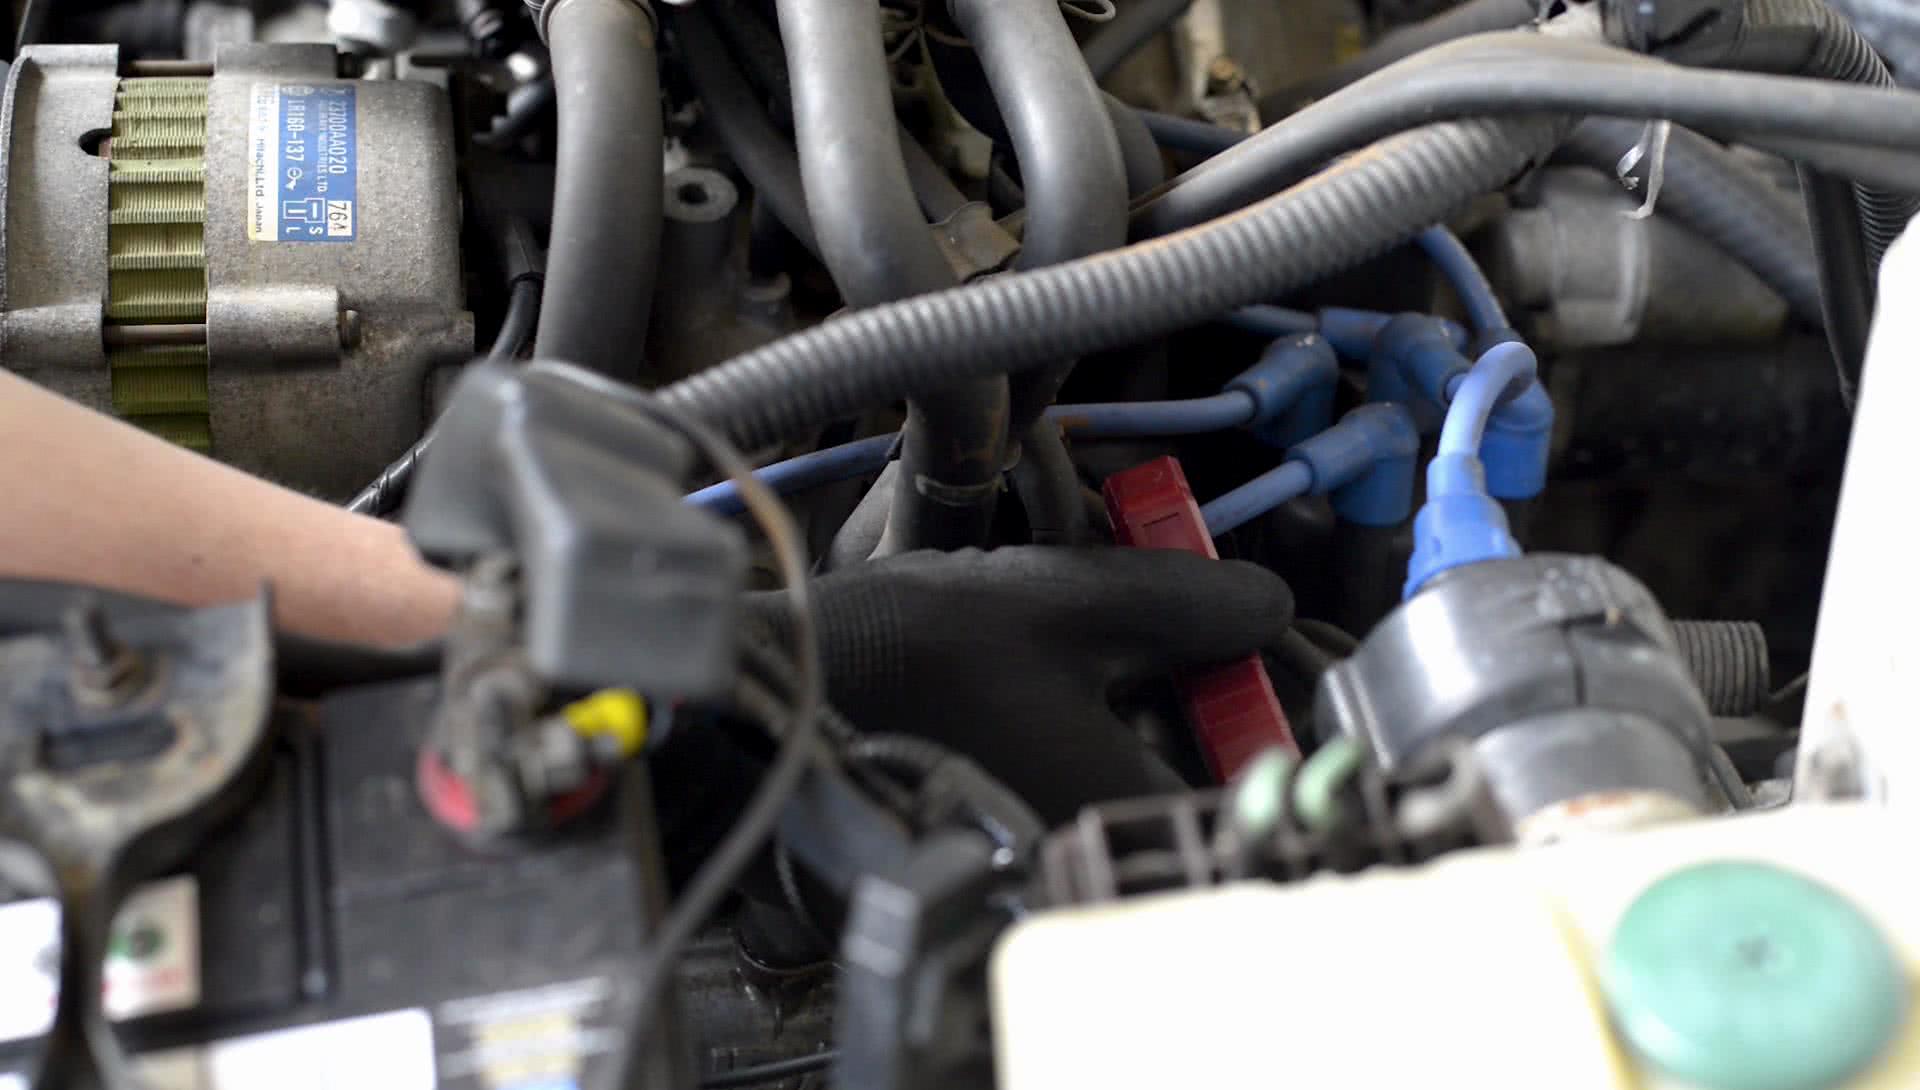
Distributor-less Ignition Timing - Step 1
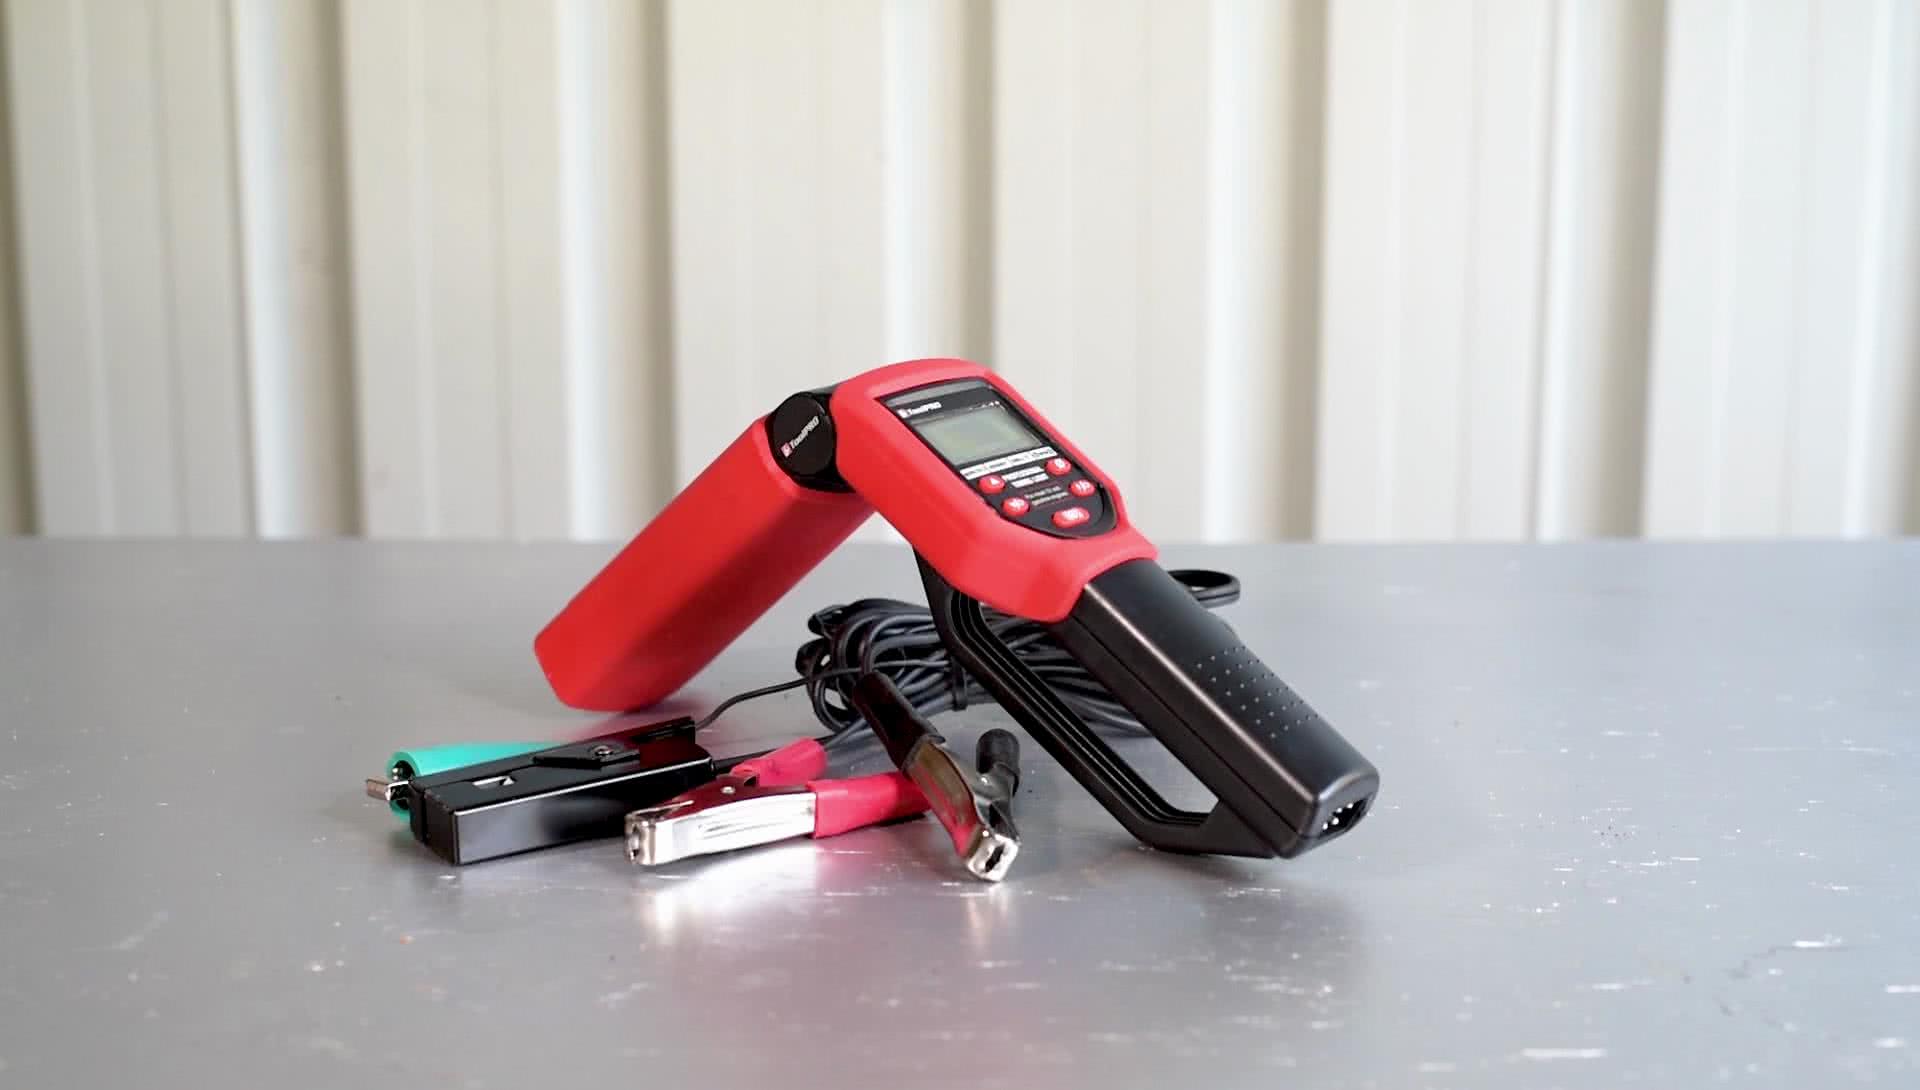
If you need a timing light which works with a distributorless ignition system - or you want loads of handy features – the ToolPRO Professional Timing Light does it all. Again, ensure the engine is at operating temperature and switched off.
Then connect the timing light the same way as the Inductive Xenon model. There is an extra clamp on the Professional Timing Light, this one measures dwell angle - and should be connected to the negative side of the ignition coil.
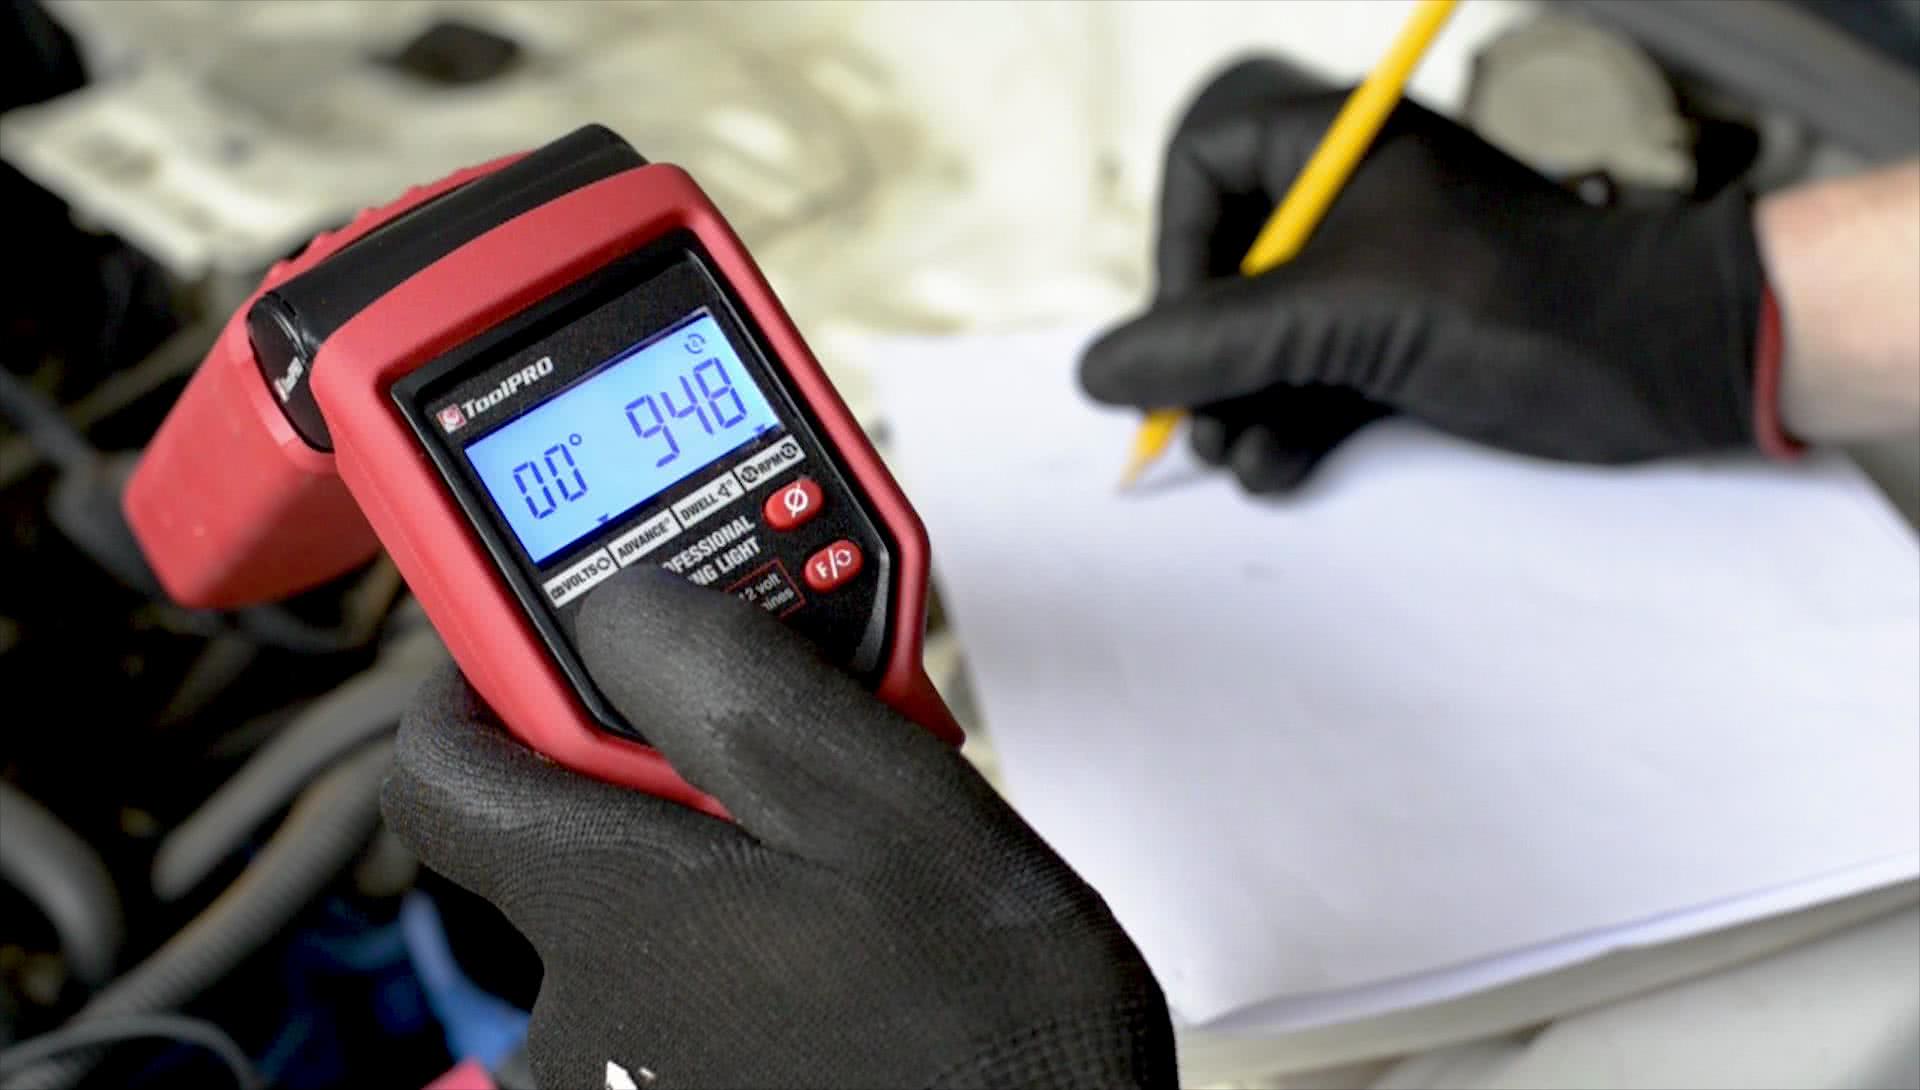
With the engine running, the first mode reads battery voltage and engine RPM. To check the ignition timing at idle - set the ignition timing mode by pressing the function button, and cylinder advance decrement switch simultaneously.
Select 2 cycle mode for 2 stroke engines or distributorless ignition systems, or 4 cycle mode for 4 stroke engines. Now press the flash switch to turn the strobe on to measure and adjust the ignition timing as per normal.
Distributor-less Ignition Timing - Step 2
To check the dwell angle, press the function button to select dwell mode – the dwell indicator, cylinder symbol - and dwell angle symbol will be displayed. Press the cylinder increment and decrement switches to select the correct number of cylinders for your vehicle - and compare the dwell angle reading to manufacturers’ specifications.
The Professional Timing Light can also test advance and retard timings. To use this feature, press the function button until the advance mode is selected. Ensure that the correct cycle mode is selected for your vehicle, and refer to a workshop manual for specific instructions for testing and adjusting your vehicle.
With these ToolPRO timing lights, and a little know how - you can keep those older vehicles purring nicely.
*Important information* - Click here to read more about our How-To terms and conditions.