How to Use Coil Spring Compressors
Overview
Planning on swapping out your suspension? Coil spring compressors are the suspension tools that will make the job far easier - AND safer!
With a 9 inch maximum jaw capacity, these will make installing new springs on your hatchback or small family sedan a breeze.
Items
Tools
- Coil Spring Compressors
- Spanner Set
- Socket Set
Steps
Position Compressors on Spring
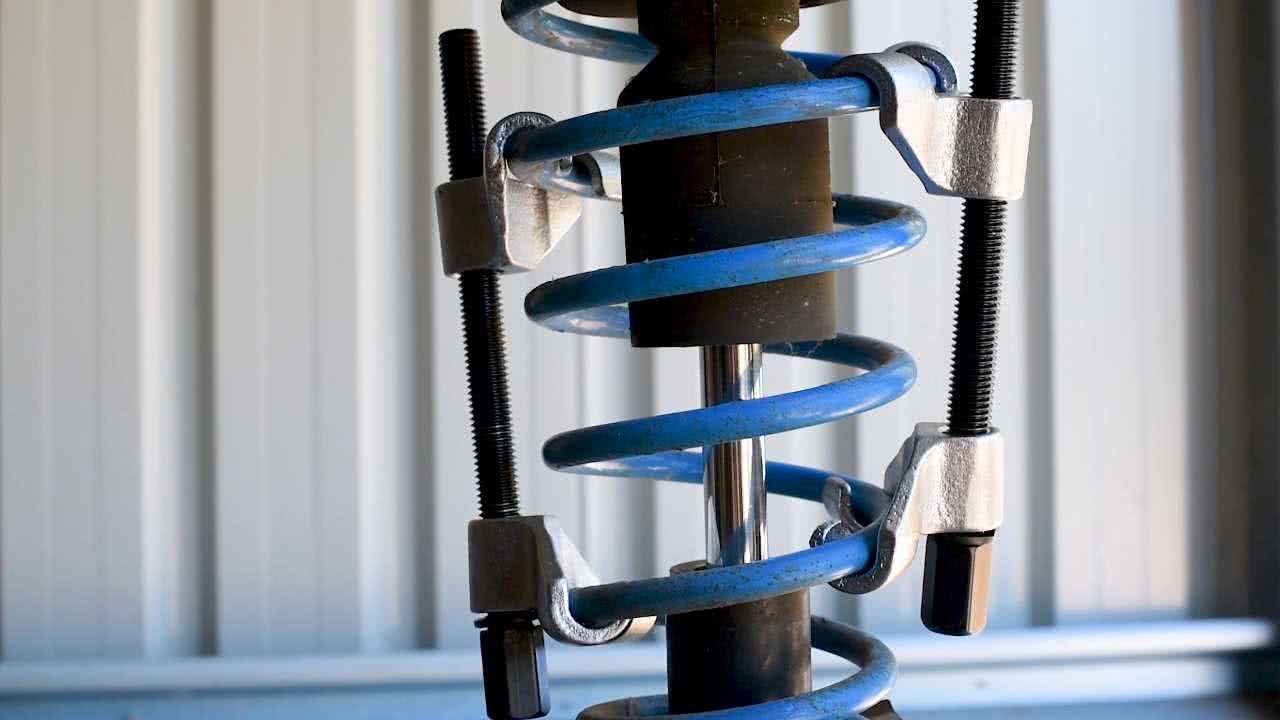
The hooked jaw ends wrap snugly around the coil spring to reduce their chance of slipping – and their hardened steel construction ensures they are resistant to wear across the jaws, and leed screws.
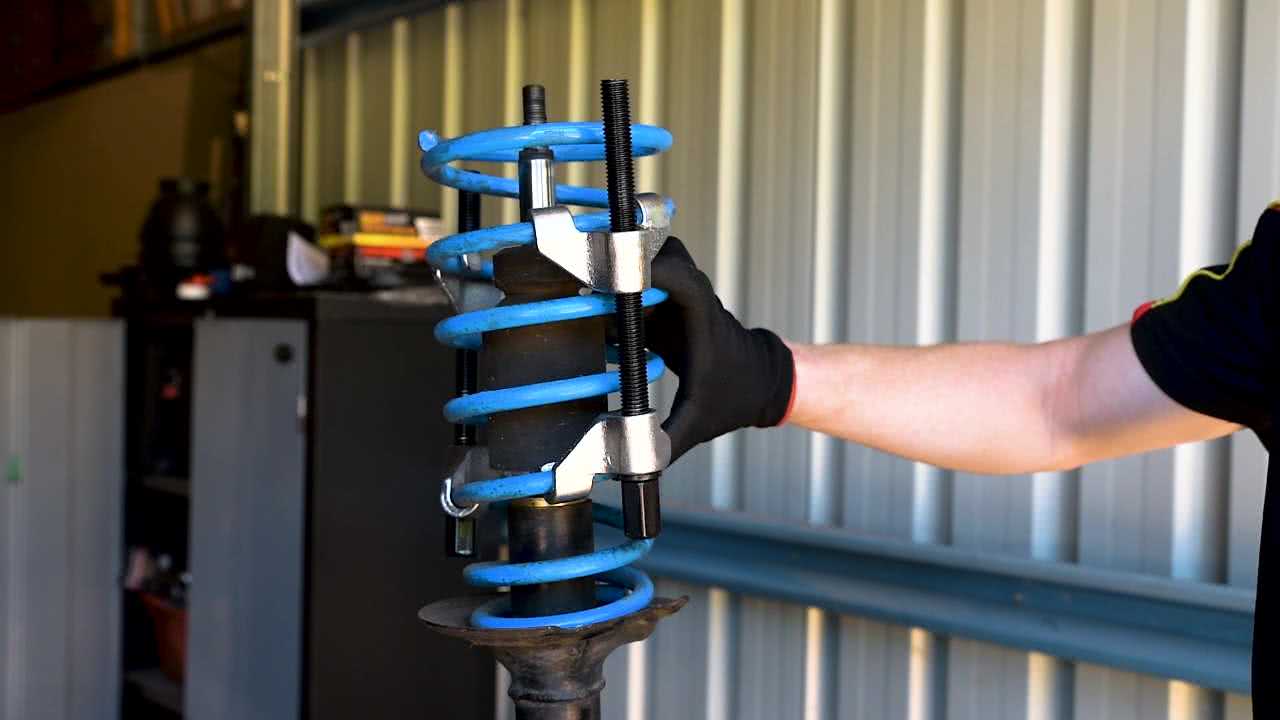
Careful positioning and patience are the key to using spring compressors safely and effectively. Position the compressors as close to opposite sides of the spring as possible, and place the jaws at the same height as one another.

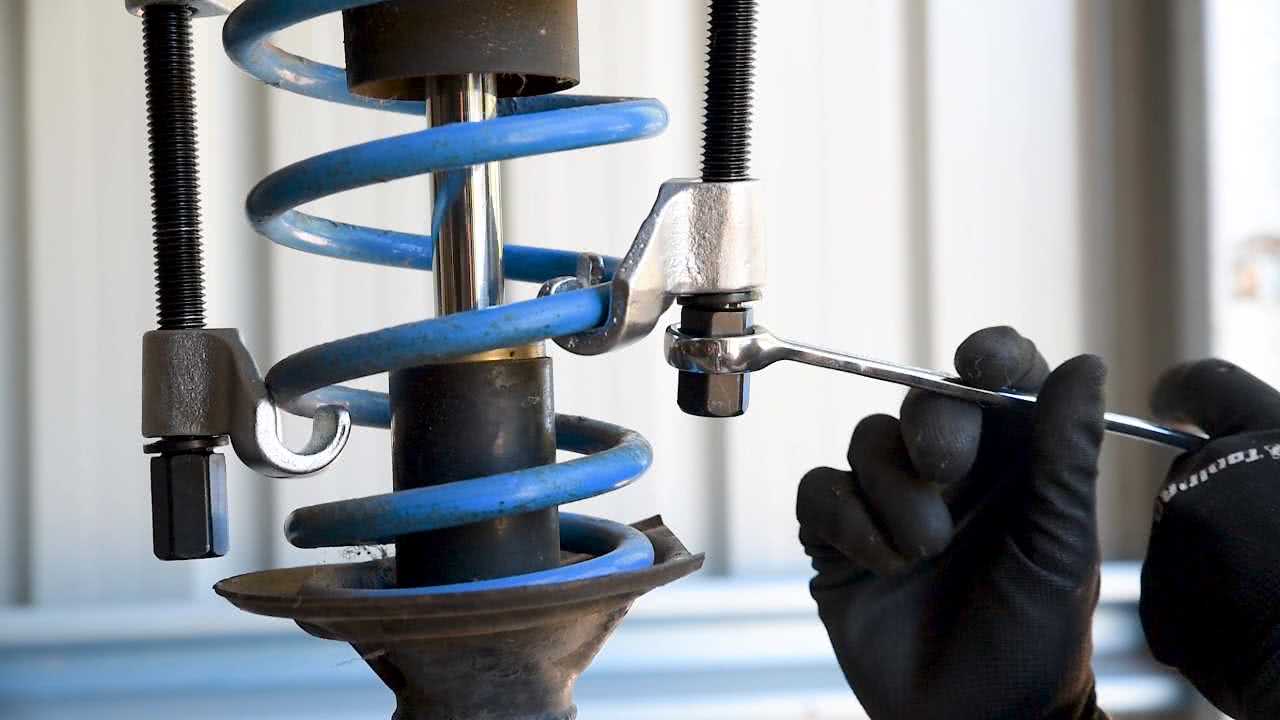
Tighten Compressors
Using a spanner or ratchet, tighten each spring compressor a little at a time – to ensure they compress evenly. In the interest of safety, power tools such as an impact wrench should never be used with your spring compressors.
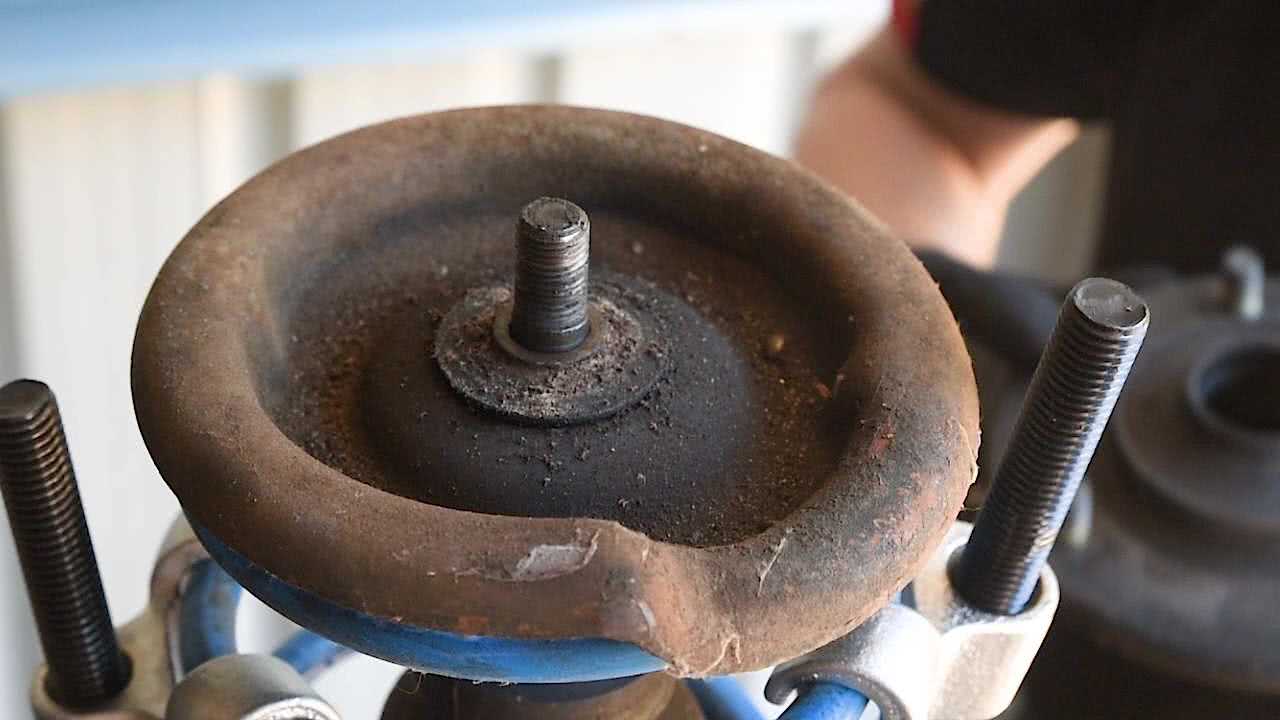
Compress the spring just enough to free the pressure on the strut hat, which can then be removed and the spring replaced.

Change Spring
Positioning the new spring in the strut is essentially the same deal – compress the spring just enough so that the top hat can be fitted. Then gently undo the leed screws - until the coil spring compressors can be removed.
Then add ‘changing coil springs without injury’ to your list of workshop achievements, with the help of Coil Spring Compressors.


Tips
- Avoid using an impact tool to compress and decompress the coil as this may cause sudden movement from the coil resulting in injury
- Always wear protective gloves and safety goggles when handling dirty, greasy parts.
*Important information* - Click here to read more about our How-To terms and conditions.