How To Use a Piston Ring Compressor
Overview
The ToolPRO Piston Ring Compressor will make installing piston rings a quick and easy process.
Here’s how it’s done:
Steps
Install Piston Rings
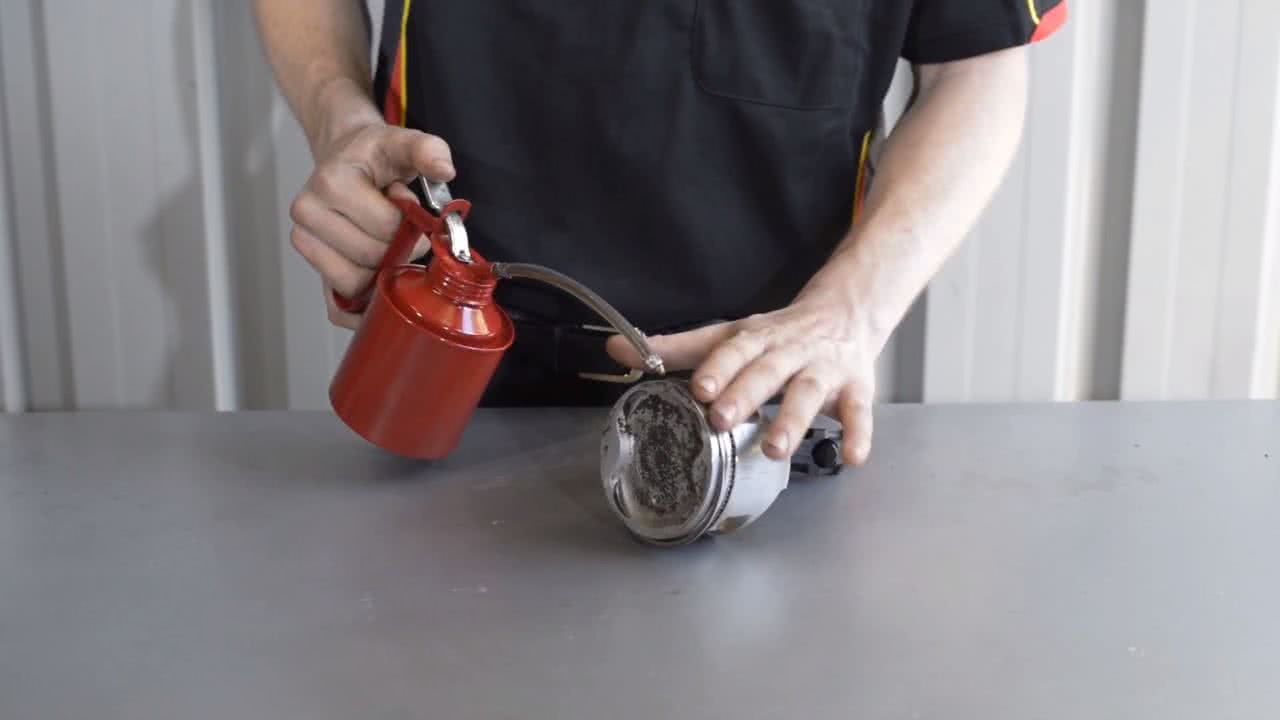
After the new piston rings have been installed into the piston, lubricate around the rings, the entire piston, the inside of the piston ring compressor and cylinder with fresh engine oil.
NOTE: Be wary of sharp edges on the piston and rings.
Release Clamp on Ring Compressor
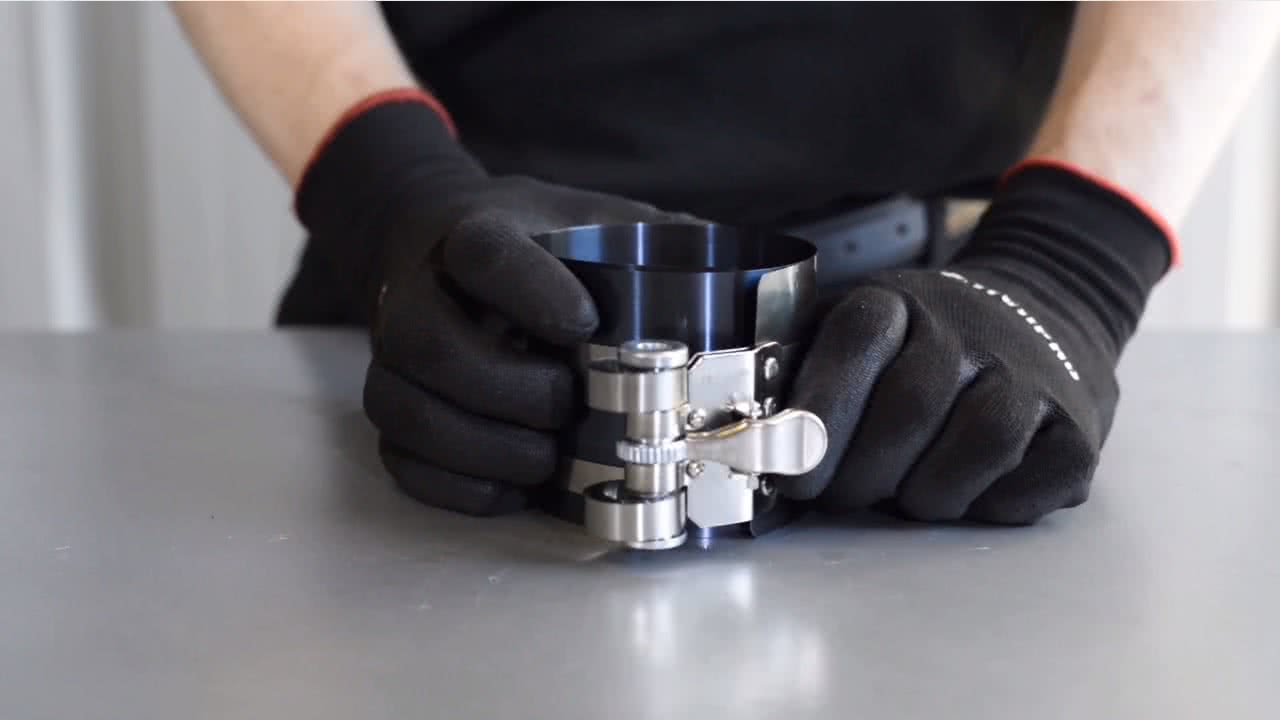
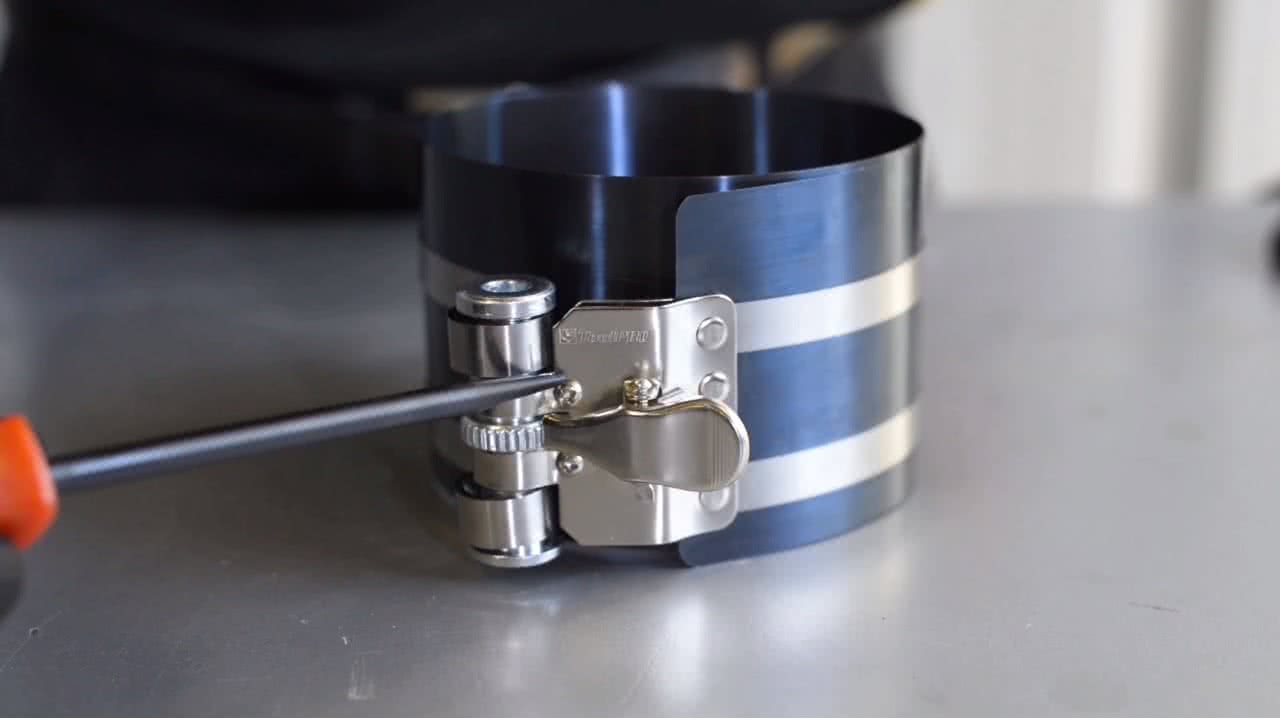
Release the ratchet clamp on the ring compressor, open up the tool enough to fit around the piston and rings.
NOTE: If the piston ring compressor opens up too rapidly, try adjusting the two screws on the sides of the ratchet wheel.
Tighten the Compressor Using Tool
Place the ring compressor over the piston, and then tighten the compressor using the hex tool.
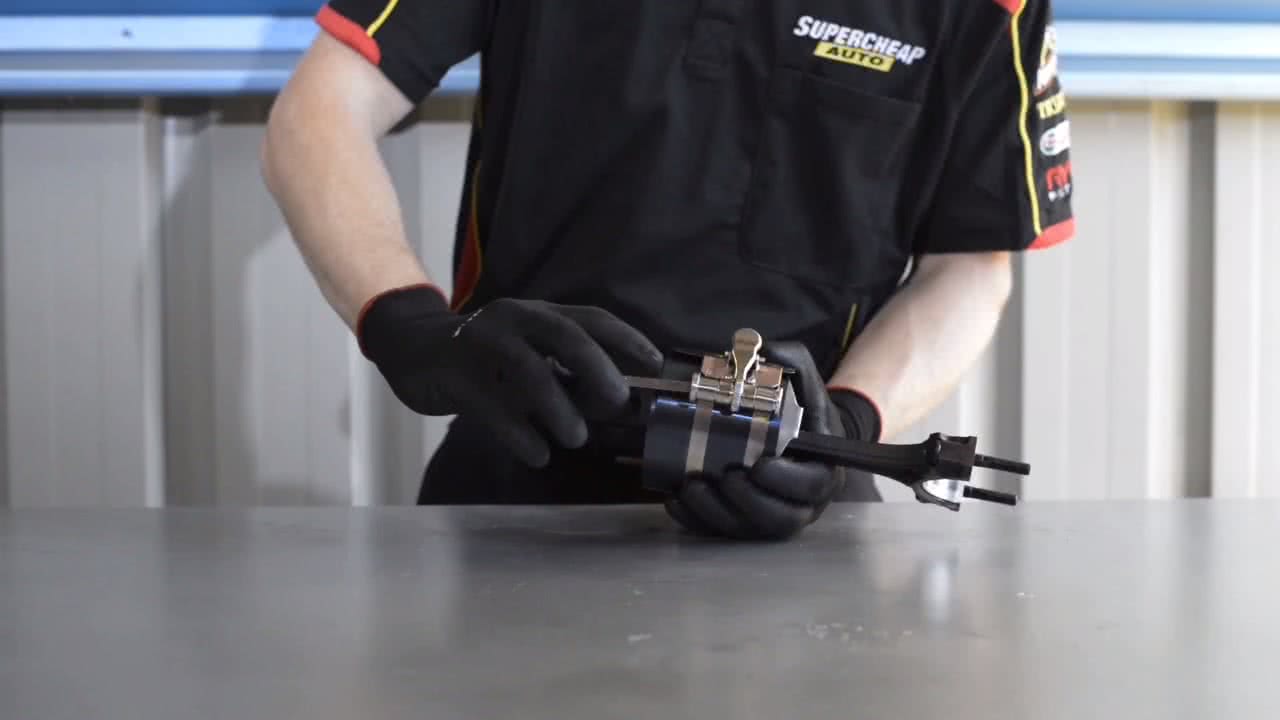
NOTE: Leave about 7mm of the piston exposed at the bottom making it easier to locate in the cylinder.
Place Exposed End Into Cylinder
Now place the exposed end of the piston into the cylinder, then carefully slide the piston into the cylinder keeping the tool firmly flat to the block to prevent the rings popping out from the tool.
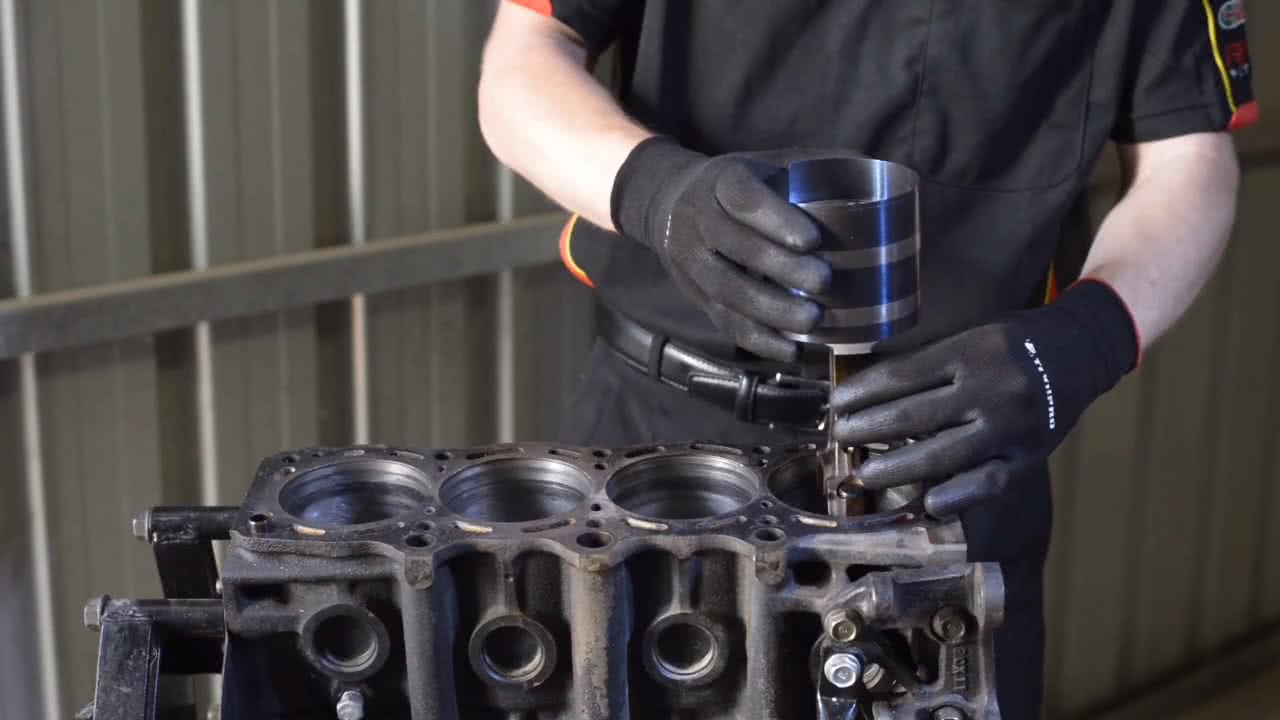
Tap Piston into Cylinder
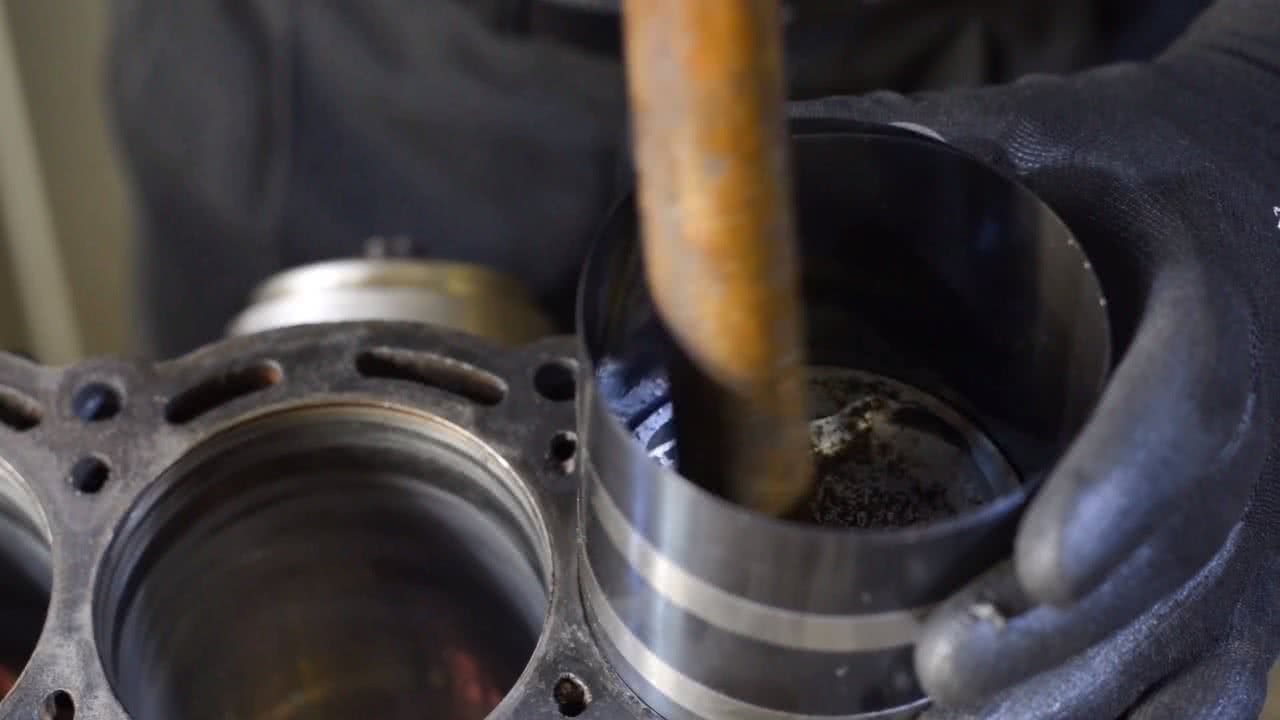
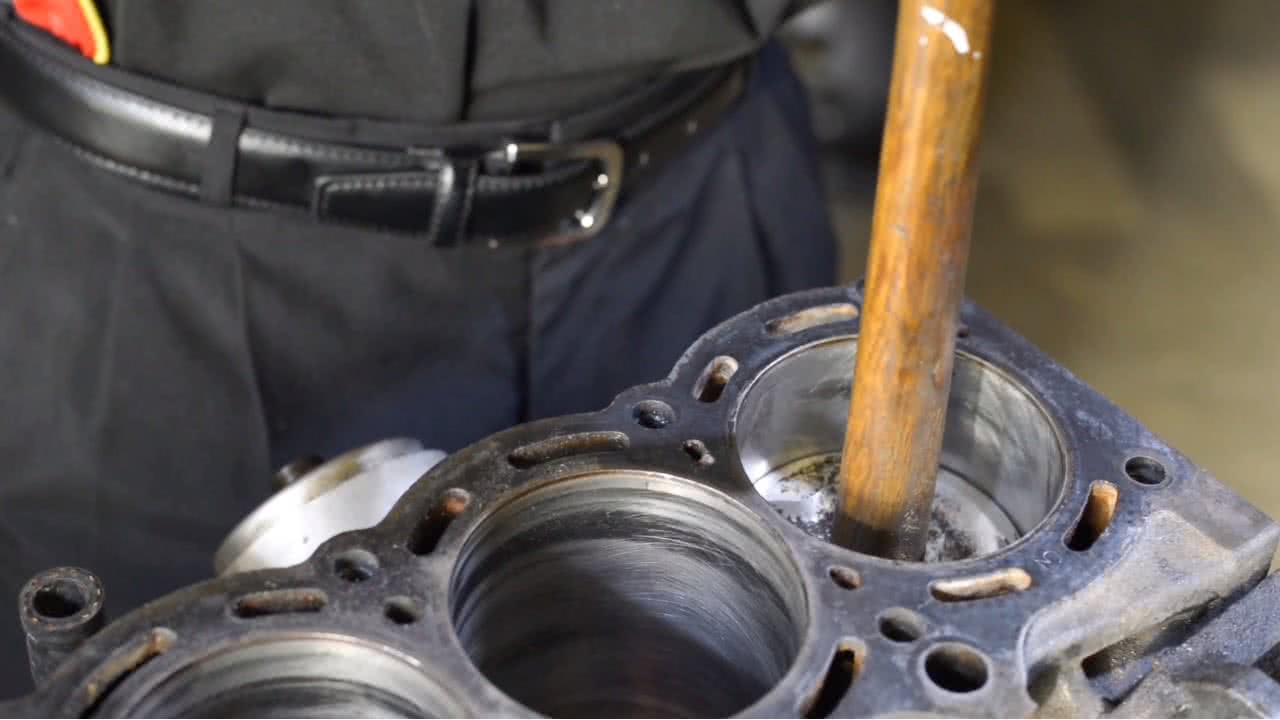
Should pushing the piston into the cylinder become difficult, try using the wet end of a wooden hammer handle to tap the piston into the cylinder.
*Important information* - Click here to read more about our DIY Advice Terms and Conditions.