How to Install a Rivet Nut
Overview
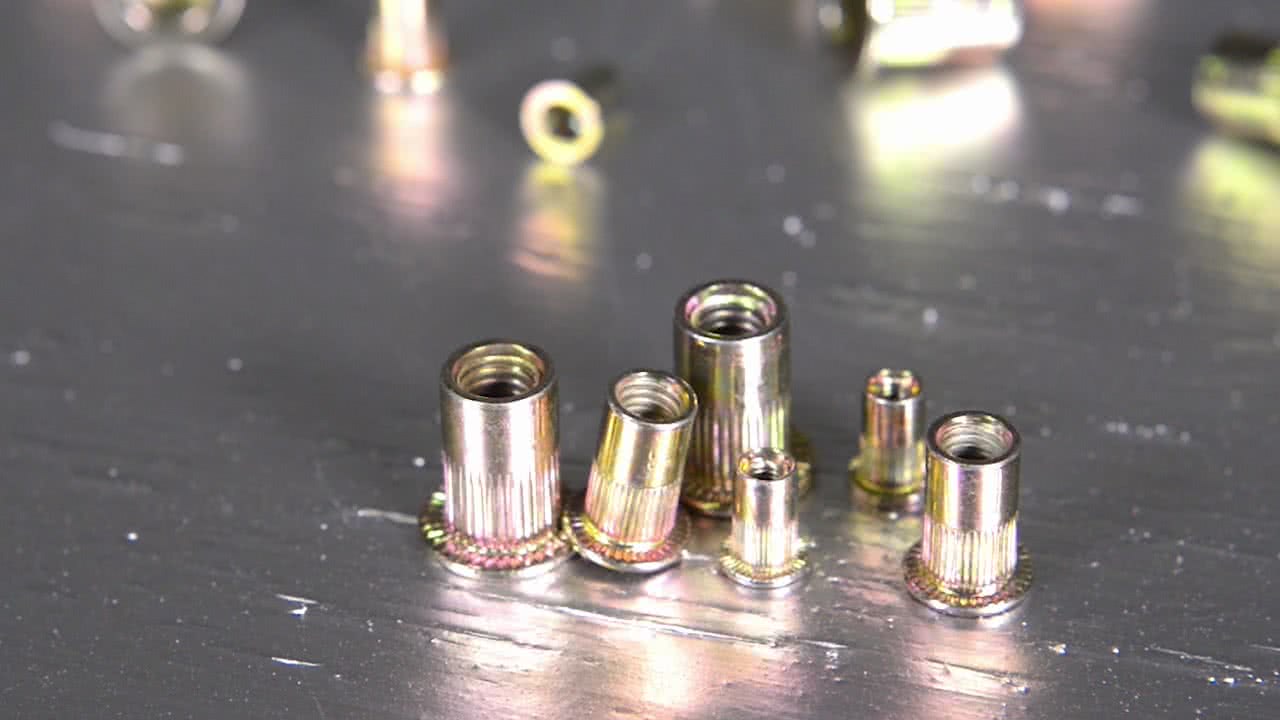
Working just like a pop rivet (see our range of rivets), a rivet nut turns a drilled out hole into a captive nut – perfect when the surface in question is too thin to be tapped, or access to the rear is impossible.
The ToolPRO Rivet Nut Tool includes everything you need to install your own rivet nuts (also see our full range of riveters), including 40 rivet nut inserts in M3, M4, M5 and M6 sizes.
Steps
Determine Size
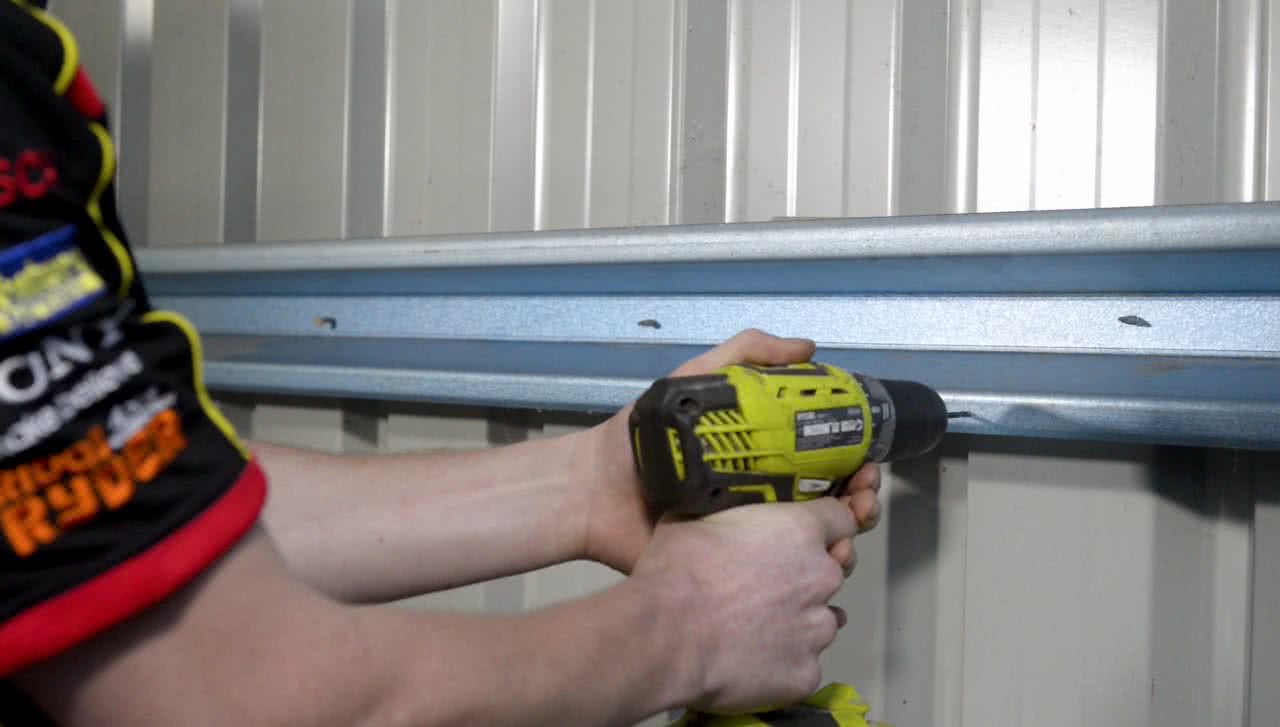
A rivet nut can be applied to an existing hole if it is a suitable size, or a new hole can be drilled to suit your desired rivet nut and bolt.
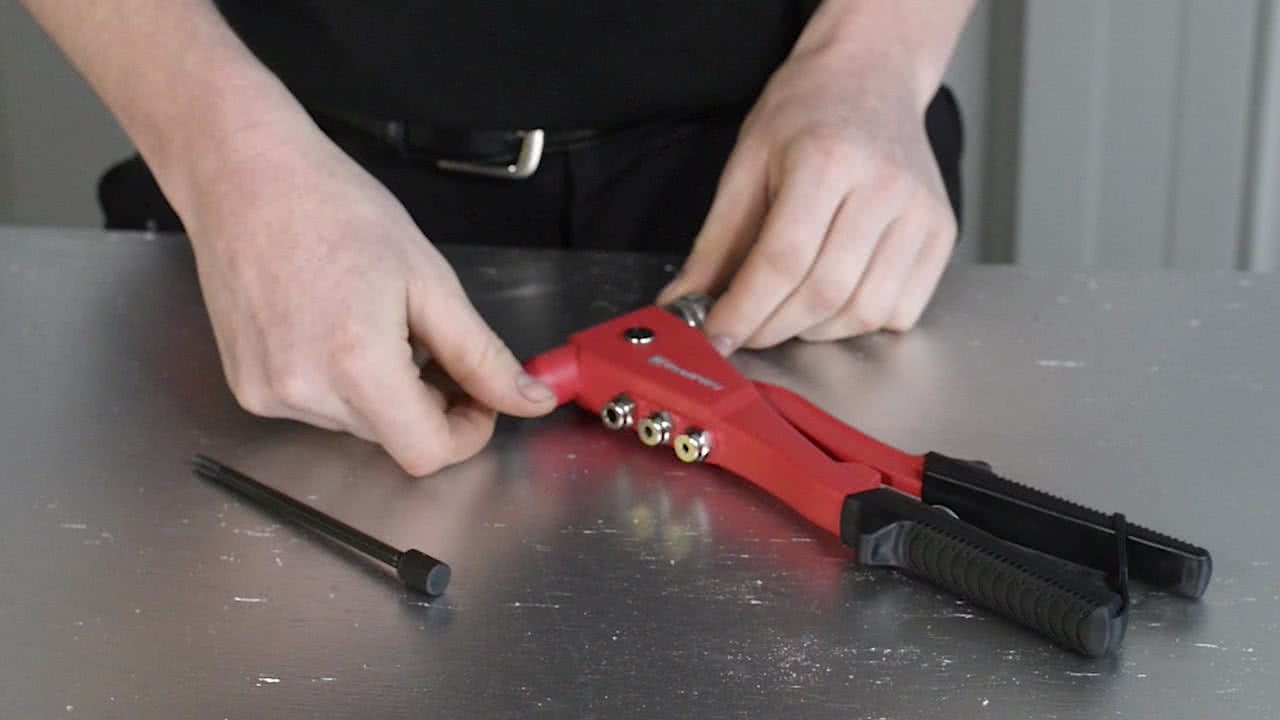
Once you have determined the size, the rivet nut tool must be equipped with the appropriate mandrel.
There are four to choose from – one for each thread size; with a matching size nose piece which also needs to be fitted.
Prepare the Rivet Nut Tool
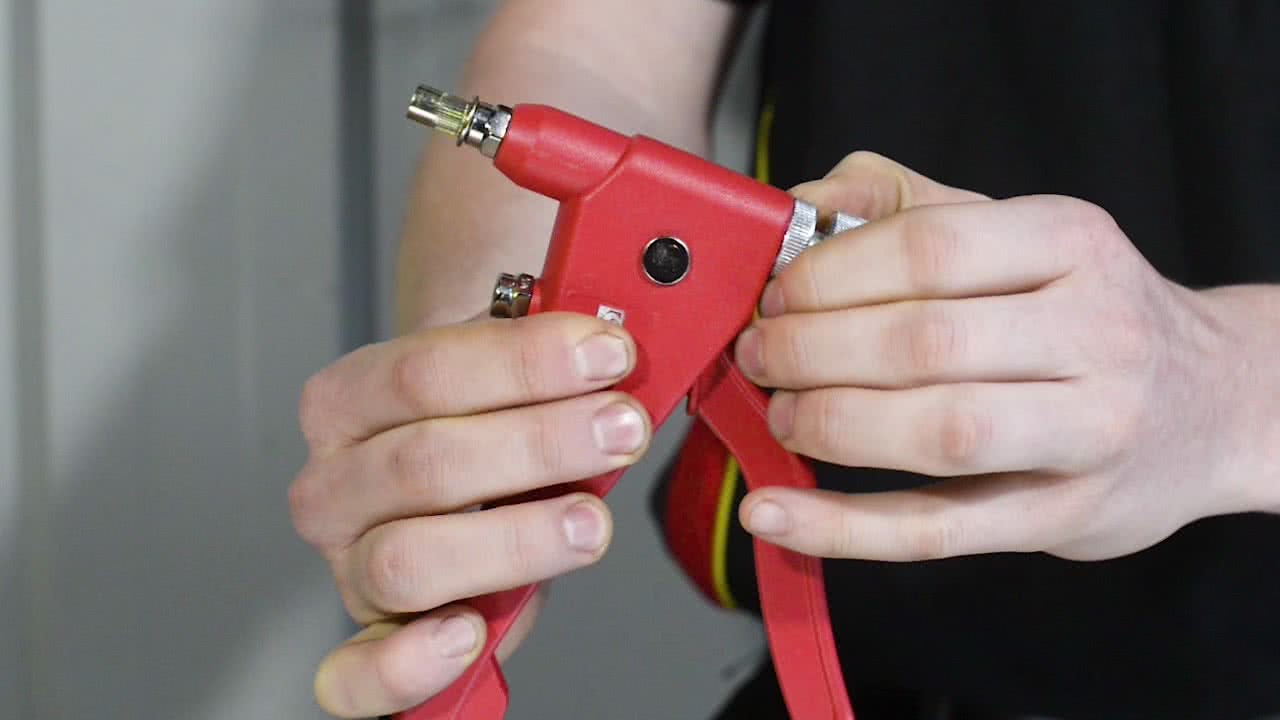
To prepare the rivet nut tool, open the handle all the way up and thread the rivet nut onto the mandrel - until it is flush with the end of the rivet nut.
Now pull the opposite end of the mandrel all the way back, and thread the adjuster back to meet it. The part just in front of the adjuster can be wound all the way up to the gun - to hold it all in place
Insert the Rivet Nut
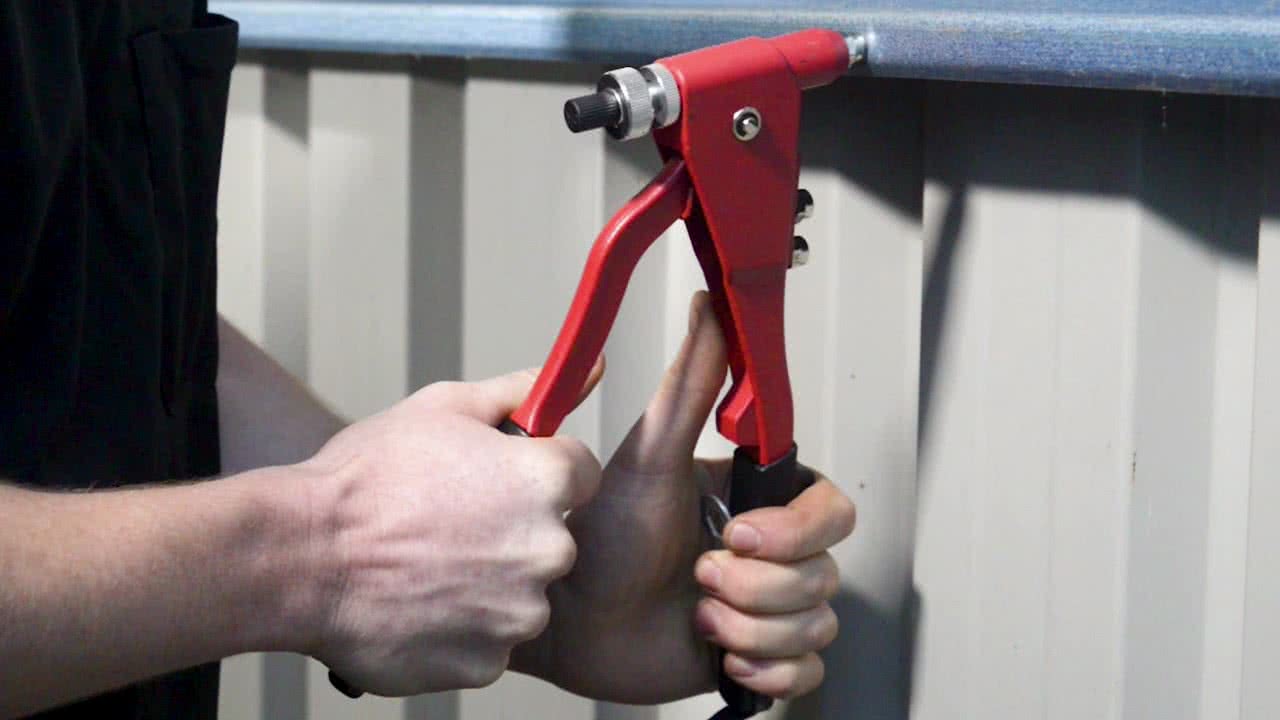
Now the rivet nut tool is used just like a pop rivet gun. Insert the rivet nut into the hole, and squeeze the handles together until it reaches a stop.
Unlike a pop rivet, a rivet nut should not snap - and applying too much force may ruin the thread in the rivet nut.
Unscrew the Mandrel
That's it! Simple!
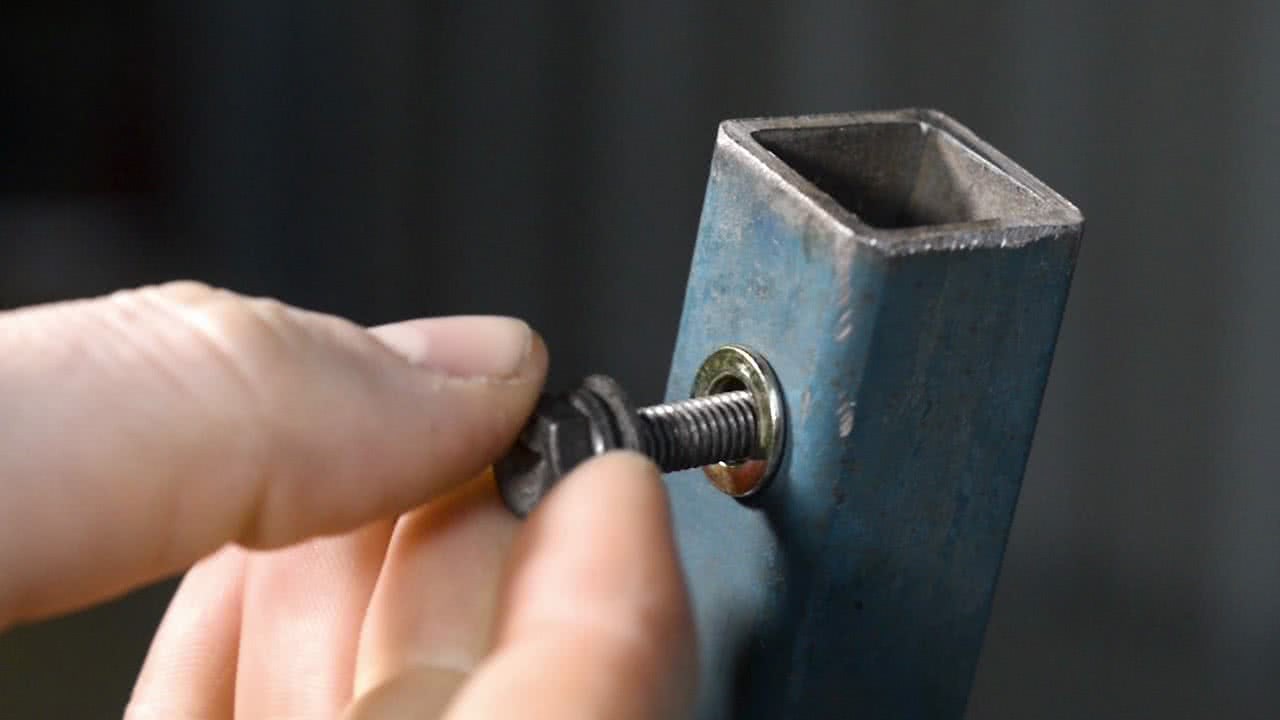
The rivet nut tool is removed by unscrewing the mandrel – leaving you with a secure captive thread to which you can fasten a bolt.
The ToolPRO rivet nut tool is one of those devices you don’t realise you need, until you find yourself using it for everything! Add one to your toolbox today.
*Important information* - Click here to read more about our How-To terms and conditions.