Changing your points will keep your car running and ensure correct ignition function.
What You'll Need
- New contact breaker points
- Spanner
- Vacuum source
- Multimeter with dwell function
- Screwdrivers – flat head and Phillips head
Tips and Warnings
- Contact breaker points transfer material during operation – a build-up of more than 1mm on the capacitor or condenser means the part requires replacing
Step 1 - Locate The Distributor And Remove The Cap
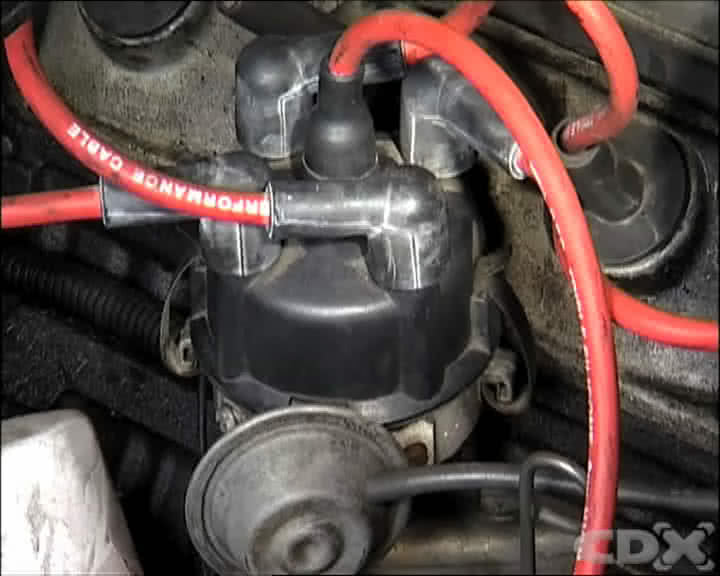
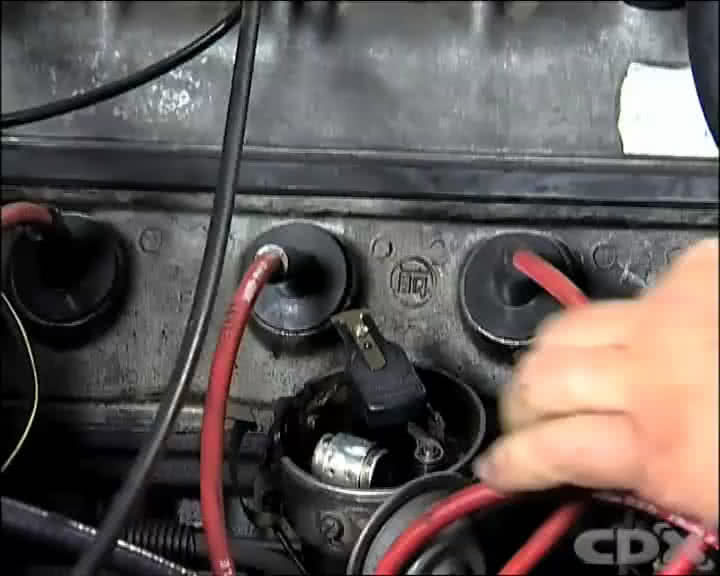
The contact breaker points are found in the base of the distributor, below the distributor cap and the rotor.
Remove the cap by unclipping the fasteners and carefully locate the cap in a position adjacent to the distributor. Remove the rotor making note of its position and locating method.
Step 2 - Rotate The Engine
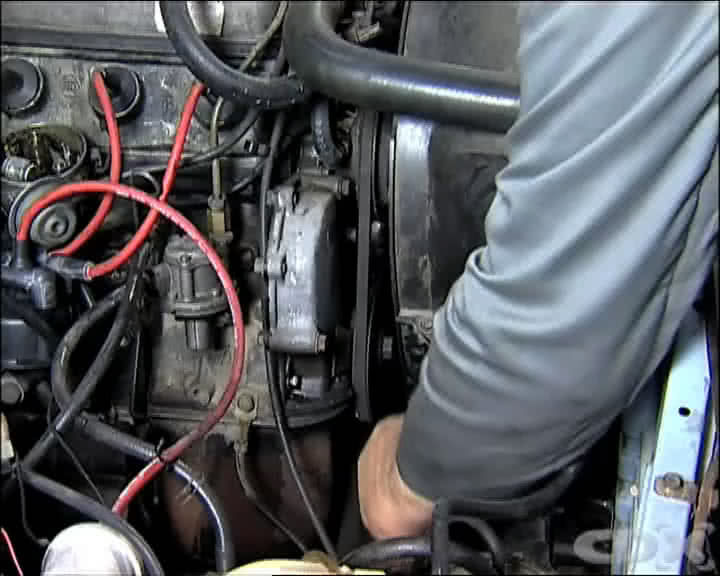
With the vehicle in neutral, carefully rotate the engine by hand using an appropriate tool on the engine pulley until the points are at their widest opening. This is where the heel of the rubbing block of the contact breaker points rides on the cams of the distributor shaft, opening the points as it rotates.
Step 3 - Remove Brake Pads And Caliper
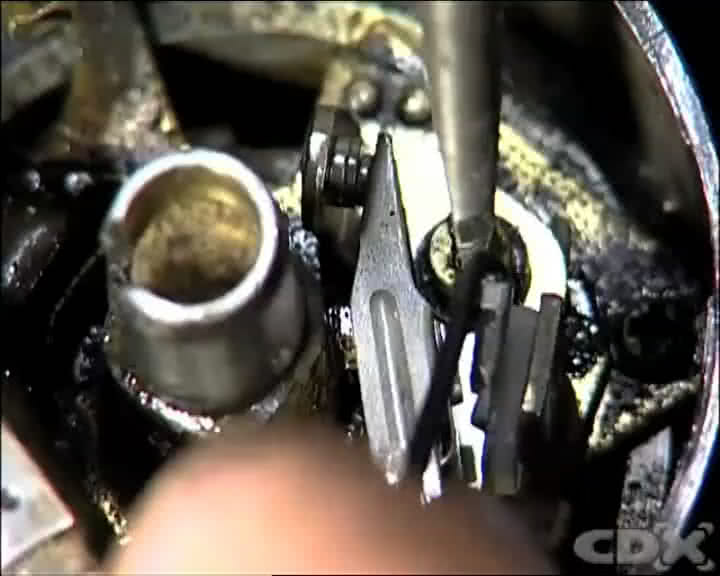
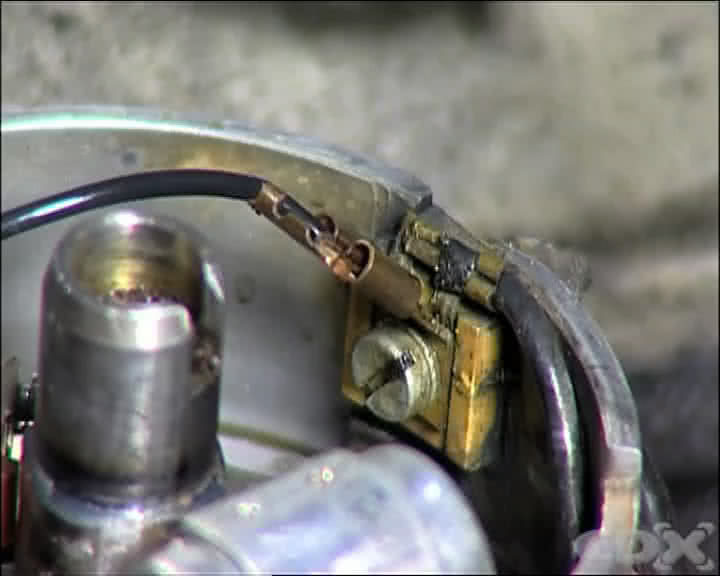
Unclip the small electrical leads from the ignition coil and capacitor at the back of the points. There are various ways to fix these so follow the instructions in the manual.
Remove the locating screw from the contact breaker point base plate, and then remove the points from the base of the distributor.
Step 4 - Inspect The Points
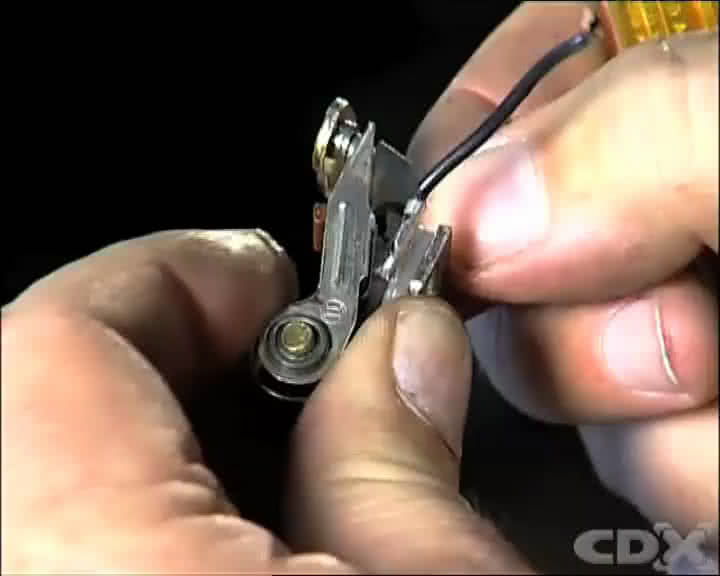
Inspect the contact breaker points for their condition.
Small indications of pitting are quite normal, however a transfer of more than 1mm of tungsten material from one side of the points to the other indicates that the capacitor may also need changing.
Step 5 - Check Mechanical Advance And Retard Weights
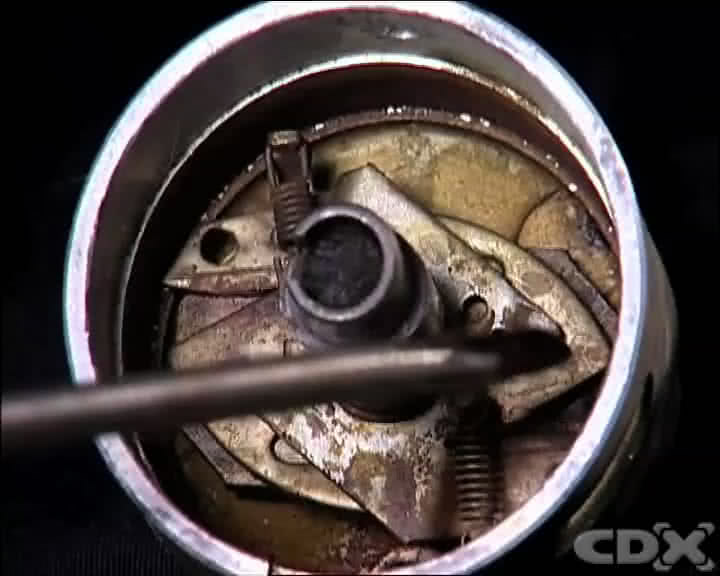
Next, inspect the condition of the mechanical advance and retard units balance weights.
Remove the distributor base plate, and check to see that the weights can be moved on their locating points freely, and that the restraining springs are in place and in good order. If necessary, apply a small amount of the manufacturer’s specified lubricant.
Refit the distributor base plate in its correct location and ensure that the capacitor, if located on the base plate, is secure.
Step 6 - Check The Vacuum Advance Unit
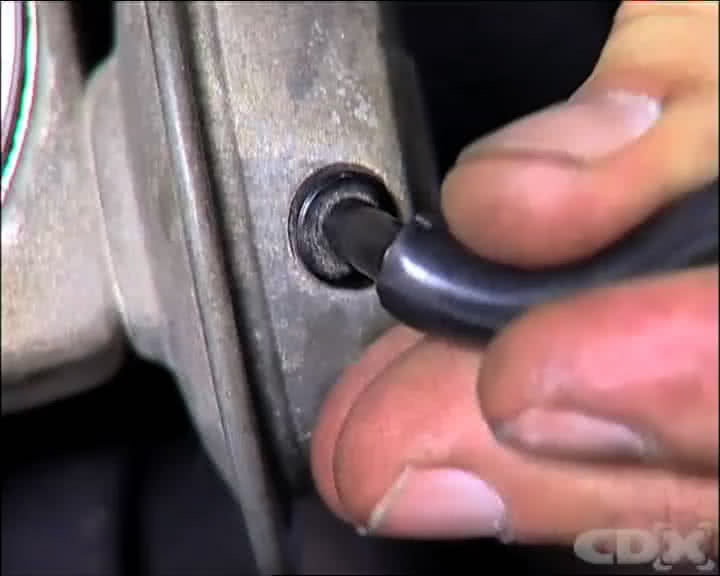
Vacuum load sensitive advance and retard units can be checked by attaching a vacuum source to the end of the unit and watching to see if the base plate moves in relation to its reference points. When the vacuum source is removed the base plate should move back to its static position.
Step 7 - Fit The Contact Breaker Points
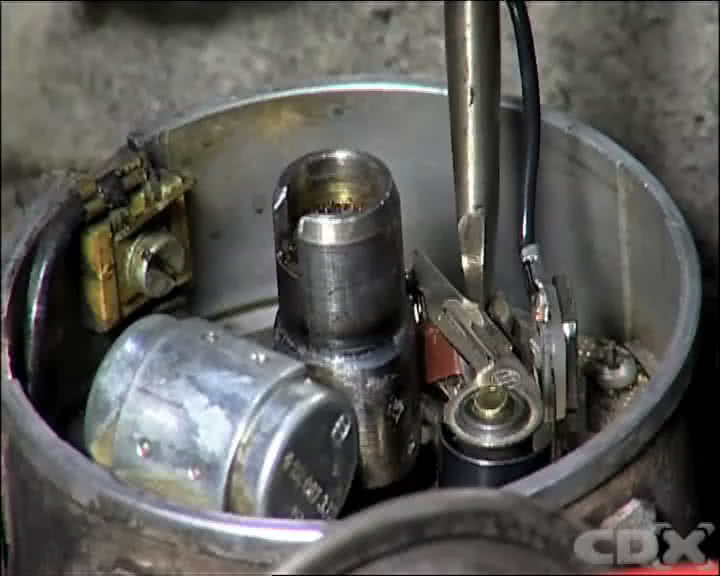
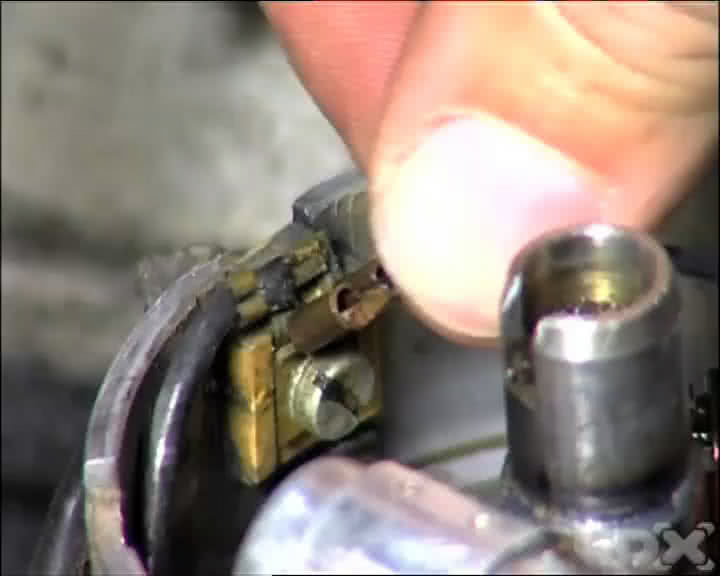
Clean the new points to remove the protective coating, then locate the new contact breaker points on the base plate and replace the locating screw. Leave it loose enough to allow the points to be moved in relation to the base plate.
Refit the electrical connections from the ignition coil and the capacitor.
Step 8 - Adjust The Contact Breaker Points
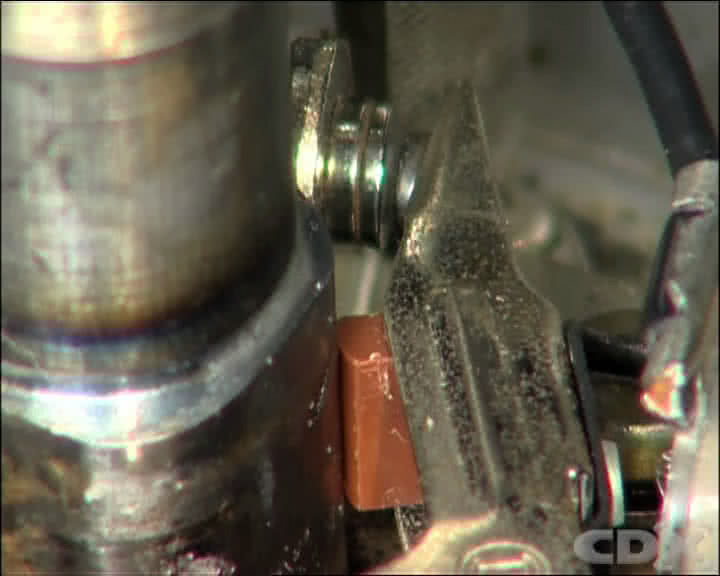
Adjust the points by locating the heel of the rubbing block of the contact breaker points so it rides on the cam of the distributor shaft. Using a feeler gauge of the correct manufacturers’ specifications, gently adjust the points with a screwdriver until the points gap is in accordance with specifications. Then tighten the locating screw and recheck the gap setting.
Step 9 - Check The Dwell
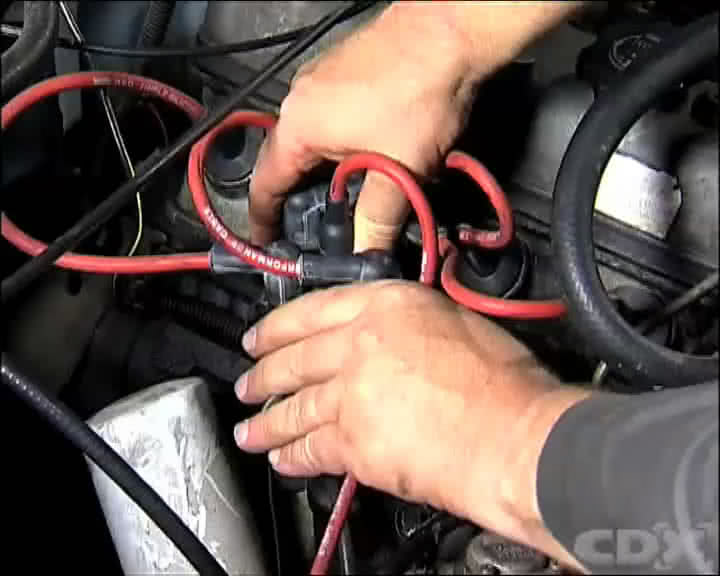
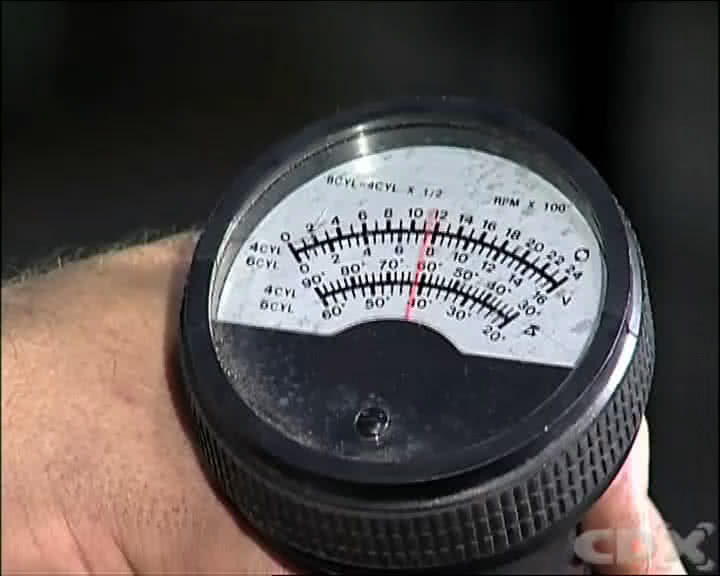
Refit the rotor and the distributor cap and start the vehicle. Once the components have been reassembled a dwell meter can be used to check the overall condition of the distributor.
NOTE: Dwell is the amount of time the points remain closed from one part of the rotation of the distributor shaft to the next.
With the engine running and the dwell meter connected rev the engine and hold the engine speed at approximately 2500 - 3000 RPM. If the dwell meter shows a variation in the reading outside of the manufacturers’ specifications, there are signs of wear in the distributor itself. In some cases the dwell can be brought back to within acceptable limits by adjusting the points irrespective of the desired points gap.
Step 10 - Test Drive
Road test the vehicle to ensure correct operation under a variety of different engine loads.
*Important information* - Click here to read more about our How-To terms and conditions.