Supercheap Auto carries a range of shelving to suit everything from your lightweight camping gear - to heavy car parts – and they’re super easy to assemble with just a few basic tools.
Step 1 - Bolted Together Shelf Design
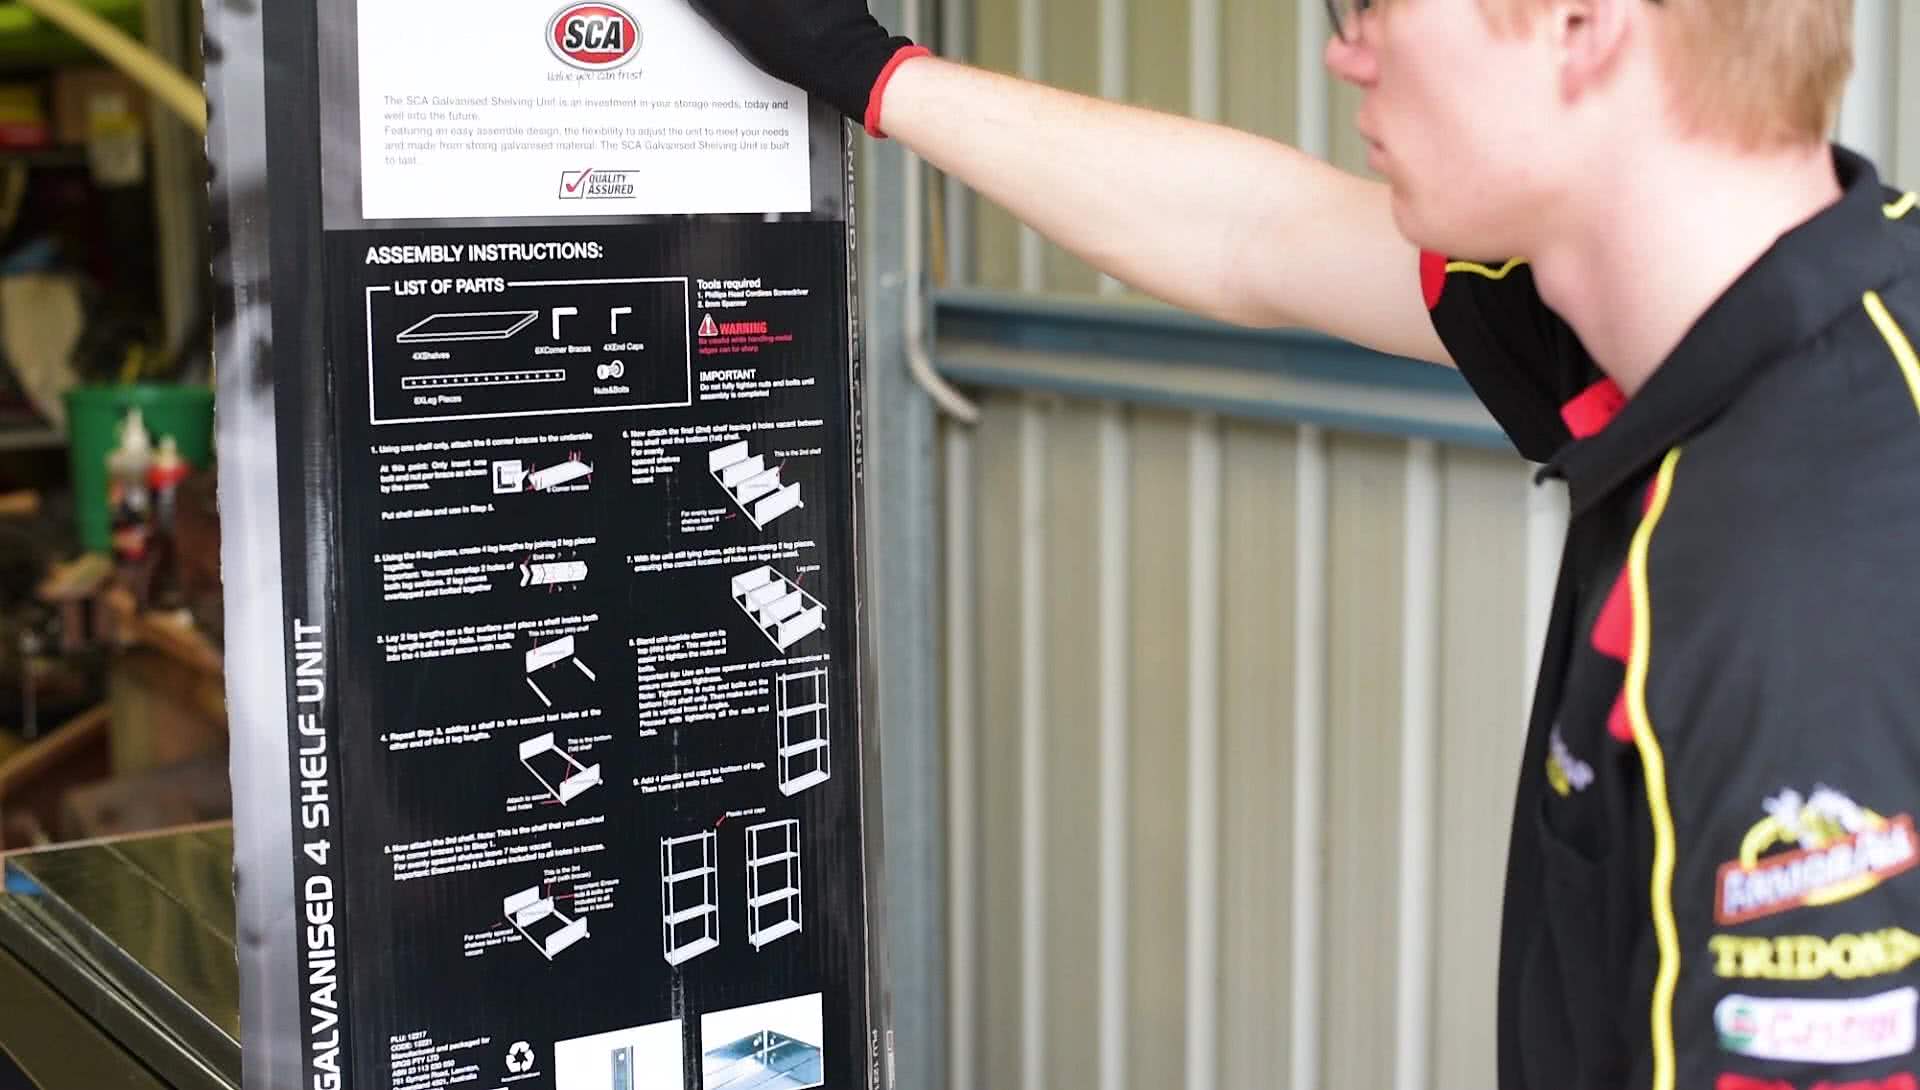
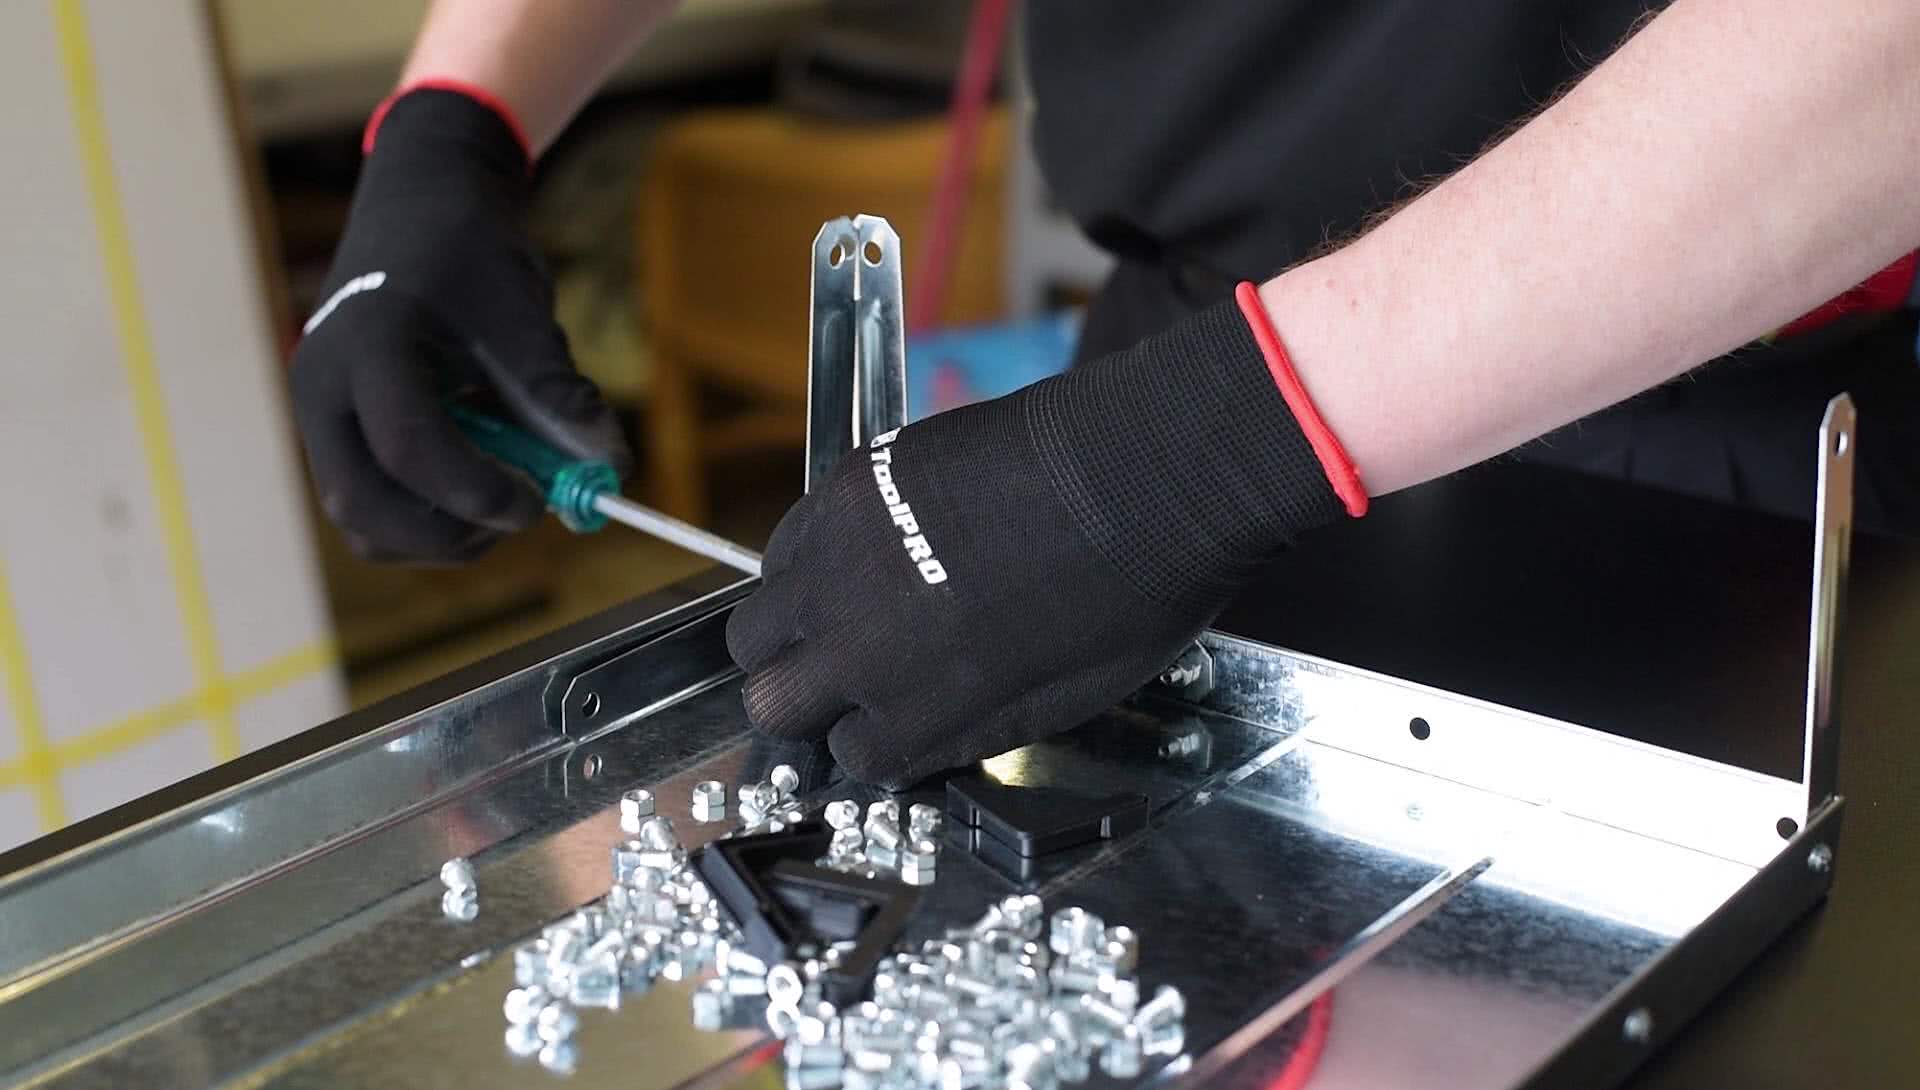
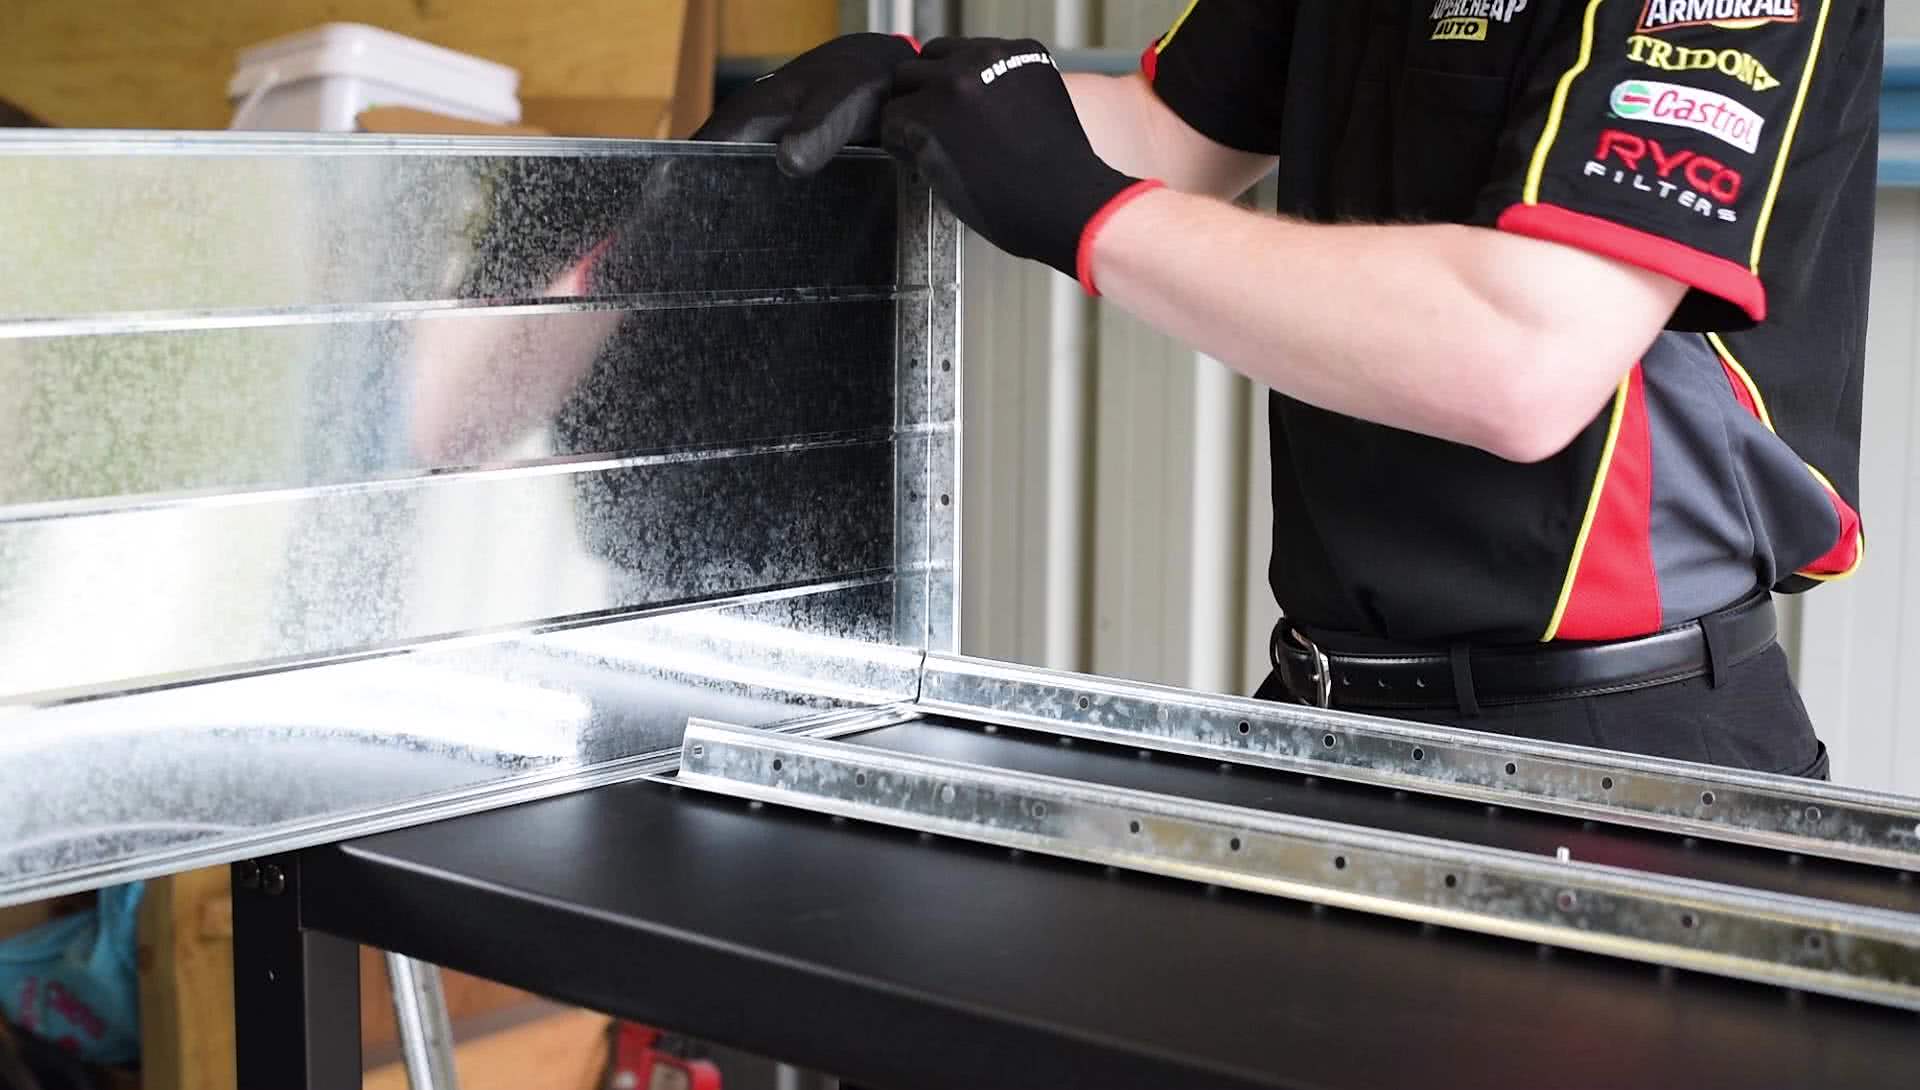
Available in a range of weight capacities from 50 to 350 kilograms, these shelving units use either a bolt together or boltless design. This SCA 4 shelf 50 kilogram unit uses the bolt together method and requires only an 8 millimetre spanner and Philips head screwdriver to complete the job.
Before starting either of these builds, unpack the shelving unit, grab the instructions; and check the list of parts to ensure you have all the necessary components and tools.
Step 2 - Construct Braced Shelf
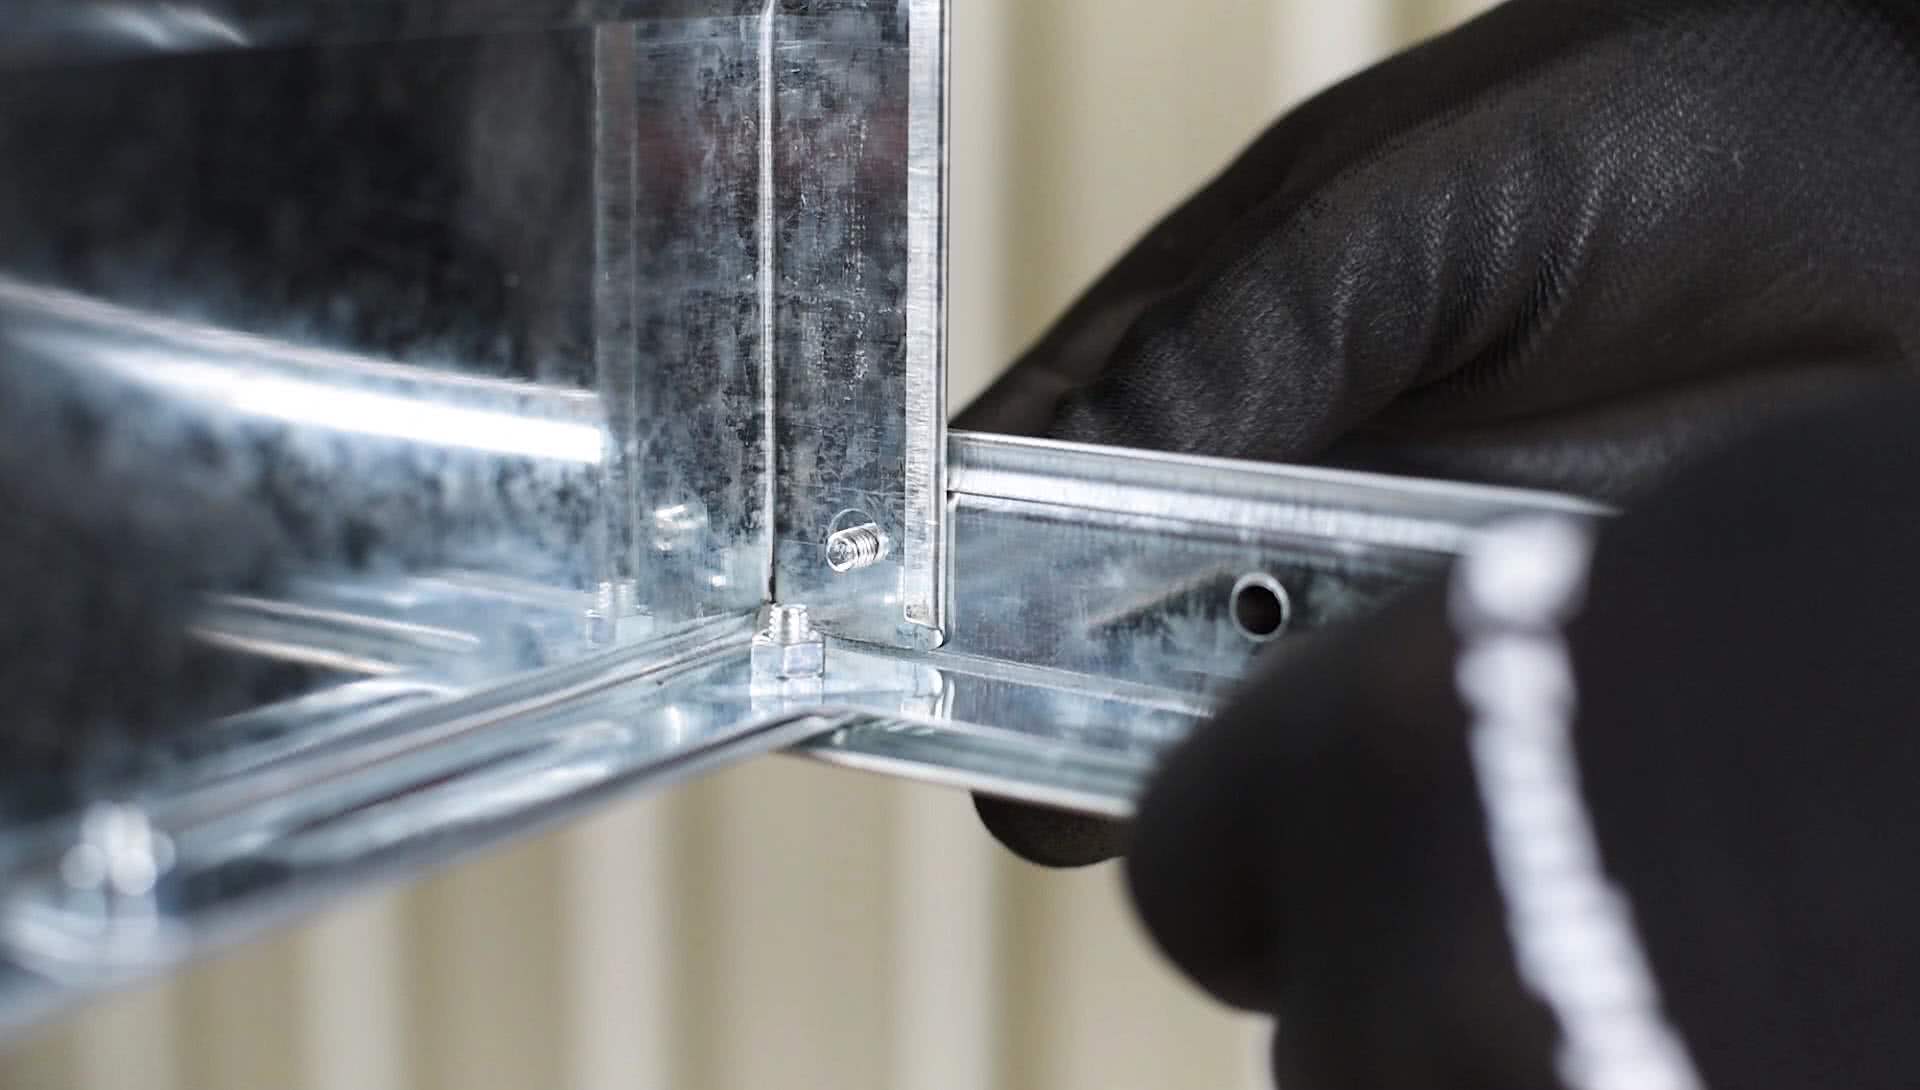
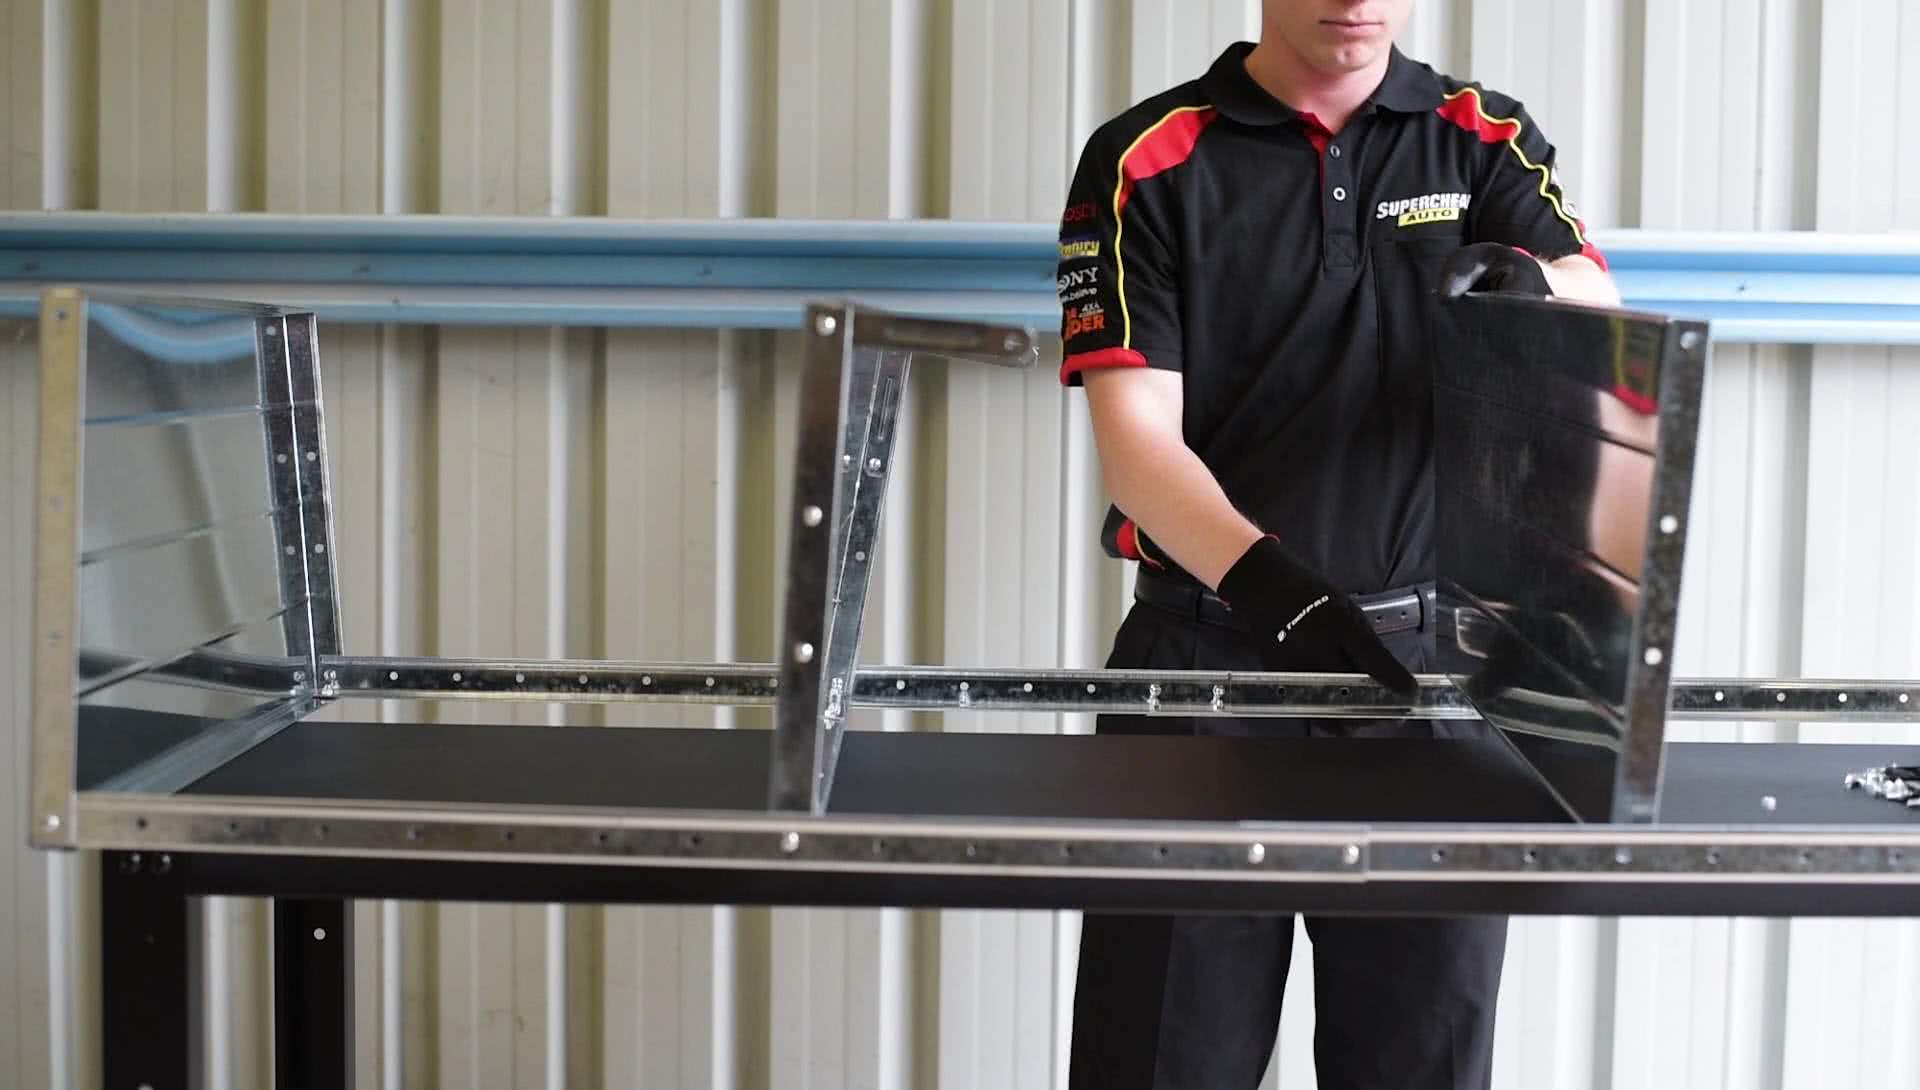
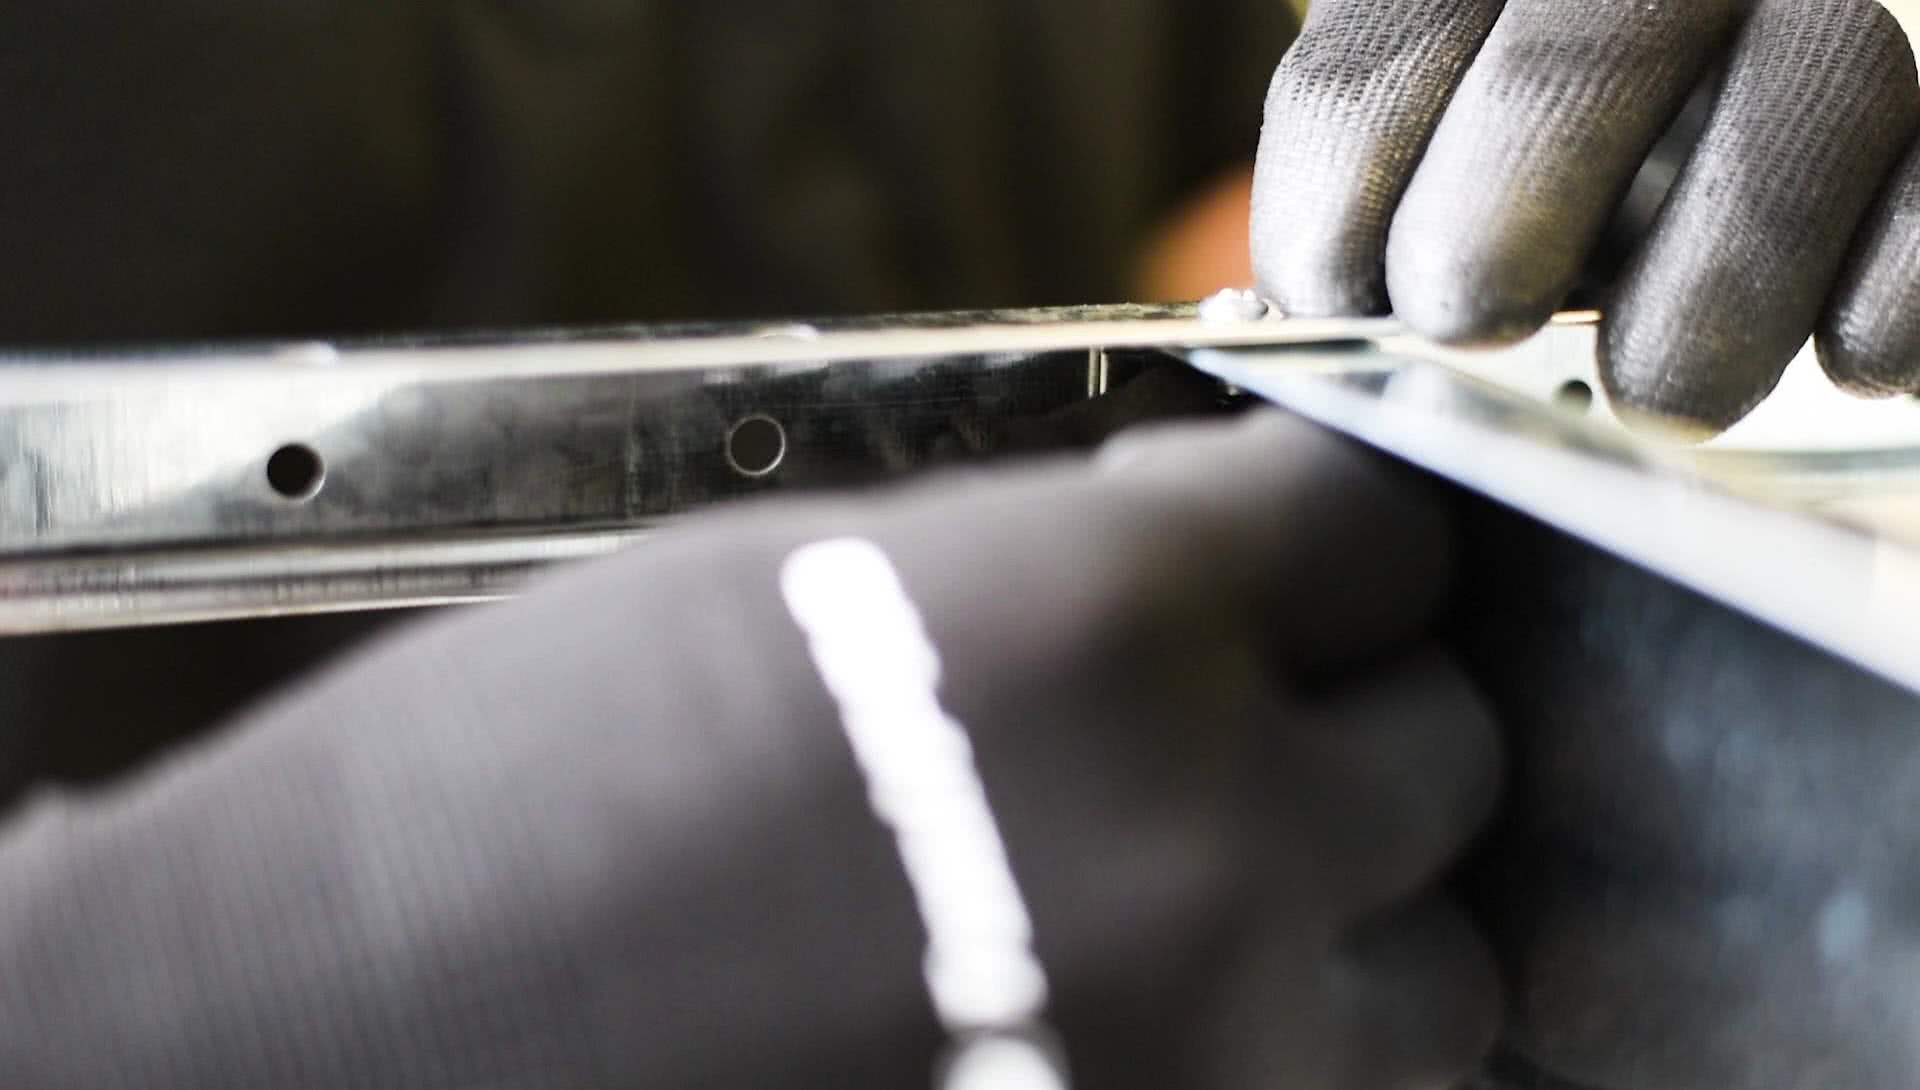
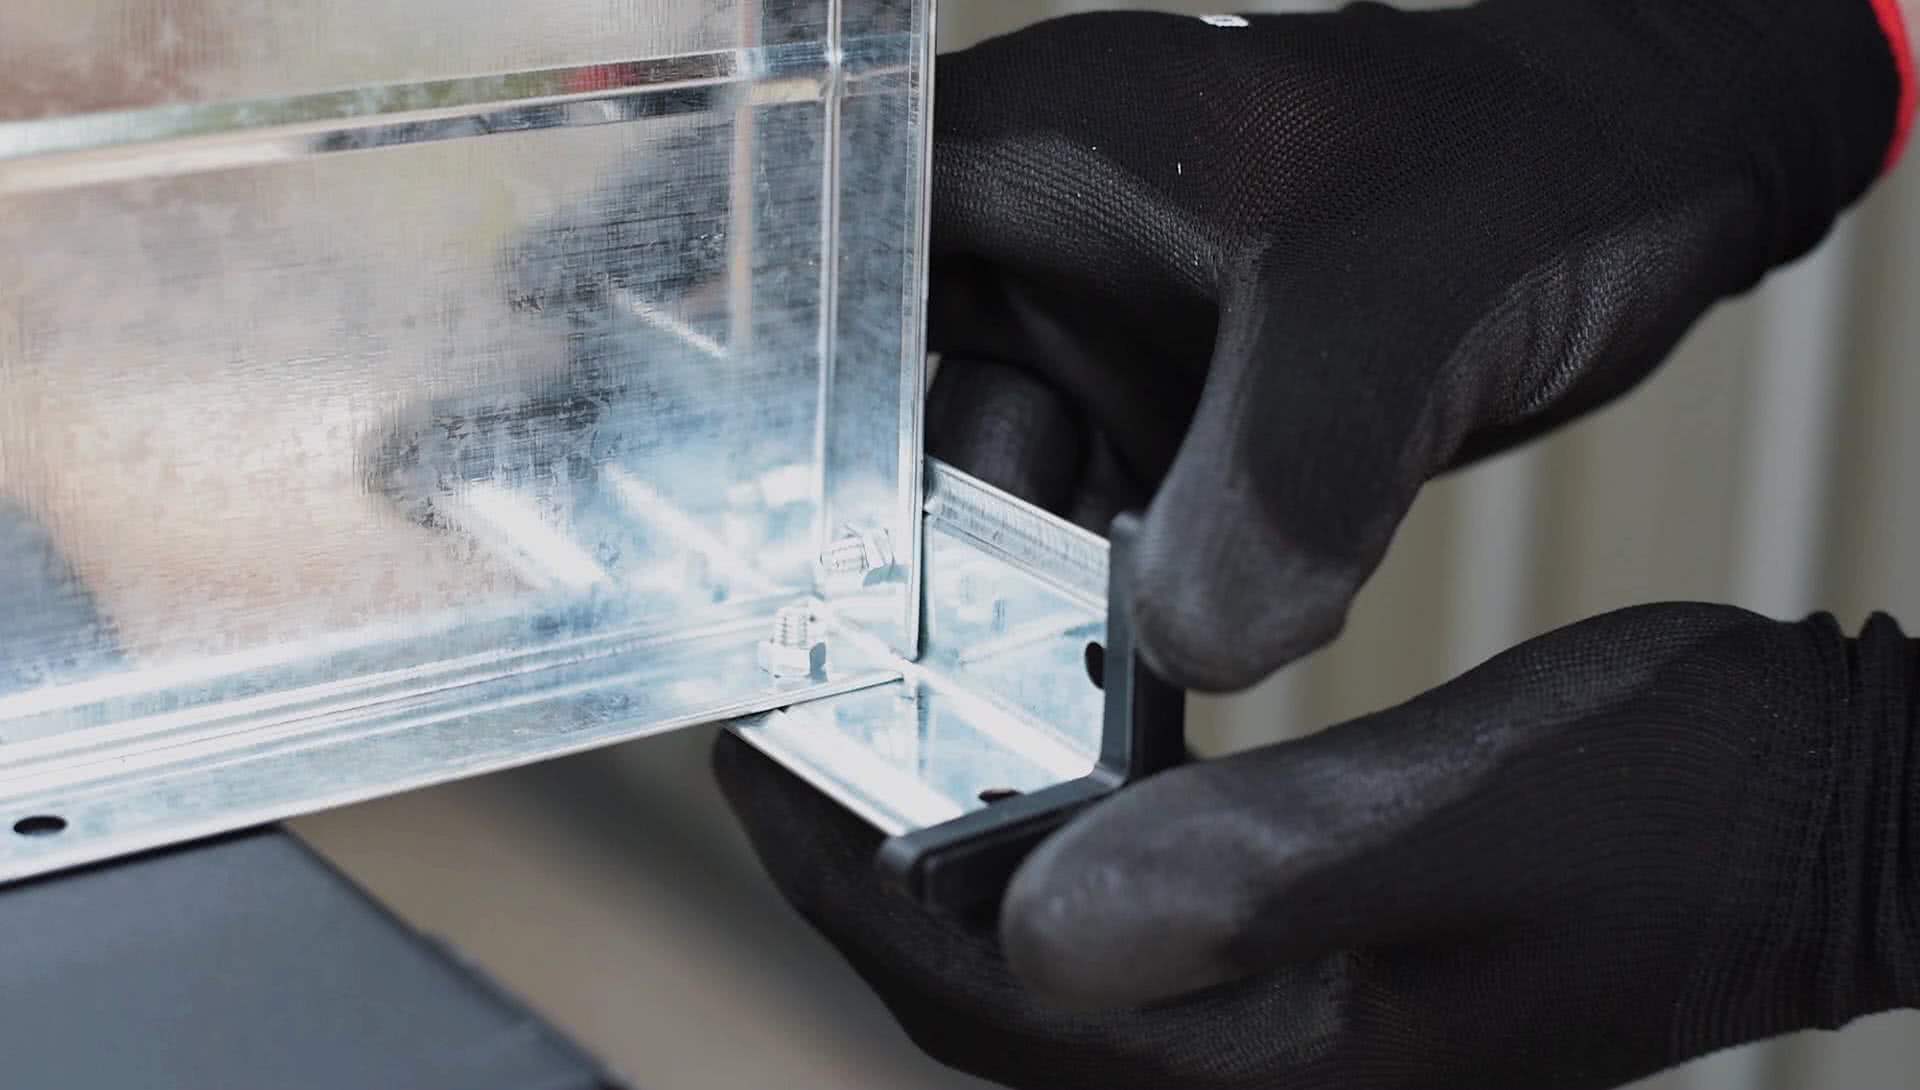
Begin by constructing a braced shelf for the middle of the rack. Take the six corner braces and attach them as shown using two braces in two opposing corners, and one brace in each remaining corner. Next, build the legs by taking the 8 leg pieces and joining two together – overlapping two holes and fastening them with four nuts and bolts.
Now your shelving unit will start to take form. Lay two leg lengths on a large flat surface, place a shelf inside the leg sections; and secure this to the upper most holes using two nuts and bolts per leg. Repeat this step using another shelf at the opposite end of the legs, leaving a space of one hole to prevent the lower shelf resting on the floor.
Step 3 - Create Even Spacing
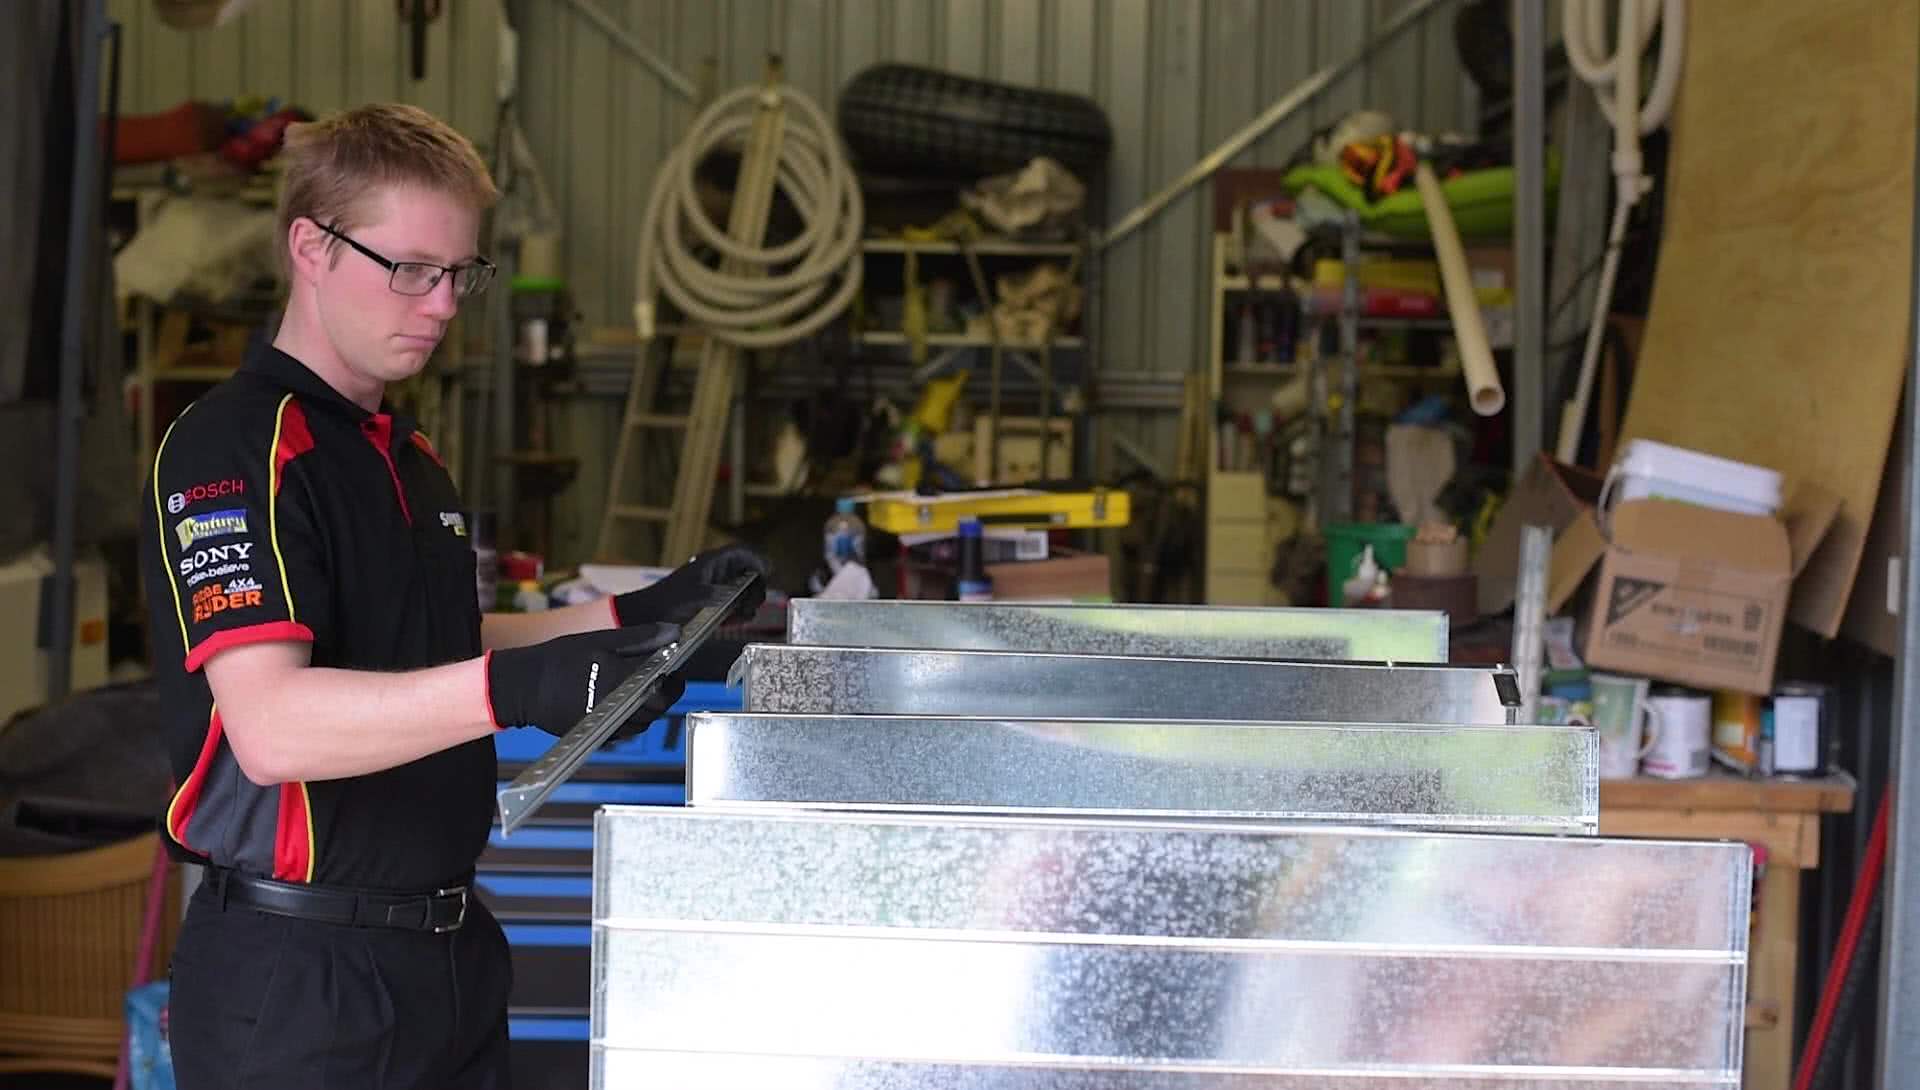
Take the braced shelf you created in the first step and bolt this to the legs, ensuring that nuts and bolts are fixed to all holes in the braces. For even spacing of your shelves, leave a gap of 7 holes from the top shelf. Leaving a gap of 8 holes from the bottom as you attach the final shelf will ensure even spacing throughout.
Bolt the remaining two legs in the same position as the first pair, then stand the unit upside down. This makes it easier to get the shelving unit square and straight before tightening all the bolts. Once the plastic end caps are attached to the feet, your shelving unit is ready to be loaded with gear.
Step 1 - Boltless Shelf Design
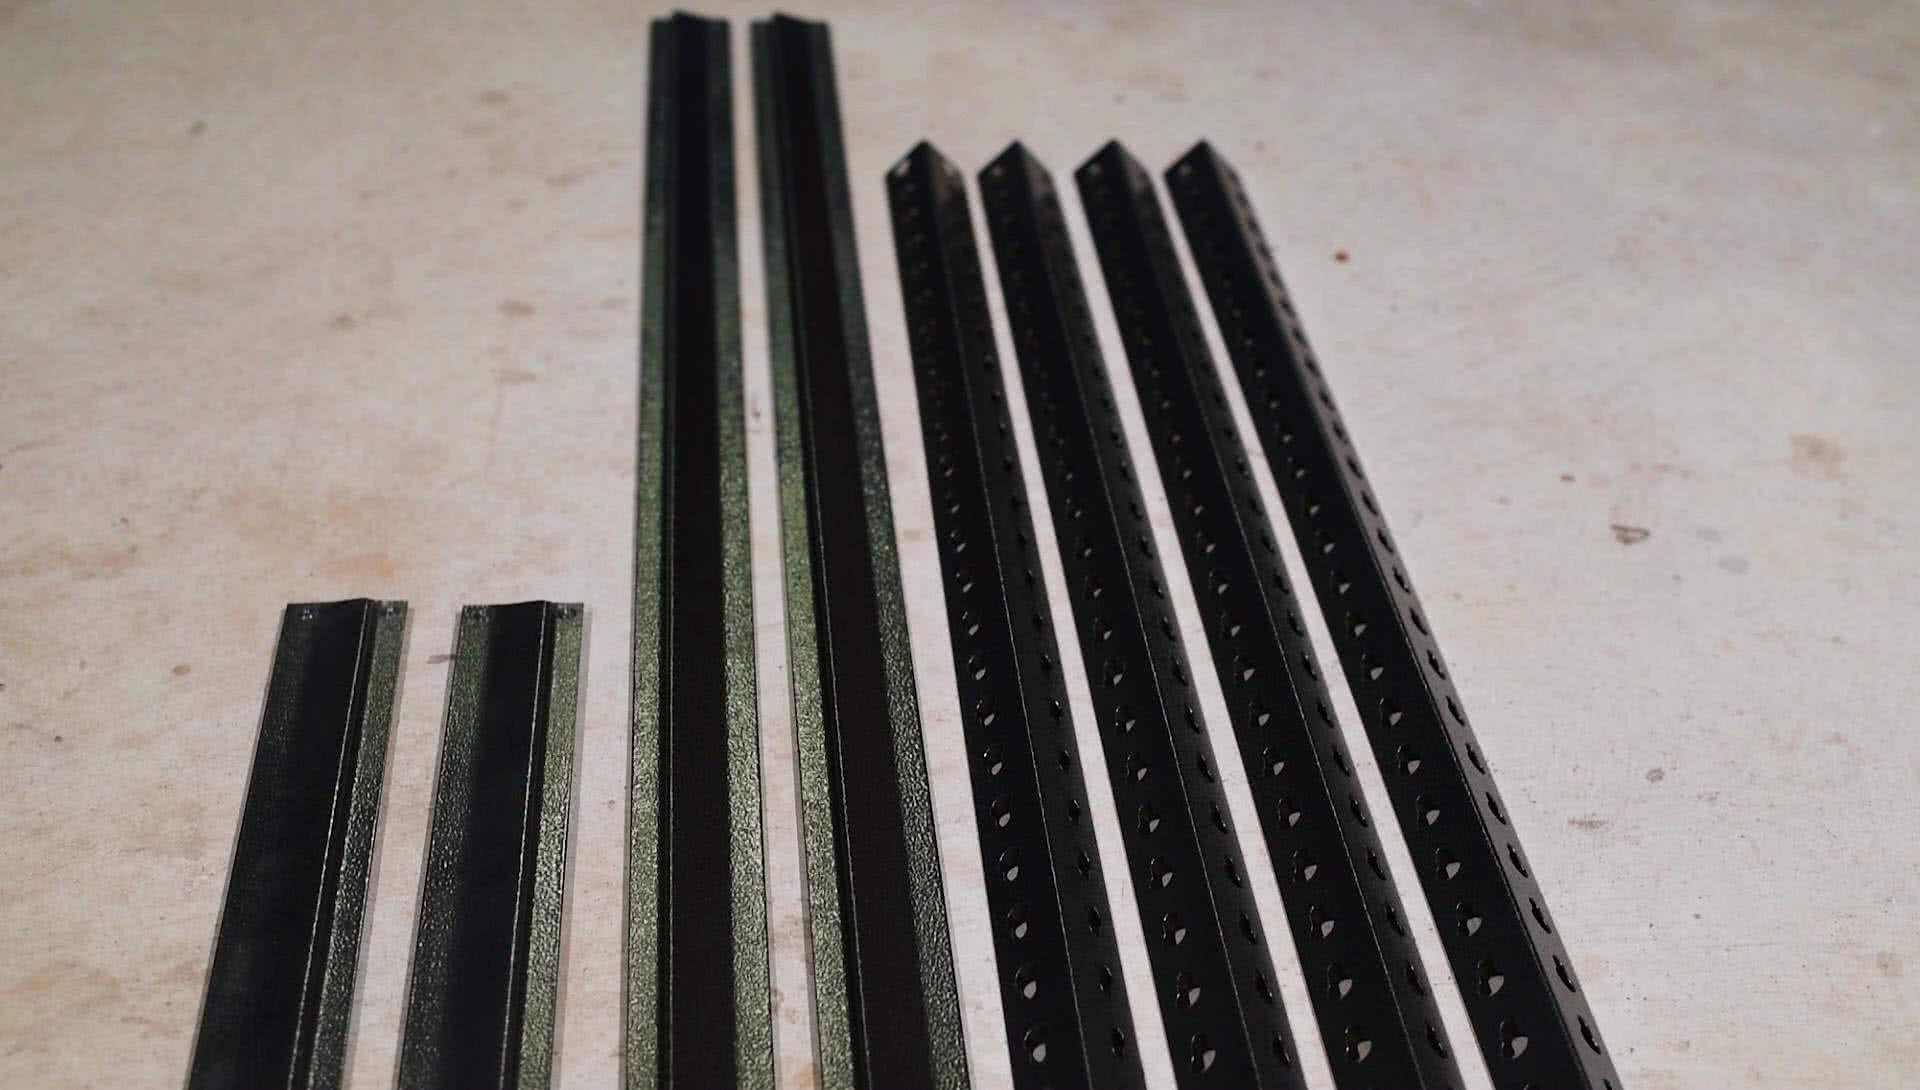
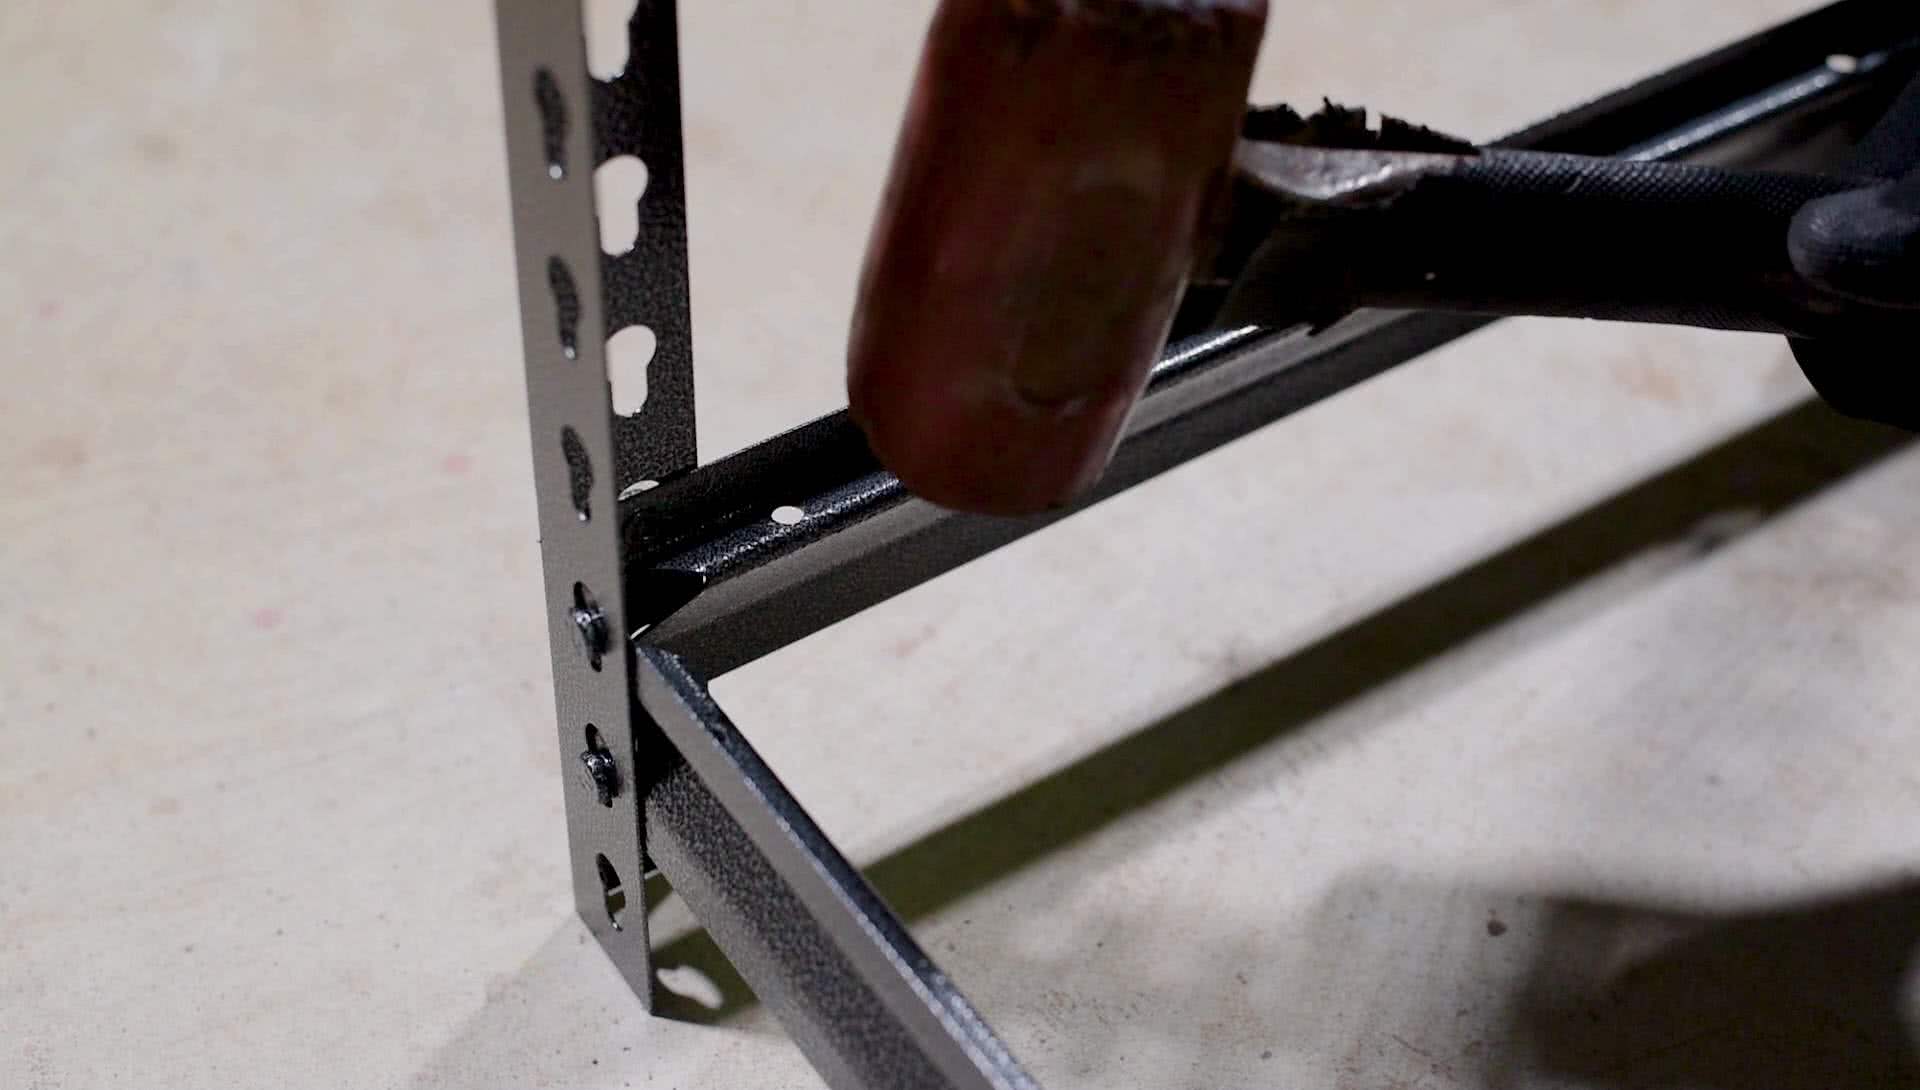
The SCA 5 shelf 350 kilogram unit uses the boltless design and comes together a little differently. Begin with two beams labelled “C”, two braces labelled “D”, and four posts labelled “A”. Lay the beams and braces in a rectangle and one by one; place the rivets into the slots at the end of each post, leaving a gap of one slot for the feet.
Ensure that the shelf ledge on the beams and braces are facing up, then seat the rivets firmly in the slots. A rubber mallet or hammer with a block of wood may come in handy to seat them properly.
Step 2 - Continue Placing in Shelves
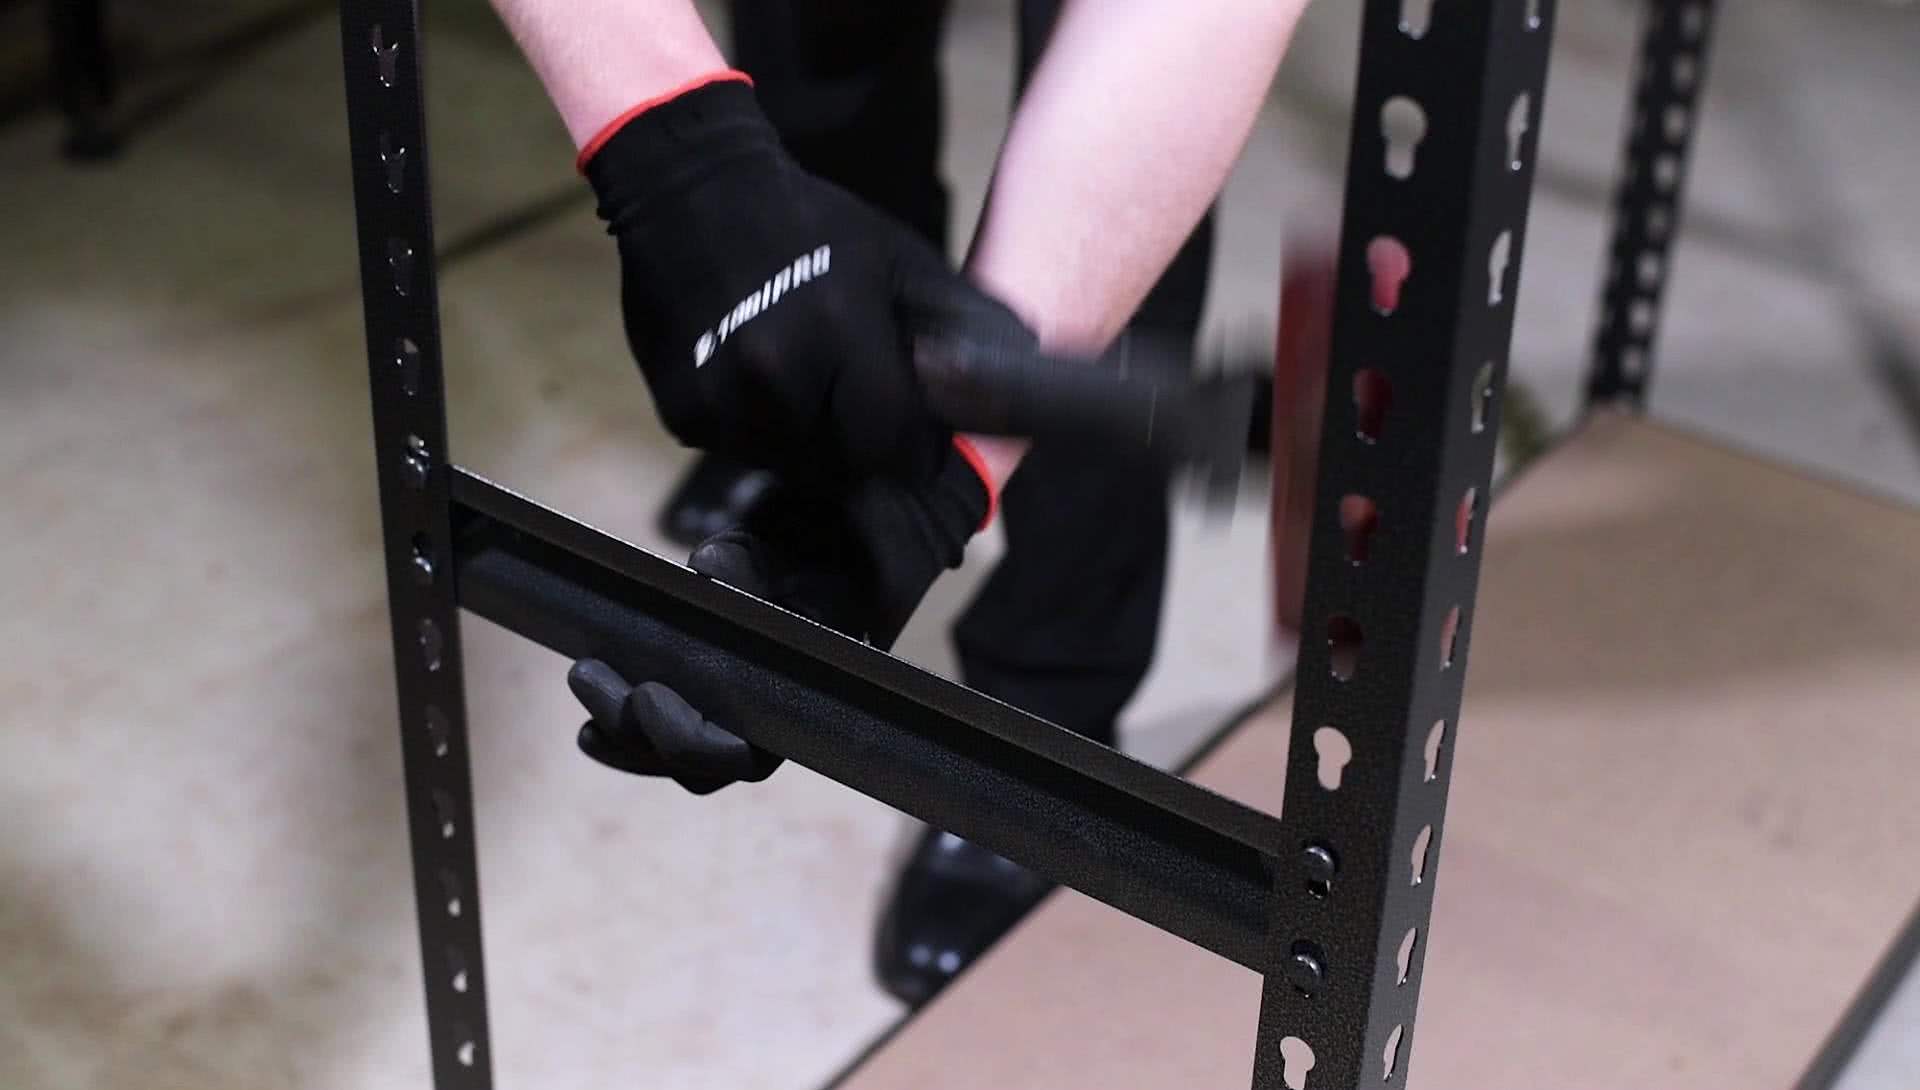
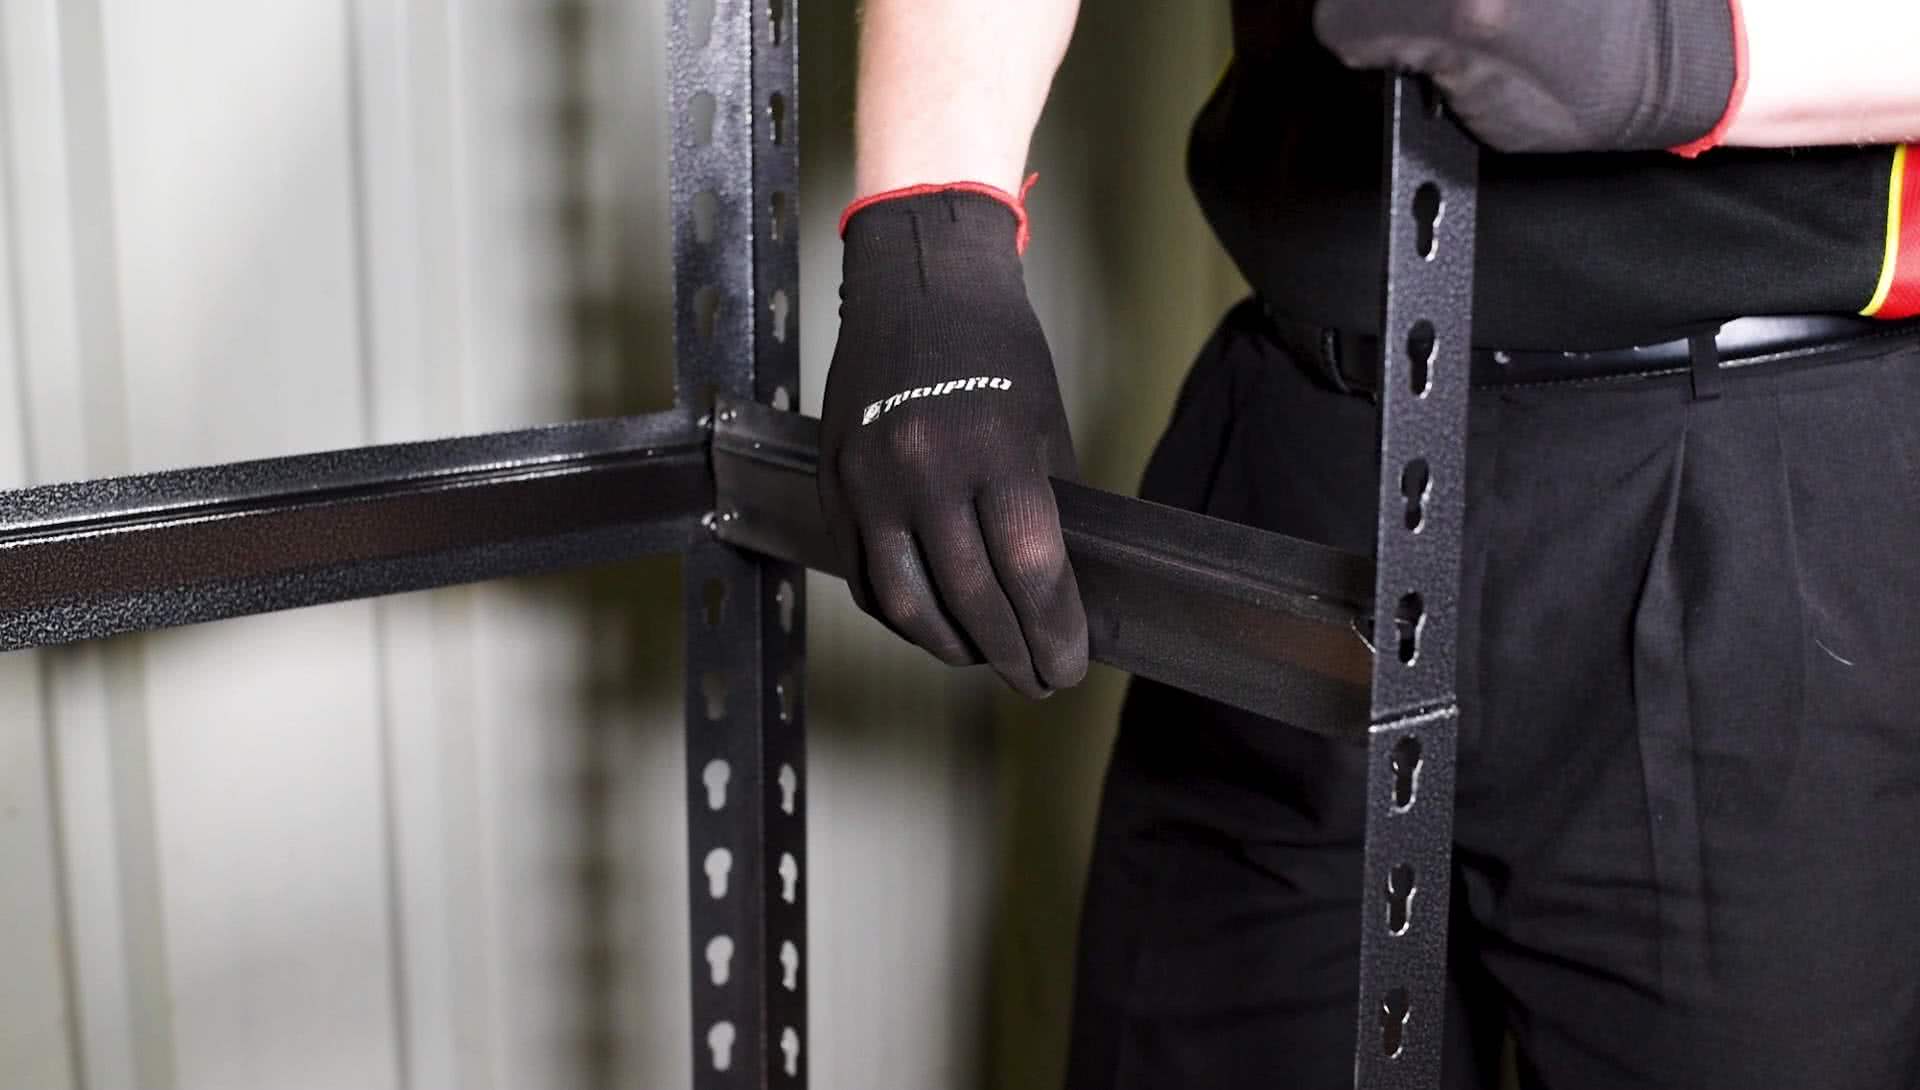
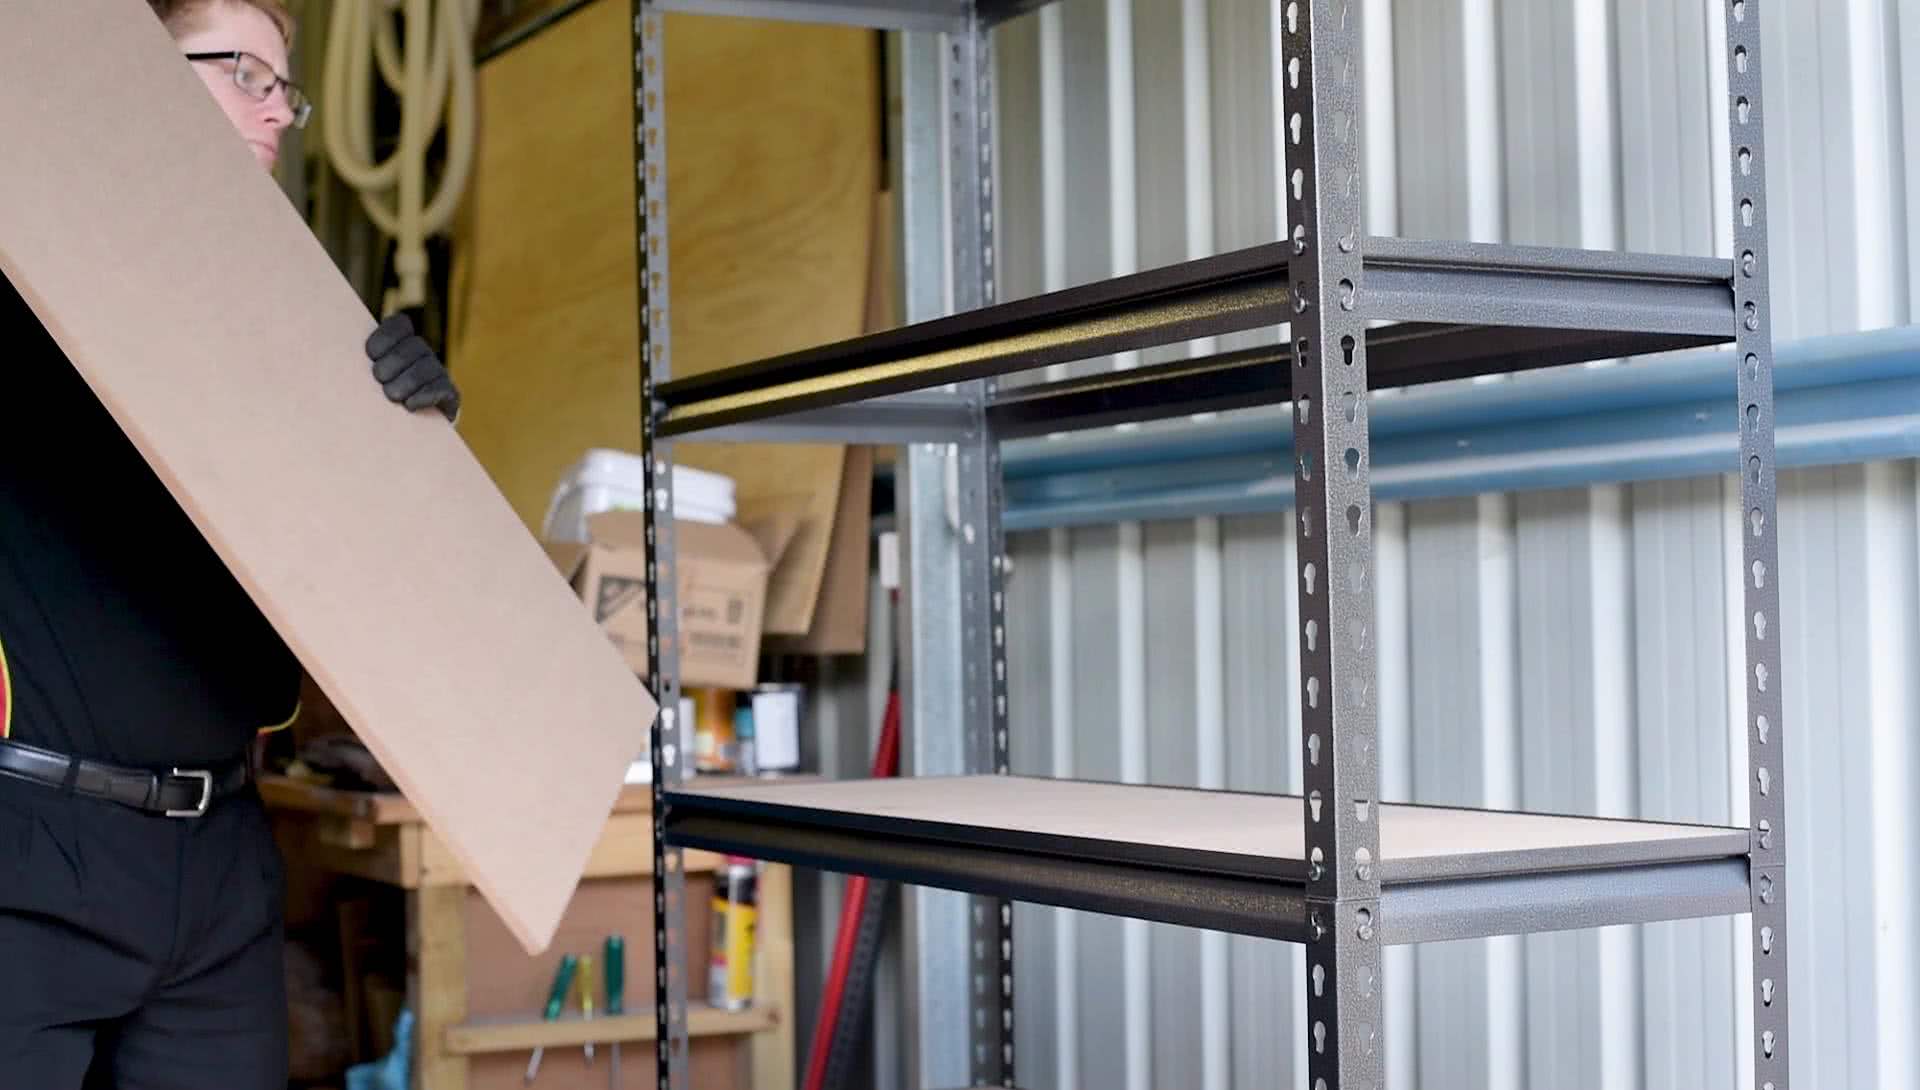
With another two beams and two braces, repeat the process at the desired height on the posts. After this stage, the shelf can either be built taller using the next lot of four posts, or topped off with shelf beams and braces to create a two piece shelving and work bench unit as shown.
To continue the shelf to full height, the next level of beams and braces must be fitted on the join between posts. Place one rivet in the top post, one in the bottom and seat them firmly just as before.
Step 3 - Place the Final Beams
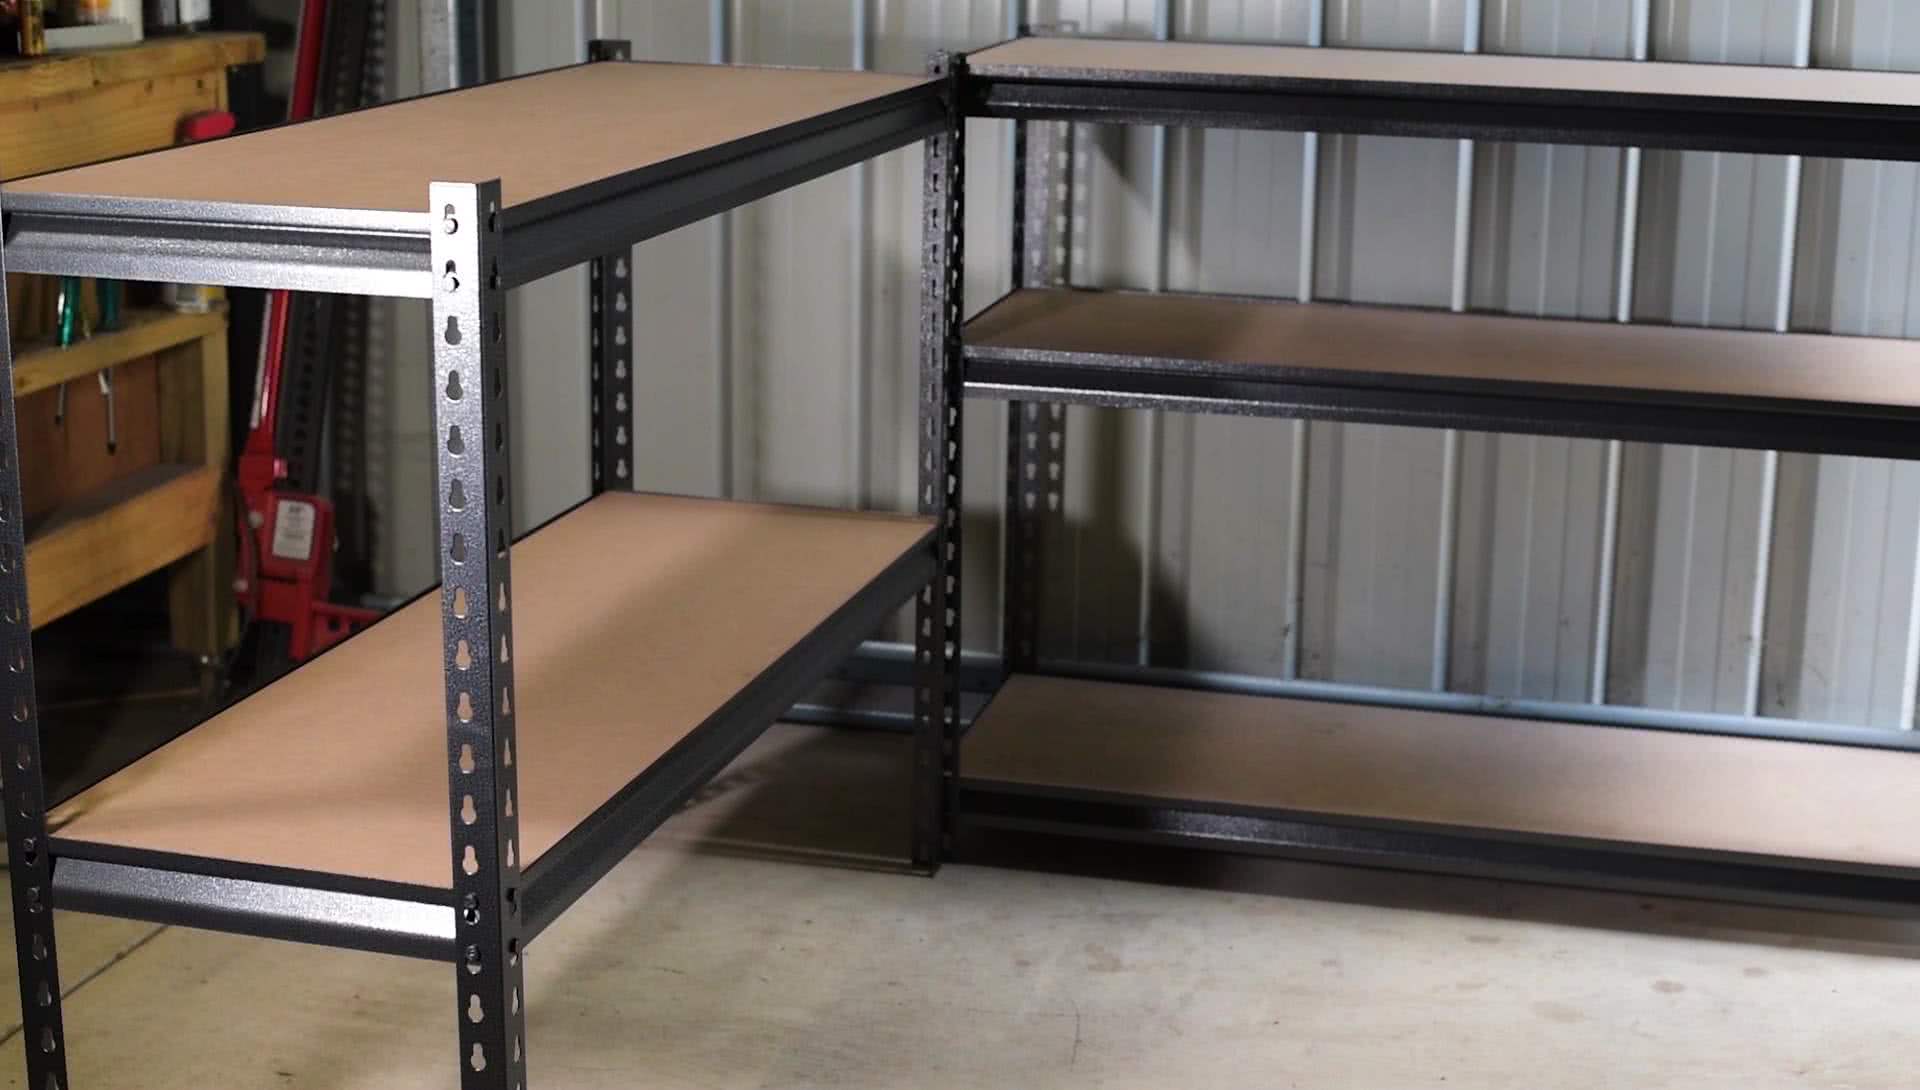
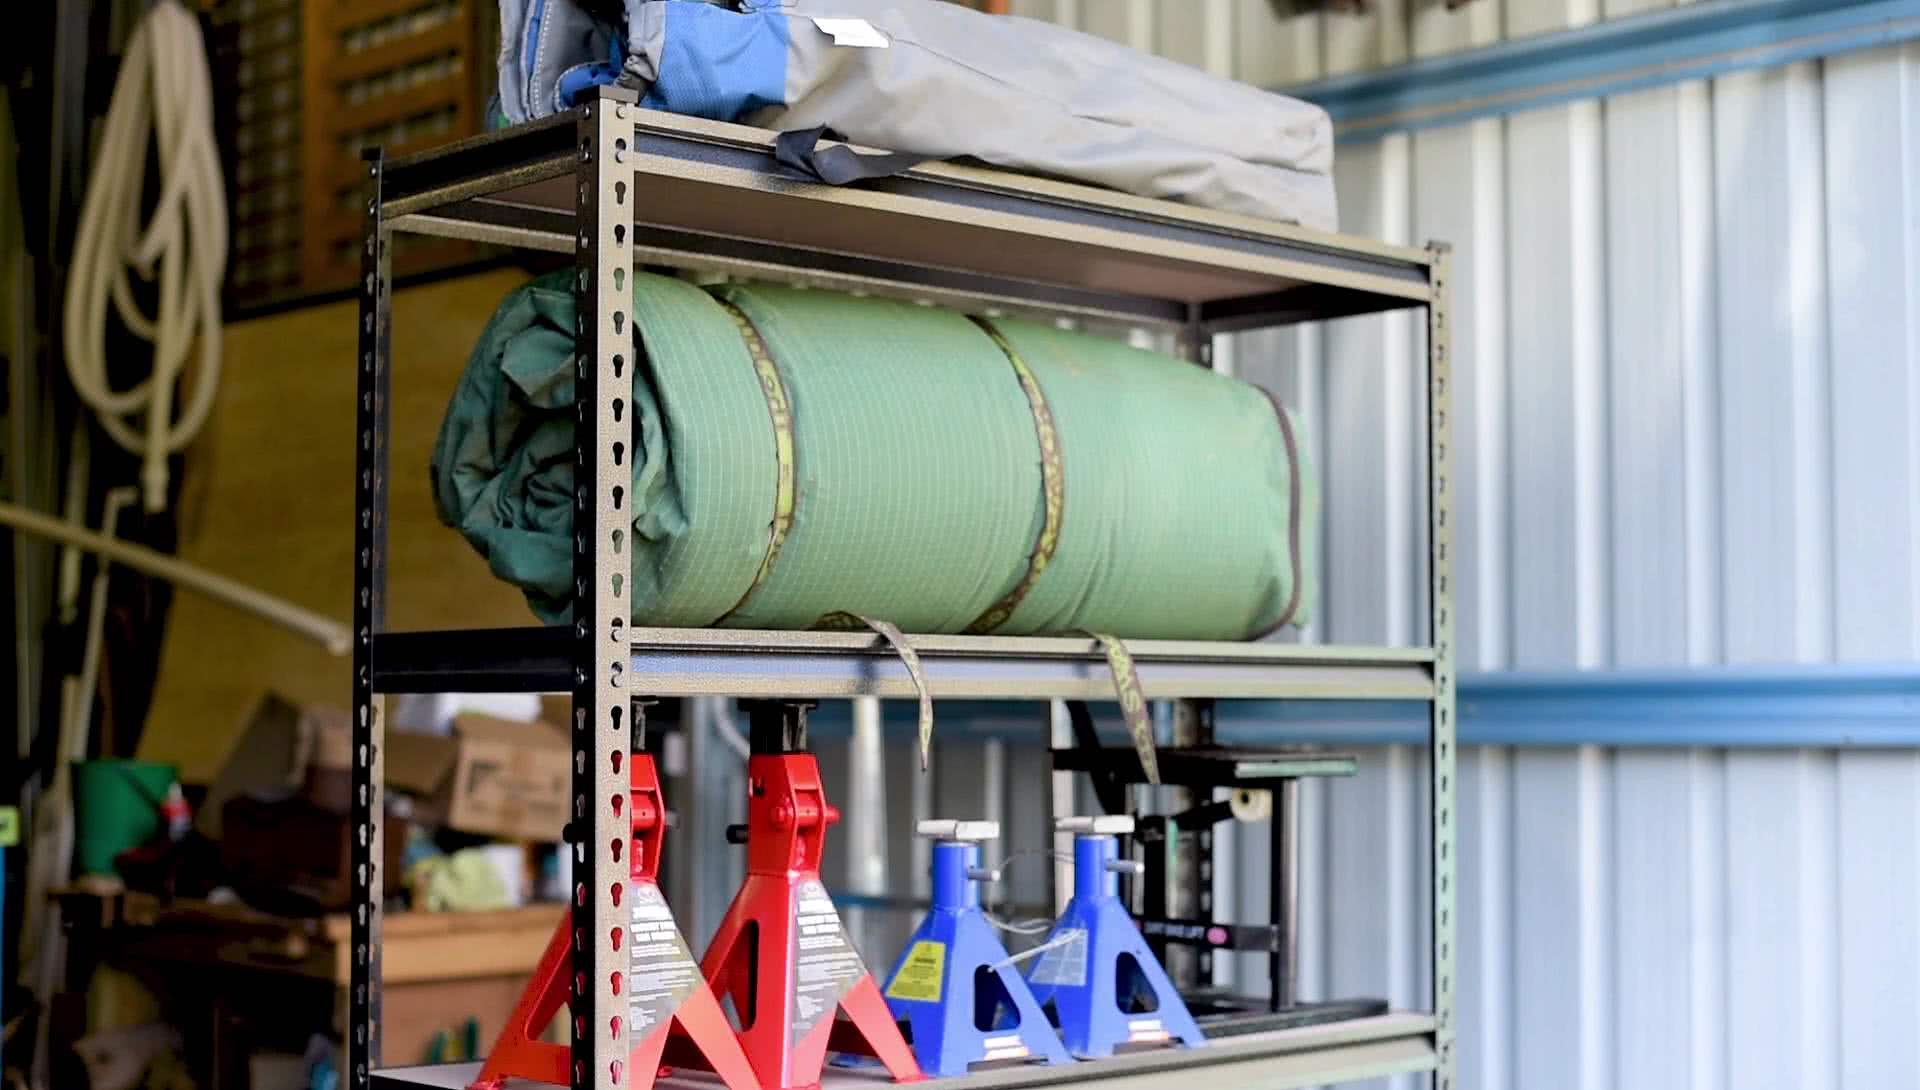
The height of your fourth shelf can be set as you desire, and install the last two beams and braces at the maximum height of the posts.
Finally, affix the post caps and slot a shelf onto each level.
With your gear easy to access and your shed floor clear of clutter, you’ll almost certainly want to deck out your entire workspace with shelving from Supercheap Auto.
*Important information* - Click here to read more about our How-To terms and conditions.