An impact driver is a power tool that does one job, and does it very well – installing fasteners. The defining feature of the impact driver is its quick change collet chuck, designed to accept hex shanked driver bits - which won’t slip inside the chuck under load.
Here's how it's done.
Tip 1 - Safety
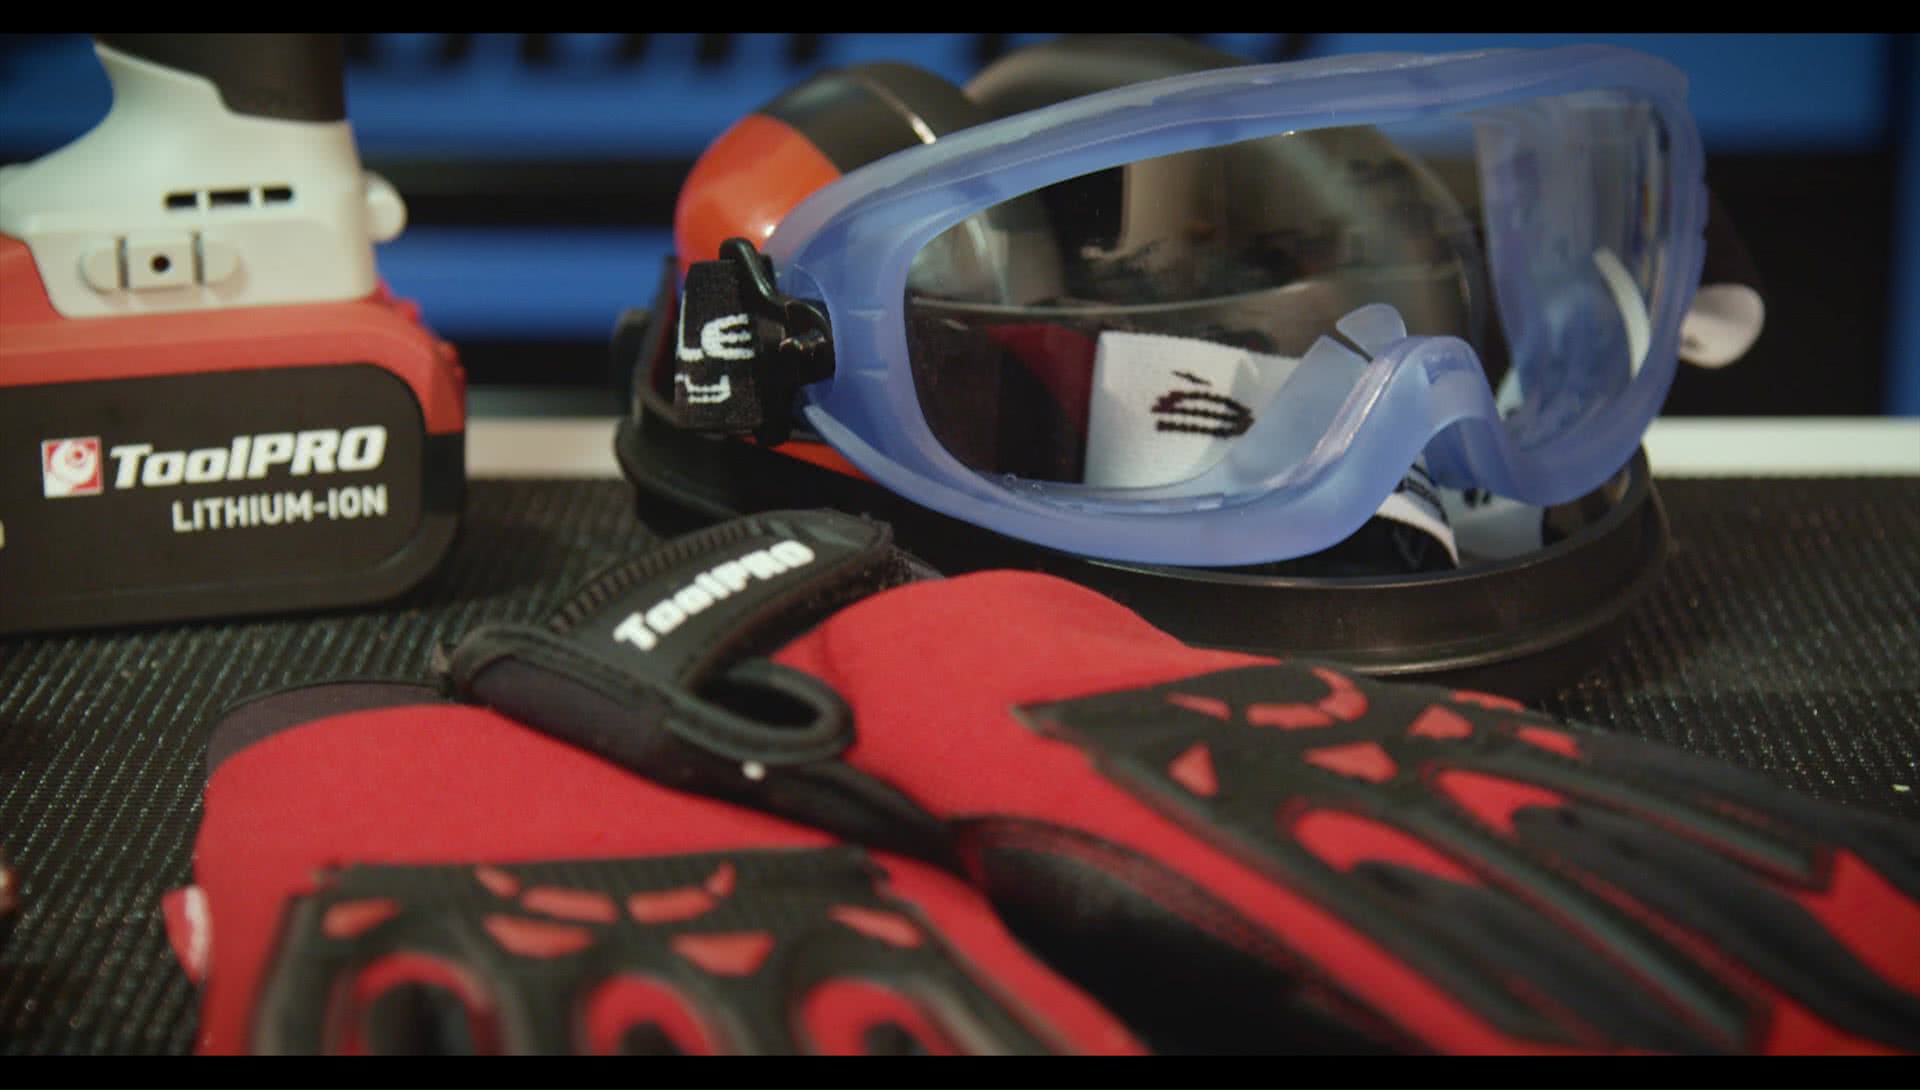
Before you start, you'll need safety equipment:
- A decent pair of gloves
- Clear eye protection
- Simple dust mask
Tip 2 - Impact Action
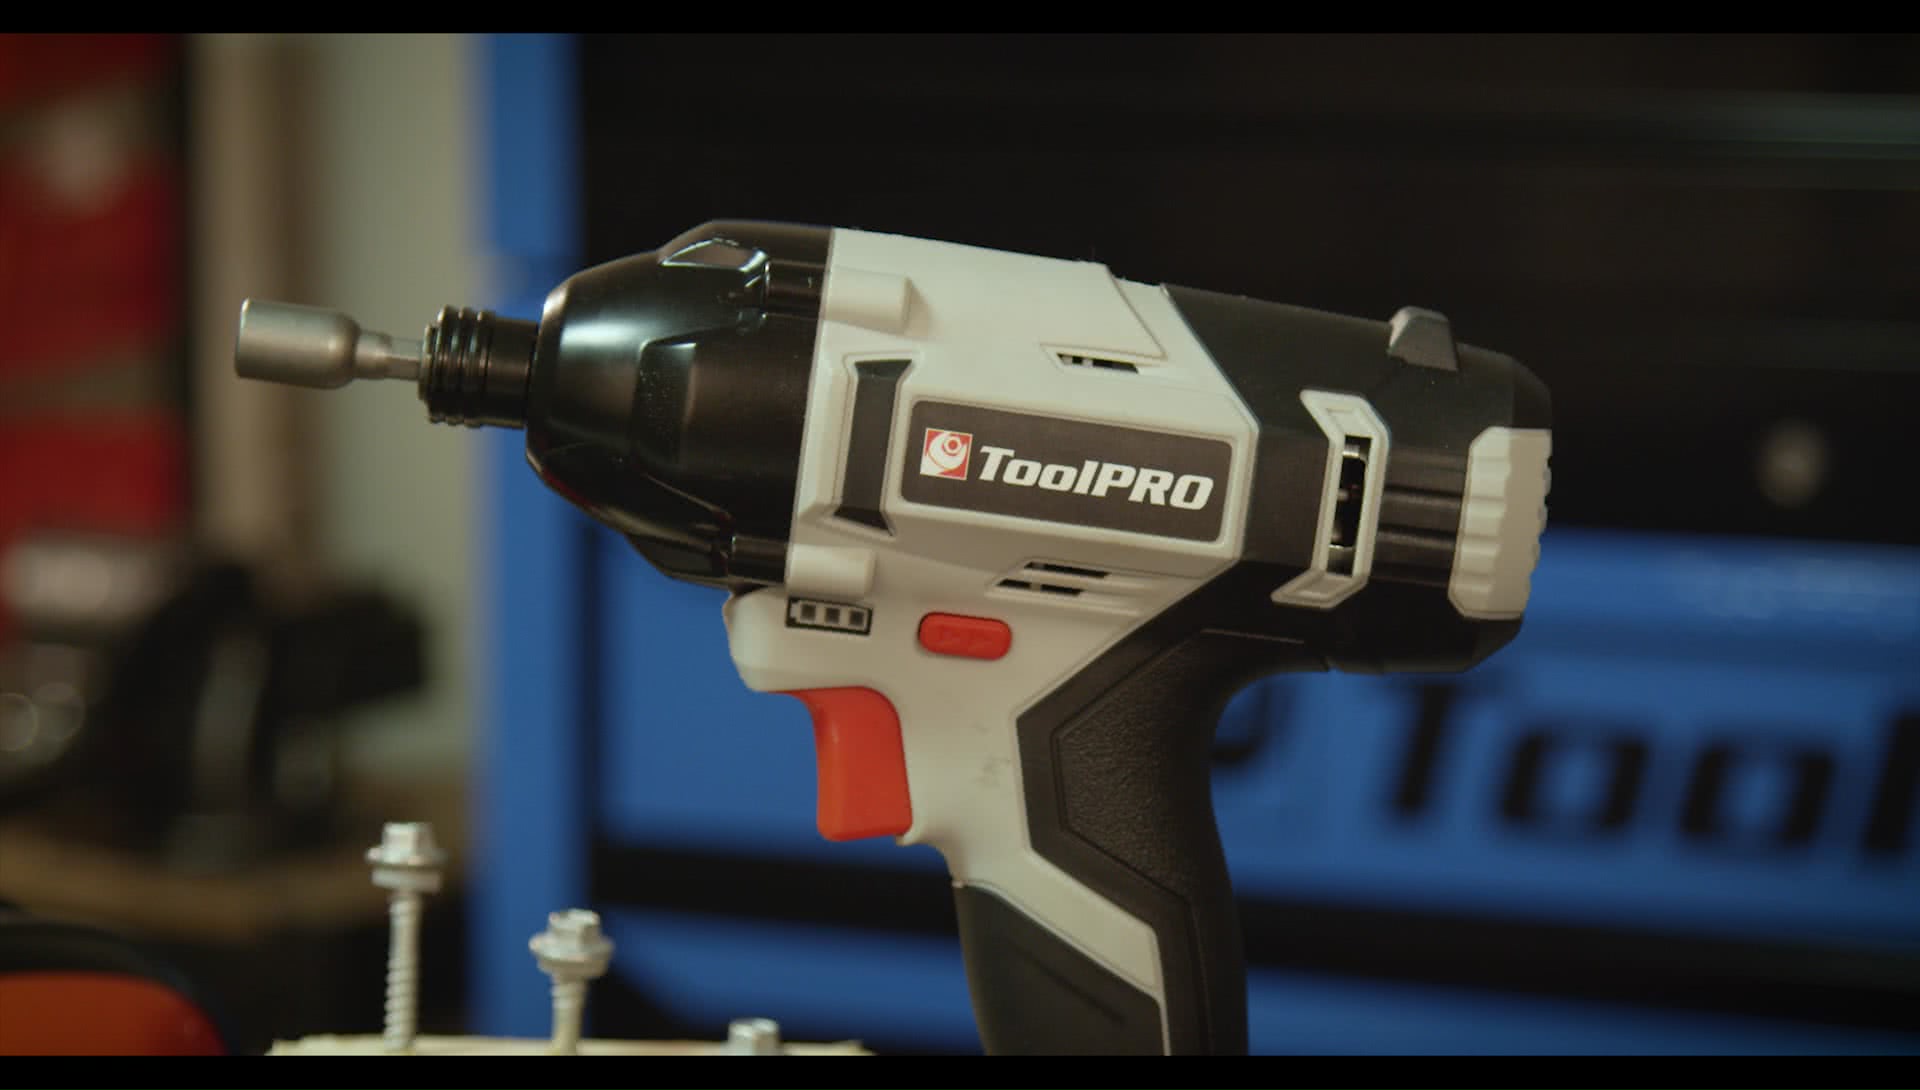
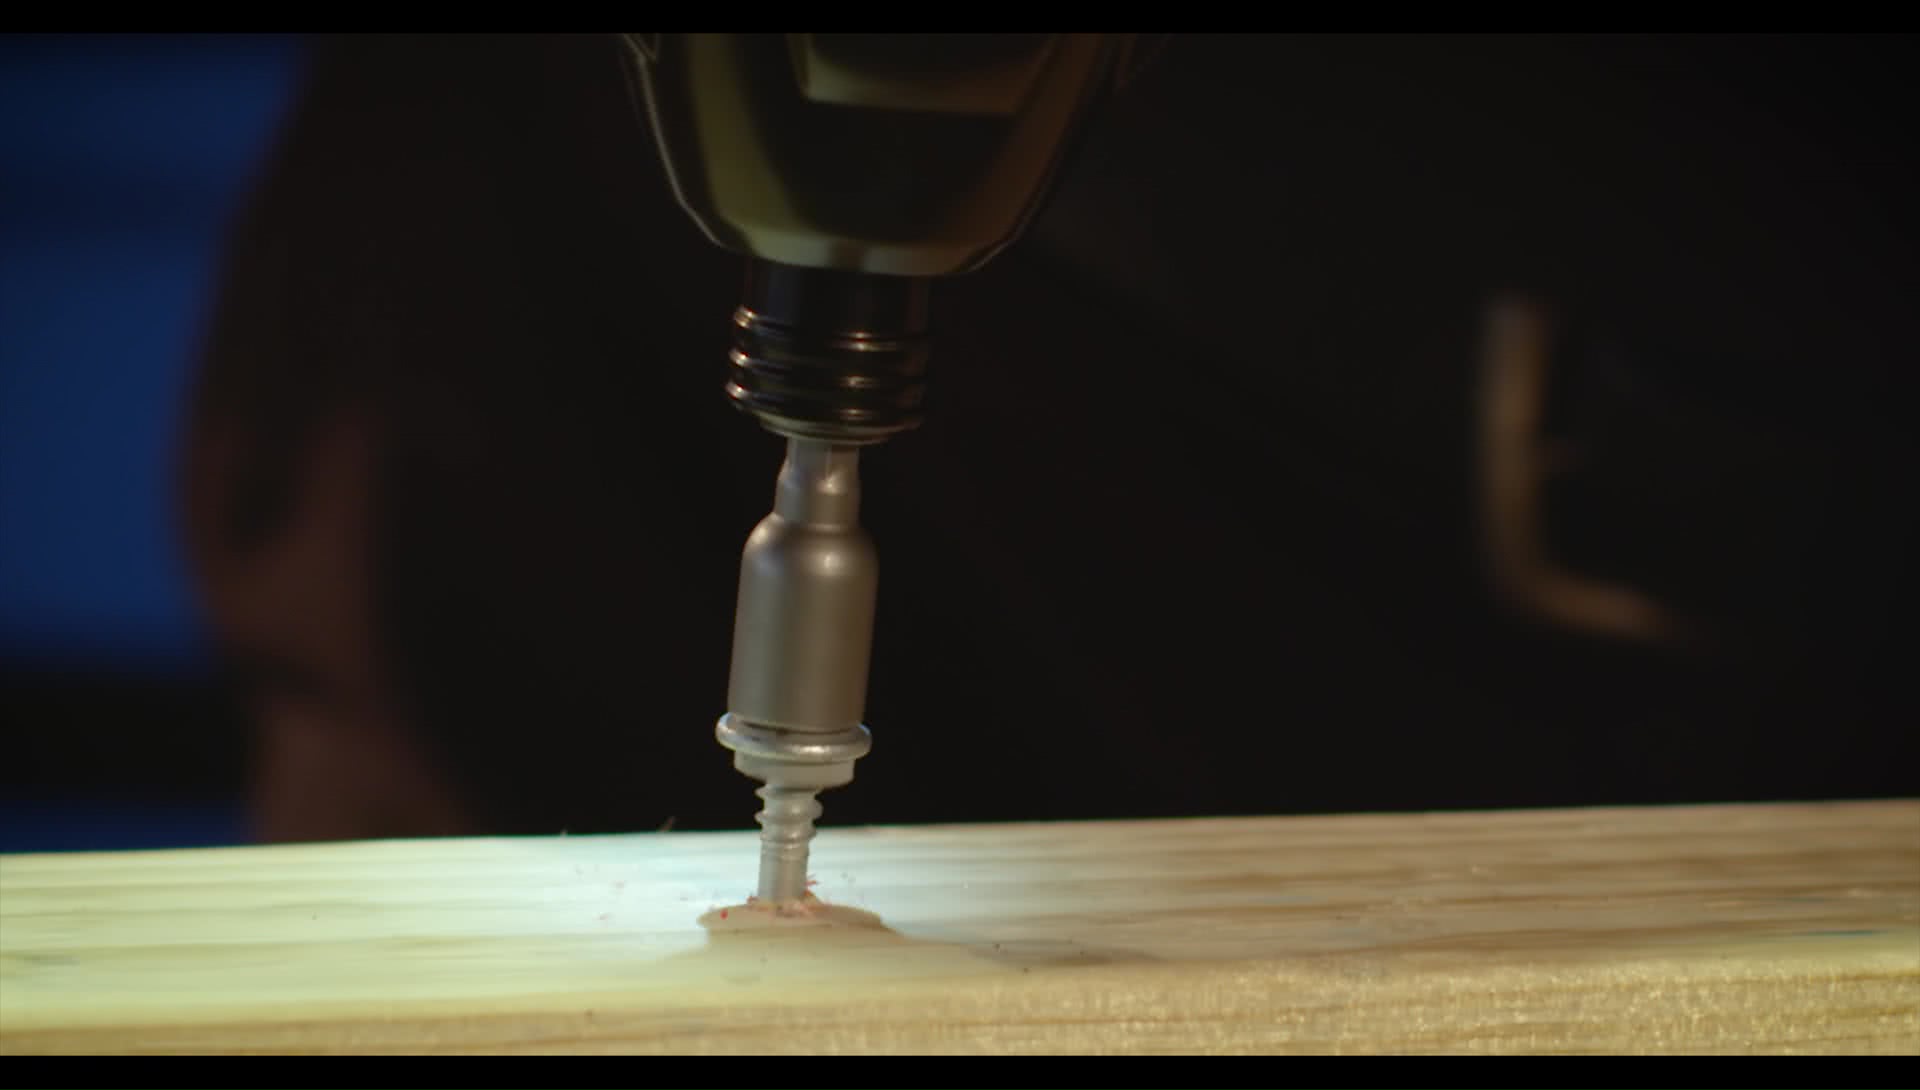
While a typical drill driver is capable of around 30 newton metres of torque, an impact driver uses an entirely different hammering action to achieve up to five times the torque.
This is ideal for large scale roofing jobs, installing decking, assembling fences and many other tasks needing a large number of fasteners.
Despite the added power, the action of the hammering mechanism inside means that an impact driver won’t try and twist out of your hand like a power drill.
Tip 3 - Fitting Bits
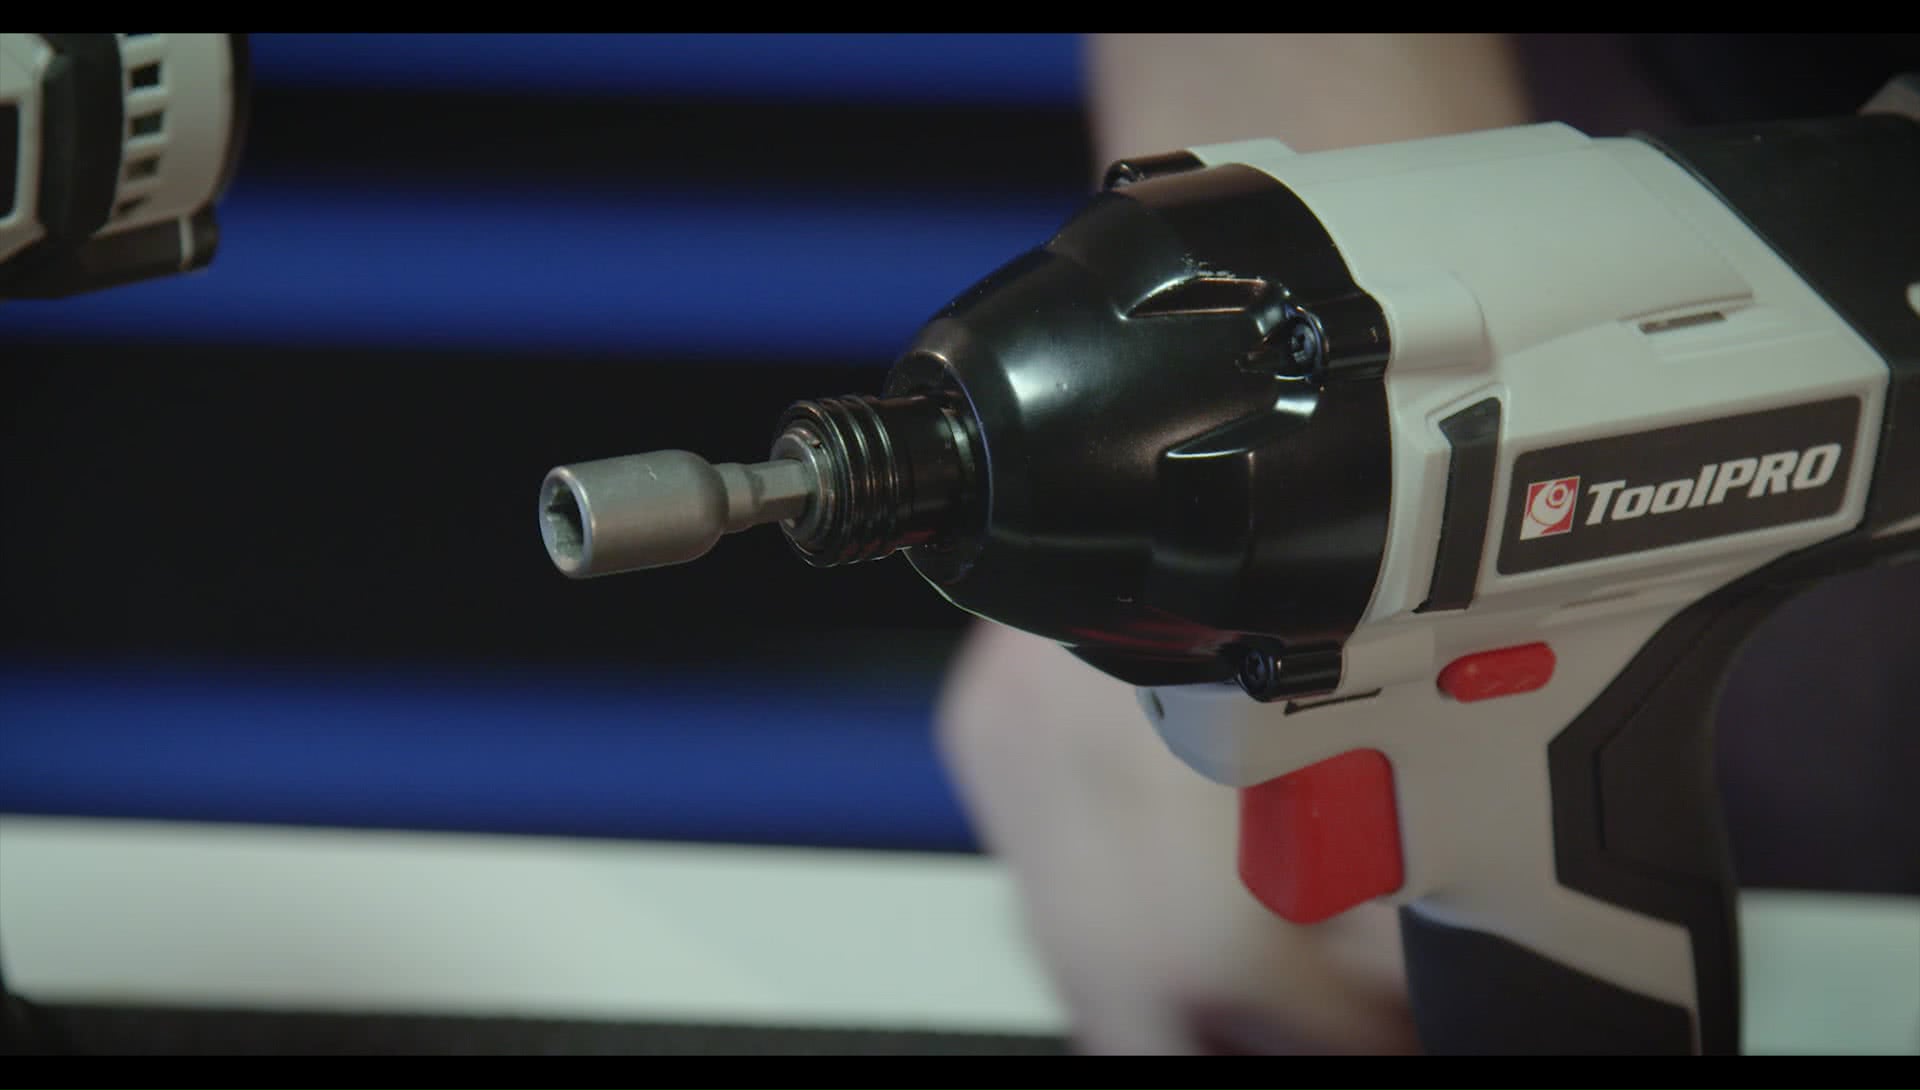
To begin with, ensure that the bit you plan to use is compatible with the chuck on your impact driver, which is usually an industry standard 6.35 millimetres.
Pull back the chuck sleeve, insert the bit, release the chuck sleeve and you’re ready to go.
Tip 4 - Features
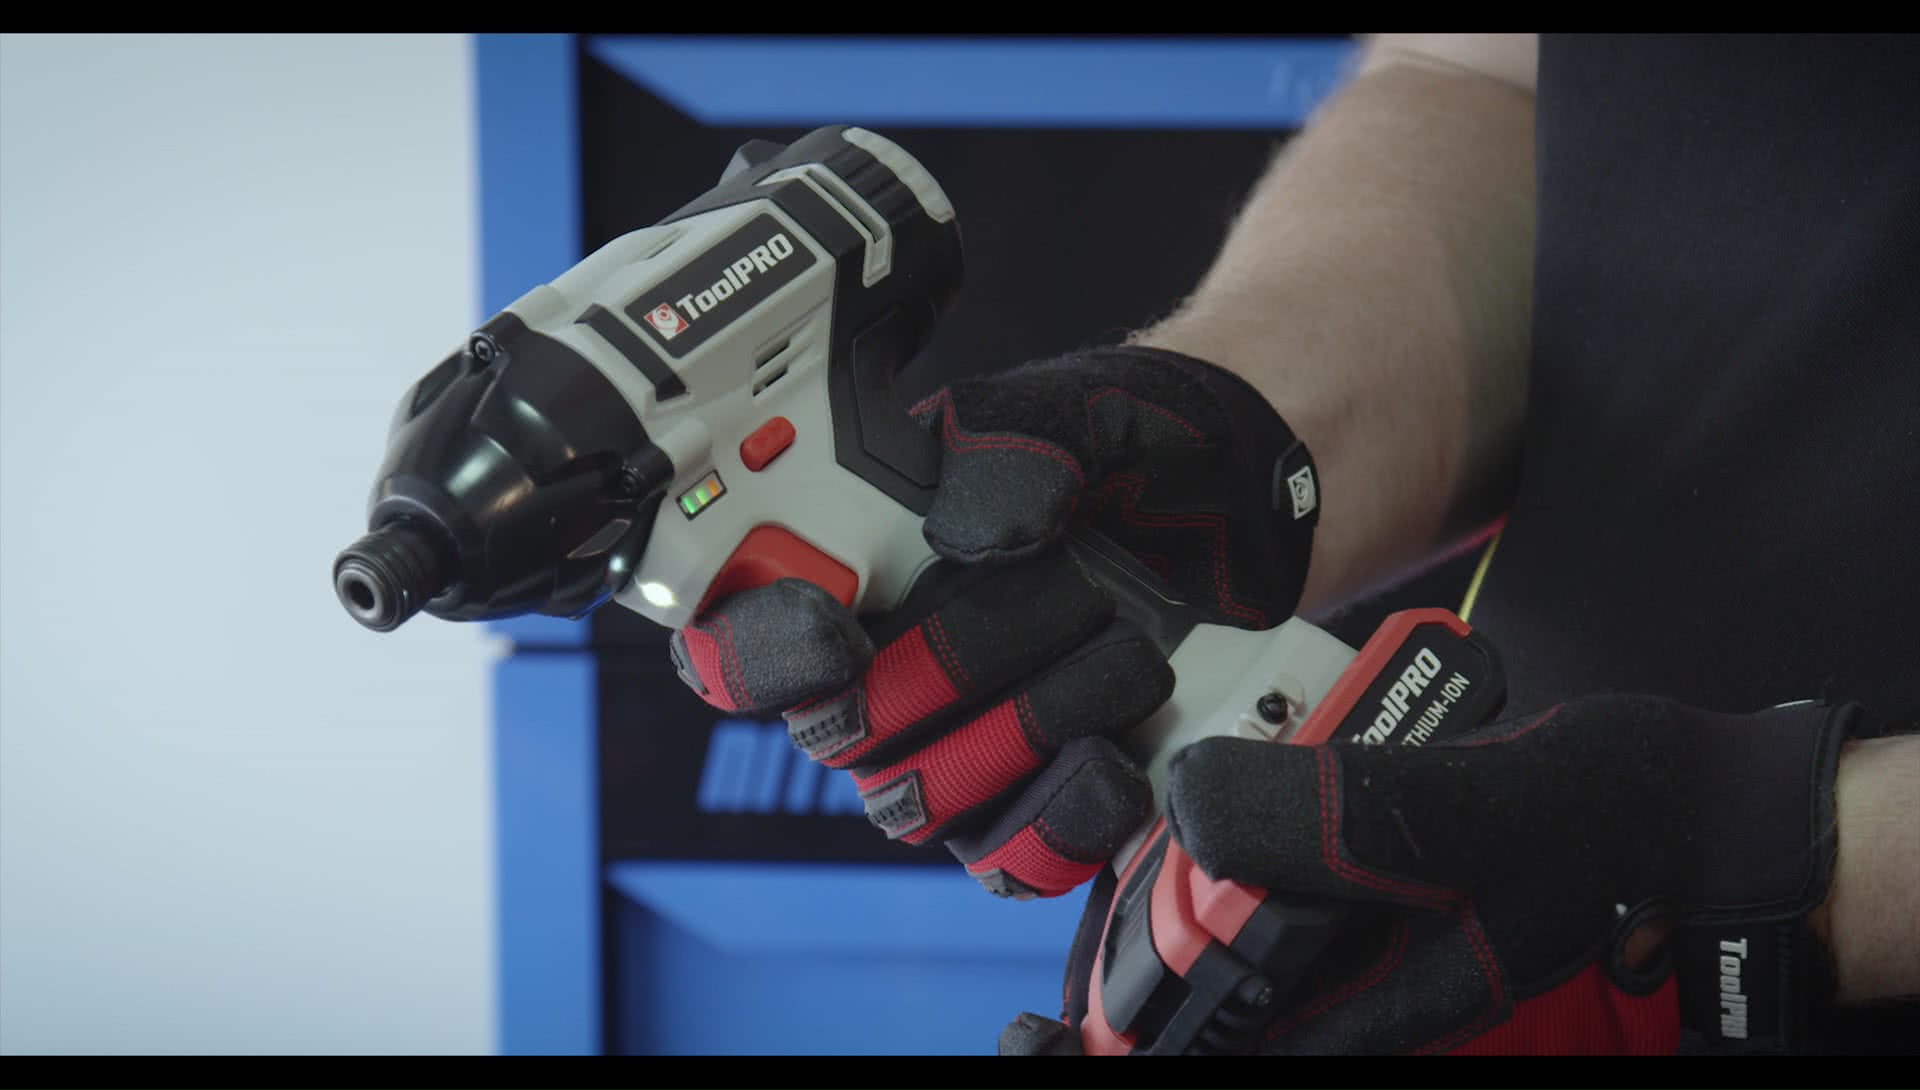
Some models will feature a variable speed trigger, which allows you to gently drive smaller fasters or apply maximum torque driving large fasteners into hardwood.
Flick the direction switch into reverse and you have just as much power available to remove one fastener or disassemble an entire project.
Tip 5 - Precautions
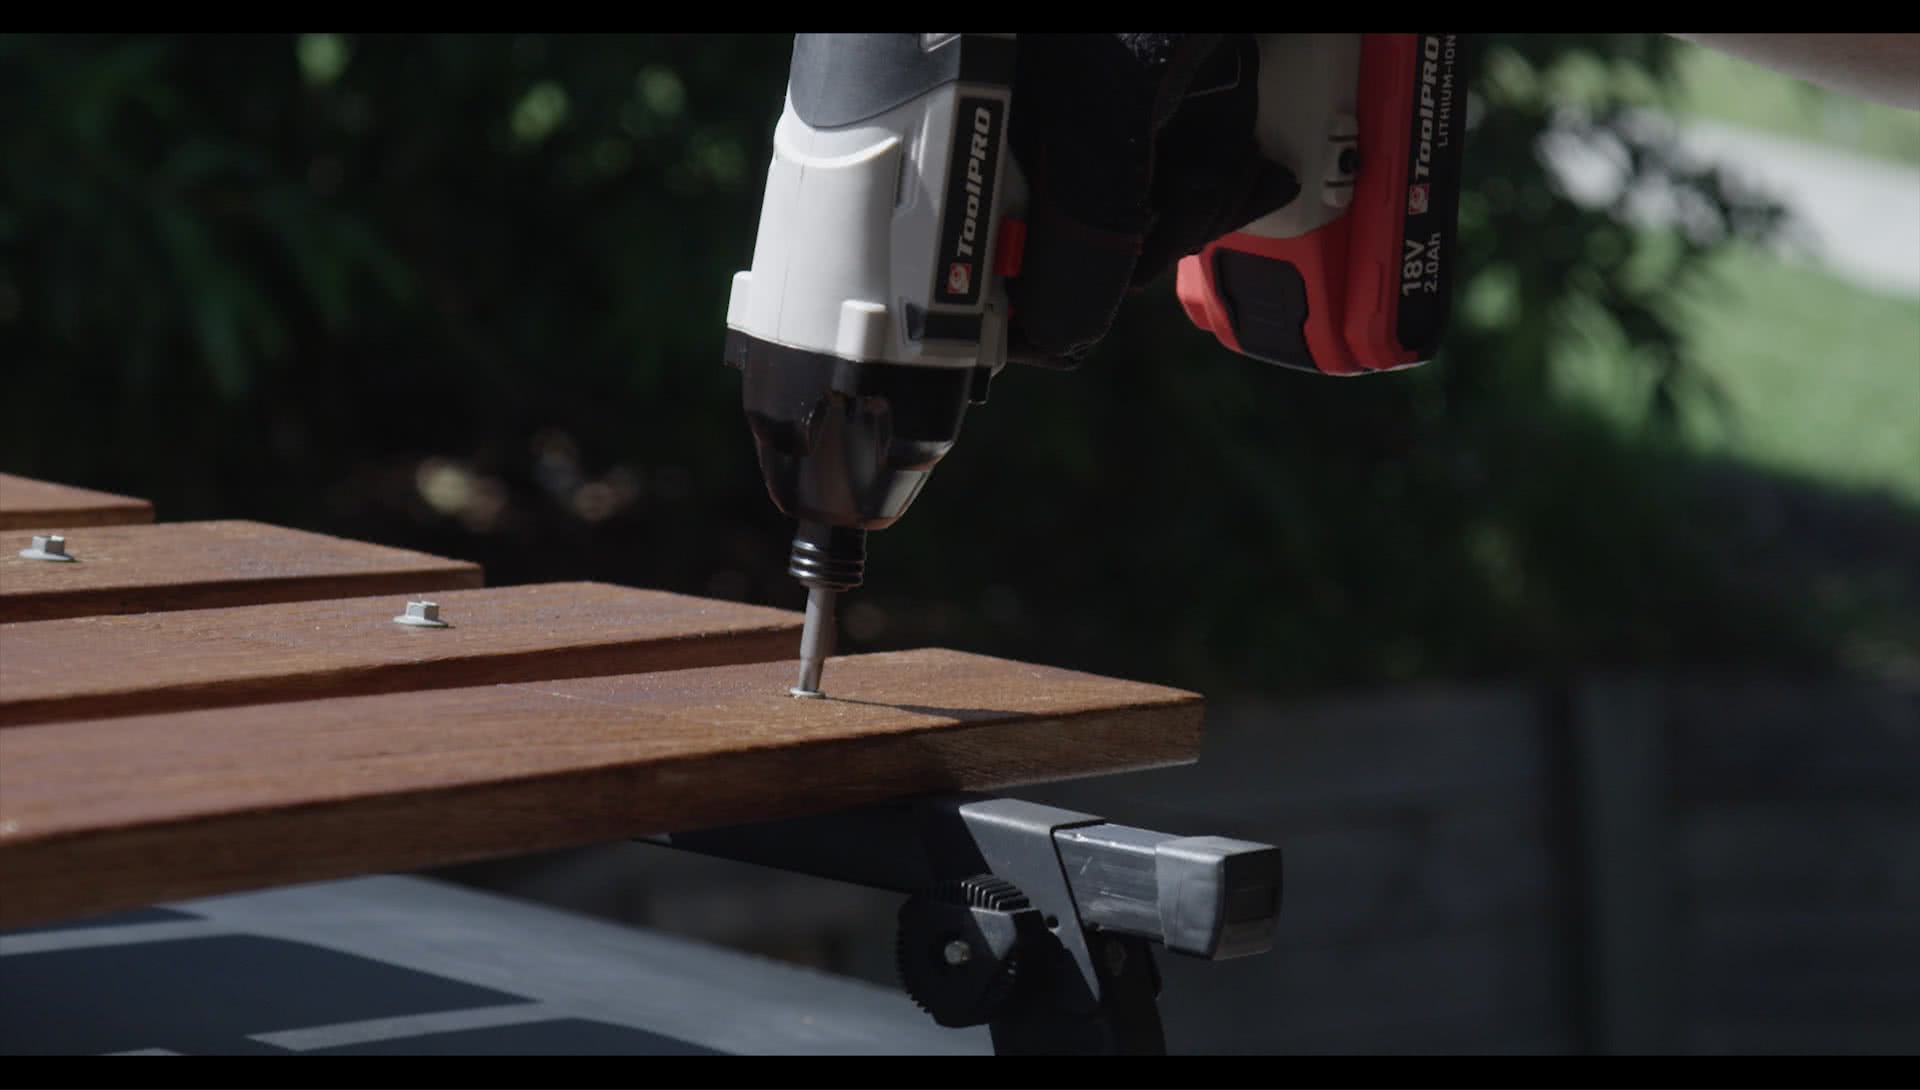
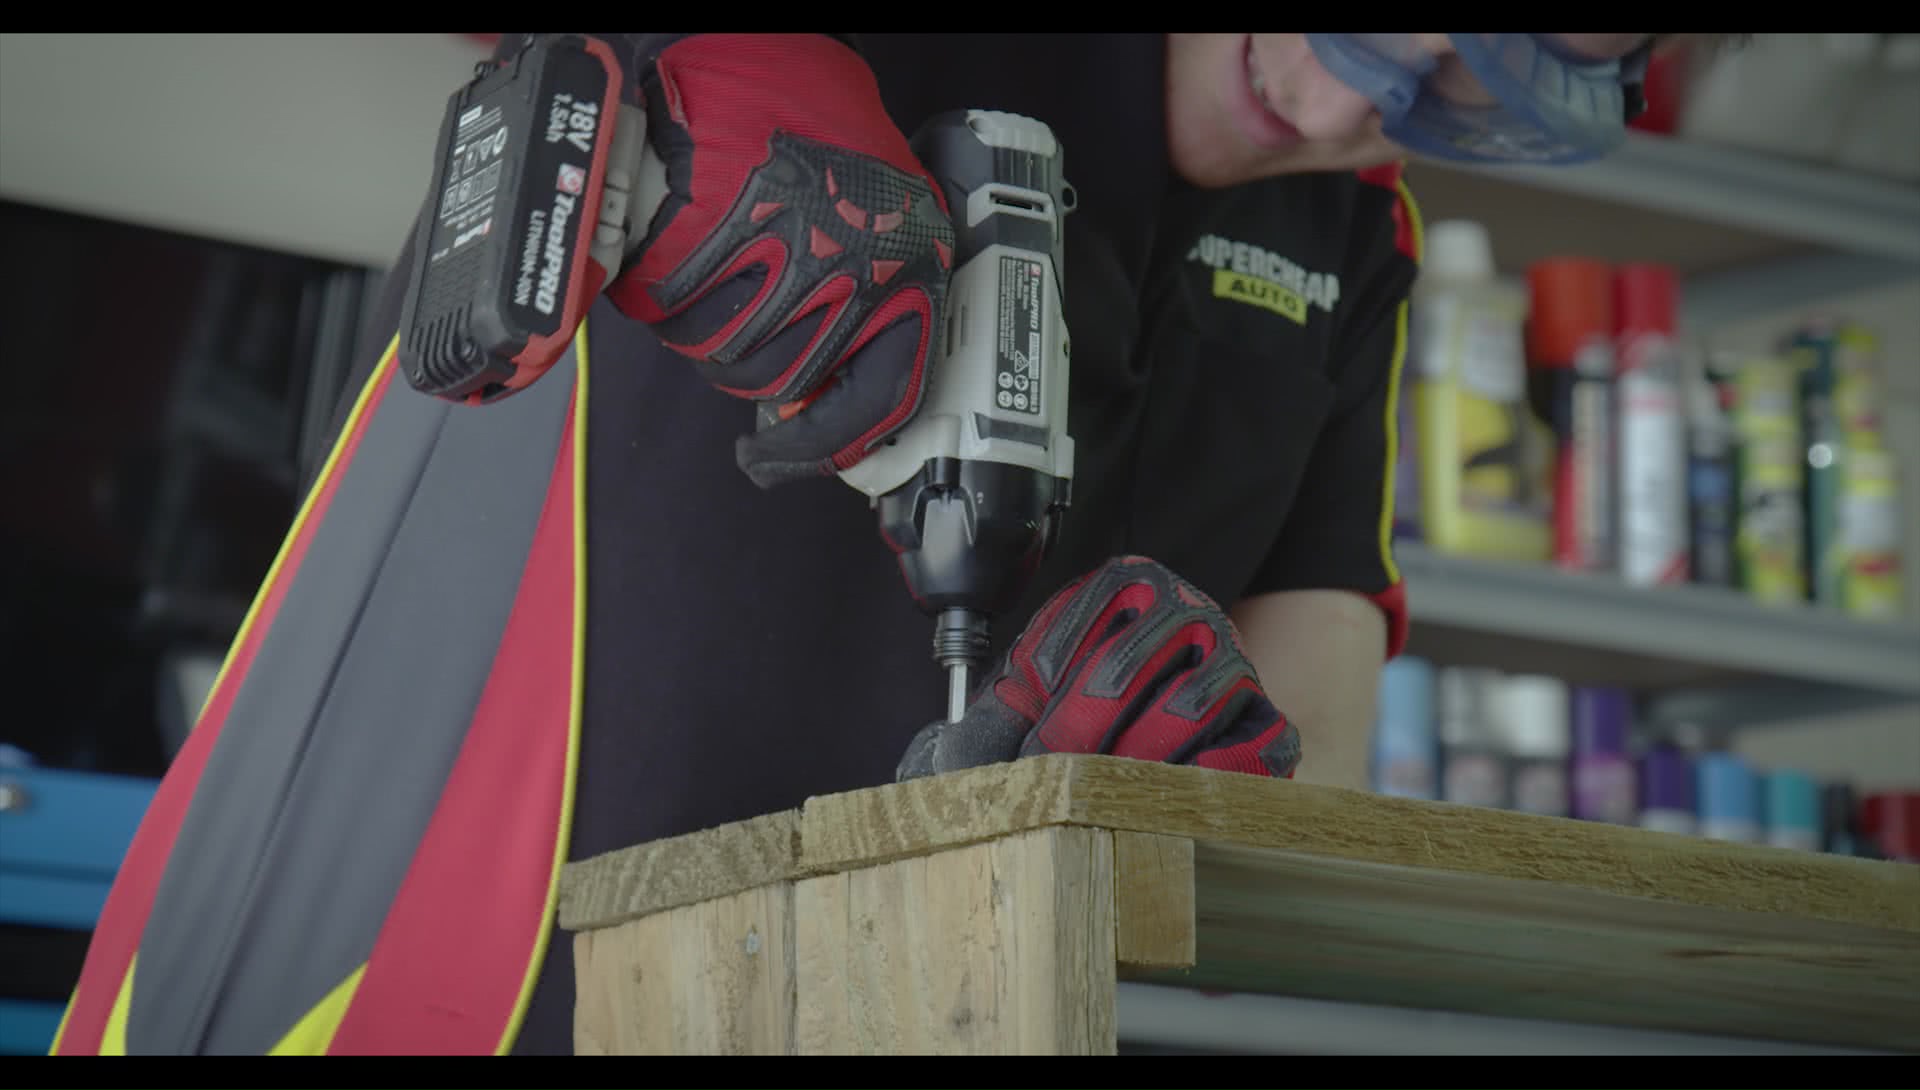
An impact driver can be a little loud, so always use hearing protection and wear safety glasses to ensure you finish the job safely.
While it may have less versatility than similar tools in its class, the strength of the impact drill is its ability to take large, time consuming jobs with a large volume of fasteners and save time and energy with quick and precise movement and power.
*Important information* - Click here to read more about our How-To terms and conditions.