How To Repair Small Dents & Scratches
Overview
There is nothing more annoying than a small dent or deep scratch on your car. Here is a comprehensive step by step guide to take care of those annoying little marks and imperfections. As always, follow the instructions on the product to get the best results as this is a loose guide to what you can expect to tackle when completing this task.
Learn more about repairing plastic bumpers here.
Items
Steps
Remove Any Paint From Area
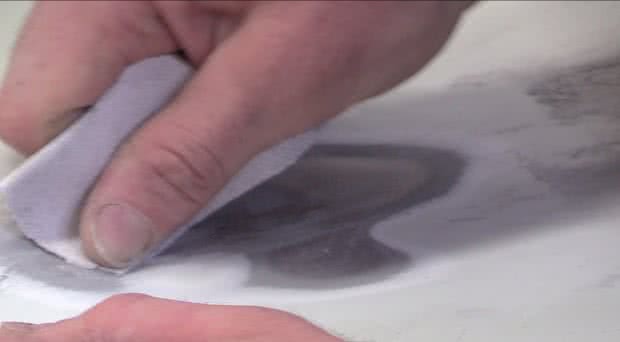
Start by removing any paint from the area which will be repaired and the sourrounding area by about 50mm. You can do this using either by hand with 40-60g sandpaper or with the use of a grinder.
Make sure you sand the area back to bare metal.
Handy Tip: For best results ensure you feather the edges of the paint.
Clean the Area
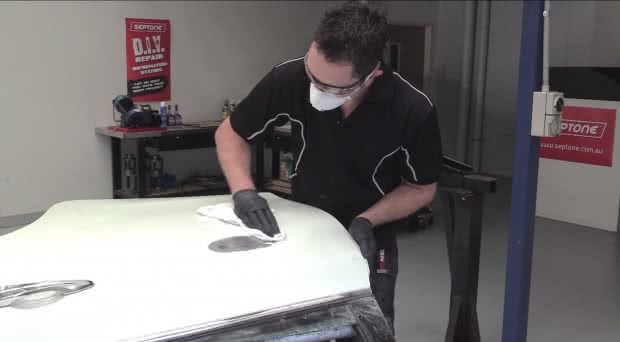
Next, clean the area with the use of Wax & Grease Remover and a clean lint free cloth.
Then, wipe the Wax & Grease Remover off with a 2nd clean lint free cloth.
Apply Car Filler
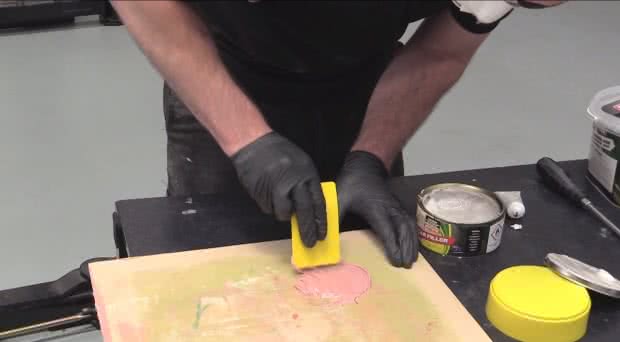
Place the required amount of Car Filler onto a mixing board like an old ice cream container lid.
Handy Tip: Do not use cardboard.
Knead the tube of hardener well to ensure that the contents are fully mixed, then add the hardener to the Car Filler at a ratio of 1 part hardener to 50 parts body filler by piping out a diagonal line across the body filler.
Mix well with your plastic applicator ensuring a consistent colour is visible before proceeding. It is important to mix these products well.
Use Firm Pressure
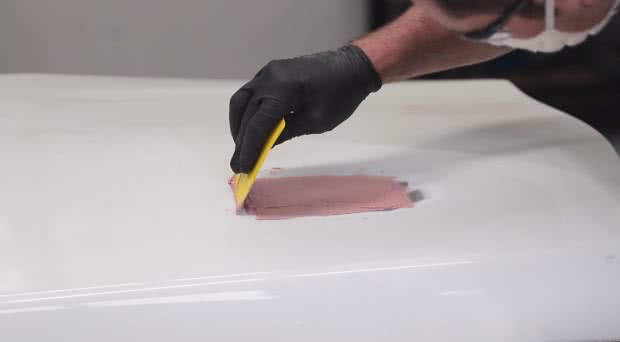
Apply a thin layer of filler to the repair surface using firm pressure on the applicator to force the filler into all crevices & eliminate and air pockets.
Gradually apply the remaining filler until it's slightly higher than the edge of the repair.
Handy Tip: For best results car filler should only be applied to bare metal & not painted surfaces
Leave to Cure
Correctly mixed car filler is fully cured in 20-30 minutes & is then ready for sanding.
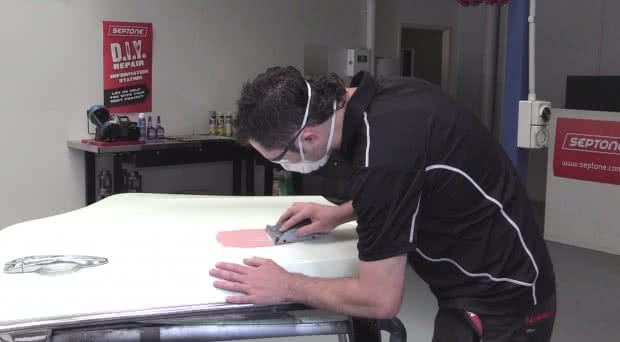
Once the mixure is fully cured, sand with 80 grit paper until the body filler is level with the surrounding panel.
Feather Edges
Feather the edges of the filler with 180-240 grit paper to achieve a smooth finish in preparation for primer.
Swap between sandpaper grits if required when feathering edges.
Feel as you sand to ensure the repair is smooth. If further filling is required or if you notice pinholes, reapply Car Filler. Allow to dry & re-sand area again with 180-240 grit paper.
You have now repaired the dent and are ready for the paint repair stage.
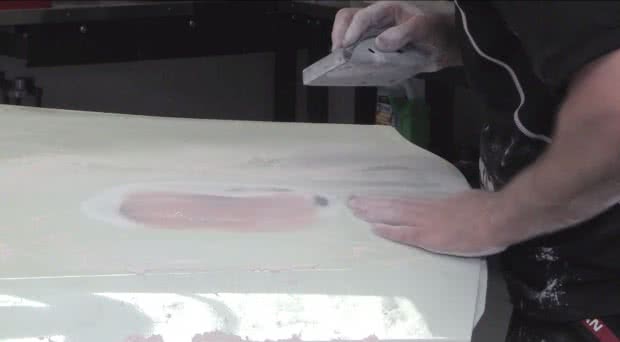
Clean Sanded Area
Clean the sanded area with Septone Wax & Grease Remover.
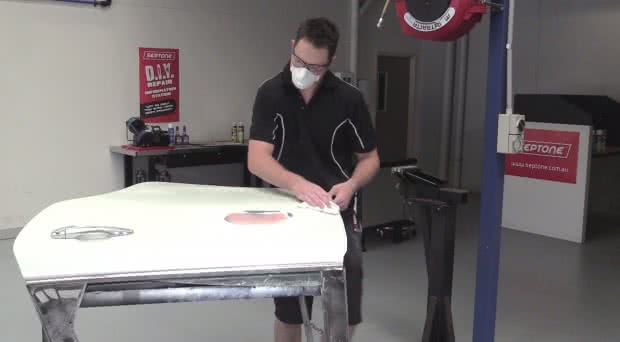
Mask Off Area
Mask off the repair area in preparation of the primer coat
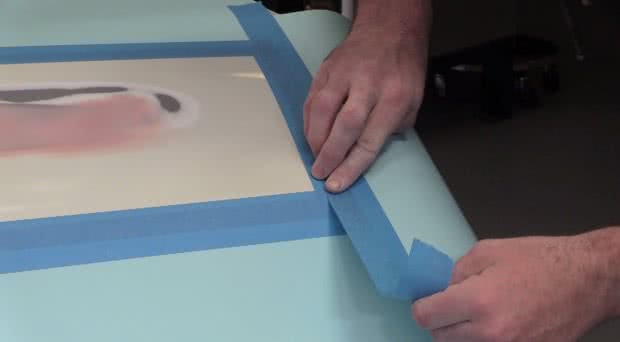
Apply Primer Filler
Apply Septone Primer Filler. Shake can vigorously for 5 minutes to ensure that the product is ready. Spray 3-4 even coats over the repaired area & up to 50mm onto the existing painted area. Leave for 5 minutes dry time between each coat.
Handy Tip: For best results, after the final coat leave to dry for 4 hours or overnight.
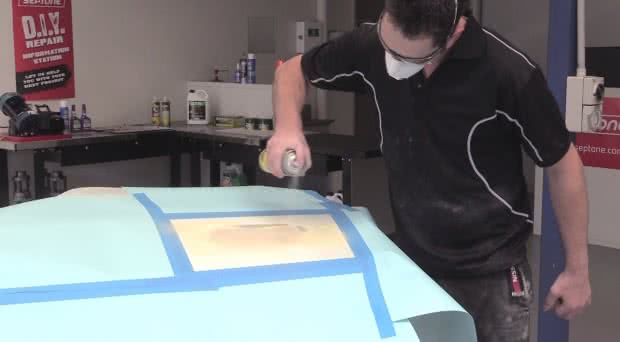
Remove Masking Tape
Remove paper & masking tape. Sand with 800 grit wet & dry sandpaper to remove imperfections & sandpaper scratches from the repair process, followed by a second sand with 2000 grit wet & dry sandpaper. Ensure that you feather the edges with the 2000 grit paper.
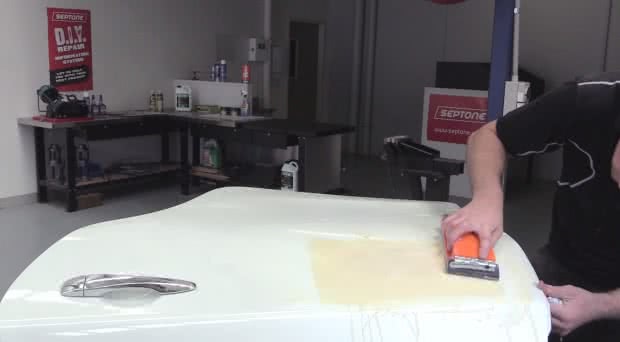
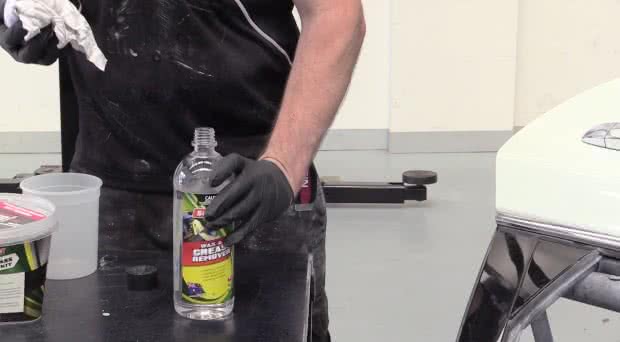
Use Wax & Grease Remover to Clean Area
Lastly - use Wax & Grease Remover to clean the repair area. Now your repair is now ready for application of a coloured basecoat.
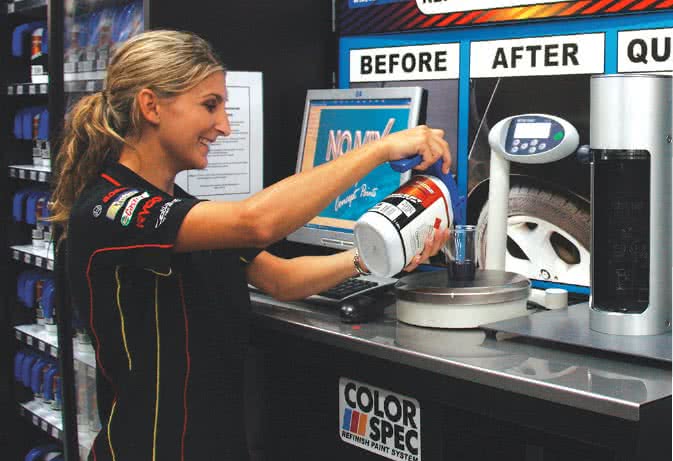
Select the Right Base Coat
When selecting a base coat, make sure you check out the "ColorSpec Paint Mixing" services offered in store while you wait!
*Important information* - Click here to read more about our How-To terms and conditions.
*Important information* - Click here to read more about our How-To terms and conditions.