How To Install A Head Unit
Overview
When you’d rather listen to your phone in a cup holder than load another scratched CD, it’s gotta be time to upgrade your car stereo. With a few basic tools even a car from the last millennium can have the latest technology and scope to expand for a bigger and better car stereo. Continue reading for our guide on head unit installation and upgrade options available to you to learn how to install a car head unit.
How much does a new head unit cost?
A new head unit can cost from a little over $100 for a basic single DIN model, to well over $1000 for a double DIN multimedia unit with all the greatest features.
Will a double DIN head unit fit my car?
You do need to make sure your dash can fit a double DIN head unit. It’s pretty easy to tell at a glance, a double DIN is twice the height of a single DIN. Check for a dash pocket that can be removed, or a fascia kit if you’d like to install a double DIN in place of a single DIN.
Which car head unit should I choose?
The head unit is the backbone for an amazing car stereo, so it’s worth spending as much as you can afford to future proof your sound system with Apple and Android phone compatibility. Choosing a model without a CD player will lower the price and give you more options, so consider whether you really need CD’s anymore.
Single DIN multimedia head units
If you’re stuck with single DIN, there are a few head units that will fit with a nice big screen for your maps, and direct connection to Android Auto. Check on our website or in store as these may not be available off the shelf.
Items
Wiring harness adaptors. One to suit your new head unit, and one to suit your car. You may also need one for steering wheel controls, antenna, and other functions.
A fascia kit. Not required for all vehicles, but if there is one available for yours; you certainly want to grab one.
A screwdriver set
A trim remover Set
A spanner set
A socket set
Steps
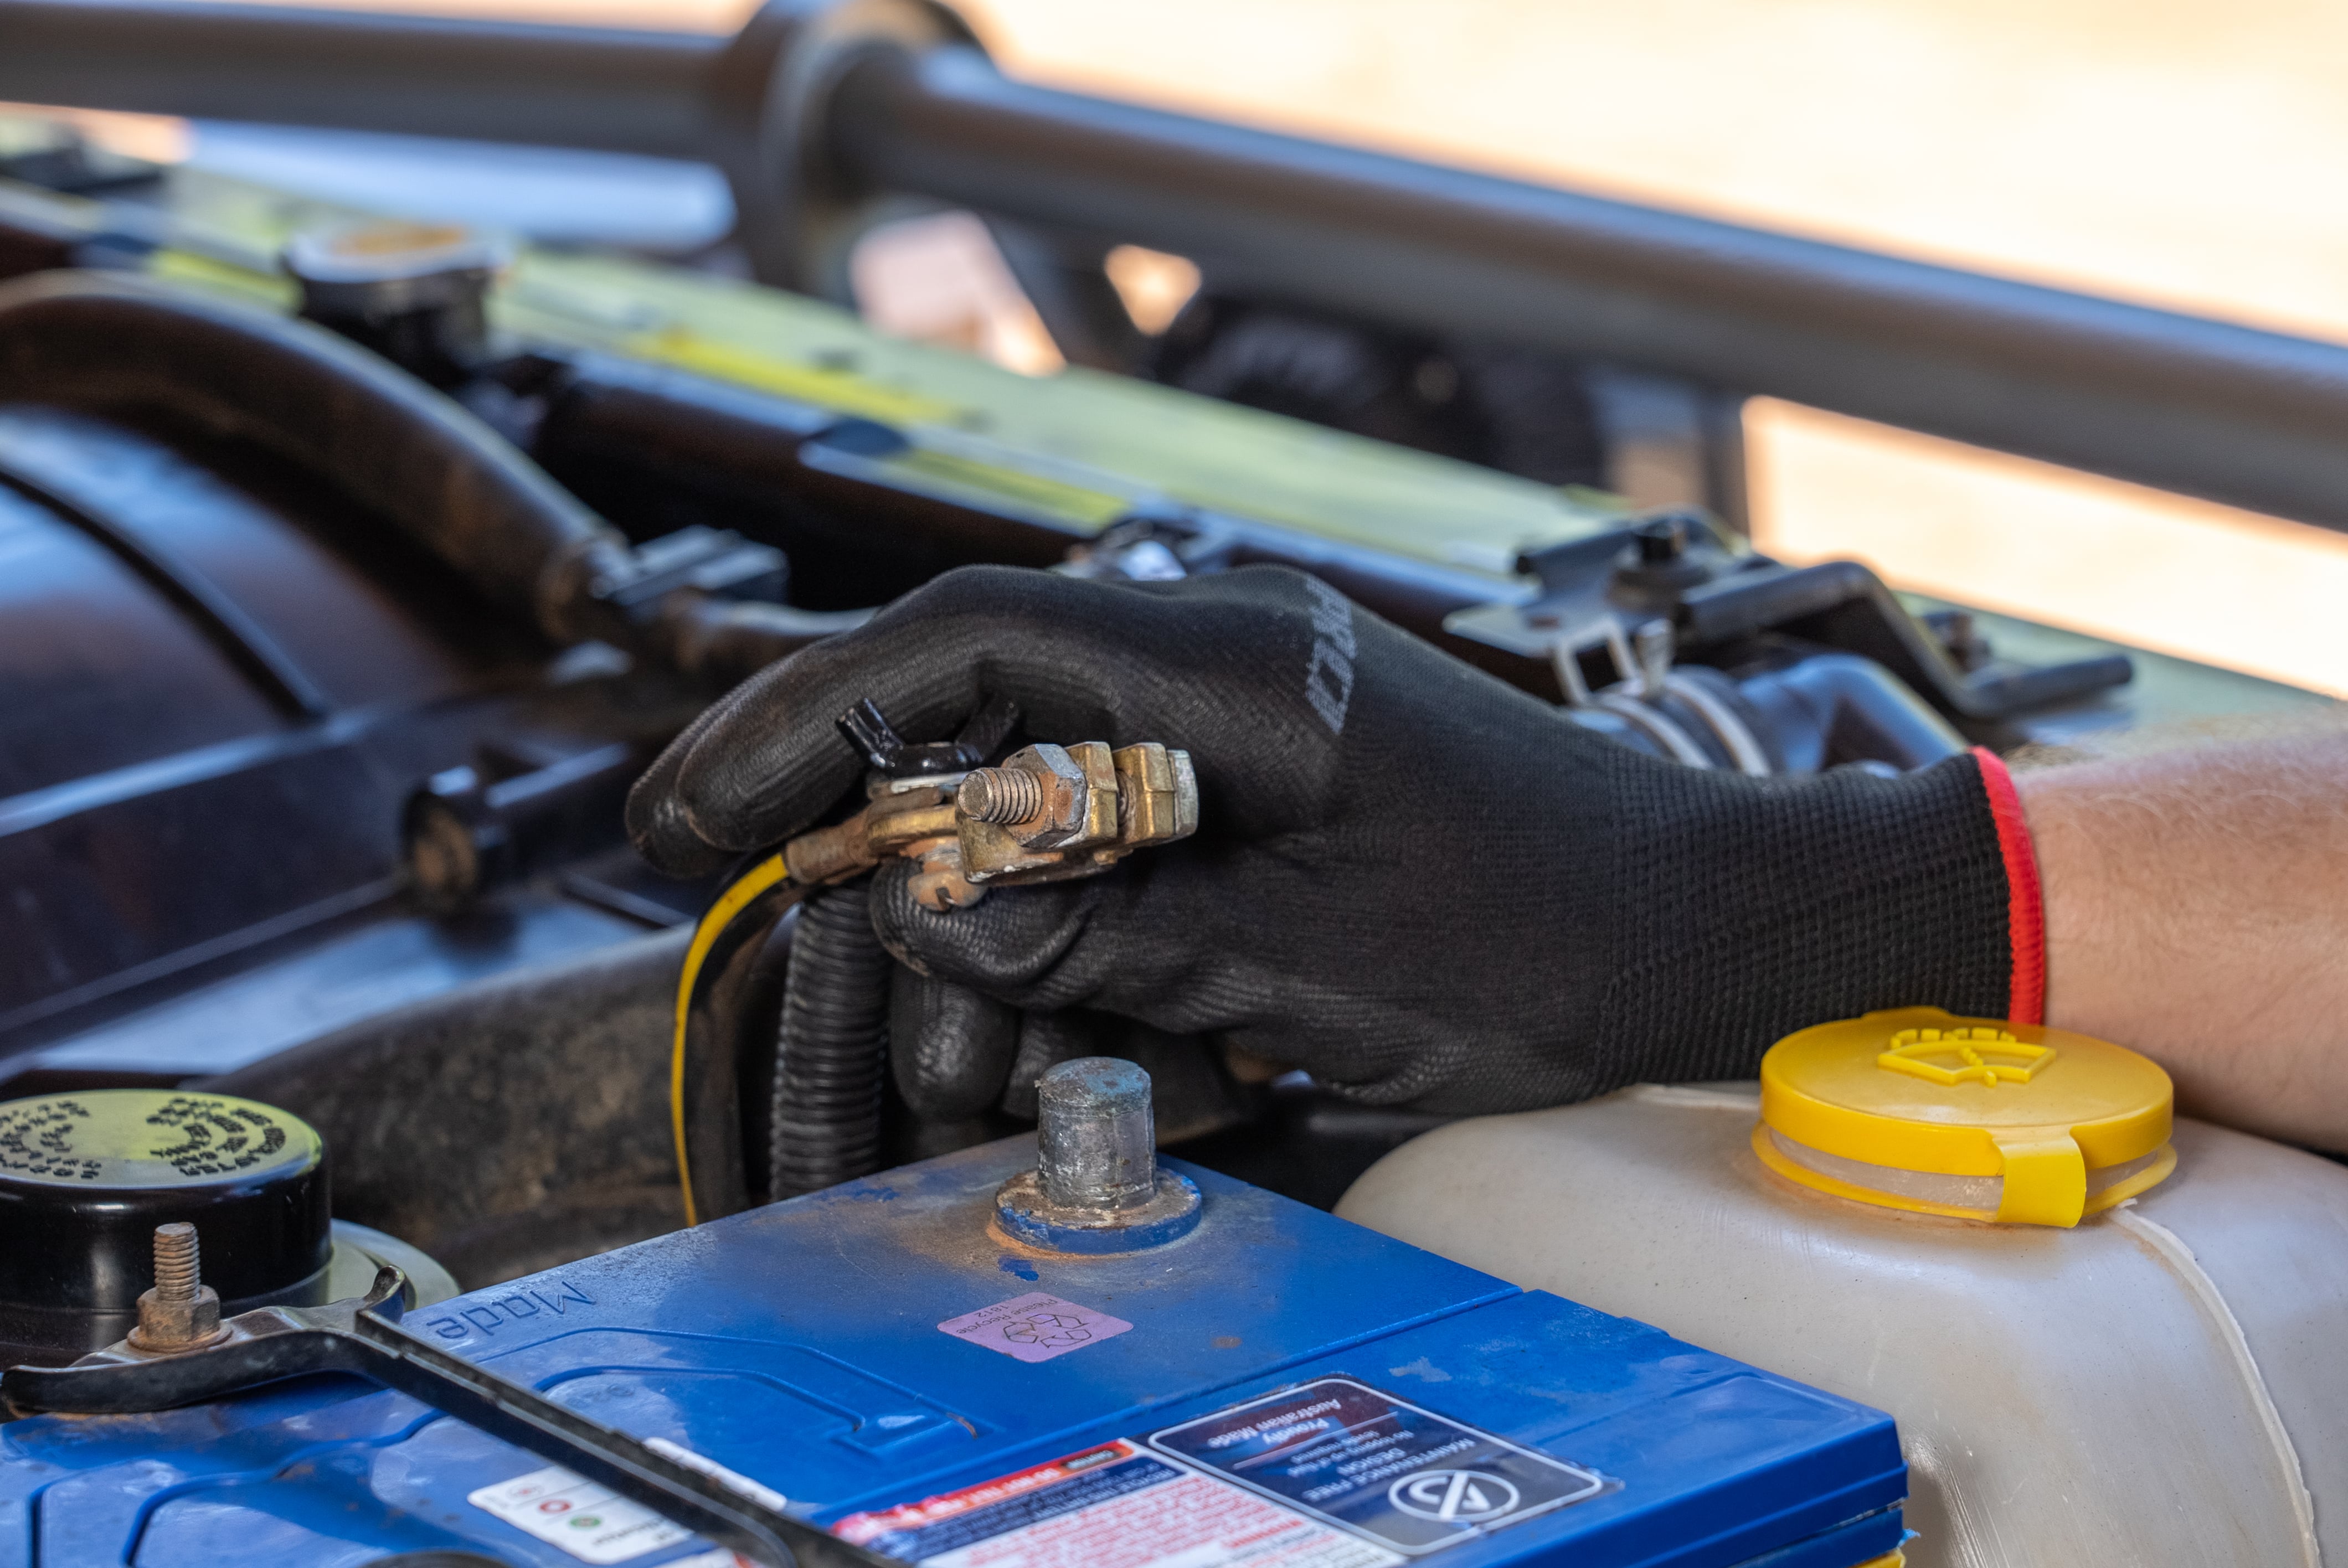
Disconnect the battery
Any time you’re playing with electricity, the negative battery terminal must be connected.
Remove the surrounding trim
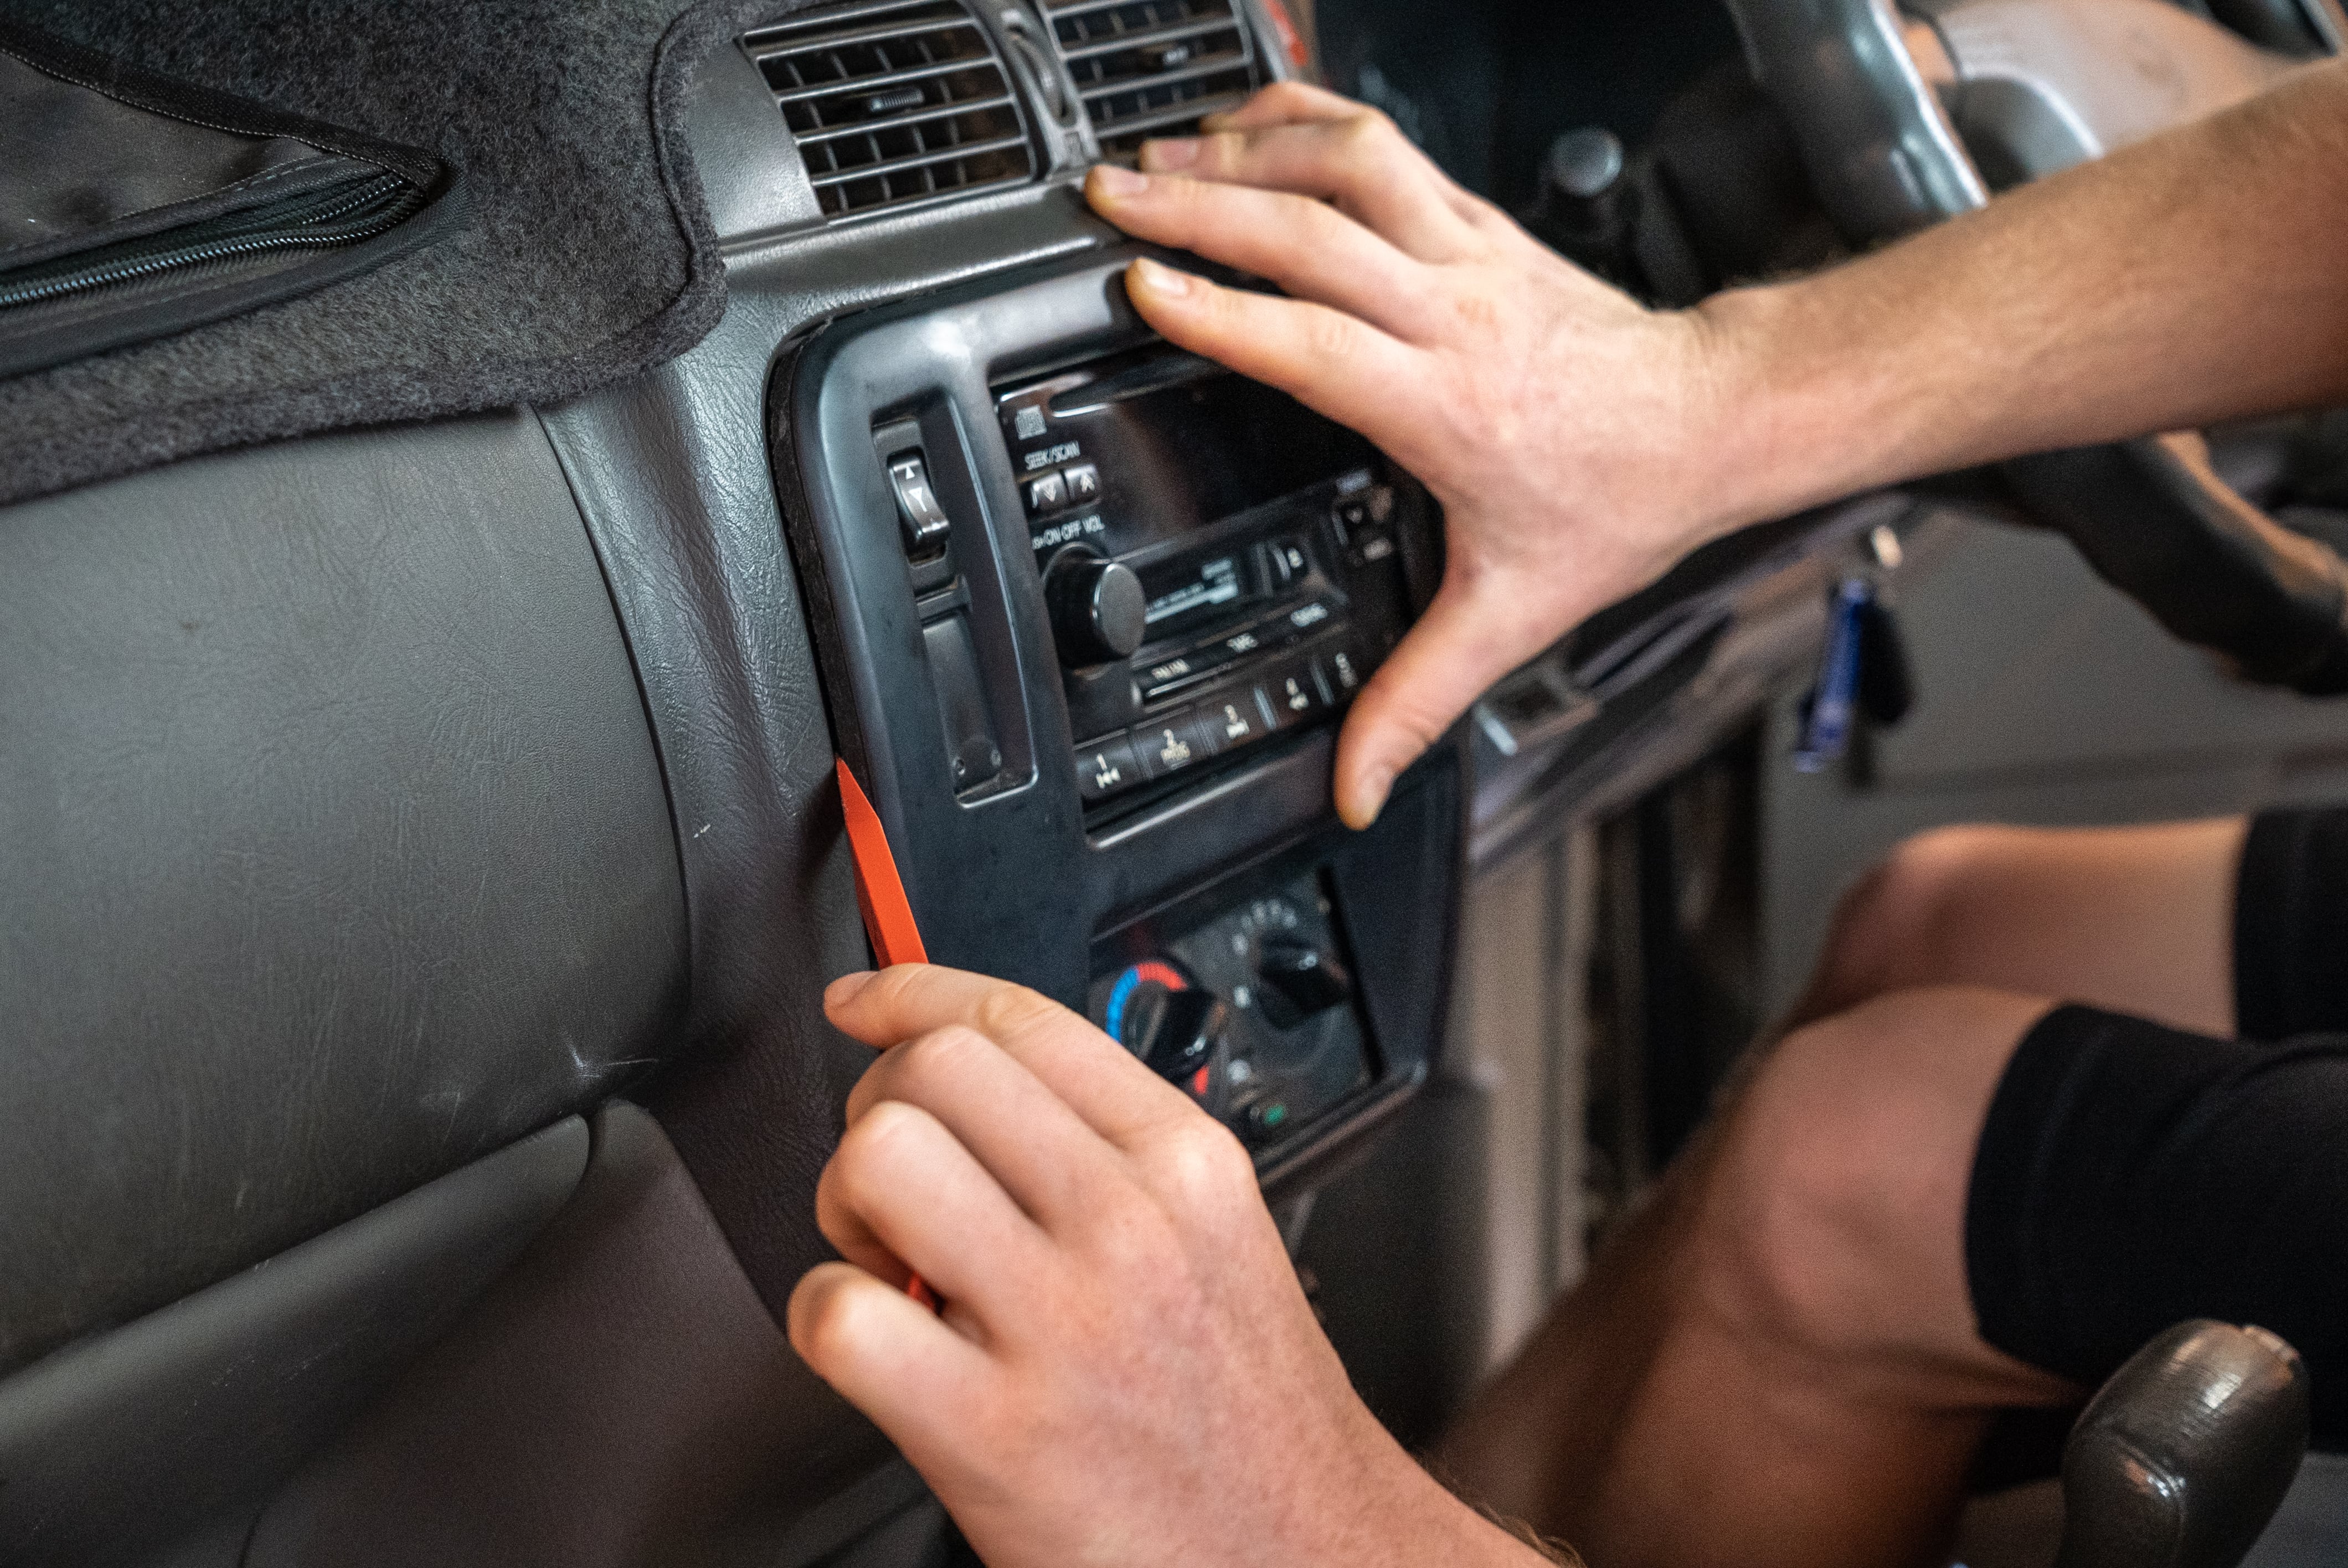
Back in the cab you need to remove the trim surrounding your head unit. Search carefully for any screws holding this in. There may be some hidden around the underside or inside an ash tray.
Use your trim remover tools to gently pry the trim. If it doesn’t want to move, take another look for any fasteners you may have missed.
Remove the head unit
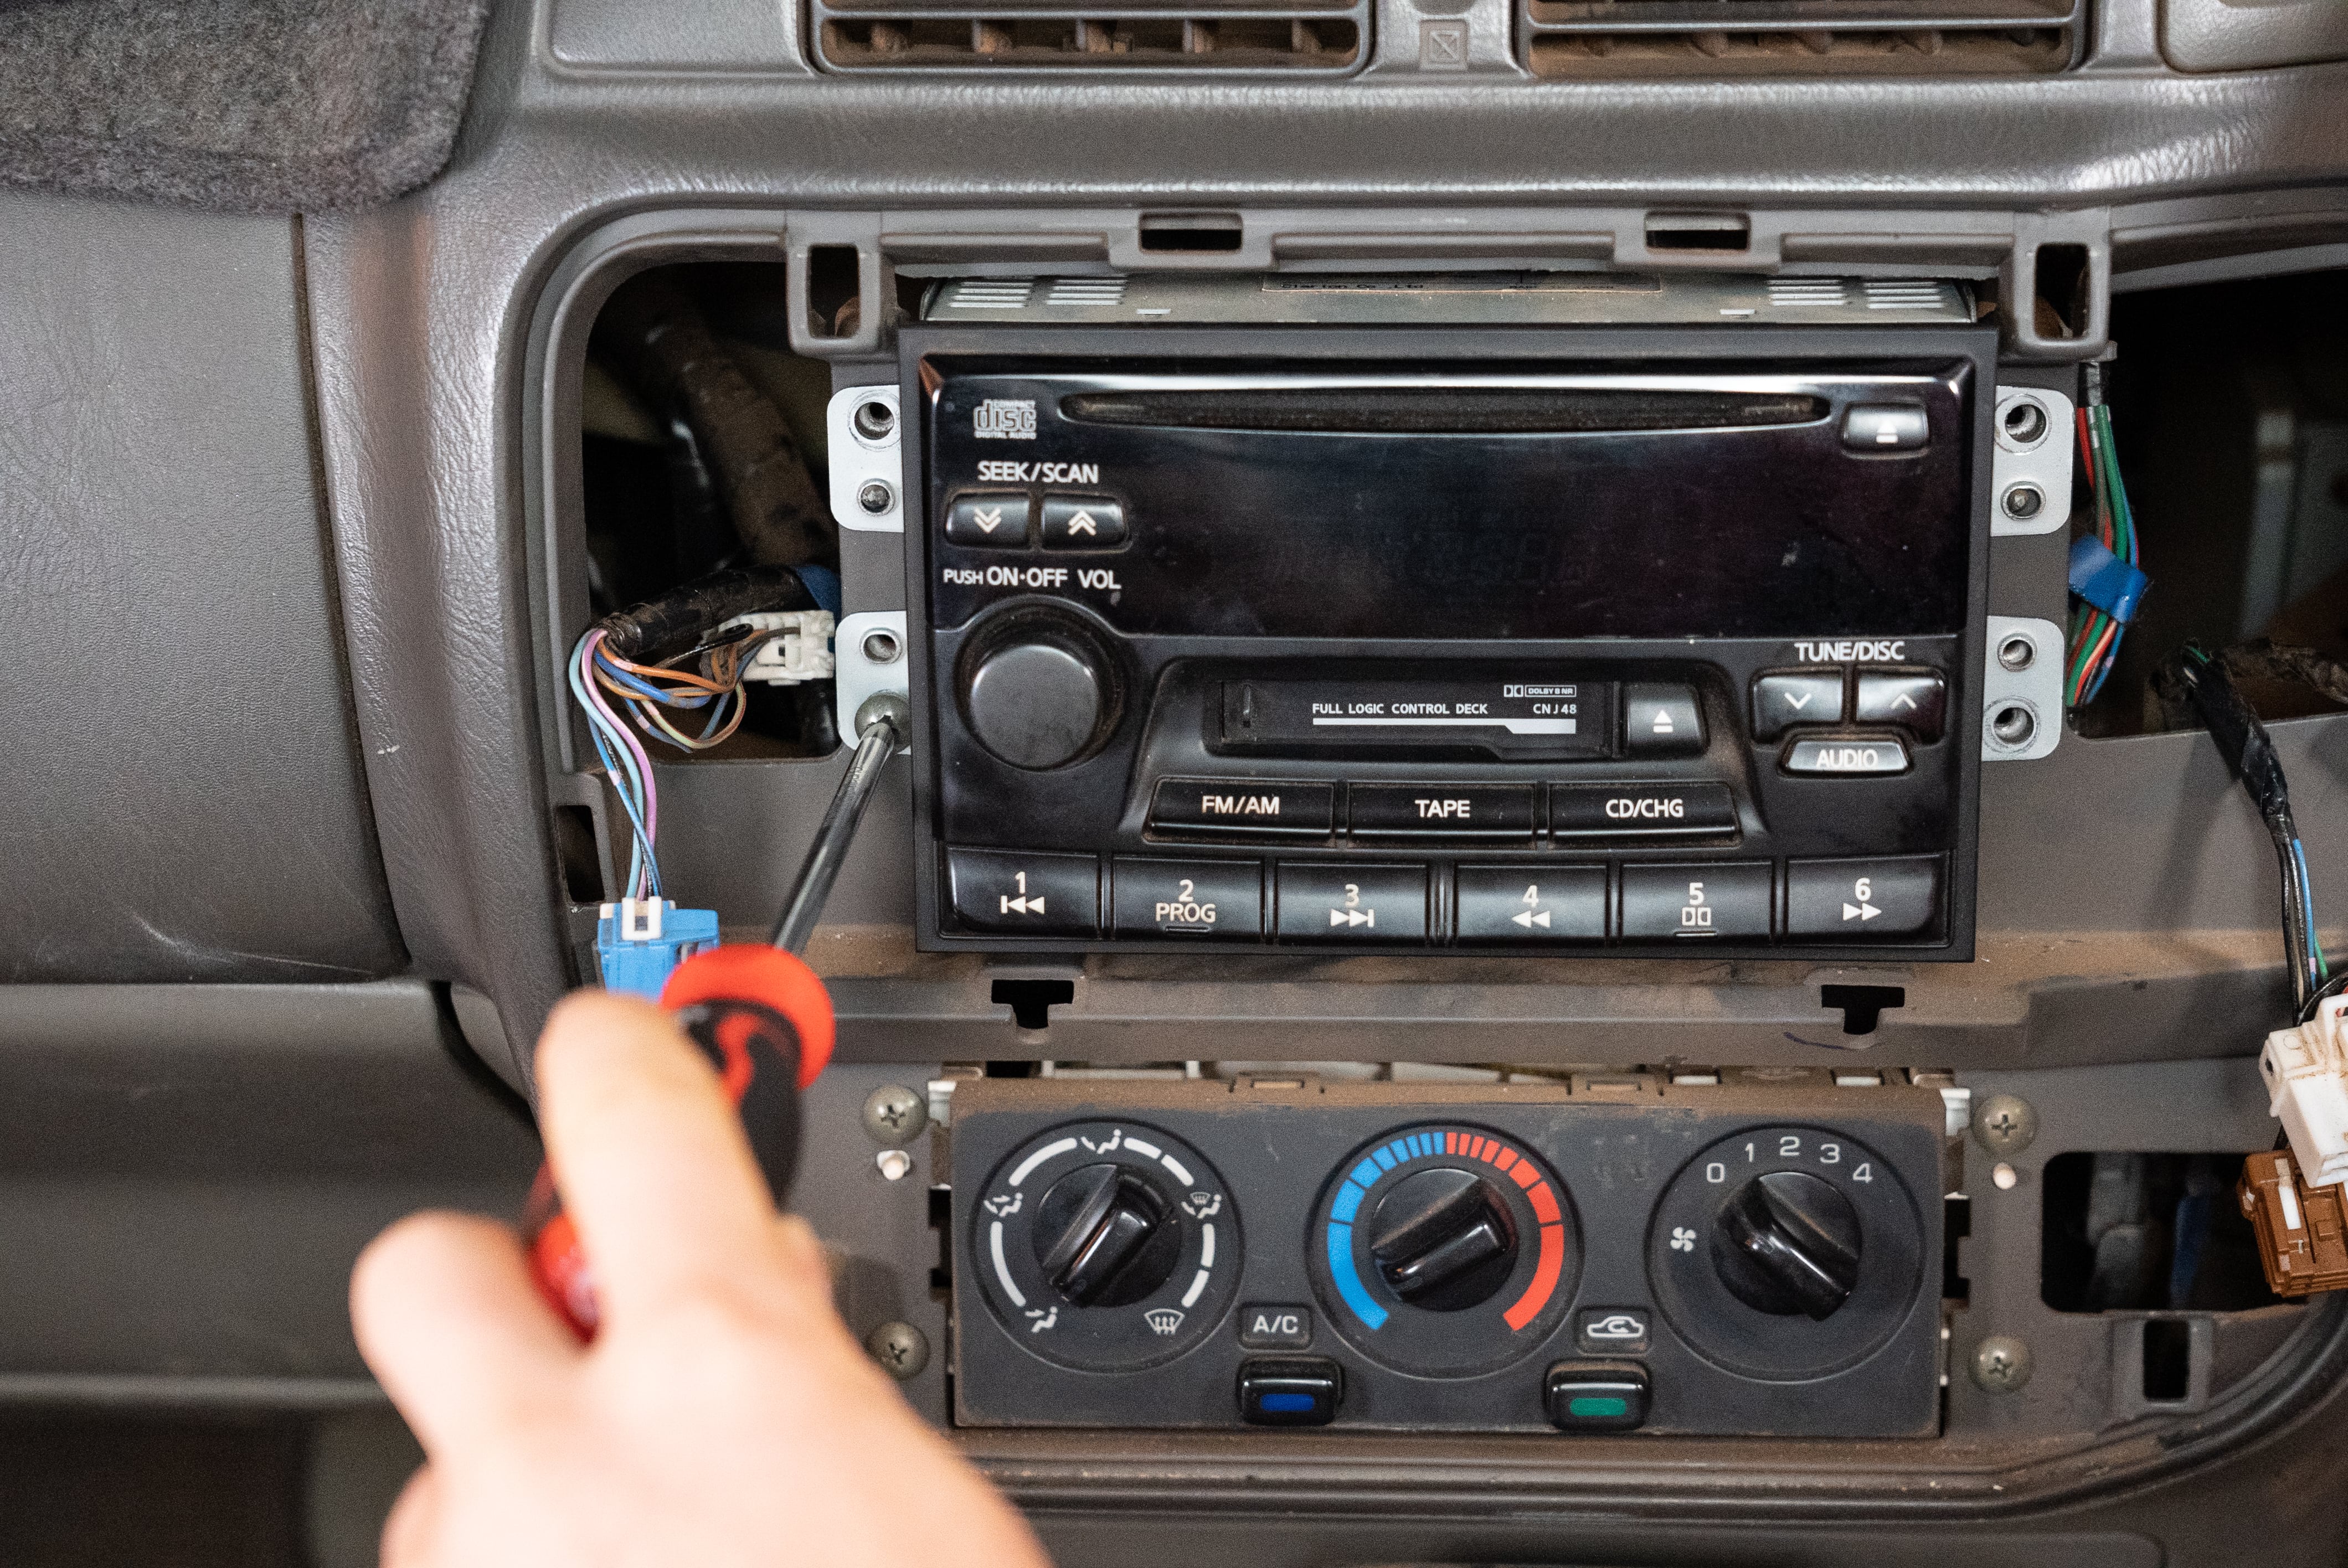
Once the trim is off, there is usually just a couple of screws to be removed and the old head unit will slide straight out. Unclip the plugs from the back and set this aside.
Certain vehicles require a special tool to remove the head unit. Don’t worry, we have these available straight off the shelf.
Install new wiring
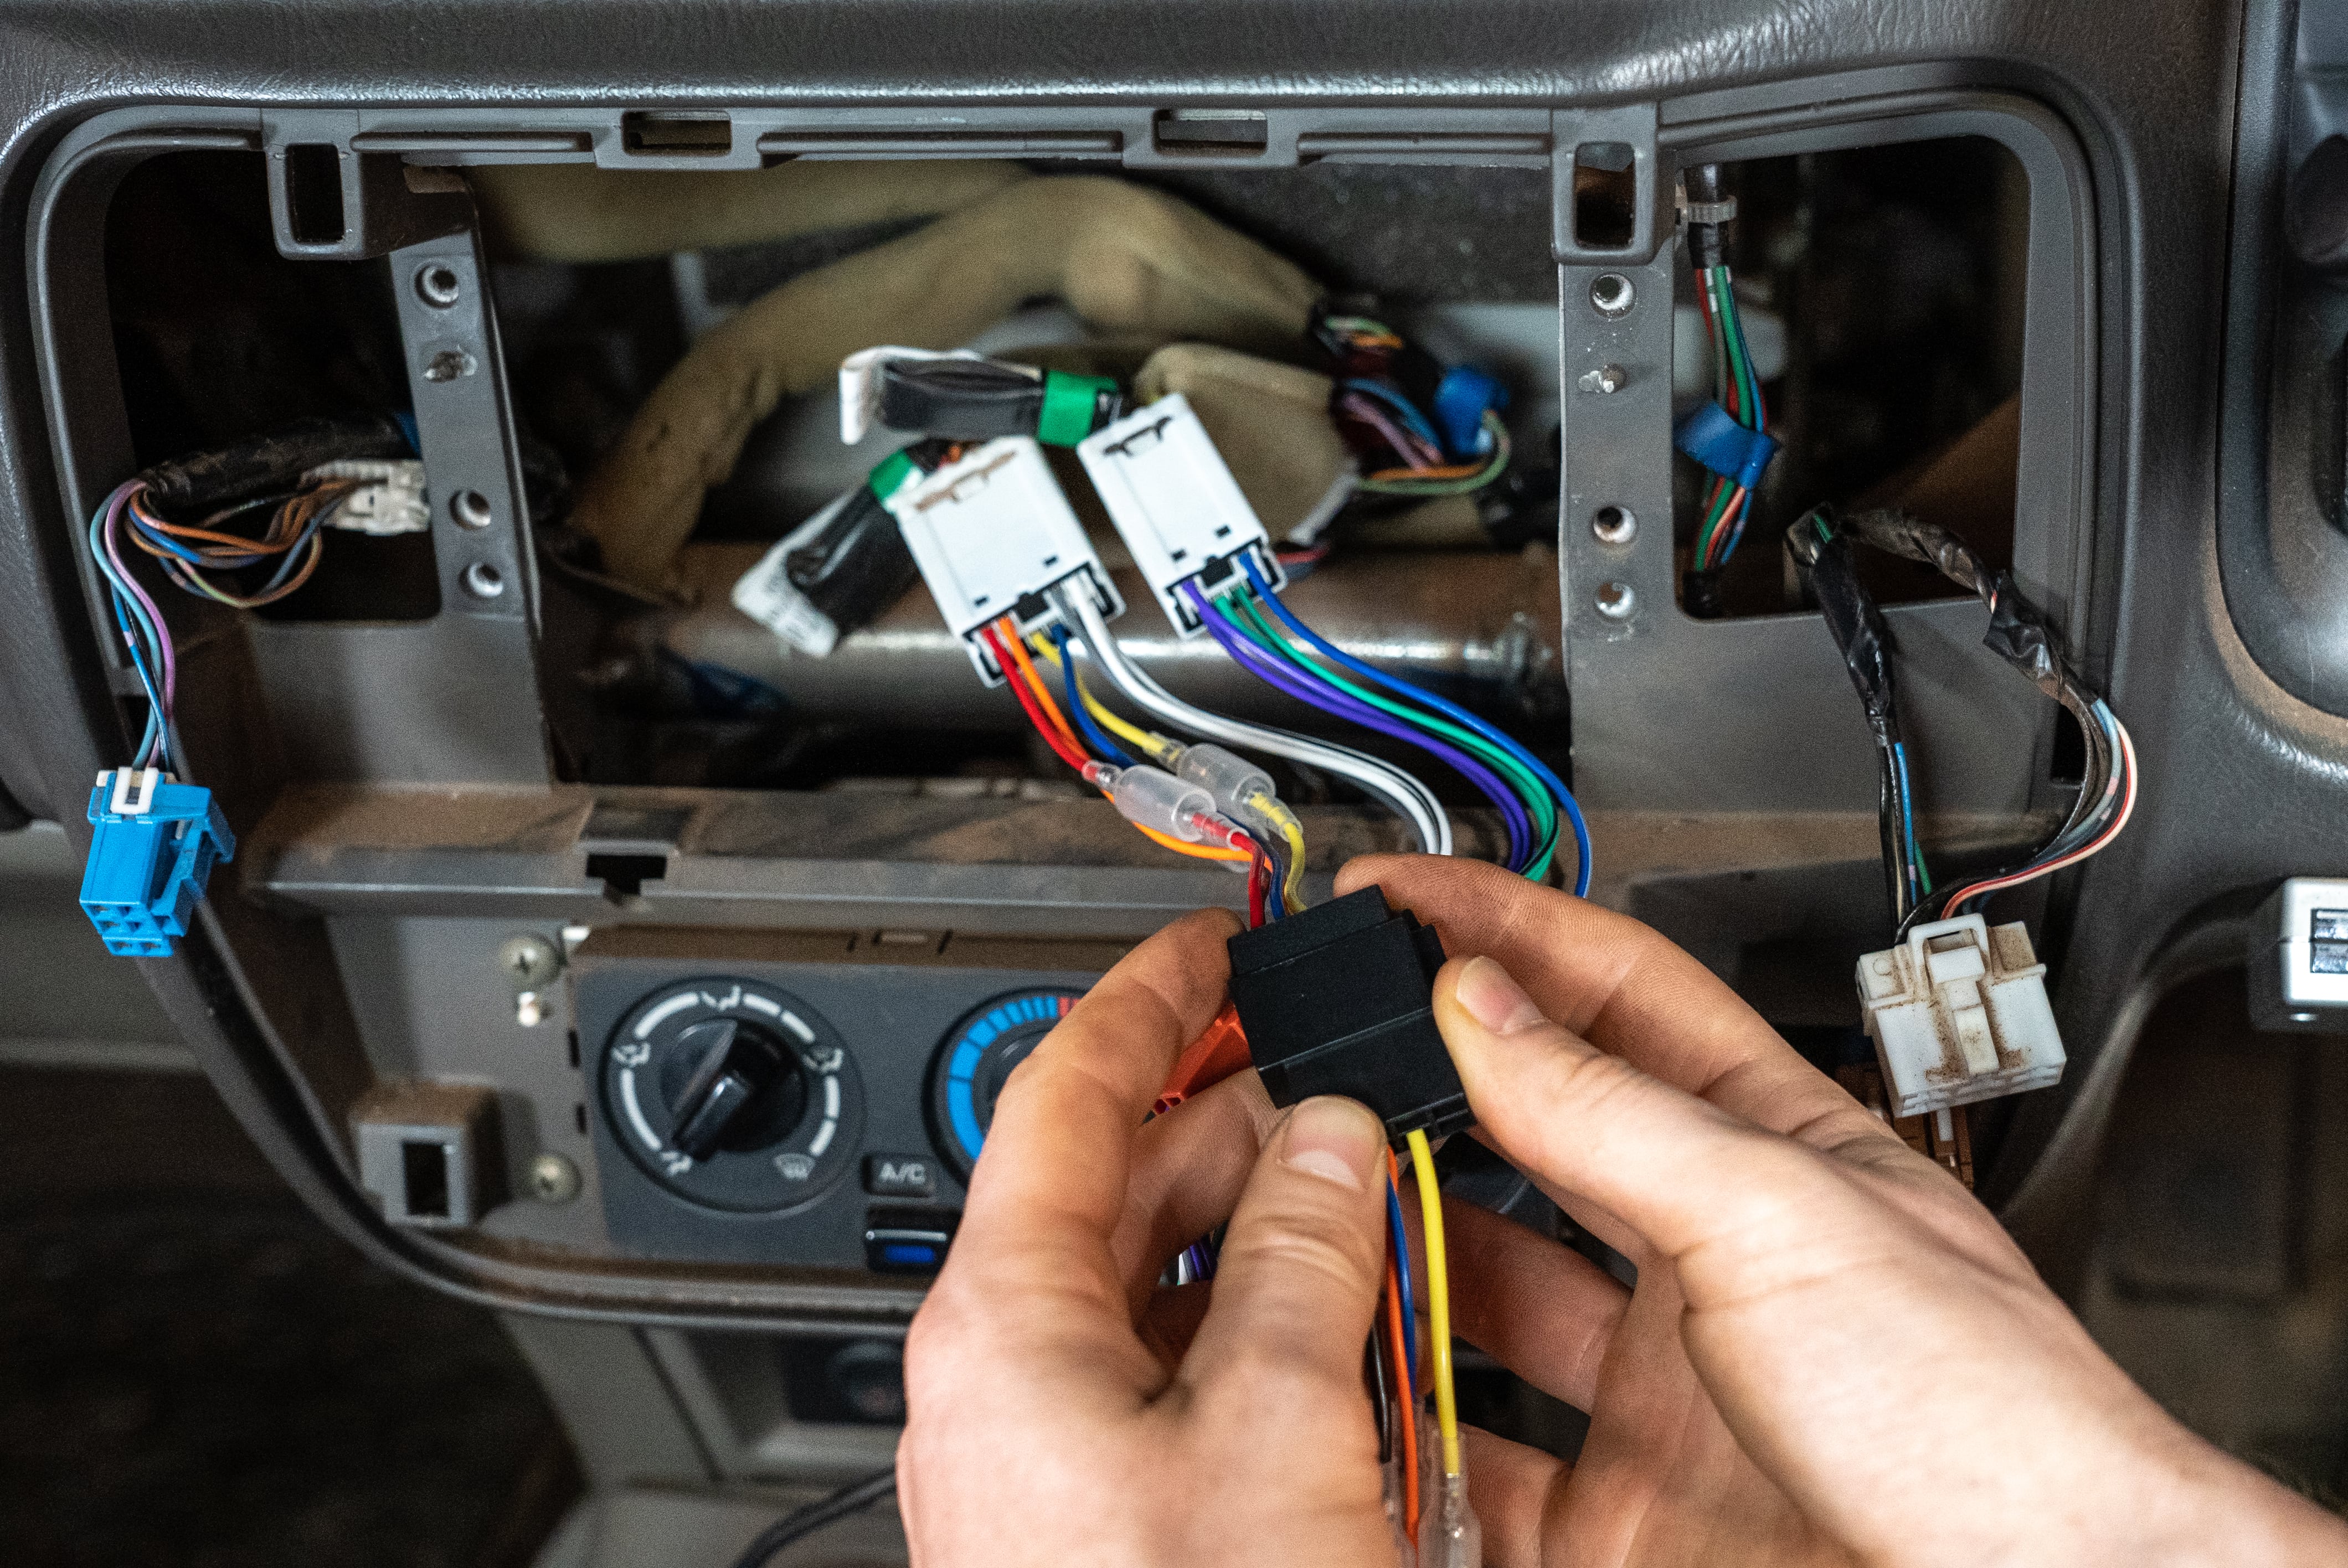
Grab the two new wiring harnesses and clip them together. One end will now connect to the plugs from your old head unit. The other will fit your new head unit. The plugs are all different, so it’s impossible to mix them up.
If you’ve picked up adaptors for antenna or steering wheel controls; now is the time to fit these too.
Install the microphone
If you love a chinwag while you’re driving, you can do it safely if you install the microphone. Most head units will come with one. Route the wire through your dash, up the A pillar, and clip the microphone as close to the driver's head as possible.
Fit the new head unit
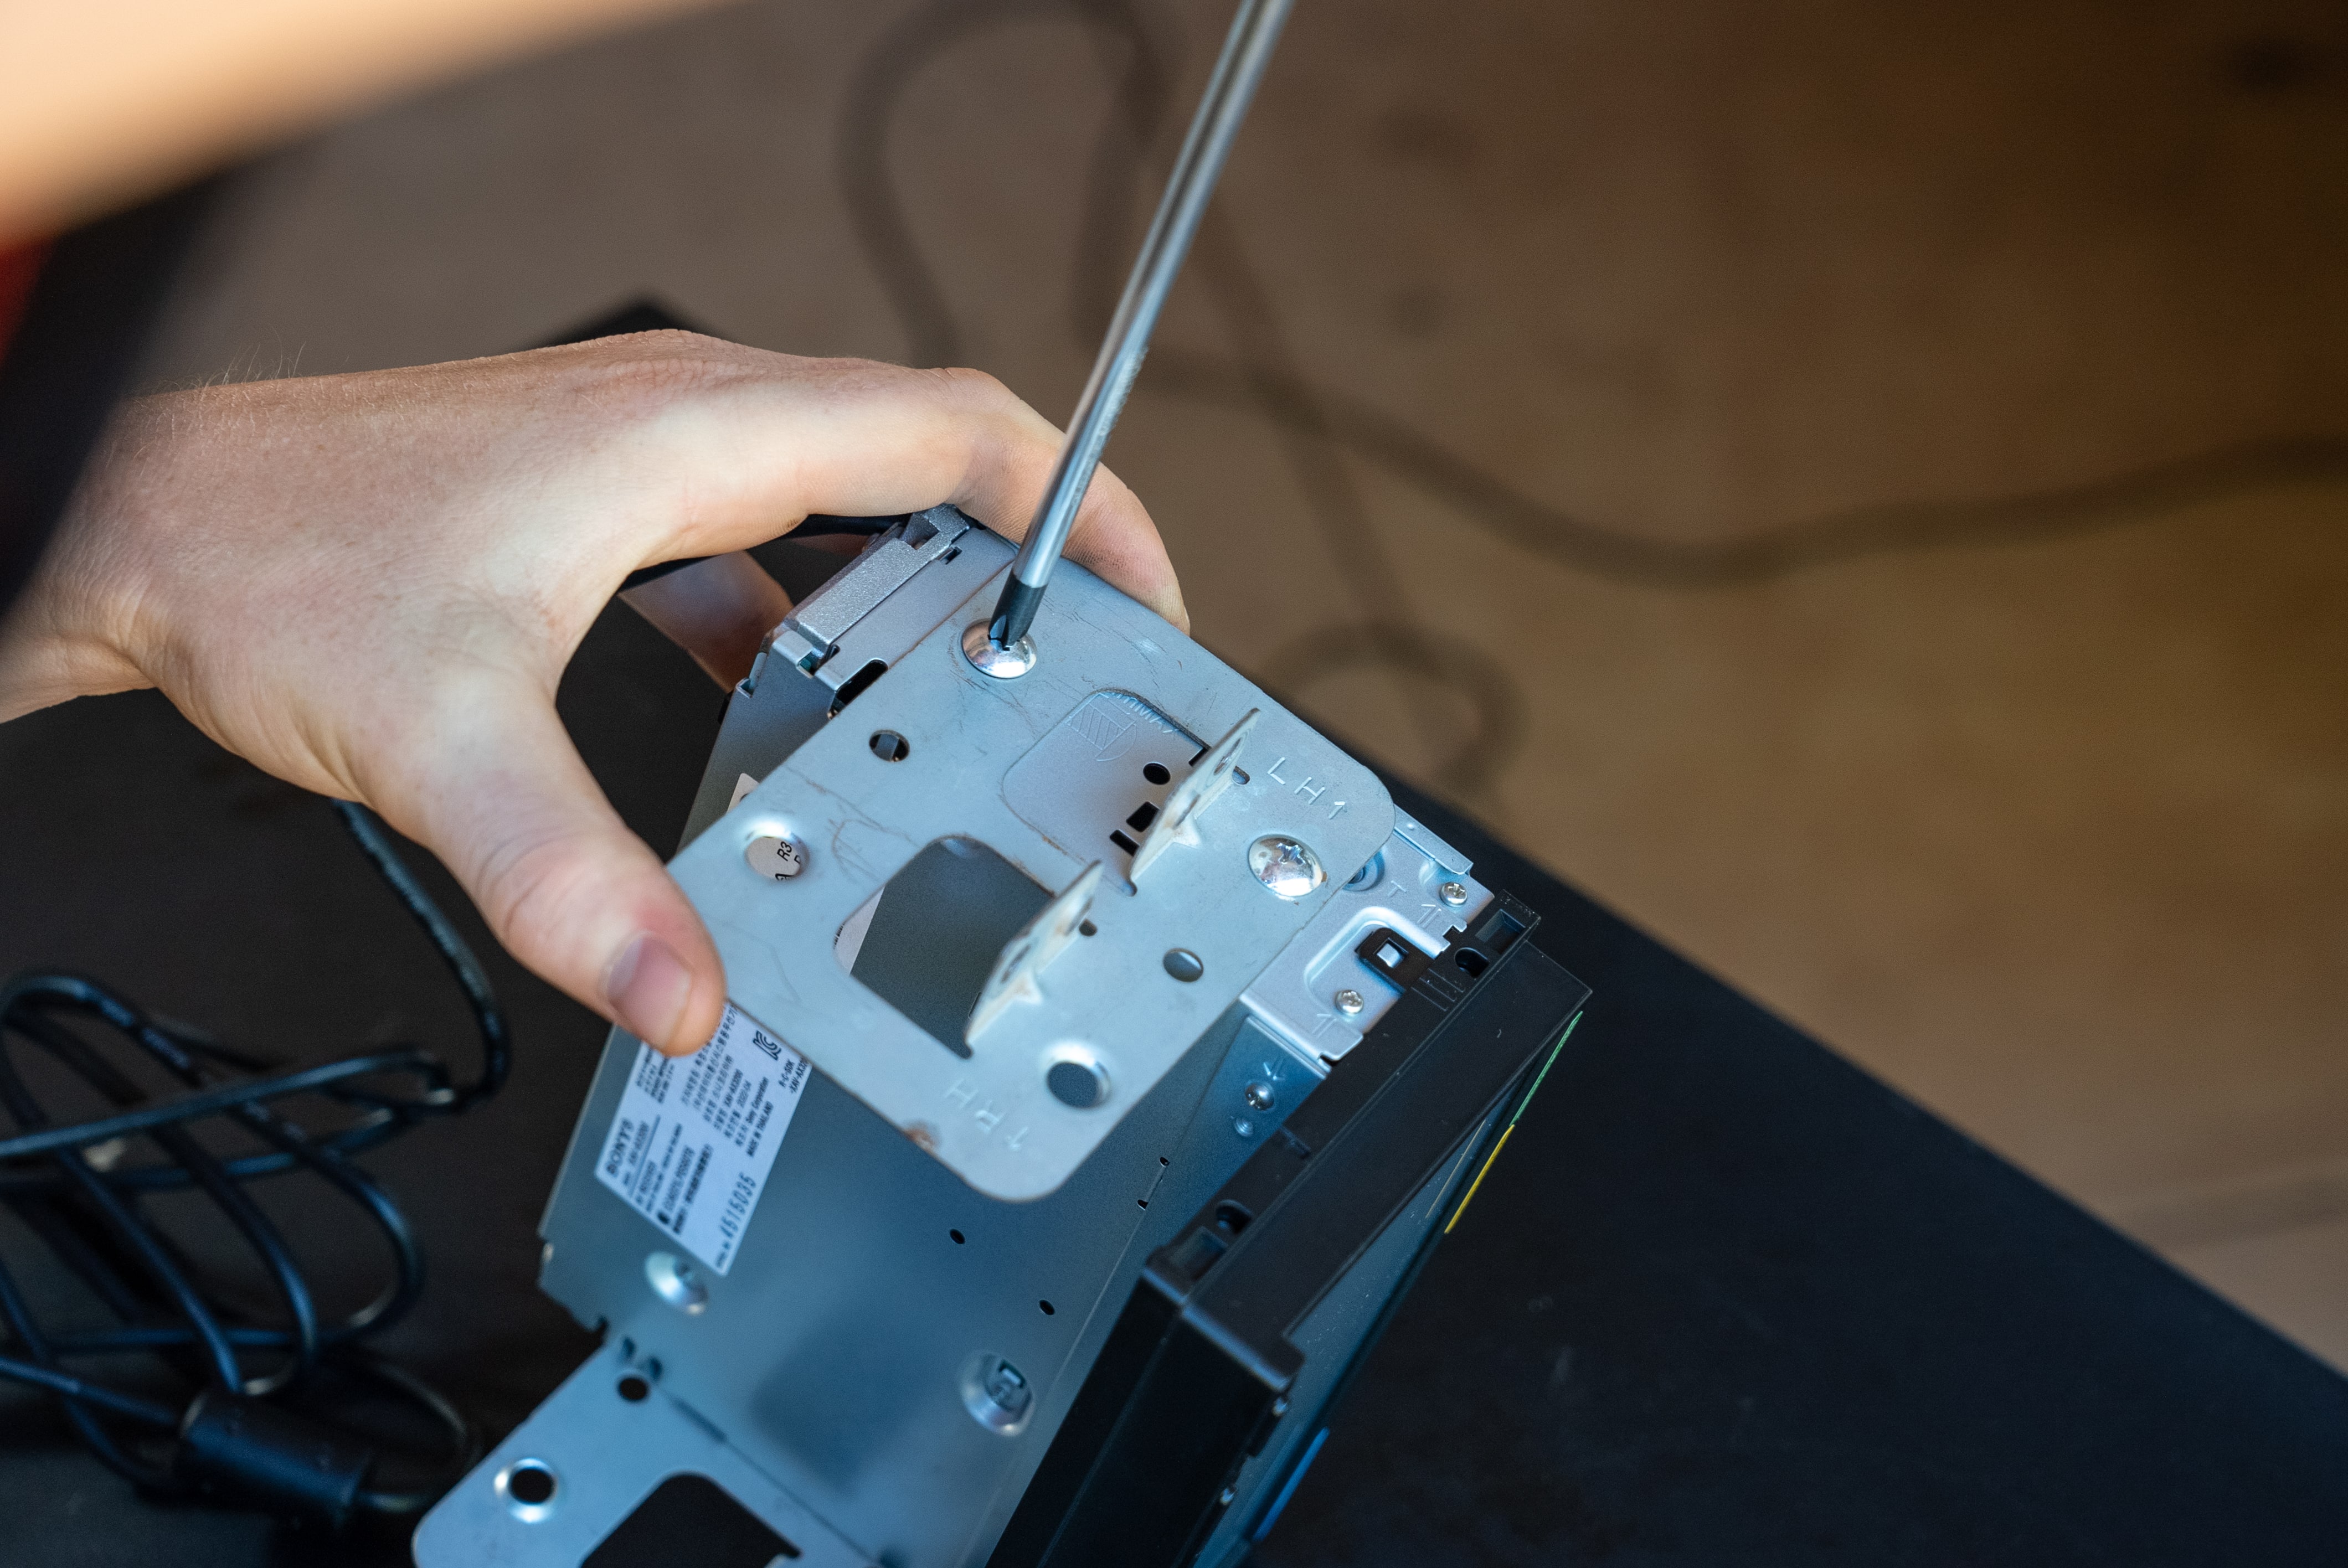
Look closely at the old head unit for any brackets that may need to come across to your new head unit. If you have a fascia kit, there may be parts to be fitted in here too.
Plug your new wiring harnesses into the back of the new head unit. Again, they are impossible to mix up.
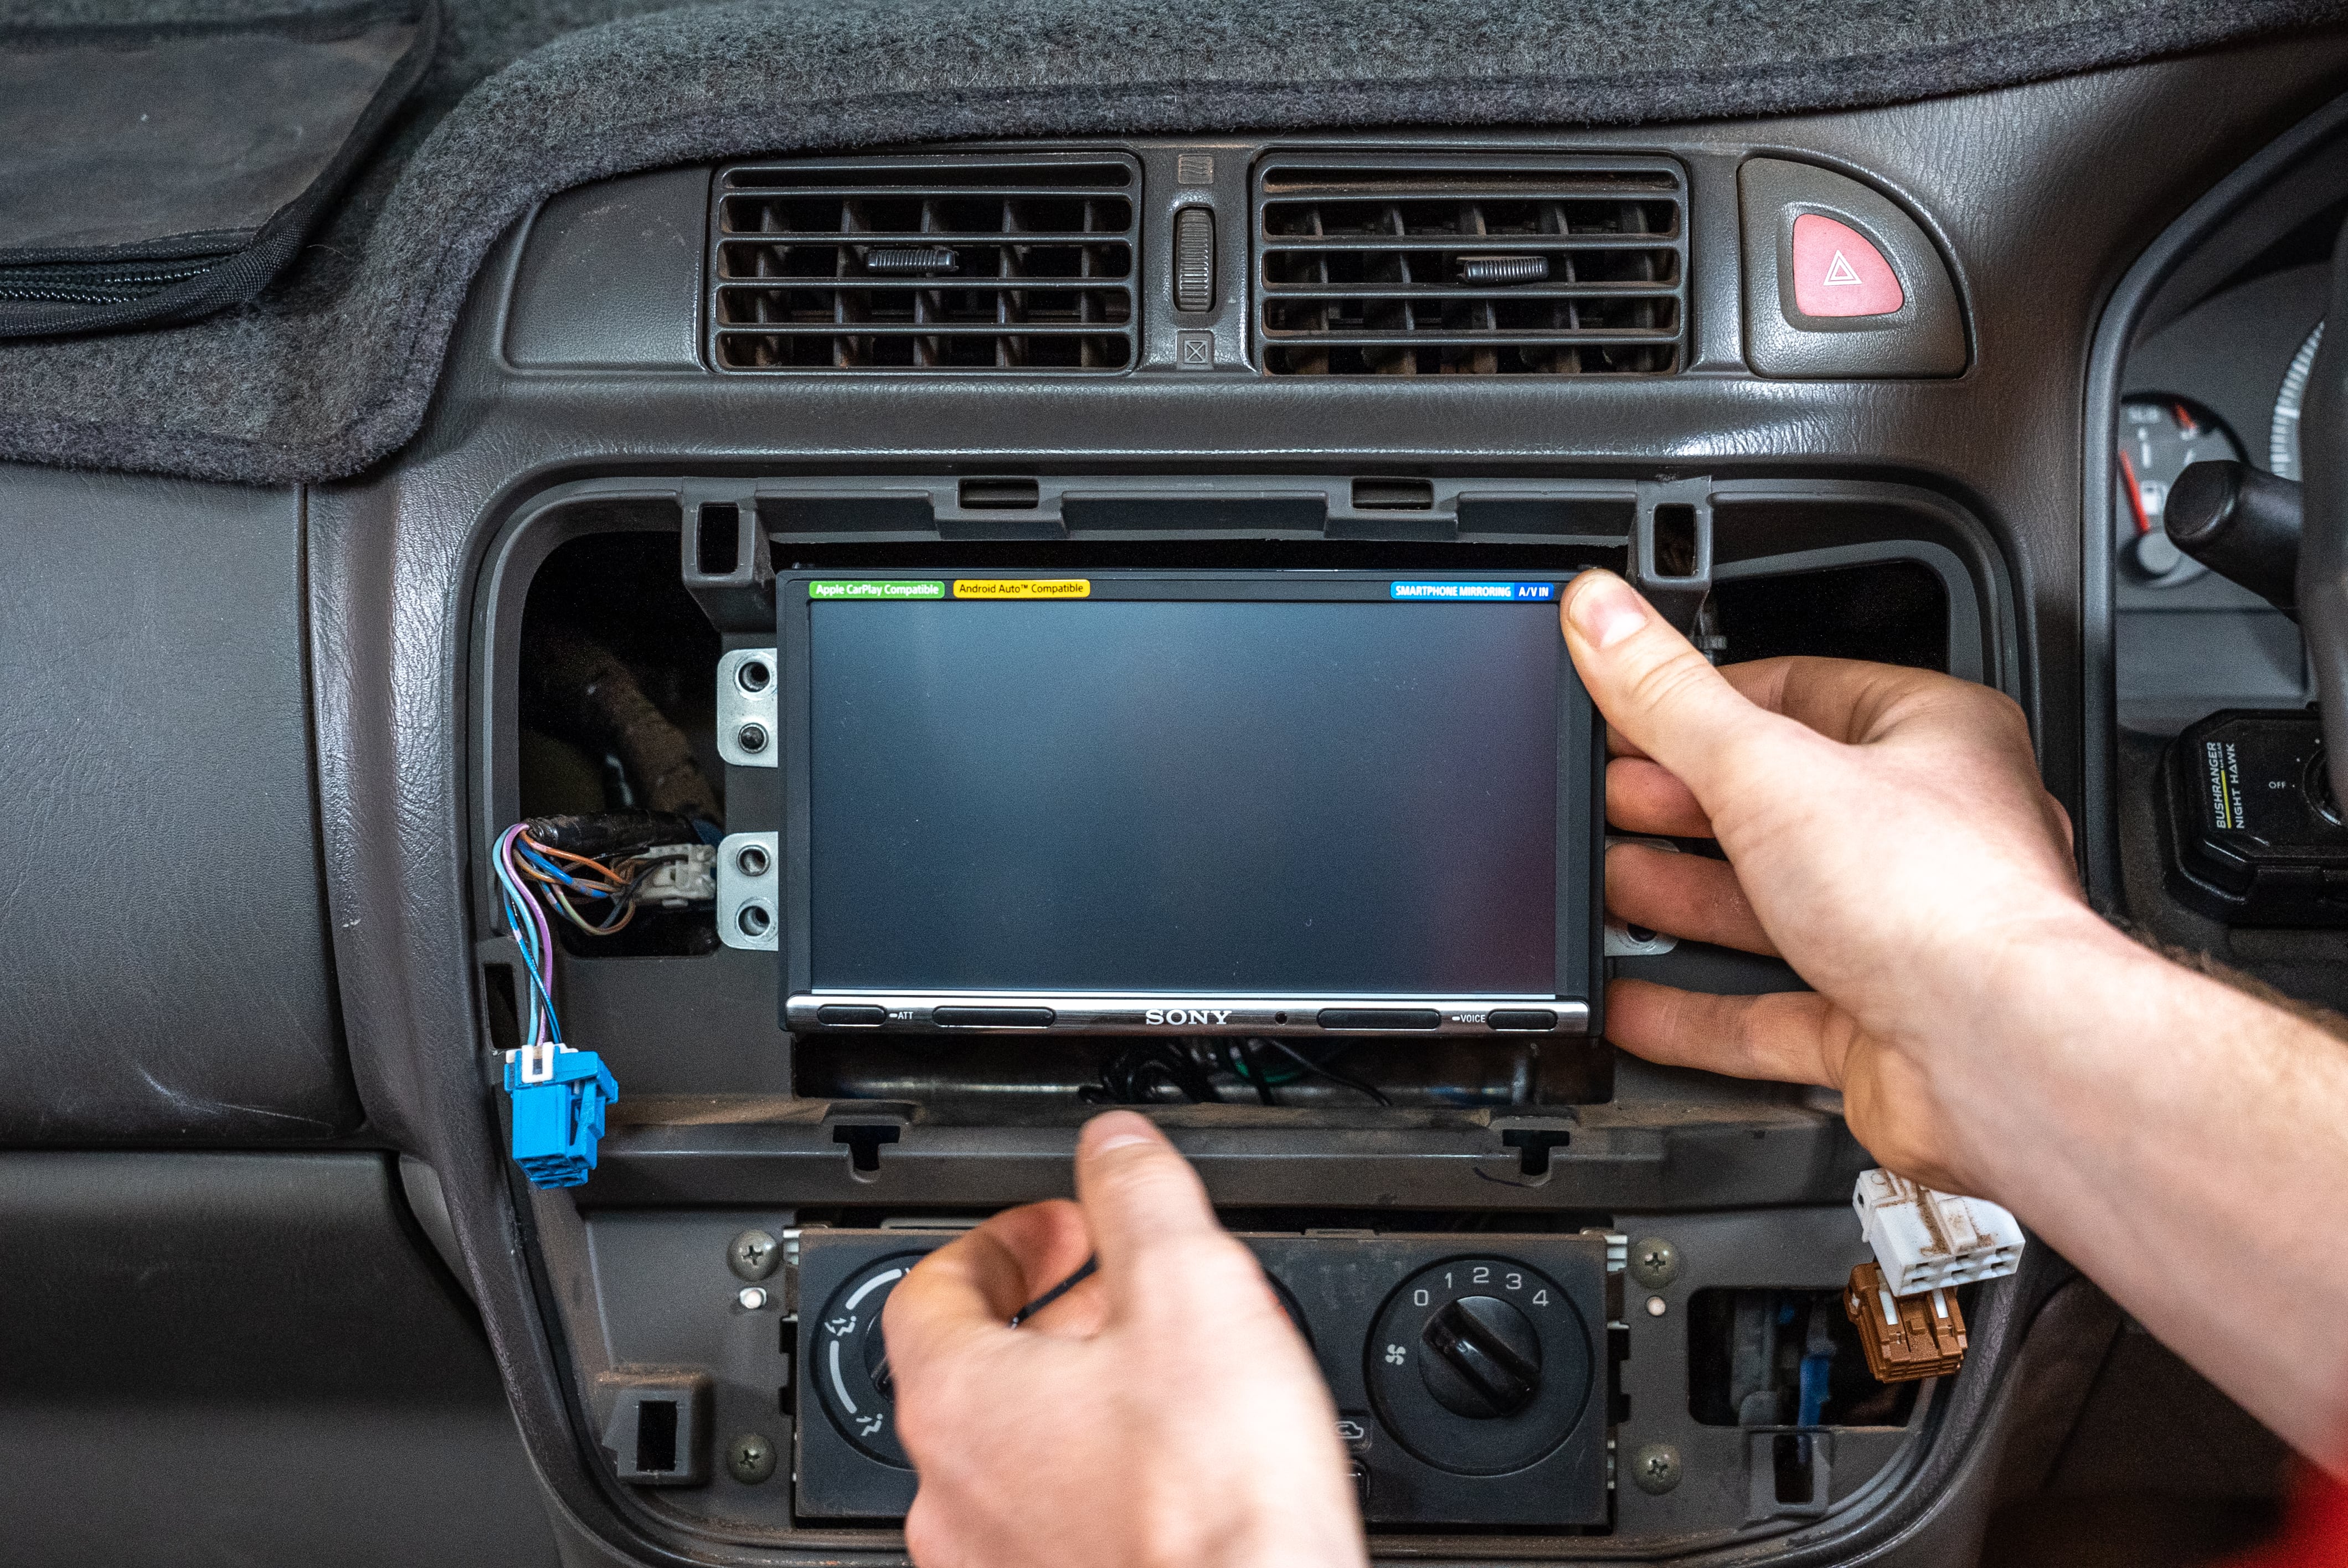
Now just slot the head unit into place and replace the original screws.
Test your new head unit
It would be pretty rude to pop the dash back together to find out nothing works! So reconnect your battery, turn the key and check that your new head unit comes to life. Make sure you choose a favourite track to give it a good test. No shame in sitting here basking in your music for an hour before the final steps.
Assemble the dash
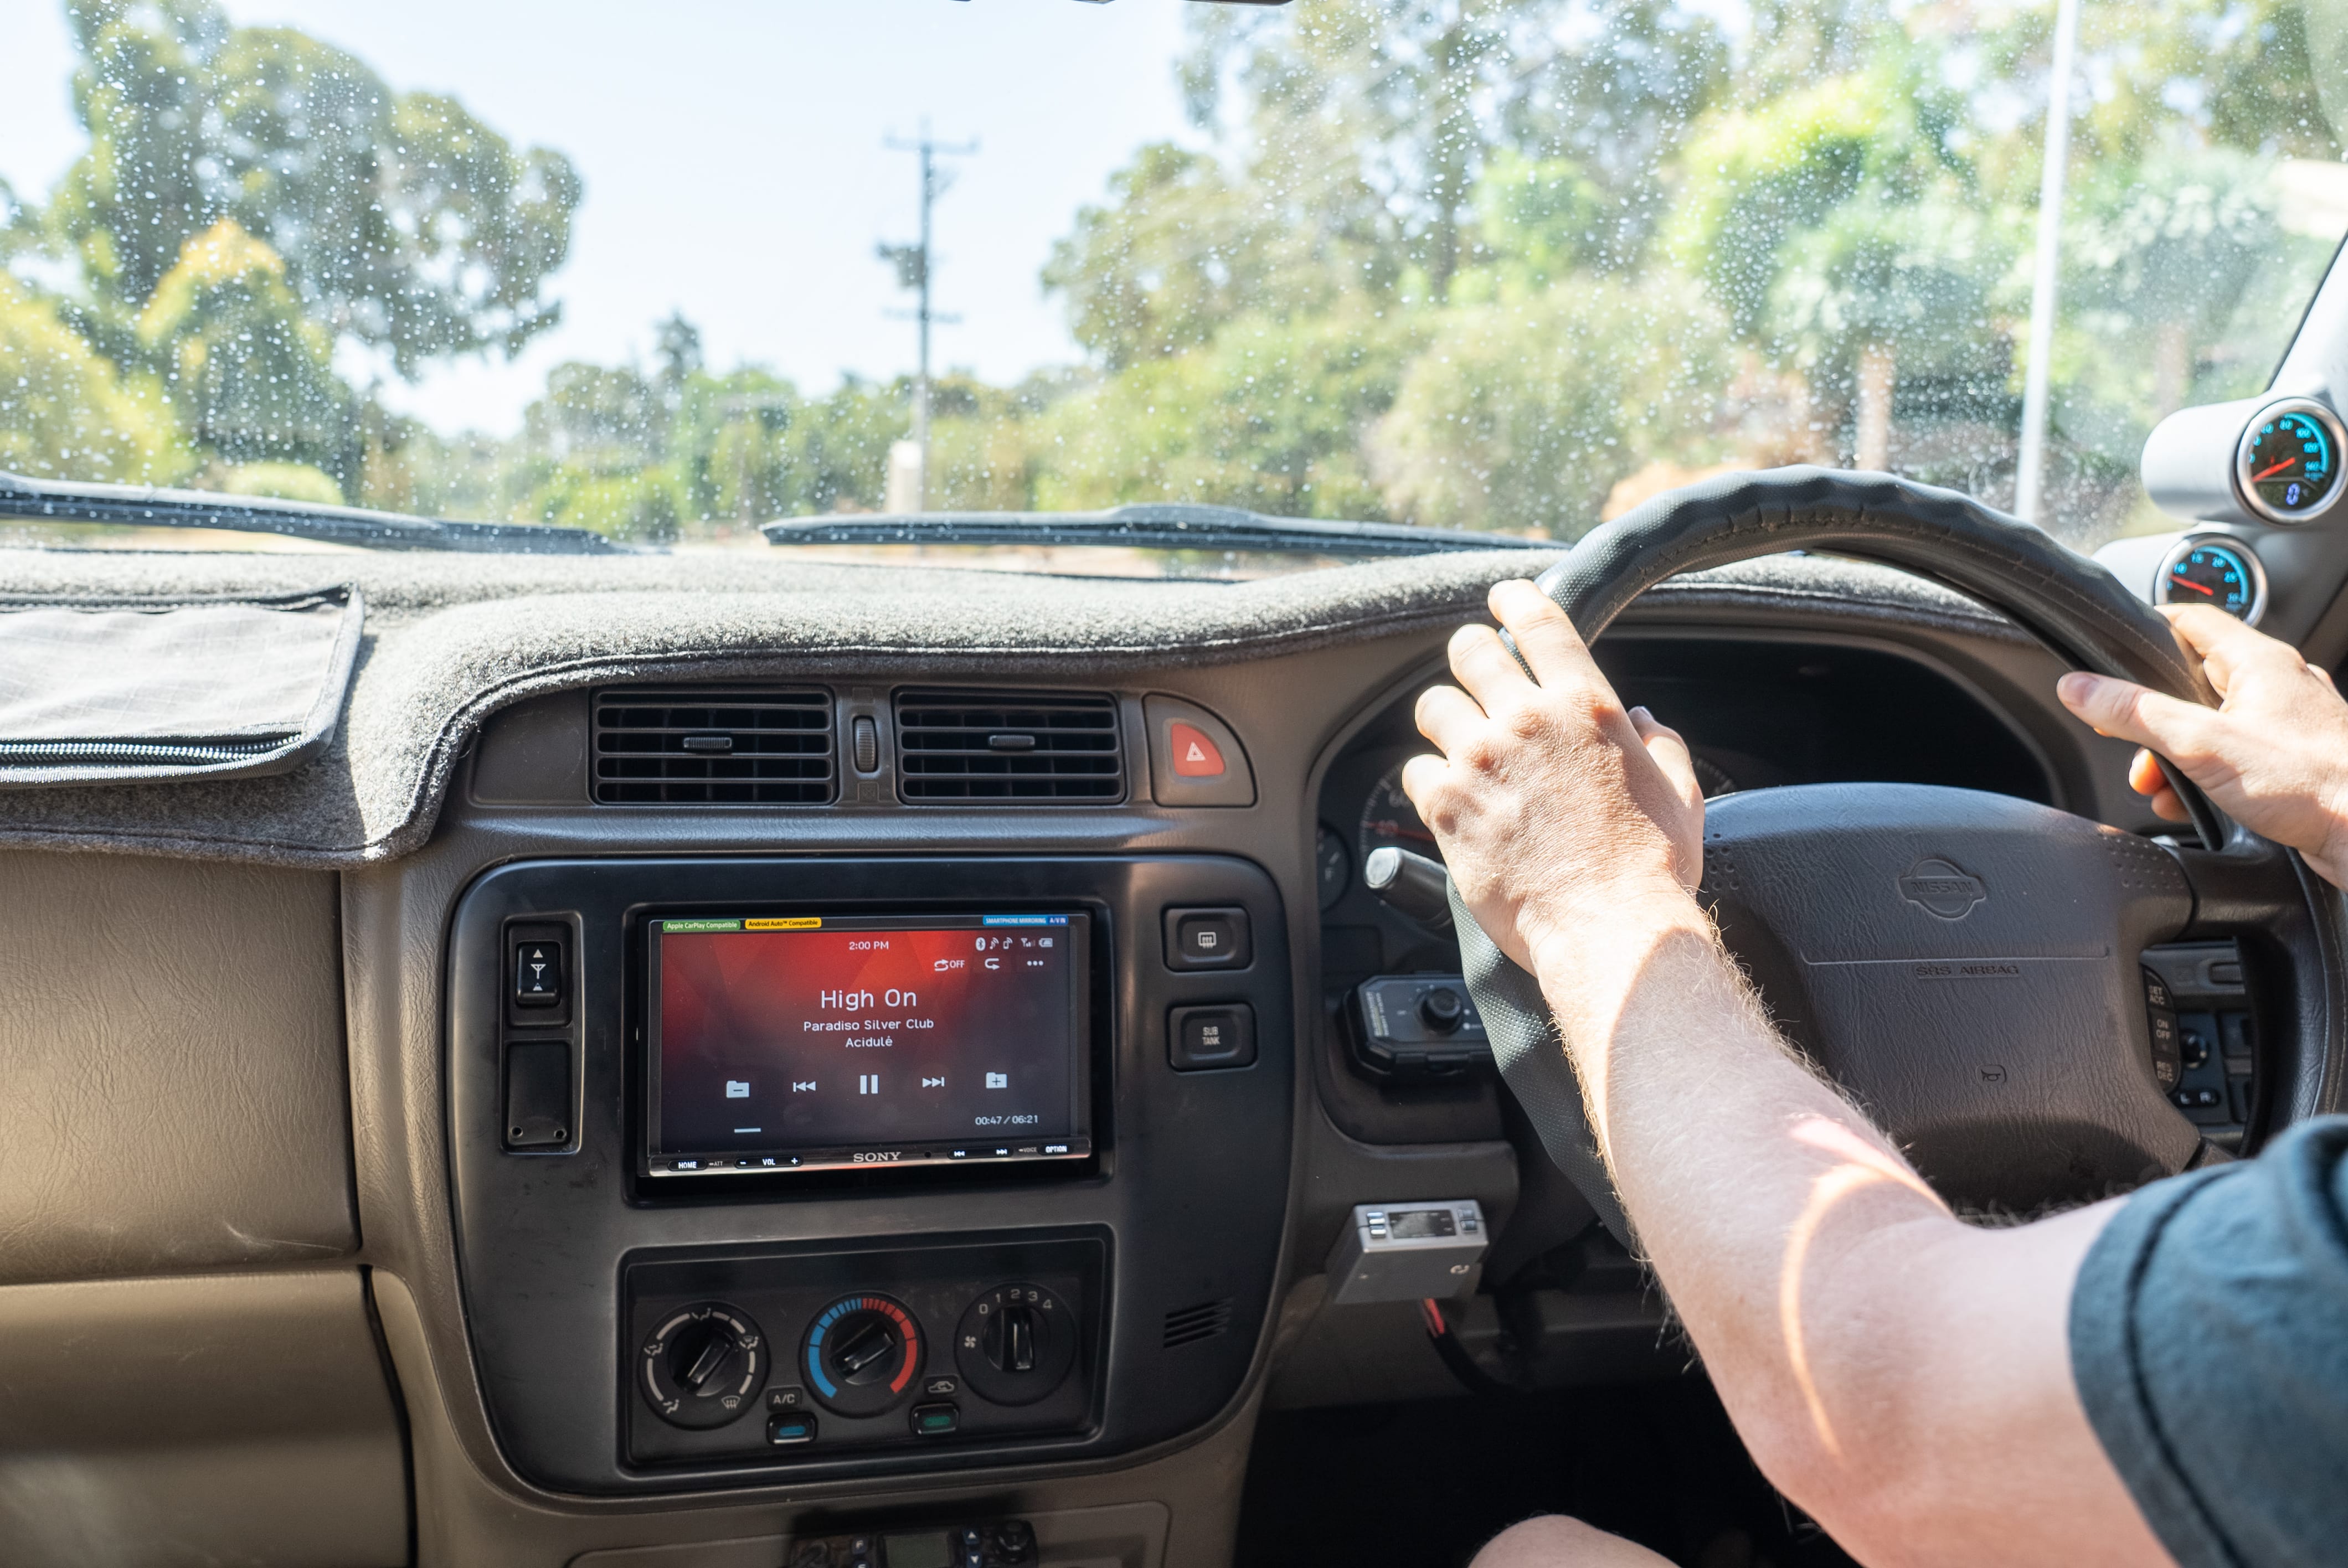
Removing the trim is fresh in your mind, so replacing it should be a breeze. If you’ve got a fascia kit, you’ll be following the supplied instructions to finish off your install. Replace any screws that came out of the trim, and you can call this a job well done!
*Important information* - Click here to read more about our How-To terms and conditions.